 MKO Plugins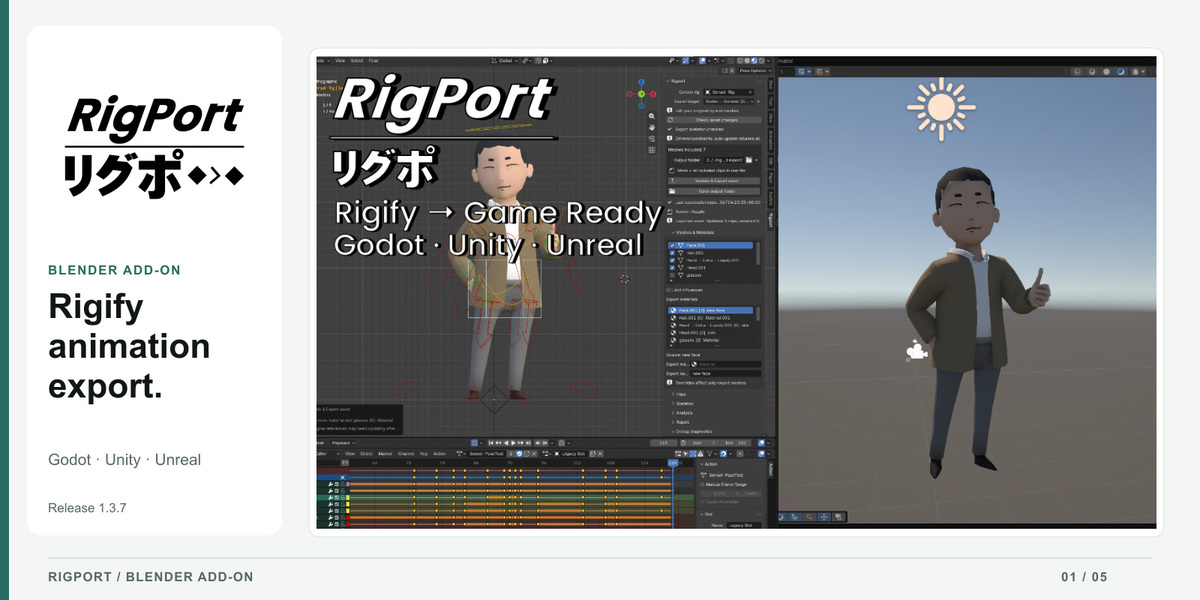
You made the animation. Getting it into your game should be easier.
I've spent years animating in Blender with Rigify. I wanted a way to bring that work into a game engine while keeping the workflow I already knew and spending less time finagling with export settings.
That's the goal behind RigPort: translate your character and animations for Godot, Unity, or Unreal Engine, preserving your work as closely as the supported export workflow allows. Whether you're building a game or quickly prototyping an idea, it helps reduce the technical work between animating and testing.
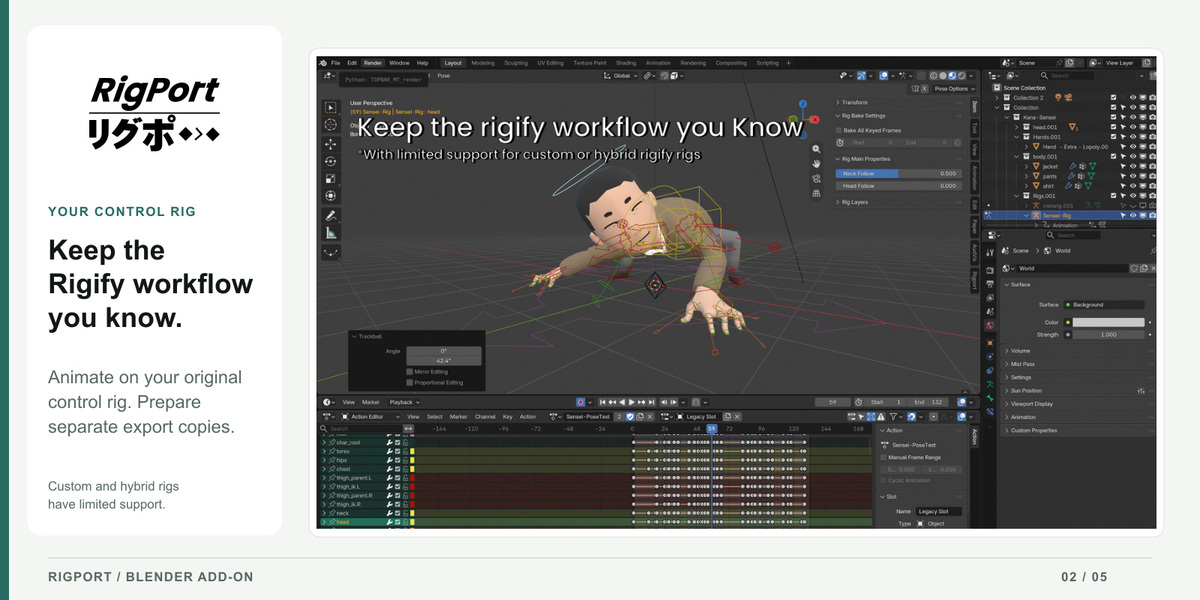
1. Keep the Rigify workflow you know
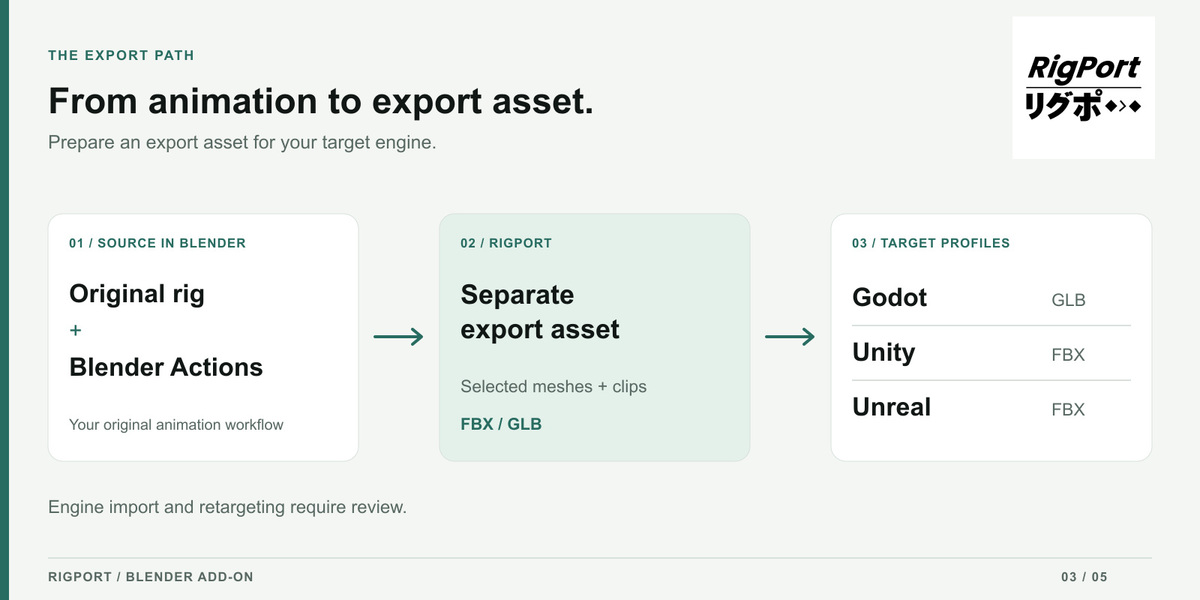
Continue animating on your original control rig. RigPort prepares a separate export rig, reducing the need to maintain a second skeleton or learn the export pipeline from the ground up.
2. Carry your animation into your game
RigPort is designed to preserve the motion and deformation you made as closely as possible. It also packages multiple Blender Actions with your assets, using your intended clip ranges even for longer timelines.
3. Built around the rigs you work with
We built RigPort around a Rigify workflow, with human characters and customized Rigify rigs in mind. Compatible hybrid Rigify setups with custom deform bones can work too; support does not extend to every partially custom rig.
If you're using a fully custom rig, this tool might not be suited to you currently. In the future, I'd like to support custom rigs so you don't have to redesign a character from the ground up just to try it in a game engine.
Choose a Humanoid profile for Unity or Godot when you need humanoid mapping, or a Generic profile for other skeletons and straightforward animation playback. Unreal currently uses the Generic profile. Humanoid mapping and retargeting still need to be checked in the target engine.
4. Bring the character assets along
Prepare your meshes, supported modifiers, and conventional materials and image textures alongside the animation. Use UVs and compatible image-based Principled BSDF materials. Arbitrary procedural Blender shaders are not automatically baked or translated into engine shaders and may need manual adaptation.
5. Keep iterating with less guesswork
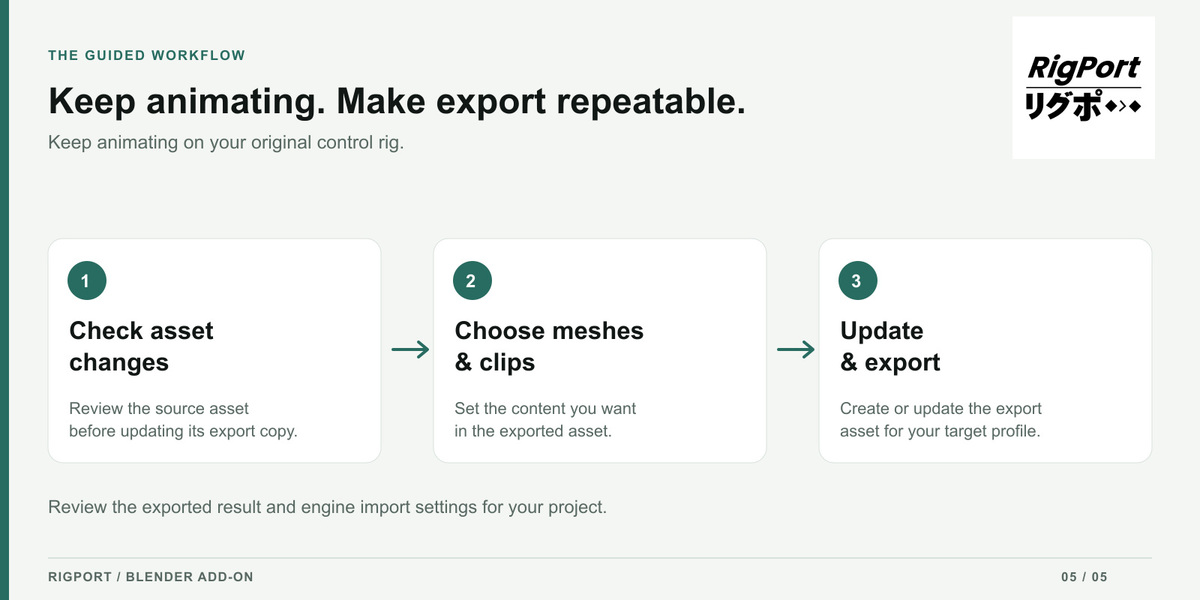
Edit your character, add Actions, and update or rebuild the export asset as needed. A guided workflow—from checking asset changes to updating and exporting—helps identify problems and explain what needs attention, reducing repeated preparation as your project grows.
Requirements & compatibility
- Blender 4.2 LTS, 4.5 LTS or 5.2 LTS, as listed in the supplied RigPort 1.3.7 guide. Start with an existing rigged, weighted character and its required rig dependencies; RigPort does not automatically rig or skin an unrigged model.
What you get
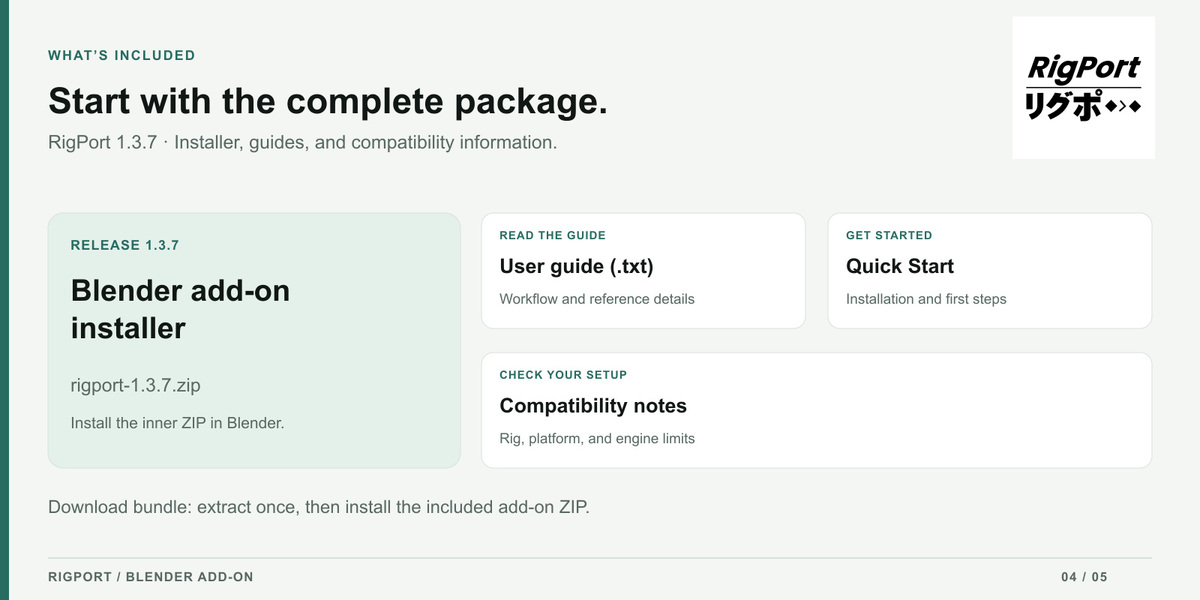
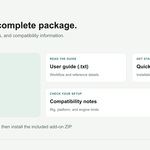
The RigPort 1.3.7 installer, Quick Start, PDF user guide, installation and compatibility notes, changelog and license notices.
Download and install
Extract the outer Rigport.zip once and open the Rigport folder. Keep the inner rigport-1.3.7.zip intact. In Blender, open Edit → Preferences → Get Extensions, choose Install from Disk from the upper-right menu, and select the inner ZIP. Enable Rigport and restart Blender after replacing an older installation. Press N in the 3D Viewport and open the Rigport tab.
Your first export
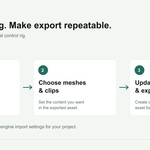
- Choose your source and target. Save a backup of your .blend file. Select your original Control rig, an Export target and a writable output folder. Unity Humanoid and Generic use FBX; Unreal Generic uses FBX; Godot Humanoid and Generic use GLB.
- Check the asset. Click Check asset changes. In Meshes & Materials, include the meshes you want to export. Use UVs and compatible image-based Principled BSDF materials.
- Choose the clips. In Clips, select the Actions to include, give them export names and set their frame ranges. Include decides what ships; Update selects which clips to rebake. For the first export, update all included clips.
- Resolve findings. Review warnings and resolve blocking findings before exporting. Humanoid profiles may require explicit bone mapping in Skeleton. For supported stretch, choose Full pose (scale and stretch), enable Bake scale and stretch, and keep Frame step at 1.
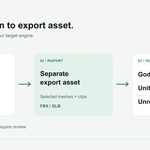
- Update and export. Use Update & Export. Review Rebuild skeleton & Export if prompted. The main workflow prepares separate export assets so you can continue animating on the original character.
- Inspect the import. In your target engine, check meshes, scale, materials, clip names, timing and deformation. For Godot stretch, match animation import FPS to Blender, disable AnimationPlayer > Optimizer > Enabled in Advanced Import Settings, and Reimport. Keep RP_SCALE_ and RP_BB_ helper joints and their tracks. Check humanoid mapping and retargeting separately.
When your animation changes
Edit the original character and Actions, check asset changes, then update and export the intended clips again. Read the export reports for named findings. Keep only one Rigport/Ferry copy enabled, and restart Blender after replacing an older installation. The included installation guide, compatibility notes and PDF user guide cover the documented workflow and limitations.
Support and license
For help, contact [email protected]. Include your RigPort, Blender and engine versions, operating system, export profile, steps and report files.
