RigPort — Rigify Animation Exporter
 MKO Plugins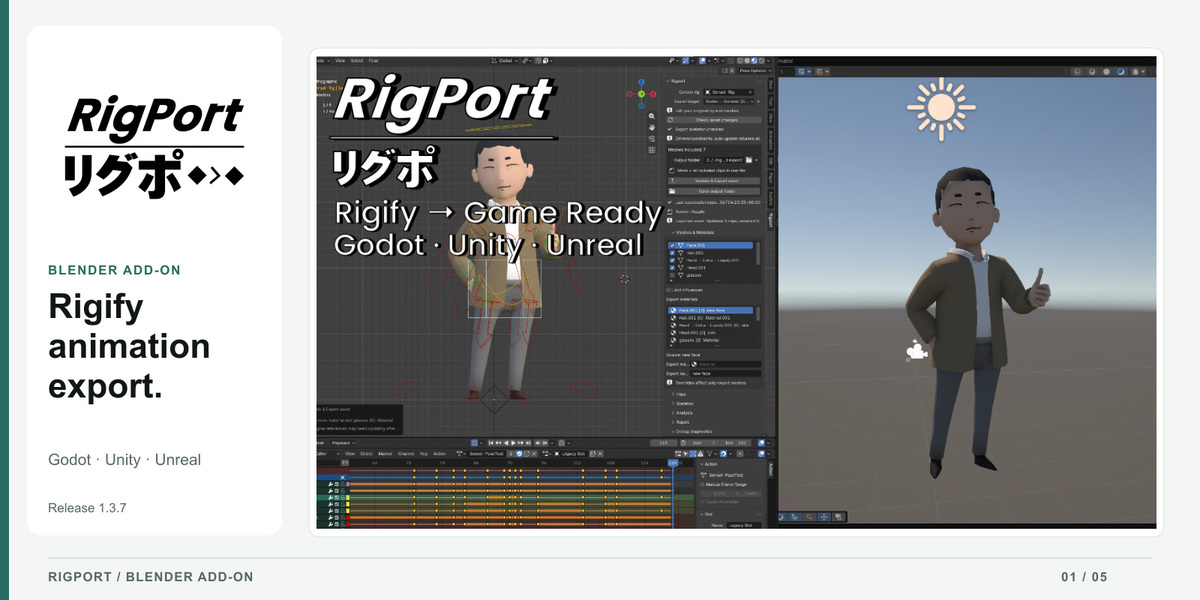
RigPort 1.3.7: installation and usage
Before you start
Use Blender 4.2 LTS, 4.5 LTS or 5.2 LTS and an existing rigged, weighted character. Keep the add-ons and dependencies your authoring rig needs to evaluate correctly. RigPort does not automatically rig or skin an unrigged model. No separate Python installation, pip, GitHub account or developer tools are required; RigPort uses Blender’s Python, exporters and bundled libraries. There is no activation step.
Save a backup of your original .blend before updating the extension or using recovery tools. RigPort is built around Rigify, including supported hybrid Rigify setups with custom deform bones; arbitrary fully custom rigs are not covered.
Download and install
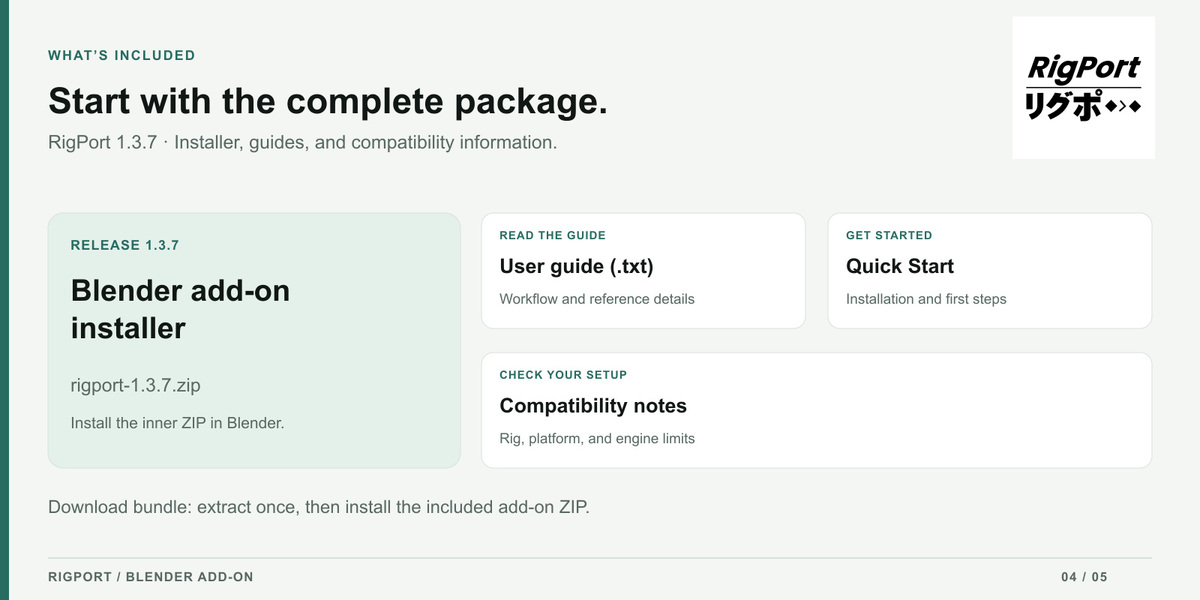
- Download Rigport.zip. Extract this outer delivery ZIP once and open its Rigport folder.
- Locate Rigport/rigport-1.3.7.zip. Keep this inner installer ZIP intact; do not extract it for installation. If you download the standalone rigport-1.3.7.zip directly, use that intact ZIP.
- In Blender, open Edit > Preferences > Get Extensions. Open the upper-right menu and choose Install from Disk. The menu’s position or icon can vary between Blender versions.
- Select the inner rigport-1.3.7.zip and confirm installation. Enable Rigport if necessary; check its enabled state in Preferences > Add-ons.
- Restart Blender after replacing an older installation. Rigport and older Ferry releases share the extension ID rigport; keep only one enabled copy.
- Open your character .blend. In the 3D Viewport, press N and select the Rigport tab. Save preferences if automatic preference saving is disabled.
Installing the local ZIP and using RigPort does not require an online extension repository connection. On macOS, these Preferences are still opened through Blender’s Edit menu.
Your first export
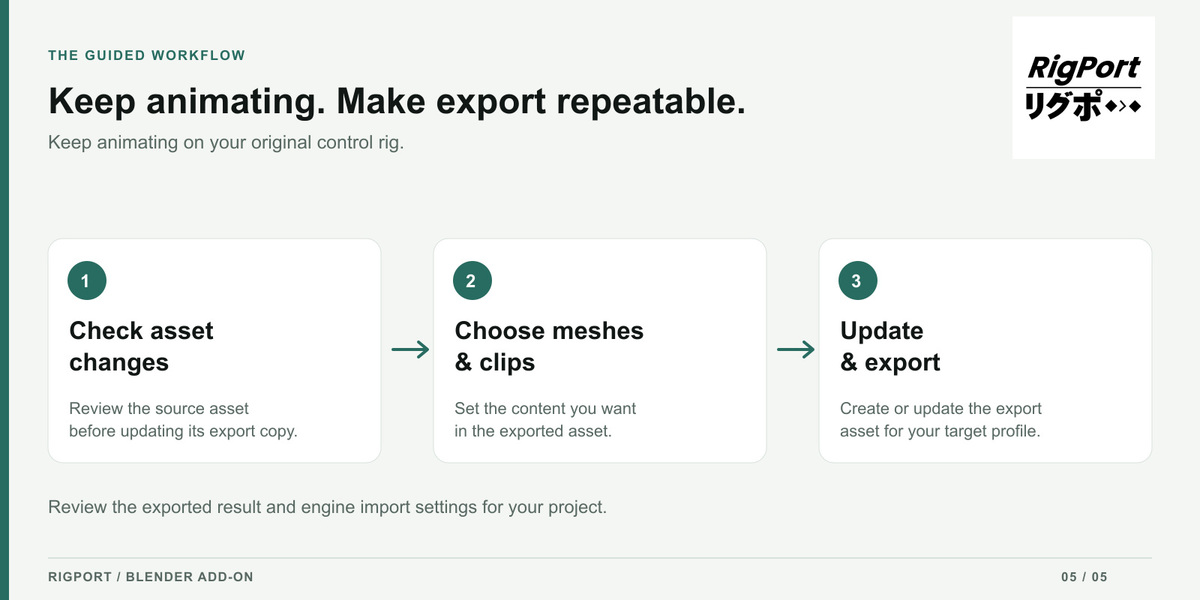
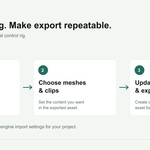
- Select the original authoring Control rig, choose an Export target, and select a writable output folder. Choose Generic when the character does not use the required humanoid mapping.
- Click Check asset changes to discover meshes and Actions belonging to the source.
- In Meshes & Materials, include the meshes you want to export. Optional per-slot export materials apply to the separate export asset. Use UVs and compatible image-based Principled BSDF materials.
- In Clips, choose the Actions to Include, assign export names, and check frame ranges. Update selects included clips to rebake for the chosen update scope. On the first export, update all included clips.
- Resolve blocking findings and review warnings. Humanoid targets may require explicit bone mapping in Skeleton. For supported stretch, choose Full pose (scale and stretch), enable Bake scale and stretch, and keep Frame step at 1.
- Click Update & Export asset. If a published skeleton has changed, review Rebuild skeleton & Export before confirming.
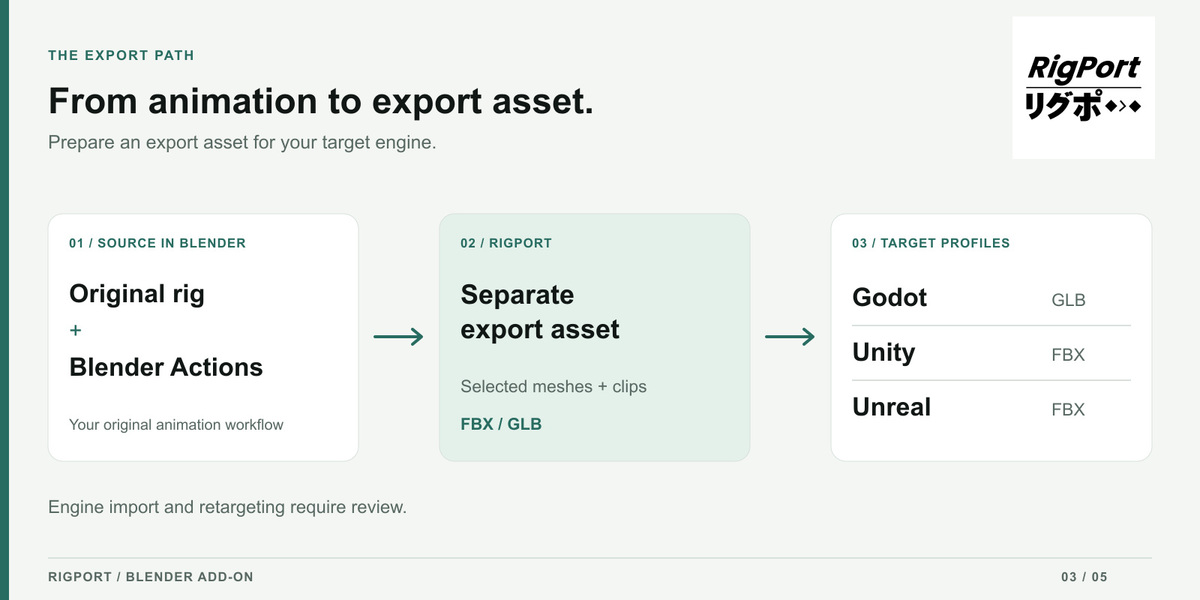
- Import the resulting FBX or GLB into the target engine. Inspect meshes, scale, materials, clip names, timing and deformation.
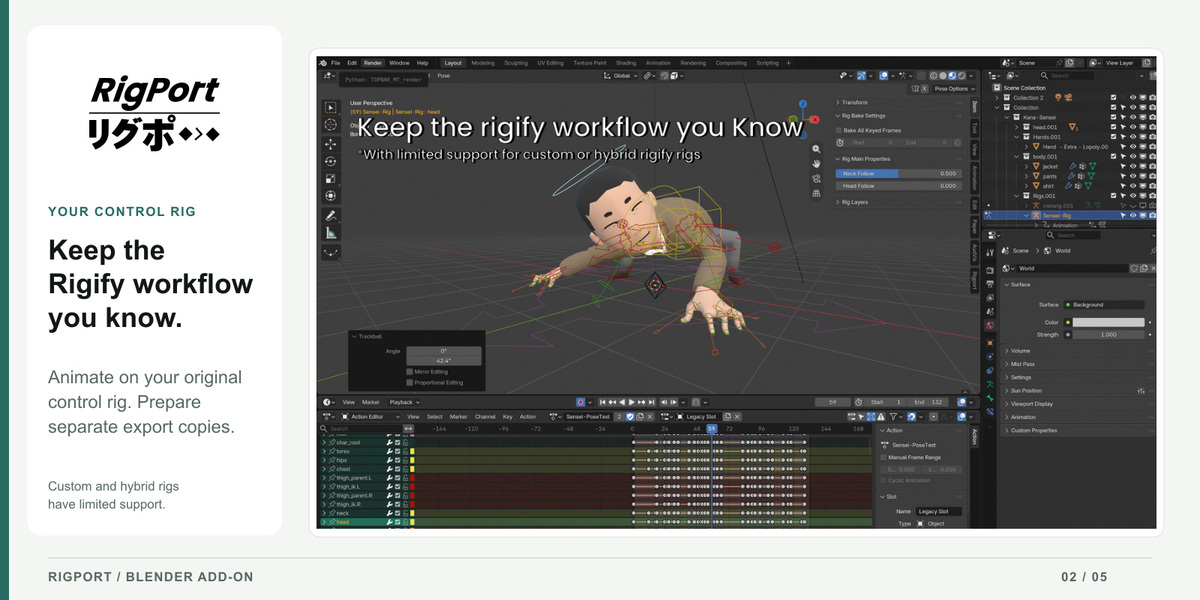
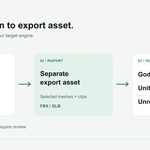
Continue animating on the original control rig and meshes. The main workflow prepares separate export copies. The legacy manual Build/Bake/Export workflow in Advanced & Recovery can rebind original meshes; use the main workflow for ordinary iteration.
Engine import instructions
- Unity — FBX: choose Humanoid or Generic in the imported asset’s Rig tab to match the RigPort profile. Check Avatar mapping, scale, materials, skinning and every animation clip. Humanoid mapping may need adjustment.
- Unreal — FBX: use the Unreal Generic profile. Check skeleton and root hierarchy, scale, materials, morph targets and animation playback. Review bundled and separate animation reimports in your project.
- Godot — GLB: match Import > Animation > FPS to Blender’s scene FPS and Reimport. For scale/stretch, open Advanced Import Settings, select AnimationPlayer, turn Optimizer > Enabled off and Reimport. Keep generated RP_SCALE_ and RP_BB_ helper joints and their animation tracks. Check Generic playback first; humanoid retargeting is a separate check.
See the export report and the selected profile’s engine notes for the full import settings. Engine UI labels can vary by release. Baking samples motion, so rapid nonlinear movement between samples can differ; engine optimization and retargeting can also change playback.
Documented compatibility
The supplied guide reports installation/export testing on macOS Apple Silicon and Linux x86-64, and Godot 4.7.1 Generic playback fixtures with the documented import settings. Native Windows and macOS Intel verification, Unity/Unreal visual acceptance, and full humanoid retargeting verification remain pending. Implemented profiles do not establish verified results in every engine or project.
Arbitrary procedural shaders are not automatically baked or translated into engine shaders. Preserve Volume skinning, general Geometry Nodes, post-armature smoothing and some shape-key/modifier combinations are outside the documented supported export path.
Iterating, updating and removing
After editing animation: edit the original character and Actions, check asset changes, then update and export the intended clips again. Read the reports for named findings. If stretch settings require a skeleton rebuild, review it and update all included clips.
To update RigPort: save and close your work, keep a backup, install the new installer ZIP over the existing extension, and restart Blender. Keep one enabled copy and recheck the project’s settings. Keep authoring sources separate from generated export assets.
To remove RigPort: disable or uninstall it through Blender Preferences. Objects already saved in a .blend remain. If you used legacy rebinding, restore source bindings with the current version before uninstalling or downgrading.
Troubleshooting
- No Rigport tab: check the extension is enabled, use N while the pointer is over the 3D Viewport, restart after an update, and keep only one Rigport/Ferry installation enabled.
- No meshes or clips: choose the original Control rig, run Check asset changes, and confirm the meshes’ Armature modifiers target that source. Include meshes and clips explicitly; weights should reference valid deform bones.
- Materials differ: use UVs and image-based Principled BSDF materials. Review material warnings and the engine’s texture and alpha settings; procedural node graphs need manual adaptation.
- Stretch differs: check Full pose and Bake scale and stretch, rebuild the export skeleton if needed, and update clips. Follow the Godot FPS/optimizer/helper-track settings above where applicable.
- Historical binding error: keep your backup and review the listed owners in Advanced & Recovery > Historical bindings before confirming. Do not delete custom properties blindly. Legacy restoration can restore saved original weights, so preserve later weight edits first.
- Export stops: read the blocking finding for its exact mesh, bone or frame, correct the source and retry. A failed standard bundled update retains the last successful output; separate-file exports publish individually.
Documentation and support
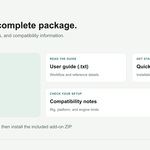
The delivery bundle includes the Quick Start, PDF user guide, installation and compatibility notes, changelog and license notices. The installer also contains INSTALLATION_GUIDE.txt and COMPATIBILITY.txt. Keep the installer ZIP intact for installation.
For help, use this product’s Superhive support messages or email [email protected]. Include RigPort, Blender, operating system and engine versions; export profile; exact steps; expected and actual results; and the .rigport.json/.rigport.md reports. Where possible, include a minimal shareable .blend and the resulting FBX/GLB. Use a debug variant only if provided and requested for further diagnostics.
RigPort code is licensed under GPL-3.0-or-later. See the included LICENSE and THIRD_PARTY.md.
Have questions about this product?
Login to message
| Published | 1 day ago |
| Blender Version | 4.2 - 5.2 |
| Extension Type | Add-on |
| Render Engine Used | Cycles |
| License | GPL |

Discover more products like this
Animation Export rigging Unreal Engine godot animation-baking game development glb fbx unity rigify character export Blender Actions