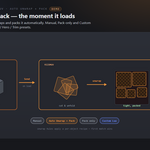
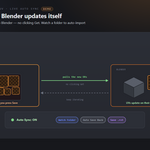
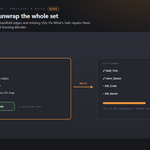
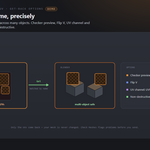
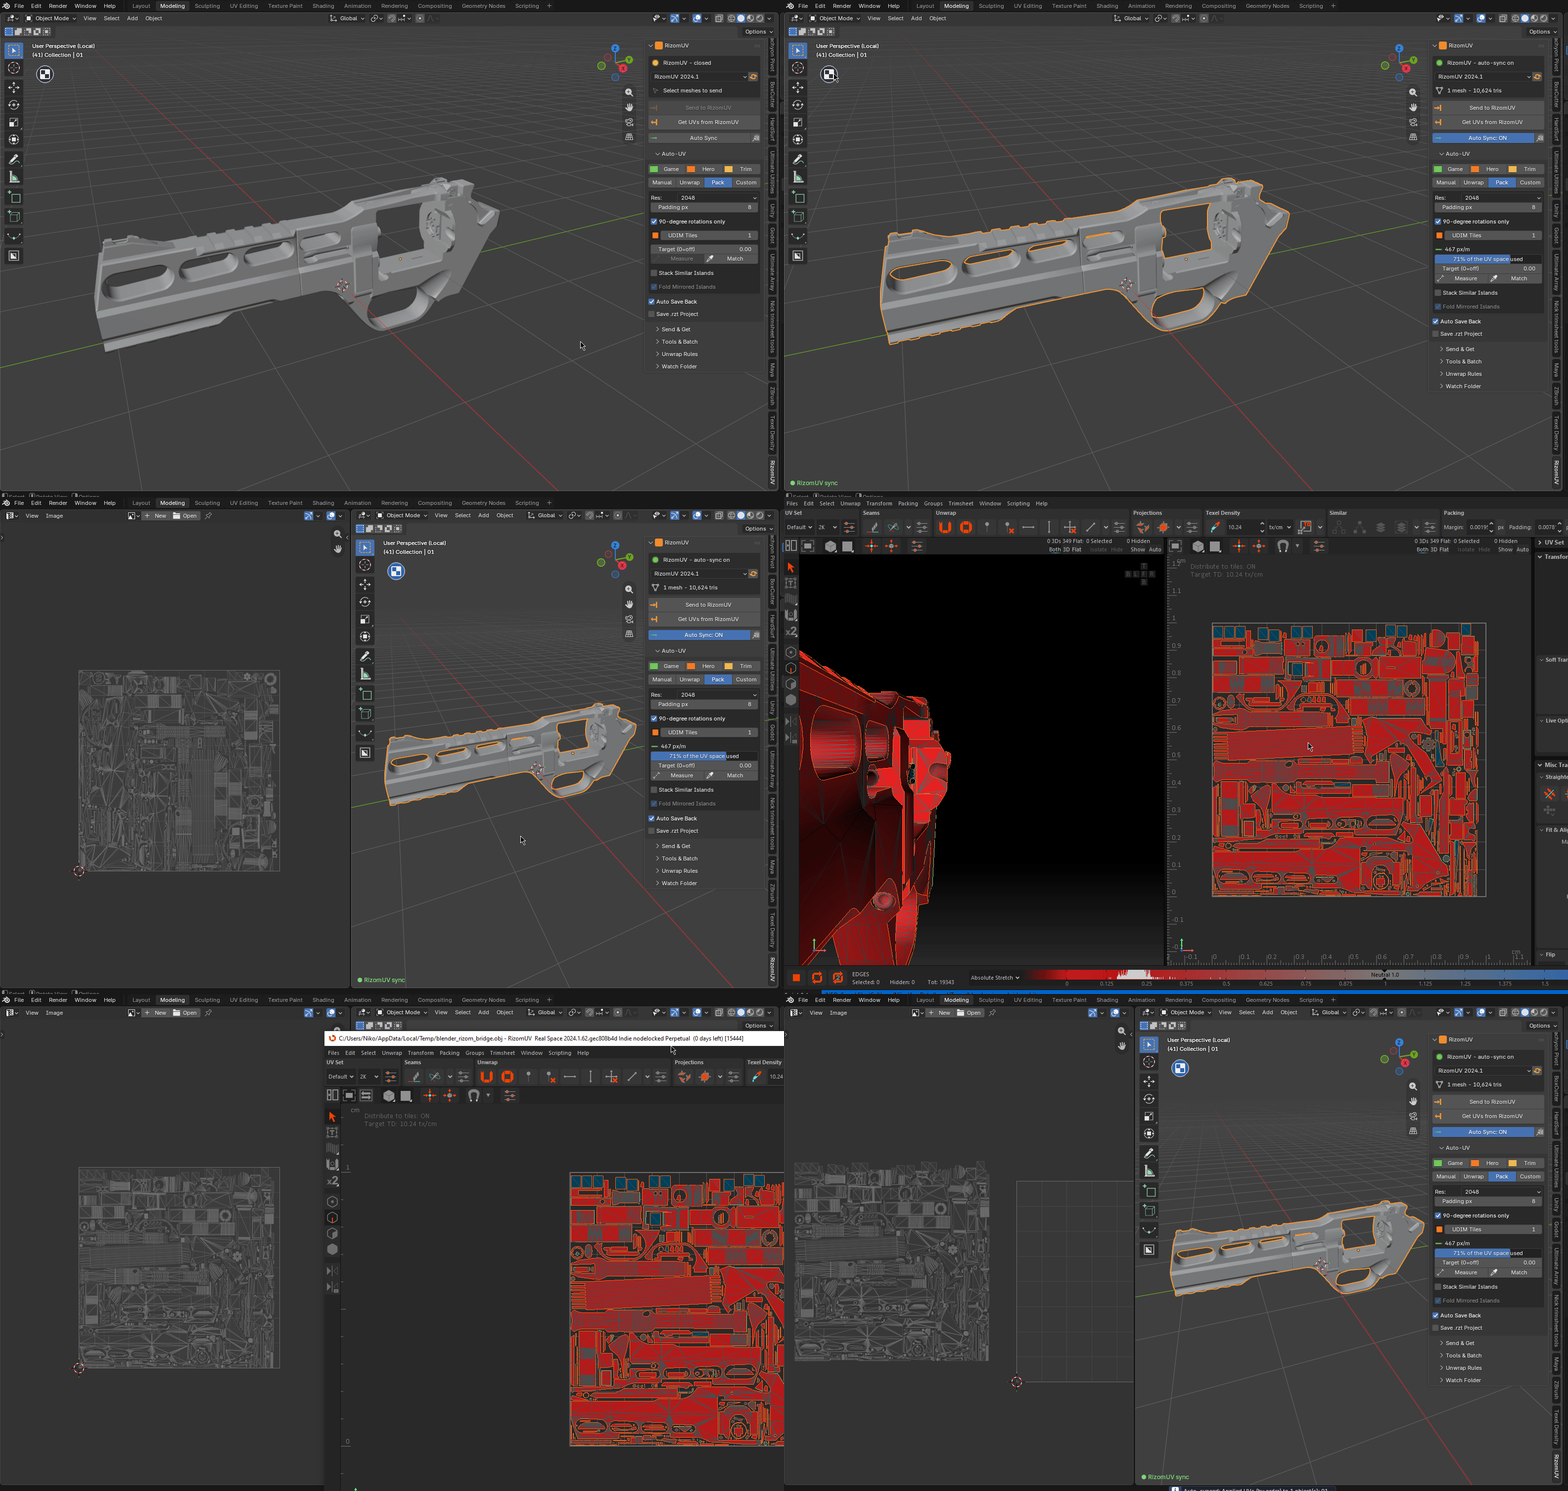
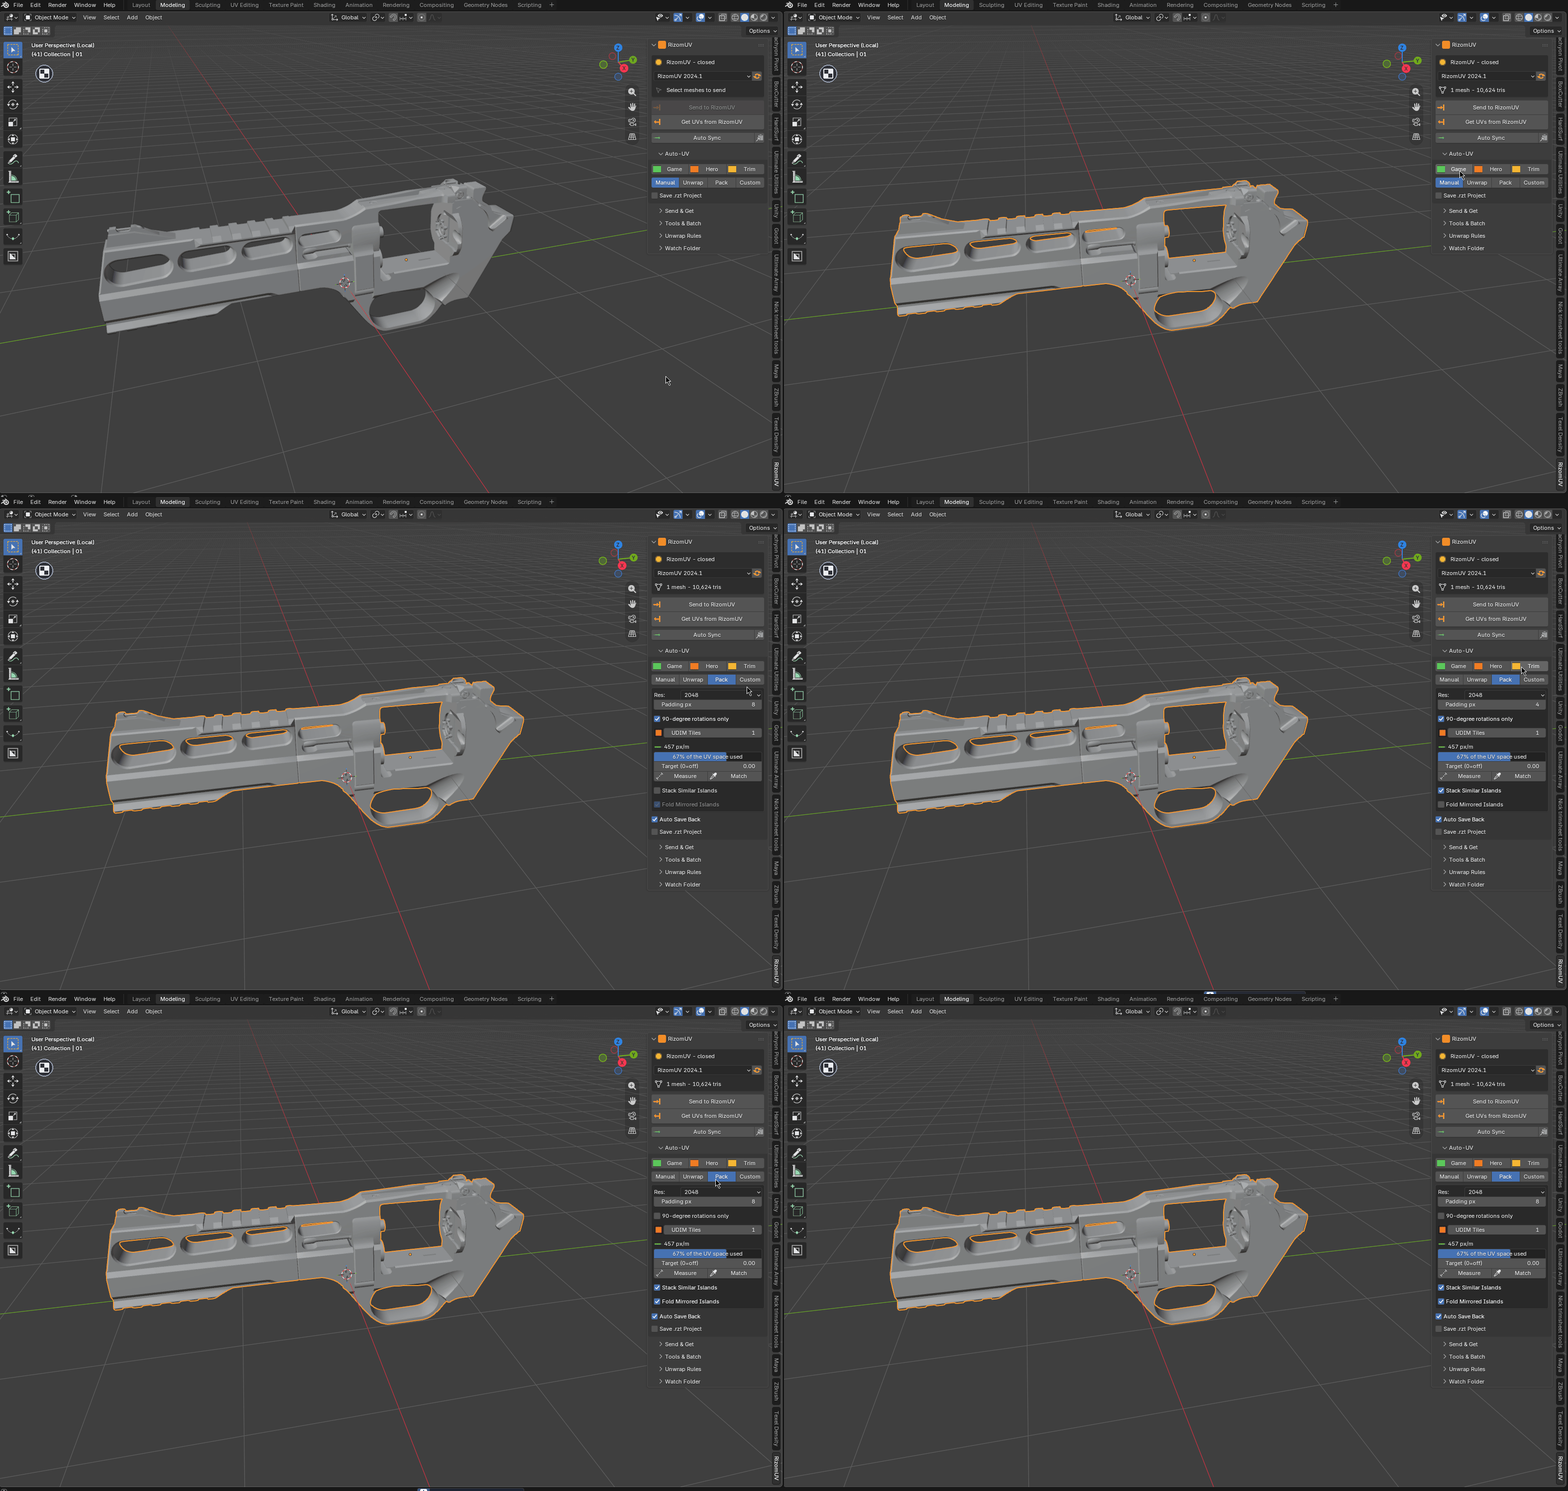
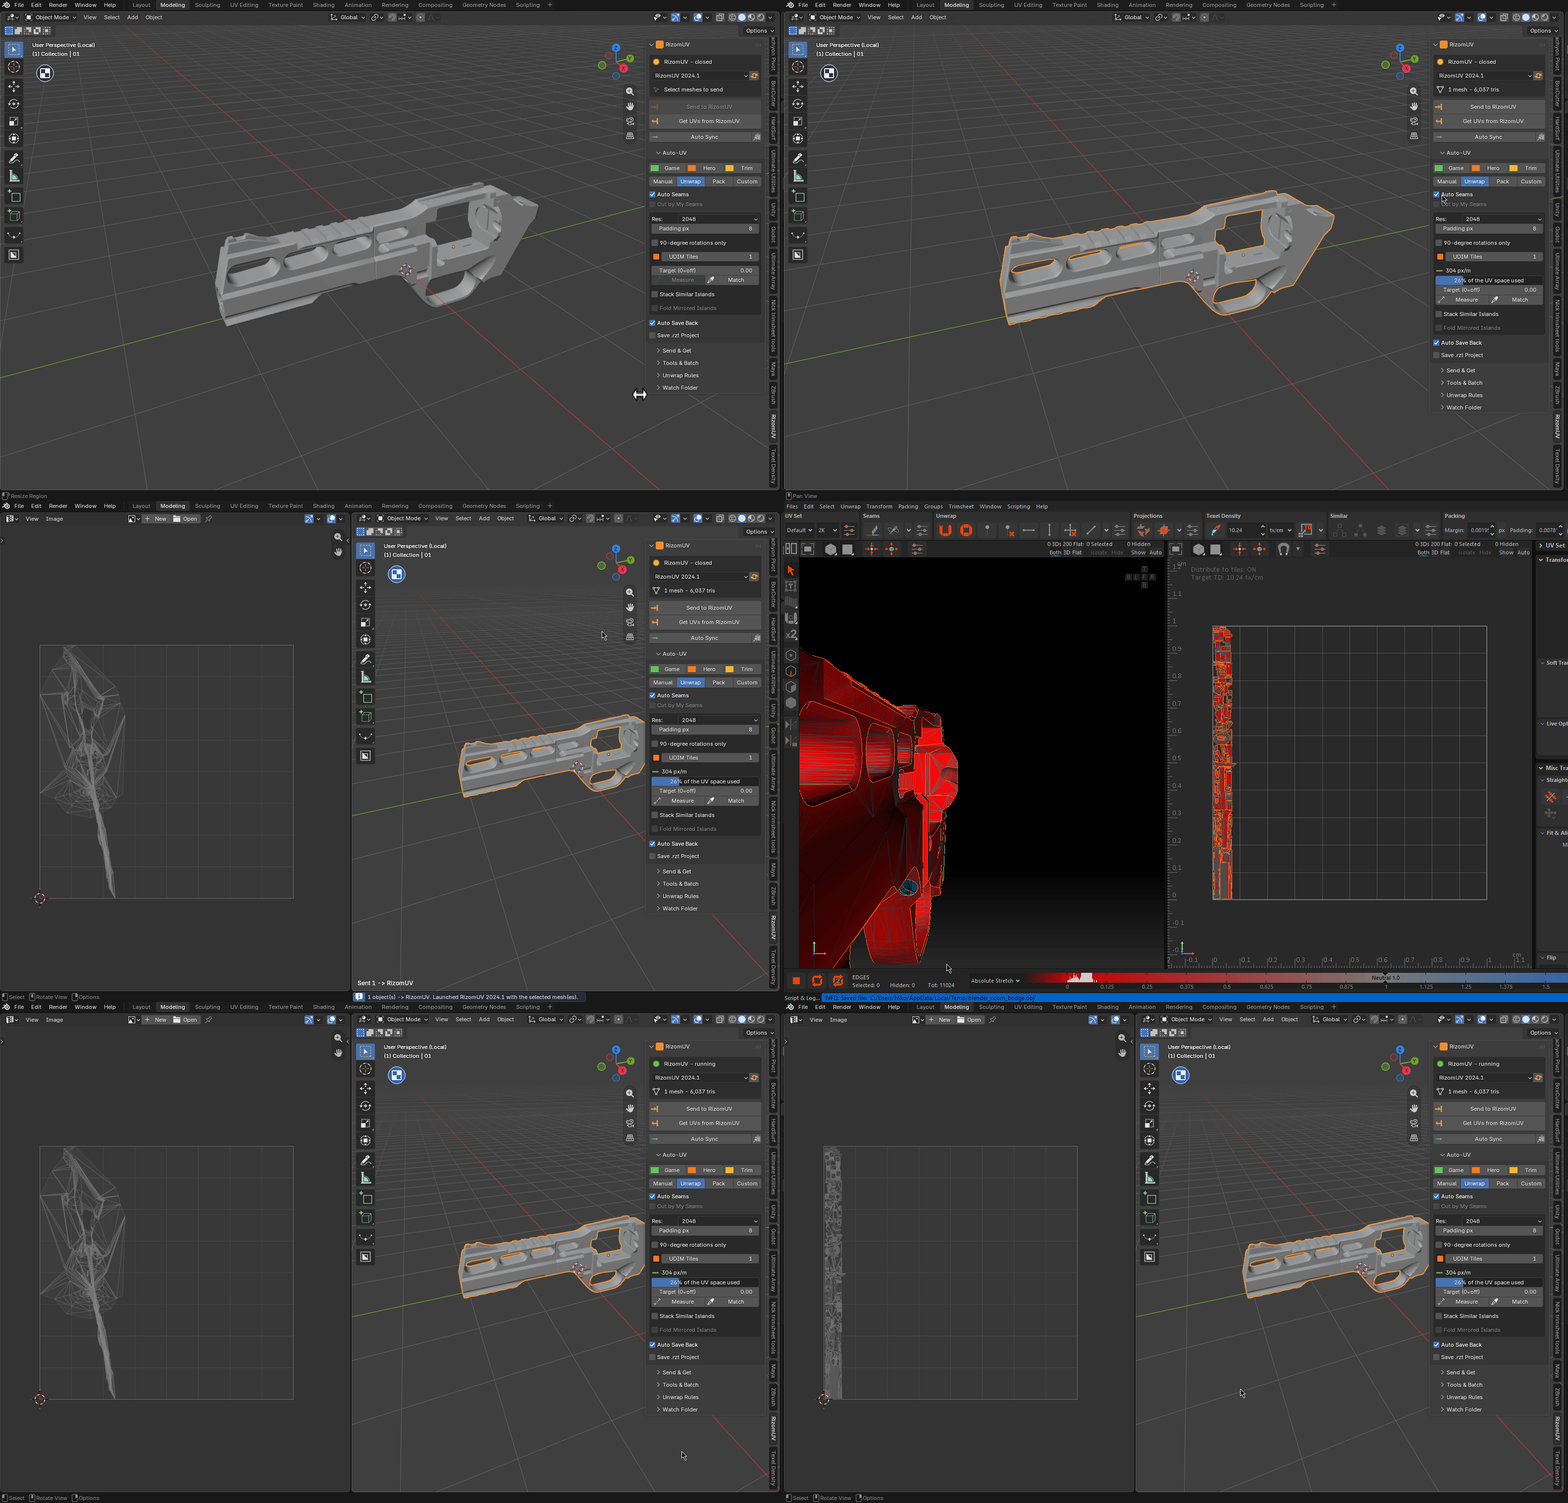
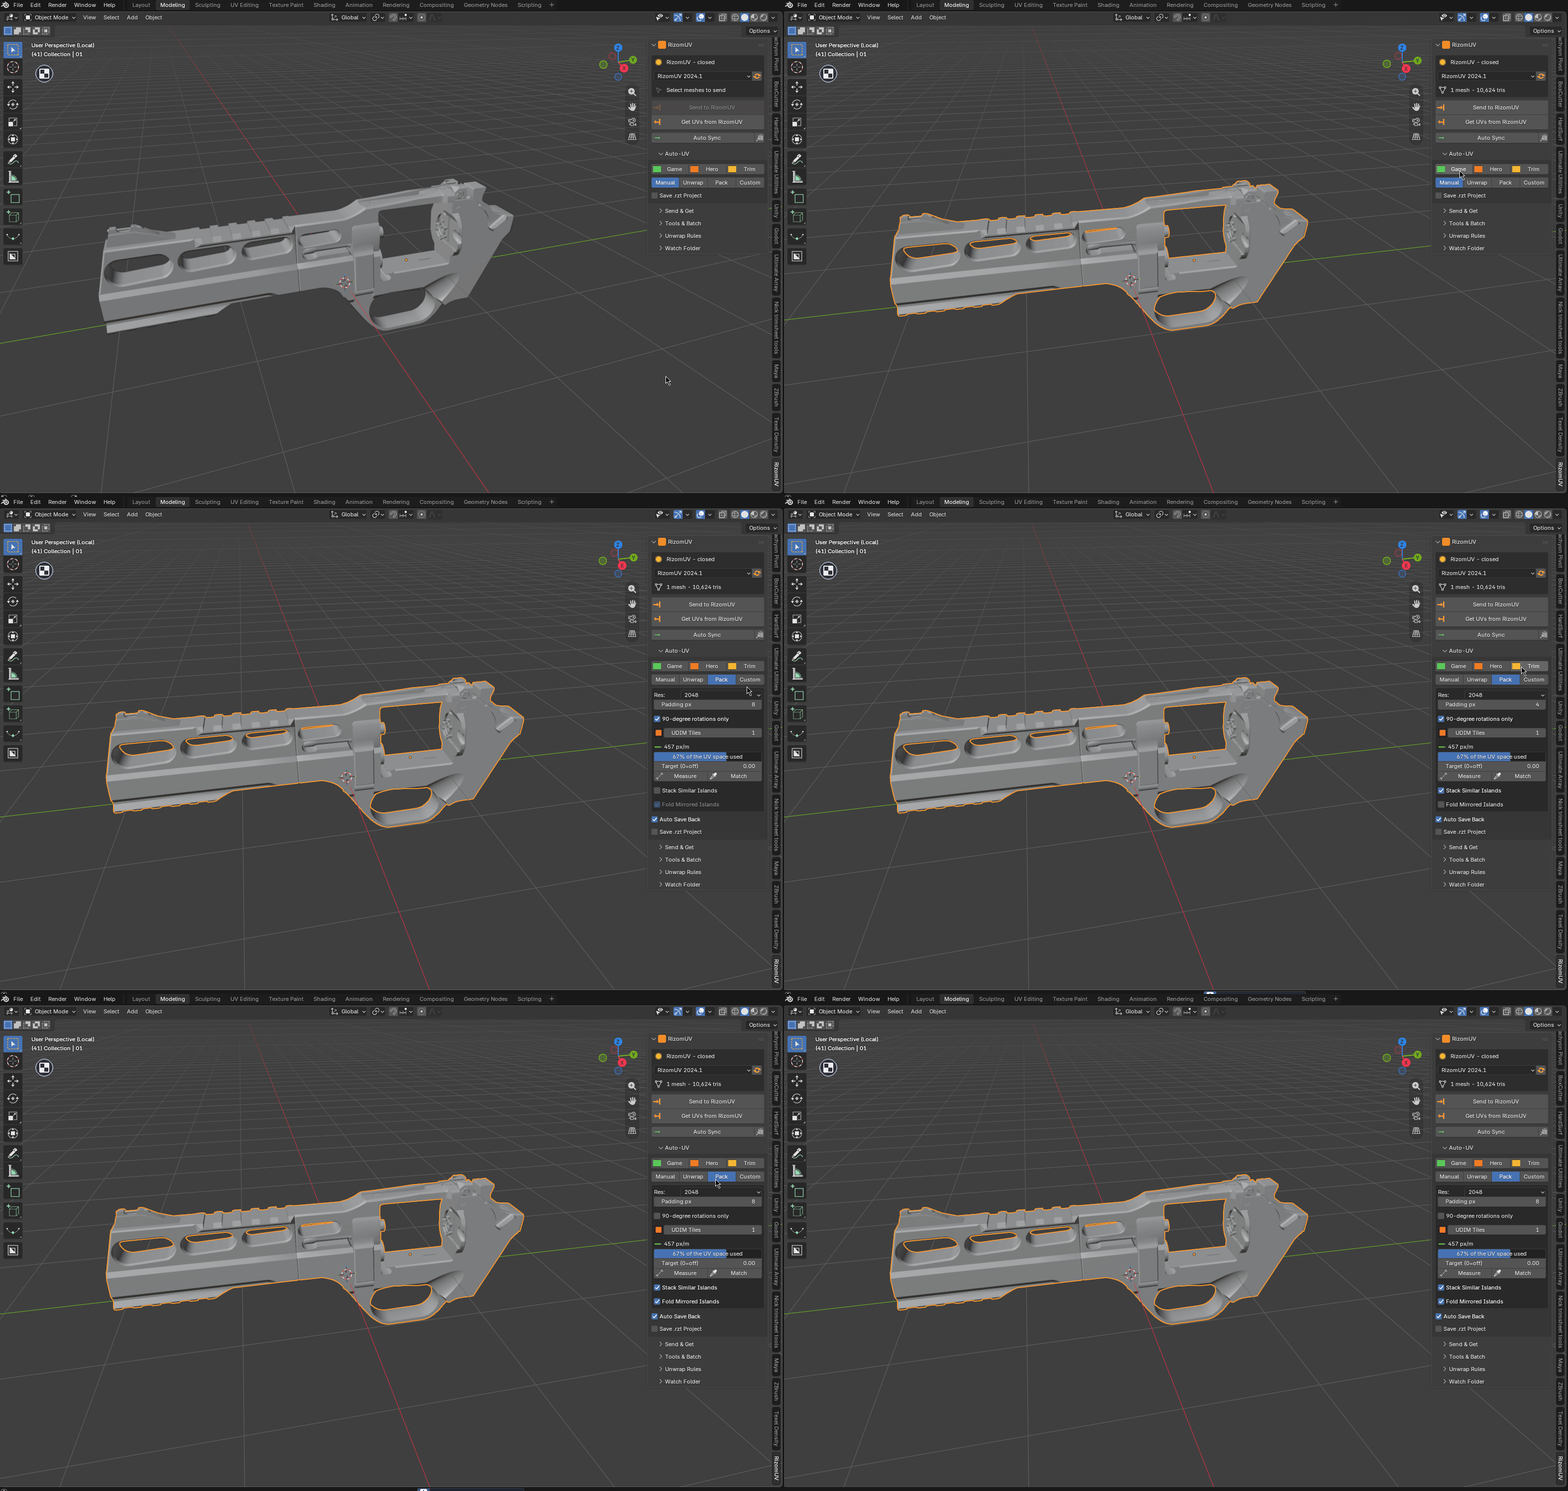
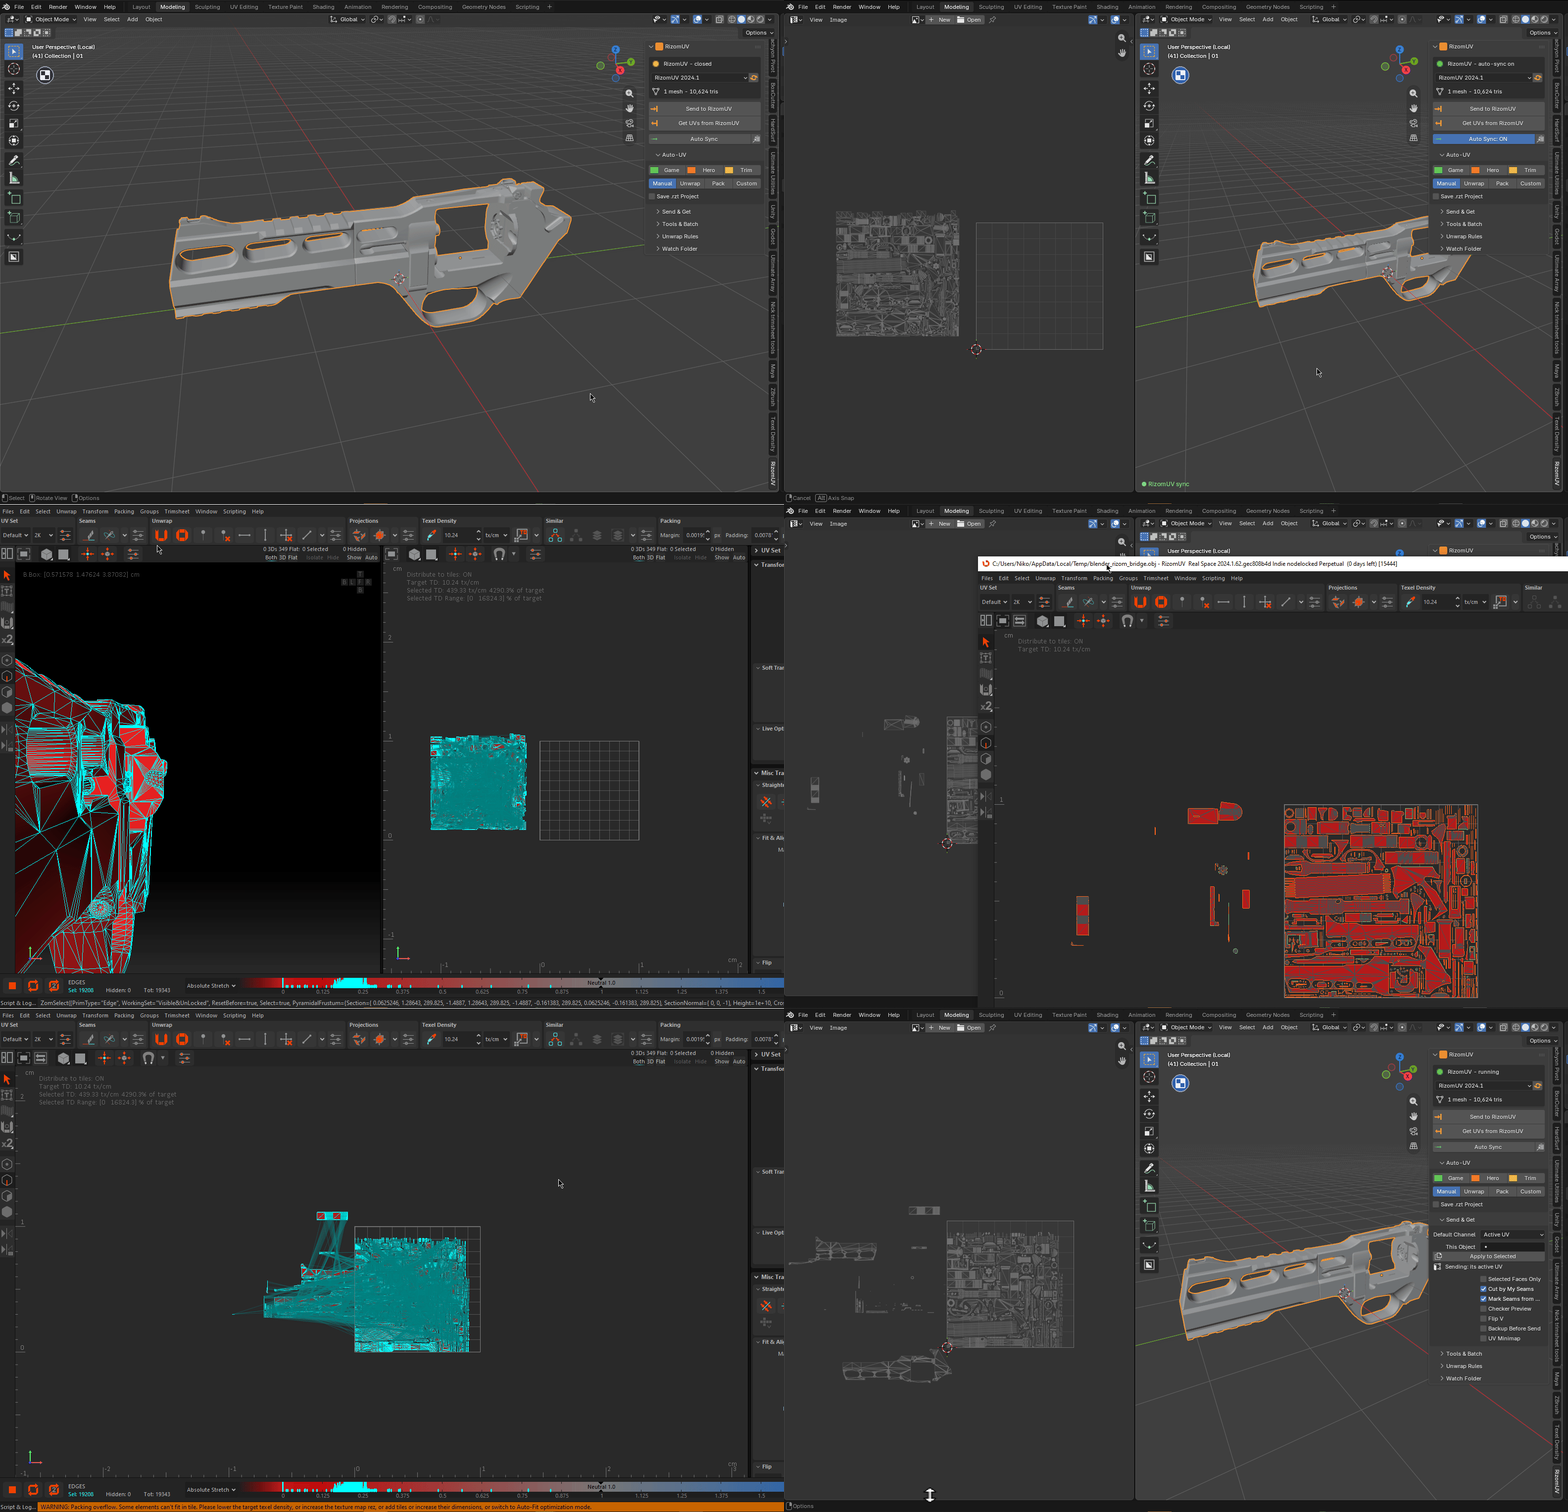
A two-way bridge between Blender and RizomUV. Send meshes to RizomUV, unwrap and pack them, and get the finished UVs back onto your Blender meshes — without exporting or importing files by hand. It reuses a running RizomUV (and launches the exact version you pick), can drive a whole selection in the background, and syncs hands-free while you work. Only UVs come back; your mesh is never changed.
Requirements - please read before buying
-
Windows only. The add-on detects and launches your other app through Windows paths and processes. macOS and Linux are not supported.
-
Blender 3.3 - 5.2 - Extension on 4.2+, classic add-on on 3.3-4.1.
-
RizomUV is required and sold separately. You need your own licensed copy from Rizom-Lab. No RizomUV licence is included with this product - it is the Blender-side bridge only, and is not affiliated with, endorsed by, or a reseller of Rizom-Lab.
-
Network: none. Blender and your other app exchange files on your own machine - the add-on opens no network connection.
Installation
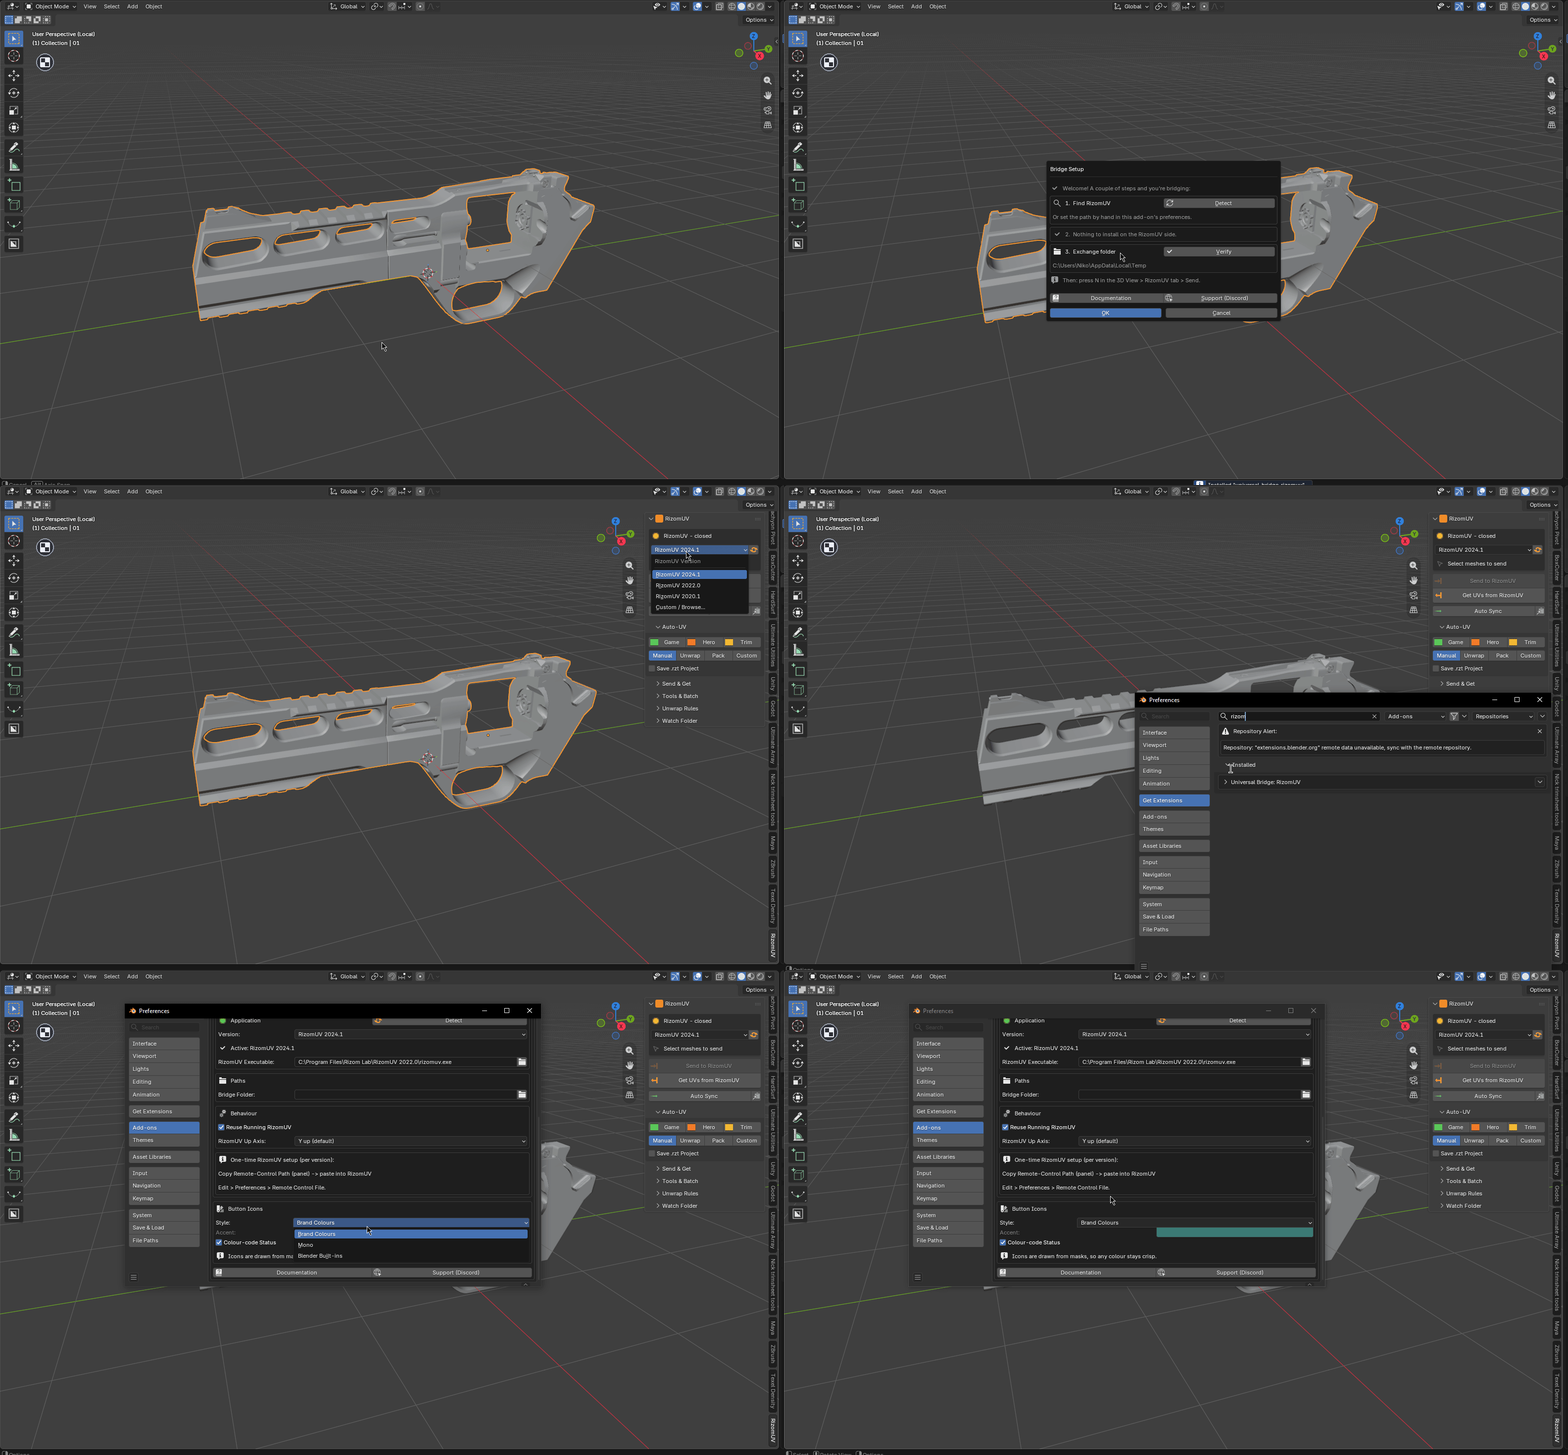
Blender 4.2+ (Extension): Edit ▸ Preferences ▸ Add-ons ▸ drop-down ▸ *Install from Disk…* → pick universal_bridge_rizomuv-x.x.x-blender4.2-5.2.zip, then enable it. Blender 3.3–4.1: Edit ▸ Preferences ▸ Add-ons ▸ *Install…* → pick universal_bridge_rizomuv-x.x.x-blender3.3-4.1.zip.
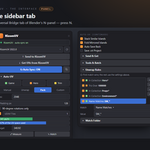
The panel is in the 3D Viewport sidebar (press N) under the Universal Bridge tab. Open the add-on preferences and check the version dropdown — it lists the RizomUV installs found on this machine; pick one, or set the executable by hand.
One-time RizomUV setup (only to send into an already-open RizomUV)
- In the panel, click Copy Remote-Control Path.
- In RizomUV: *Edit ▸ Preferences ▸ Remote Control File* — paste the path.
If RizomUV is closed, the bridge just launches it — no setup needed.
Getting started
- Select mesh objects.
- Pick an Auto-UV mode (or a preset) and click Send to RizomUV.
- Unwrap / pack in RizomUV (or let it happen automatically), then Save.
- Click Get UVs from RizomUV — or turn on Auto Sync and skip this step.
Auto-UV modes
| Mode |
What it does |
| Manual |
Load the mesh; you unwrap in RizomUV. |
| Unwrap |
Auto-cut seams, unfold and pack automatically on load. |
| Pack |
Pack the existing UVs, leaving the cuts alone. |
| Custom |
Run your own RizomUV .lua recipe on load. |
Presets
One click sets the whole Auto-UV recipe to a known-good starting point:
| Preset |
What it sets |
| Game |
2K, padding 8, stacked + symmetry, single tile, cut by your seams. |
| Hero |
4K, padding 16, across 4 UDIM tiles, nothing stacked. |
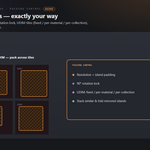
| Trim |
Pack only, 2K, 90° rotations, tight padding. |
Unwrap & pack settings
-
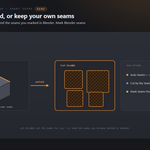
Auto Seams — auto-cut at unfold, or keep your Blender seams.
-
Cut by My Seams — unwrap along your marked seams first so RizomUV receives
them as island cuts (OBJ carries no seam flags, so this is how hand-marked seams reach RizomUV).
-
Resolution (512 – 8192), Padding (island padding in px).
-
90-degree rotations only — restrict packing rotation to 90° steps.
-
UDIM Tiles — pack across N tiles (see Tile Assignment below).
-
Stack Similar Islands and Fold Mirrored Islands (symmetry) to save space.
-
Auto Save Back (on by default) — RizomUV saves the result so Auto Sync can
import it hands-free. Save .rzt Project — also write a RizomUV project beside the mesh.
Unwrap Rules
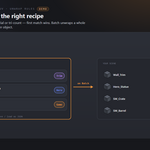
Give each object its own recipe automatically — the panel's Unwrap Rules list is checked top-to-bottom and the first rule that matches wins; everything else uses the settings above.
| Match by |
Meaning |
| In Collection |
Object is in a collection with this name. |
| Name Matches |
Object name matches a pattern (* and ? allowed). |
| Uses Material |
Object has a material with this name. |
| Tris Over |
Object has more triangles than this number. |
Each rule assigns a recipe (Game / Hero / Trim). Use Add Starter Rules for a general trim / hero / game set, reorder with the up/down buttons, and Save / Load rule sets as JSON to share across a team.
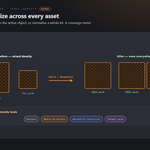
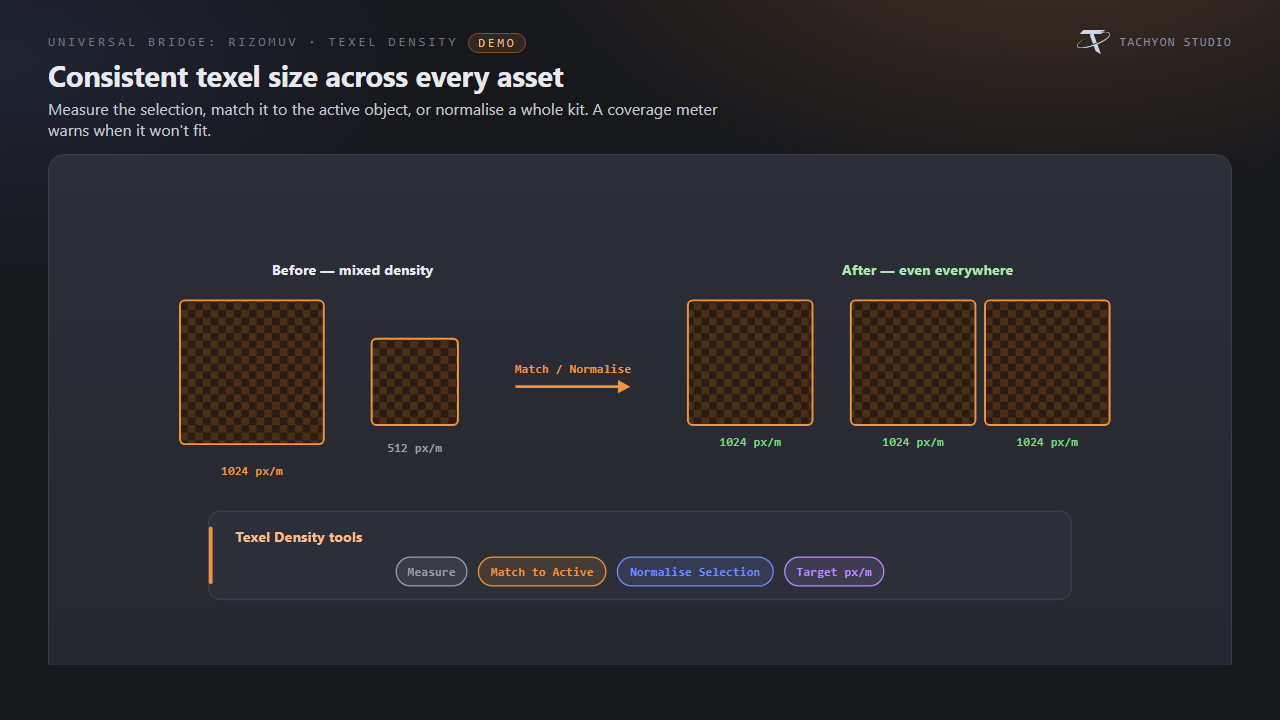
Texel Density tools
-
Measure Texel Density — read the selection's density into the field.
-
Match Density to Active — target the active object's density for everything.
-
Normalise Texel Density — give a whole selection one density (average / min /
max / active), so a kit reads consistently.
-
A coverage meter in the panel shows how the target fits, warns when it won't,
and suggests a px/m value or a UDIM tile count.
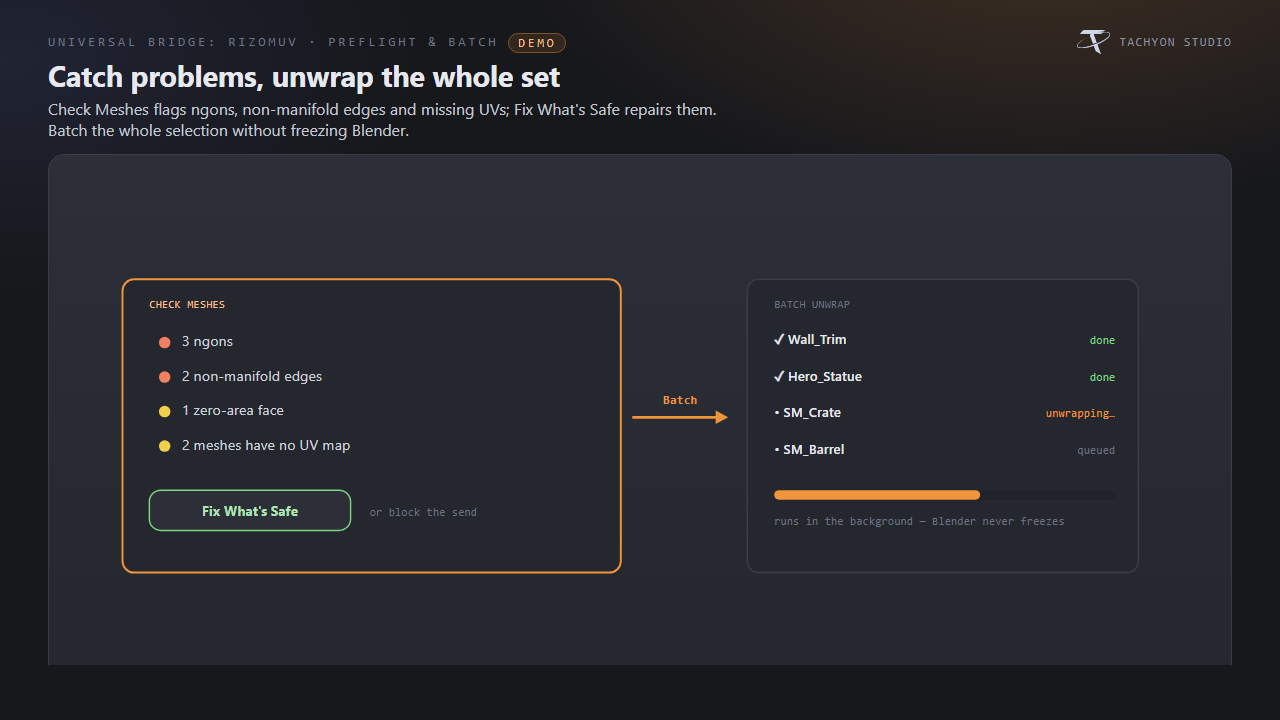
Preflight & Batch
-
Check Meshes — flags ngons, non-manifold edges, zero-area faces and missing
UV maps before you round-trip.
-
Fix What's Safe — repairs the no-judgement issues (adds a missing UV map,
triangulates ngons).
-
Block Send on Problems — refuse to batch when preflight finds issues.
-
Batch Unwrap Selection — unwrap every selected mesh through RizomUV's command
line, one at a time, without freezing Blender (Esc cancels). Applies each object's rule/recipe and derives the UDIM tile count from Tile Assignment (fixed / one per material / one per collection).
-
Copy Batch Report — export the last batch's results as CSV.
-
Select Stale Meshes — select every mesh edited since its UVs came back, so you
can re-send just those.
Send & Get settings
-
UV Channel — the scene default channel, plus a per-object override and
Apply to Selected.
-
Selected Faces Only — send just the faces selected in Edit Mode; returned UVs
merge back onto those faces and leave the rest of the layer alone.
-
Mark Seams from Cuts — on Get, mark Blender seams where RizomUV cut islands.
-
Checker Preview — assign a UV-checker material on Get.
-
Flip V — flip the vertical UV axis on import.
-
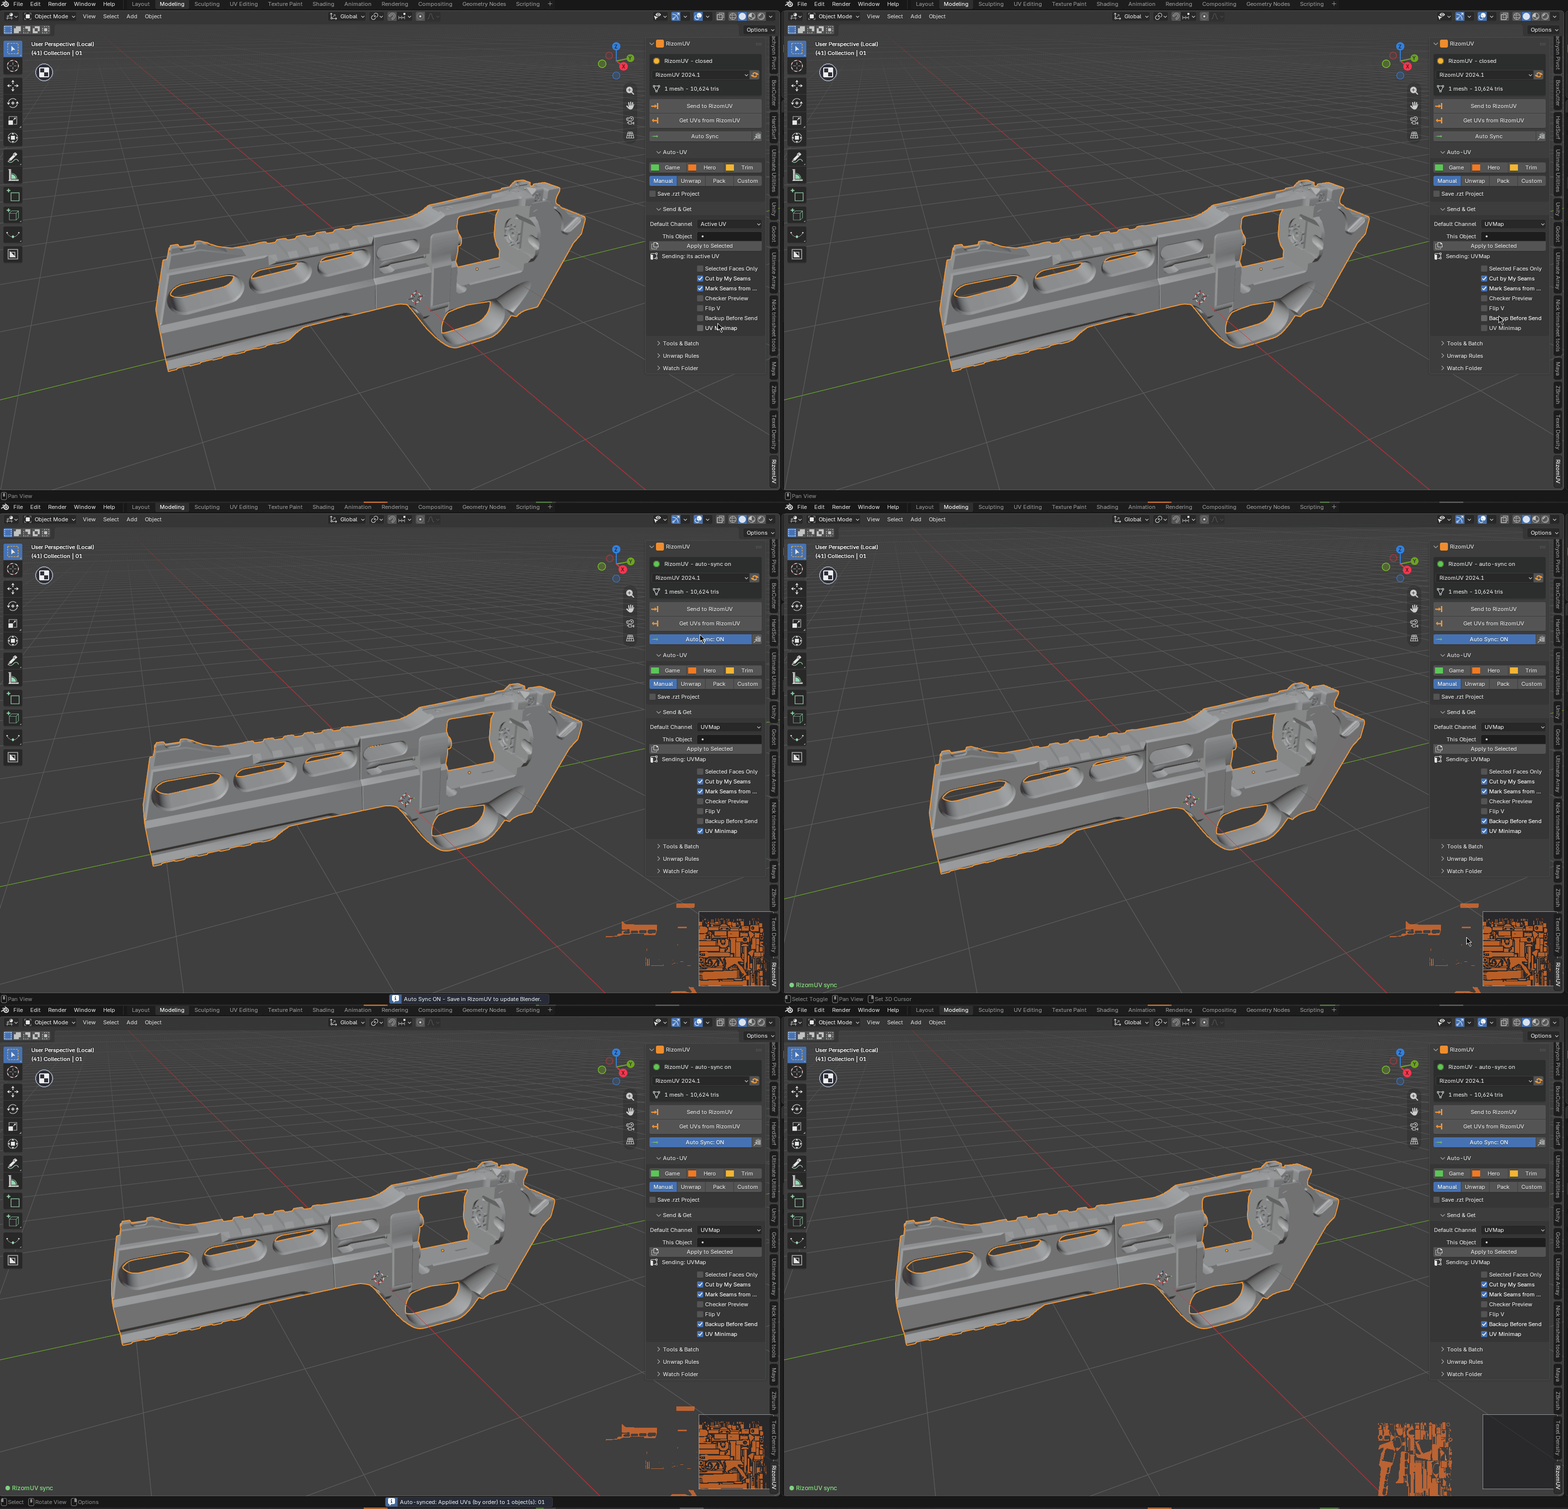
Backup Before Send — duplicate objects into a "RizomUV Backup" collection first.
-
UV Minimap — draw the UV layout and its UDIM tiles in the corner of the
viewport (skips selections over ~60k triangles).
-
Then Run — after a successful Get, chain another bridge (e.g.
painter.send).
Auto Sync & Watch Folder
-
Start Auto Sync — while on, every RizomUV Save applies the new UVs in
Blender automatically. Click again (or ESC) to stop.
-
Watch Folder — point it at a folder and any new
.obj dropped in is imported
and unwrapped automatically.
Shared Universal Bridge tools
Registered once and shared with every other bridge you own, on the same tab: Command Palette, Send History (re-send), Selection Sets, a Naming convention helper (low / high / LOD / UCX / socket), Versioned Files, and Send Each Collection for batch sends.
Preferences
-
Application — status, Detect RizomUV, the version dropdown, the active
install, and a manual RizomUV Executable path.
-
Paths — Bridge Folder for the intermediate OBJ / remote
.lua.
-
Behaviour — Reuse Running RizomUV and RizomUV Up Axis (Y / Z).
Troubleshooting
-
Nothing loads on Send to a running RizomUV → set RizomUV's Remote Control File
to the bridge path, or close RizomUV and Send again to auto-launch it.
-
"Loop count mismatch" on Get → topology changed since export; re-send (or use
Select Stale Meshes), then Get.
-
RizomUV not found → set/detect the executable in the add-on preferences.
-
Two versions installed → pick the one you want in the version dropdown; the
bridge launches exactly that build.
Support
Join the Discord (link on the panel header and in preferences). Include your Blender and RizomUV versions.
Part of the Universal Bridge line. Works on its own, and the free Universal Bridge Manager hub add-on is included with your purchase.
 Tachyon Studio