Roamer - Walk Your Scene
 Shahzaib A.
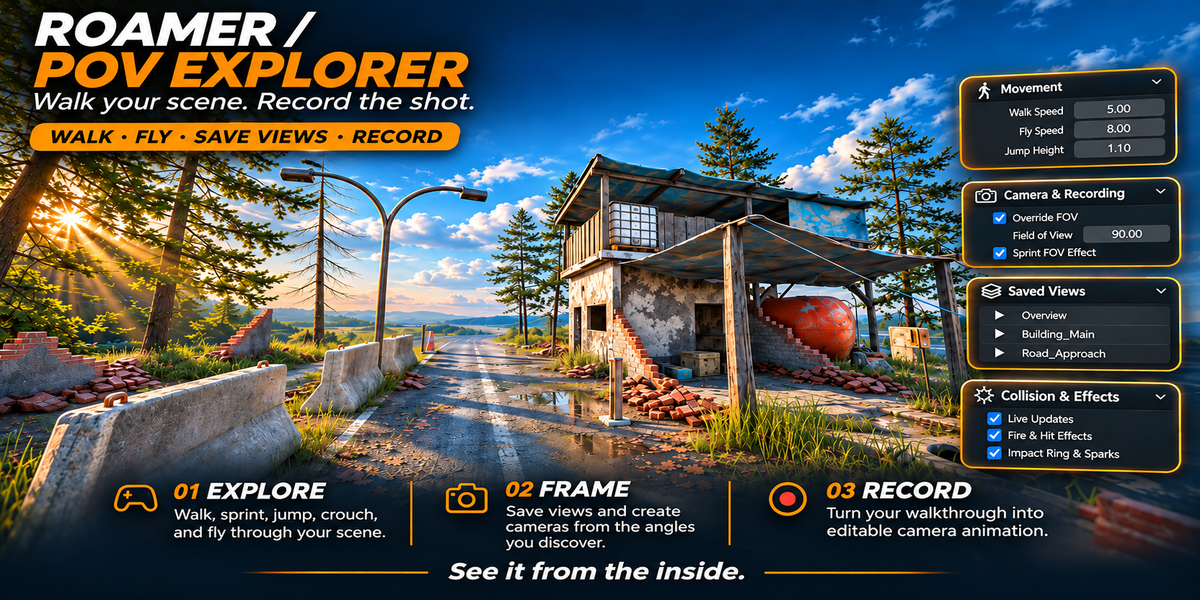
ROAMER 1.0.0 / DOCUMENTATION
Your guide to exploring and recording.
Start with a preset, explore with the keyboard and mouse, and keep the views or camera moves you discover.
1. Requirements and installation
Roamer declares Blender 4.4 as its minimum version. The verified configuration is Blender 5.0.1 on Windows. Other Blender versions and operating systems have not been verified. You need a keyboard, mouse, and a 3D Viewport.
- Download
roamer.zipfrom your purchase. - In Blender, open Edit → Preferences → Add-ons.
- Open the add-on options menu and choose Install from Disk.
- Select the ZIP and install it.
- Search for Roamer and enable Roamer - POV Explorer.
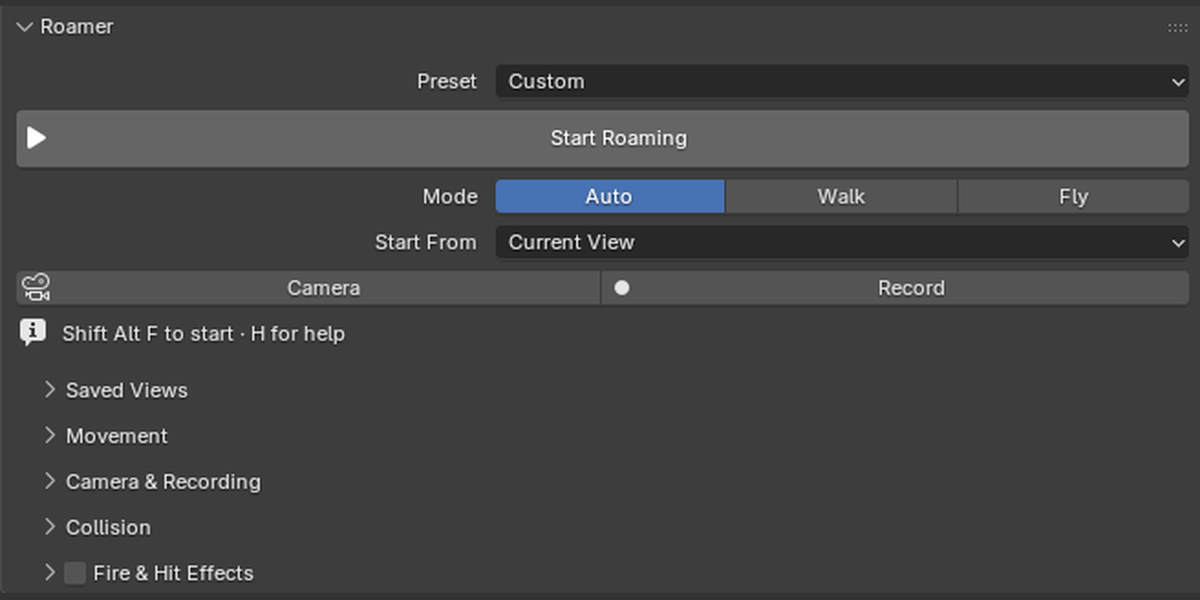
- Return to the 3D Viewport, press N, and choose the Roamer tab.
2. Your first session
- Position your viewport near the area you want to explore.
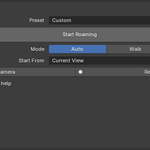
- Choose a preset in the Roamer sidebar.
- Set Mode to Auto, Walk, or Fly and choose Start From.
- Click Start Roaming, or press Shift + Alt + F while the pointer is over the viewport.
- Move with WASD and look with the mouse.
- Press Enter to finish at your current view, or Esc to restore the starting view.
Auto starts walking when walkable ground is detected within Ground Search range; otherwise it starts flying. Walk uses gravity and body collision. Fly uses collision without walking gravity. Noclip bypasses collision for repositioning.
Without collision geometry, Roamer uses flight. Place the 3D cursor on a floor surface when using the 3D Cursor start option. Turn off Quad View before starting.
3. Default controls
| Input | Action |
|---|---|
| WASD / arrows | Move |
| Mouse | Look |
| Space | Jump in Walk; ascend in Fly |
| Ctrl / Q | Ctrl crouches or descends; Q descends |
| Shift / Alt | Sprint or boost / move slowly |
| Mouse wheel | Adjust speed |
| F / N | Switch Walk/Fly / toggle Noclip |
| Backspace | Recover to safe ground or session start |
| B / V | Save a viewpoint / create a camera |
| K | Start recording / finish and save a take |
| P / R | Pause or resume / rebuild collision |
| H / X | Toggle help / crosshair |
| Left Mouse | Fire when enabled and assigned to Left Mouse; otherwise finish and keep the view |
| Enter | Finish, keep the view, and save an active take |
| Esc / Right Mouse | Restore the original view and discard the active take |
Change bindings in Movement → Controls. Resolve displayed binding conflicts before starting. Either side of Shift, Ctrl, and Alt works by default. Optional settings include toggle sprint, toggle crouch, repeated jumping, and double-tapping the jump key to switch Walk/Fly.
Losing window focus pauses navigation. Click the viewport or press P to resume. The resume click does not fire a shot or exit the session. Press Fire again after resuming.
4. Presets, scale, and comfort
- Architecture: a slower walking preset with movement effects disabled.
- Human Scale: responsive movement with restrained head bob.
- Cinematic Flight: slower flight with softer movement response.
- Miniature: exploration at a reduced world scale.
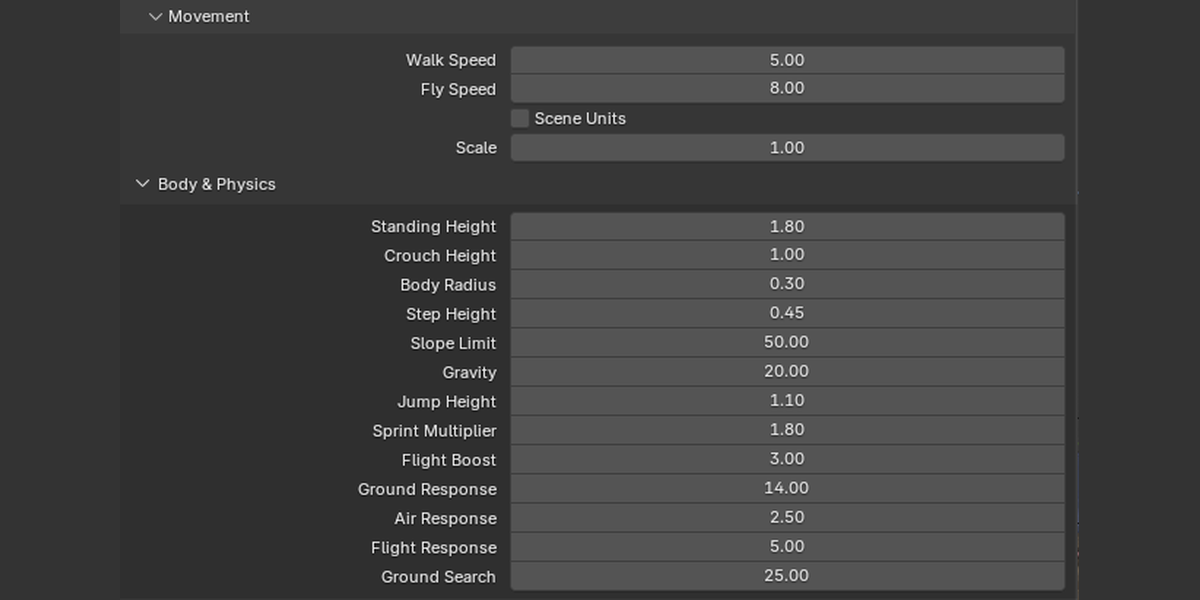
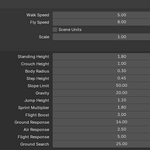
Presets apply starting values; you can edit them afterward. Scene Units interprets sizes and speeds in metres using Blender’s Unit Scale. Scale adds a multiplier. If the player seems too large, too small, too fast, or unable to enter doorways, check these settings first.
Use Movement → Body & Physics for height, crouch height, body radius, steps, slopes, gravity, and response. Impossible body dimensions are constrained to fit the player height. A zero Step Height disables stepping while retaining floor detection.
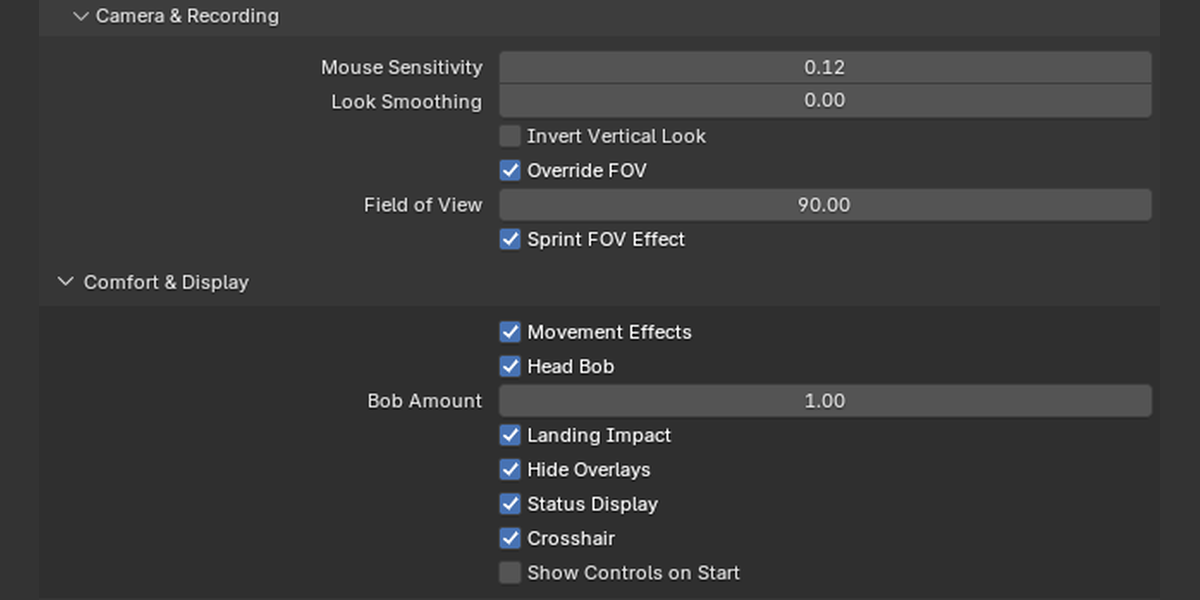
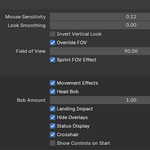
Use Camera & Recording for sensitivity, look smoothing, and field of view. Under Comfort & Display, control head bob, landing impact, sprint FOV, overlays, HUD, and crosshair. Movement Effects is the master switch for head bob and landing impact.
5. Saved views and recovery
Press B while roaming, or use Saved Views → Save. Each entry stores position, orientation, lens, and movement mode. Rename entries in the list, select one and choose Go to revisit it, or use the minus button to remove it.
Choose Selected Saved View under Start From to begin there next time. Save the Blender file to retain the viewpoints between sessions.
Backspace clears momentum and returns to the recovery location selected under Recover To. Last Safe Ground uses the most recent clear standing position; until one is found, it uses the session start.
6. Create a camera or record a walkthrough
Camera in the main panel, or V during roaming, creates a new active camera. Existing cameras are retained. Perspective views use the viewport projection; orthographic views create orthographic cameras. To match the entire viewport frame, enable Recording Options → Match Viewport Aspect. This also changes the render resolution aspect ratio. Leave it off to preserve your current render dimensions.
- Start Roaming and choose the position where your take should begin.
- Press K to start recording. Alternatively, the main panel’s Record button starts a session with recording enabled.
- Perform your move. Pauses do not add time to the take.
- Press K again to save the take and continue roaming, or Enter to save it and finish the session.
- Edit the new camera’s animation in Blender.
Completed takes contain position, quaternion rotation, and lens keyframes, starting at the timeline frame that was current when recording began. The timeline does not need to play. Each completed take creates a new camera.
Esc discards the currently active take. Previously completed takes remain in the scene. Roamer records camera animation, not a video file; render the camera animation through Blender when you want a video or image sequence.
Recording Options controls Sample Rate, Max Seconds, Smoothing, Position Error, Angle Error, and timeline extension. The default take limit is 300 seconds. Set Smoothing and Position Error to zero to retain the sampled motion without smoothing or key reduction.
7. Collision and scene performance
Roamer builds collision from visible evaluated polygon geometry, including supported mesh-like objects, modifiers, and instances. The first build may pause briefly while the scene is processed. Unchanged geometry is cached for reuse.
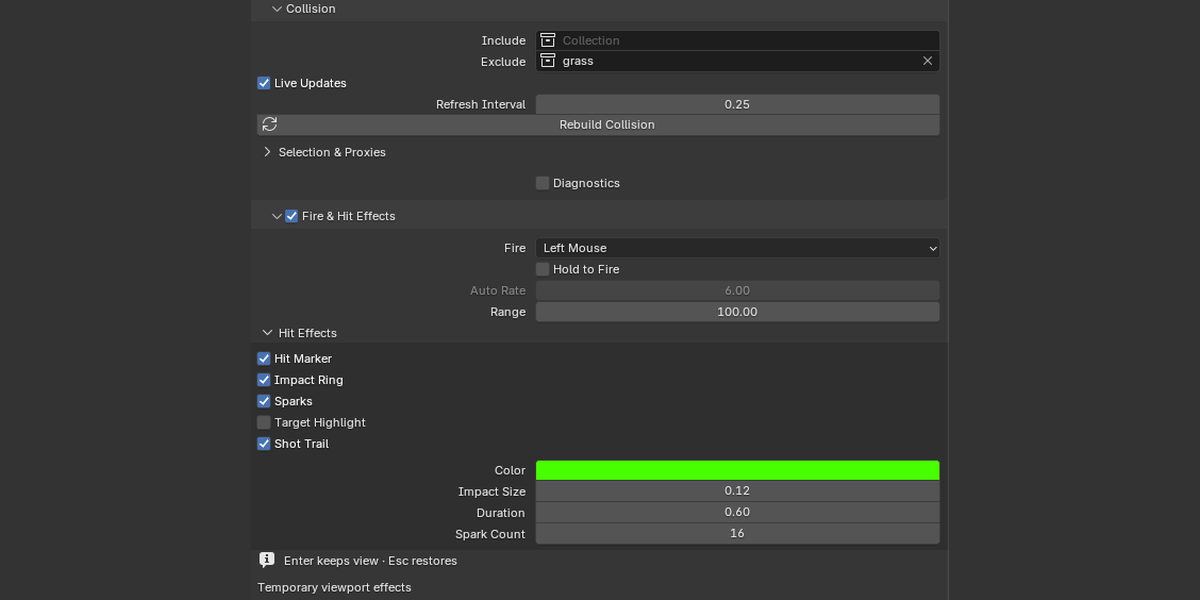
- Include: optionally restrict walking collision to a collection.
- Exclude: omit a collection from walking collision.
- Selection & Proxies: include or exclude selected objects, toggle the active object’s exclusion, or create box colliders.
- Rebuild Collision / R: force a fresh collision build.
- Live Updates: refresh after geometry changes at the selected interval.
- Diagnostics: display collision statistics, the body profile, and contact normals.
Exclusions take precedence over inclusion. Filtering applies to source objects and instancers. Objects displayed as Wire or Bounds are skipped unless they are designated generated proxies.
Box proxies exclude their source objects from collision, follow source transforms, and are hidden in renders. Refresh them after changing the source shape. For a more accurate lightweight collider, use your own low-detail meshes in an Include collection.
For detailed environments, use simpler collision geometry and limit the collision collection. Live Updates uses periodic snapshots; it is not a moving-platform physics system. If a refresh fails, the previous valid collision world remains available.
8. Fire and hit effects
Enable the checkbox beside Fire & Hit Effects. Left Mouse fires at the crosshair by default. Choose another fire key if preferred. Enter keeps your view; Esc restores it.
Each separate press fires immediately, including rapid clicks and double-clicks. Enable Hold to Fire for automatic firing at the configured Auto Rate. Releasing the button, pausing, or losing focus stops held firing.
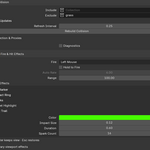
Toggle Hit Marker, Impact Ring, Sparks, Target Highlight, and Shot Trail independently. Adjust color, impact size, duration, range, and spark count. Range and impact size follow the player’s scale and scene-unit settings.
Shots use visible scene surfaces independently of movement collision exclusions. Generated collision proxies are skipped. A hit briefly displays the object name and distance. A miss can still show the optional shot trail.
Effects are viewport previews. They are temporary, do not modify object materials, and are not included in renders or baked camera recordings. All hit effects clear when the session ends.
9. Troubleshooting
I cannot start Roamer.
Run it from a 3D Viewport, turn off Quad View, and resolve any binding conflicts in Movement → Controls. If Start From uses a saved view, ensure a saved entry exists.
Movement is the wrong scale or doorways feel too narrow.
Check Scale, Scene Units, body height, and body radius. Use a preset as a starting point, then adjust dimensions for the scene.
An object is not blocking me, or collision is out of date.
Check Include, Exclude, per-object exclusions, and the object’s viewport display mode. The object needs evaluated polygon geometry. Press R after changes, or enable Live Updates. Refresh generated proxies if the source shape changed.
I clicked and did not get a shot.
Enable Fire & Hit Effects and check the fire binding. If the window had lost focus or was paused, the first click resumes; click again to fire. Hit-only effects appear only when the ray reaches a surface within Range. Enable Shot Trail to see feedback on misses.
I cannot see the hit effects in my render.
Hit effects are viewport overlays. They are not renderable objects or recorded visual effects.
My render framing differs from the viewport.
Check the render aspect ratio. Enable Match Viewport Aspect when creating the camera or recording if the entire viewport frame should match.
I do not see a recorded take.
Finish it with K or Enter. Esc discards the active take, and a take that is too short to contain two samples cannot be saved. Check the scene’s active camera and the timeline frame where recording began.
10. Updates, removal, and support
Finish roaming before replacing or disabling the add-on. Install the updated file through Blender’s add-on options and re-enable Roamer if necessary. Restart Blender if an older build remains loaded. To stop using Roamer, disable it in Preferences → Add-ons.
For support, contact the creator through the product page. Include your Blender version, operating system, Roamer version, the steps that reproduce the issue, and any displayed error message. A small example scene with private assets removed can help reproduce scene-specific collision issues.
Known scope in 1.0.0
- Keyboard and mouse navigation; gamepad and VR input are not included.
- Quad View must be disabled.
- Live collision uses periodic updates, not a full gameplay physics system.
- Firing provides temporary viewport effects, not destructible objects or rendered projectiles.
- Verified on Blender 5.0.1 on Windows; other configurations have not been verified.
Have questions about this product?
Login to message
| Blender Extension Compatible | Yes |
| Published | about 16 hours ago |
| Blender Version | 4.4 - 5.2 |
| Extension Type | Add-on |
| Render Engine Used | Blender-Internal, Blender-Game-Engine, Cycles, Eevee |
| License | GPL |
Discover more products like this
camera animation flythrough First person collision scene exploration viewport navigation architectural visualization camera recording environment art ArchViz walkthrough Level Design