 Mona-Ghafourian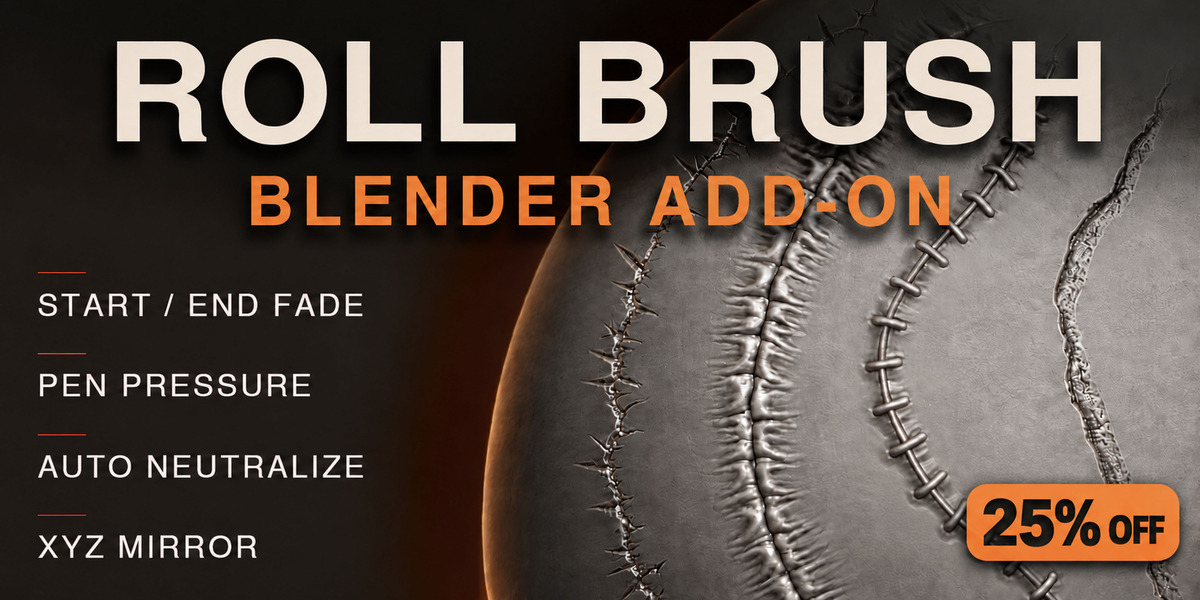


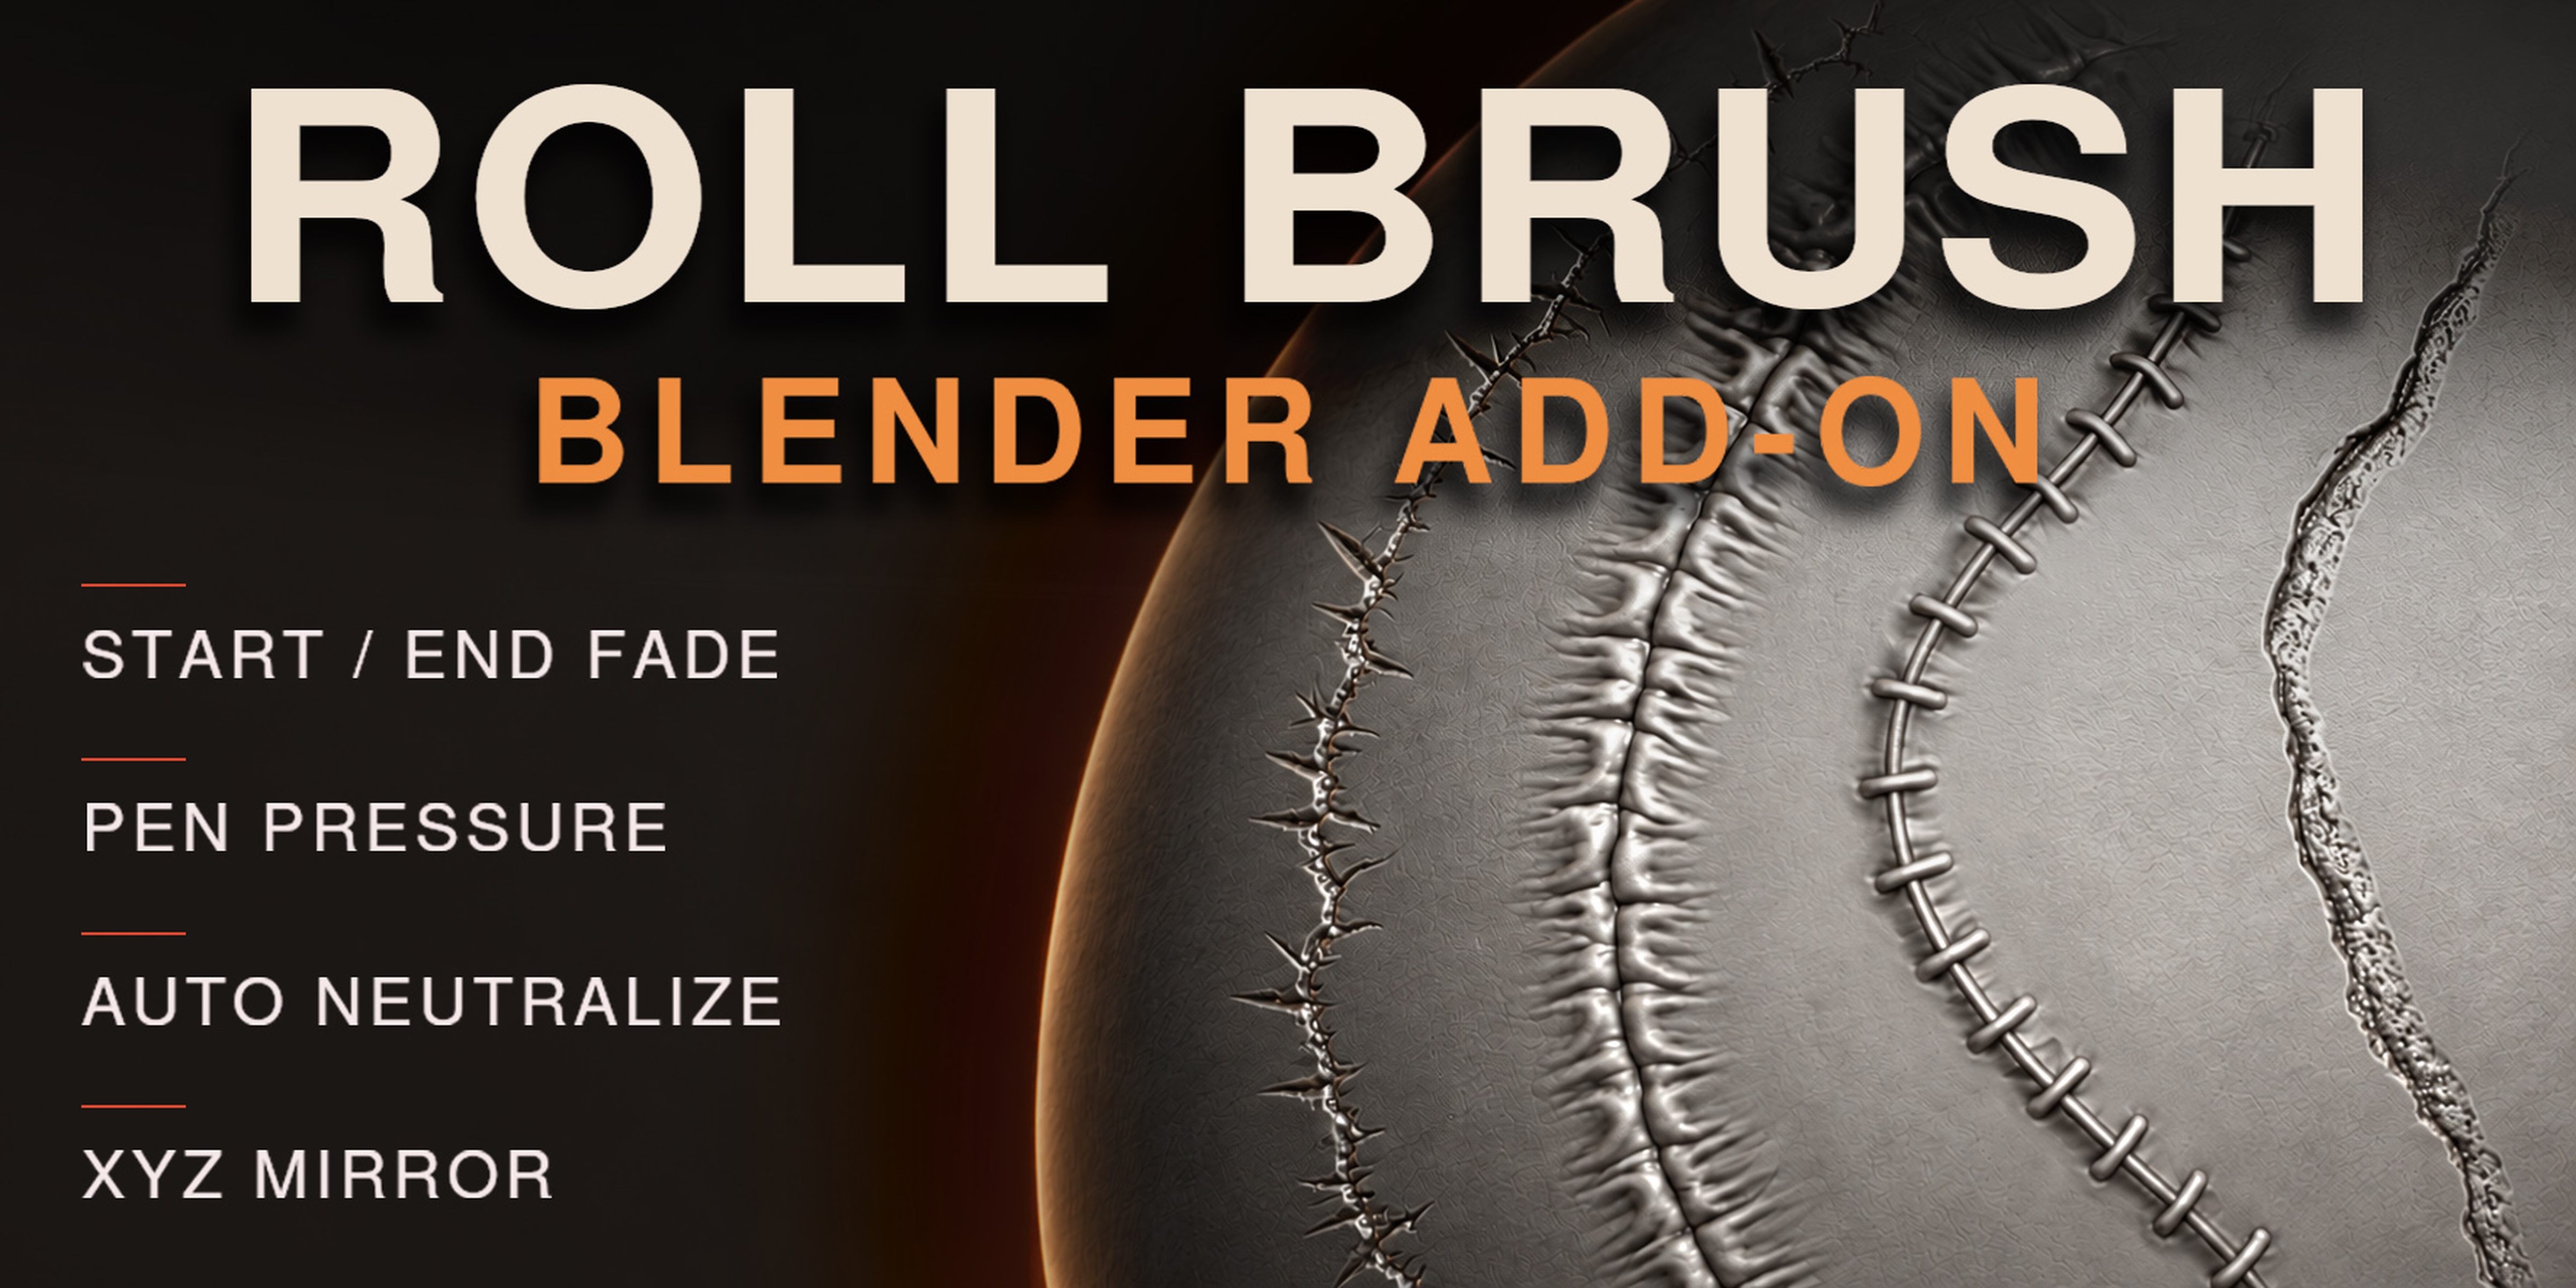
Draw repeating surface details
with one continuous stroke.
Stop placing the same detail over and over.
Use your own grayscale alphas.
Turn them into continuous sculpting strokes.
Sculpt repeating cracks, scars, stitches and other surface details on your 3D models in Blender. Use grayscale alphas that tile seamlessly: the two opposite edges along the stroke direction must match.
START / END FADE · PEN PRESSURE · AUTO NEUTRALIZE · XYZ MIRROR
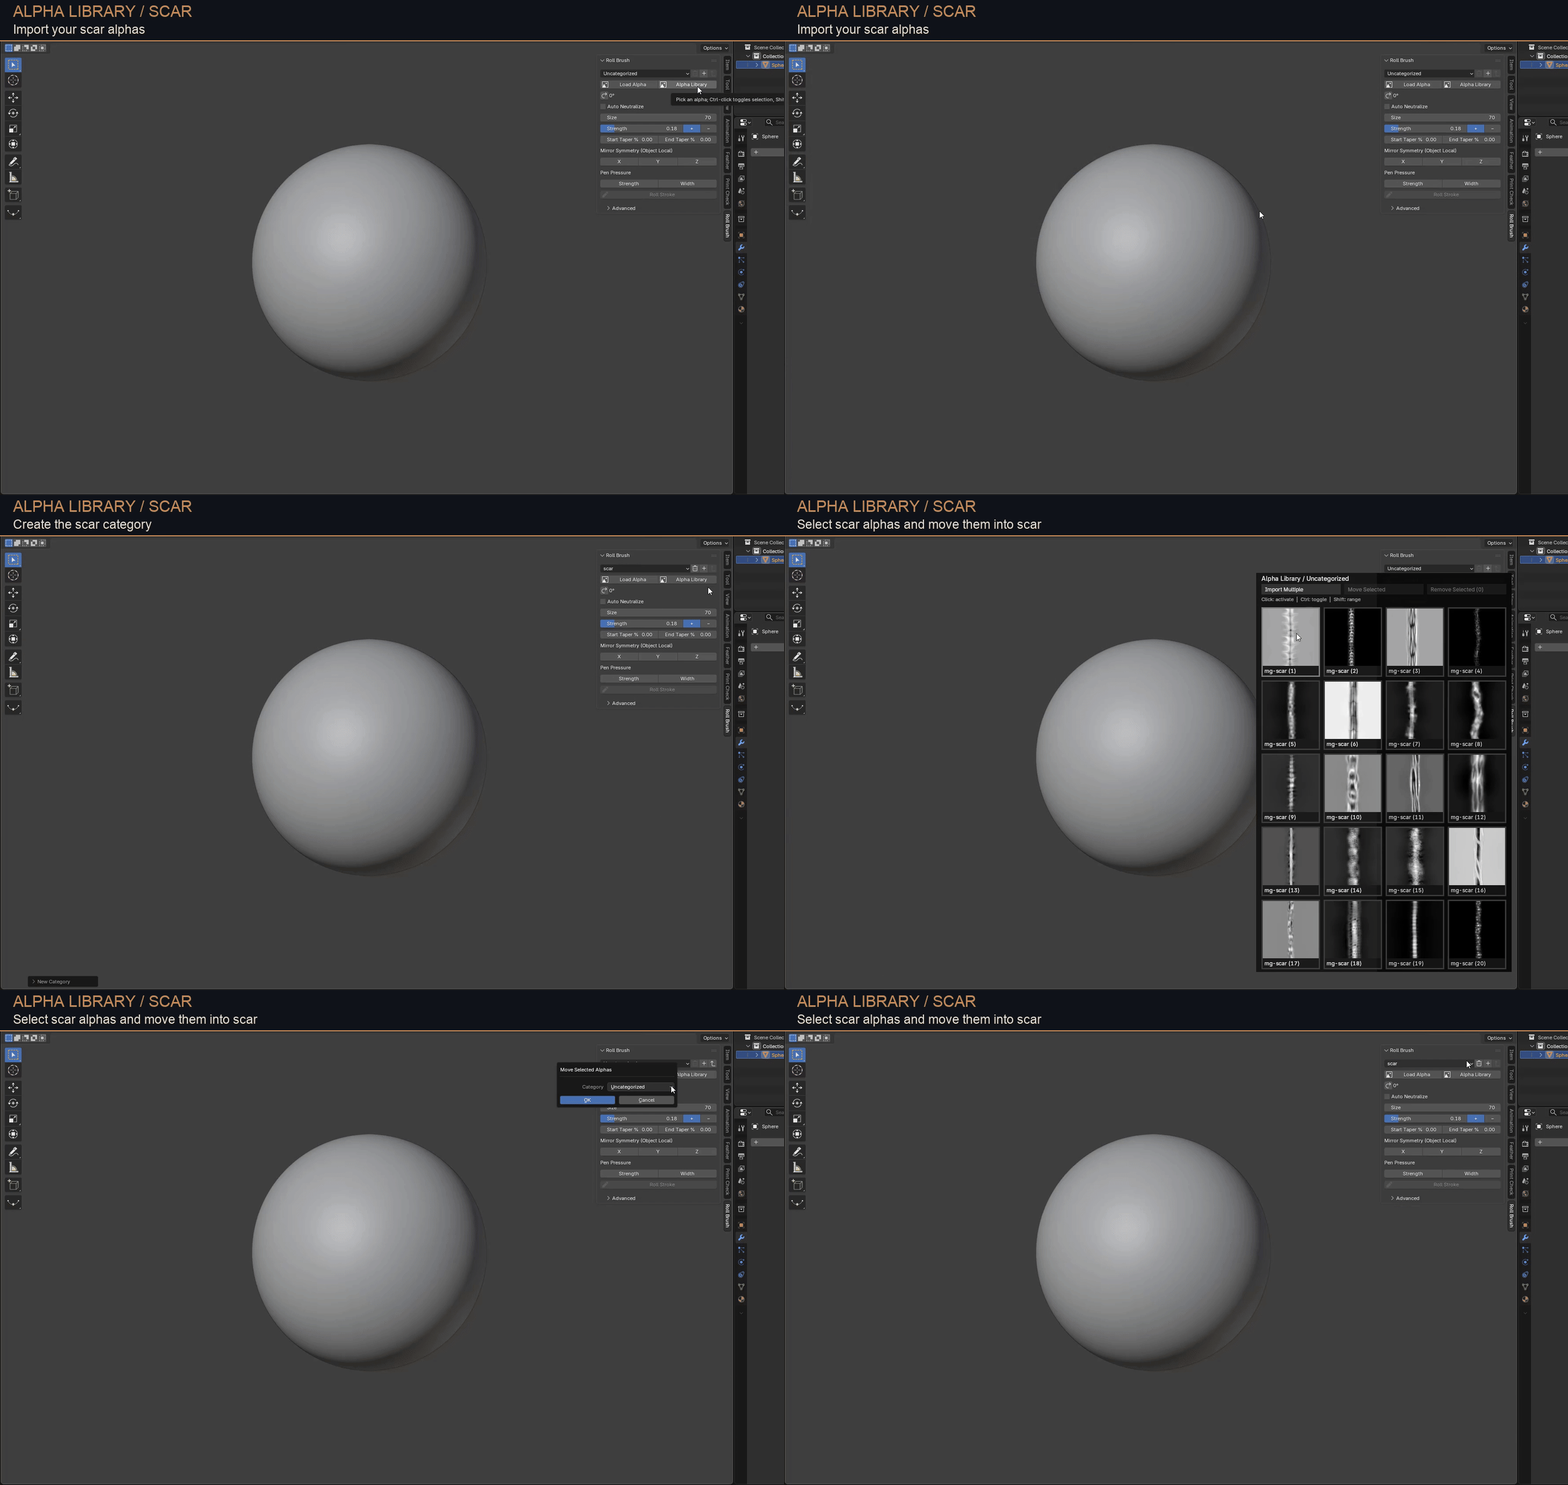
Alpha library: organize your sculpting brushes.
Import your grayscale alphas and organize them into custom categories for quick access.
Includes 6 ready-to-use brushes in the Free Sample category. Full alpha collections are sold separately. Links to the three full alpha collections are available at the bottom of this page.
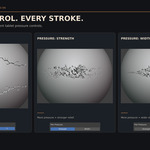
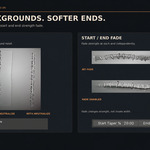
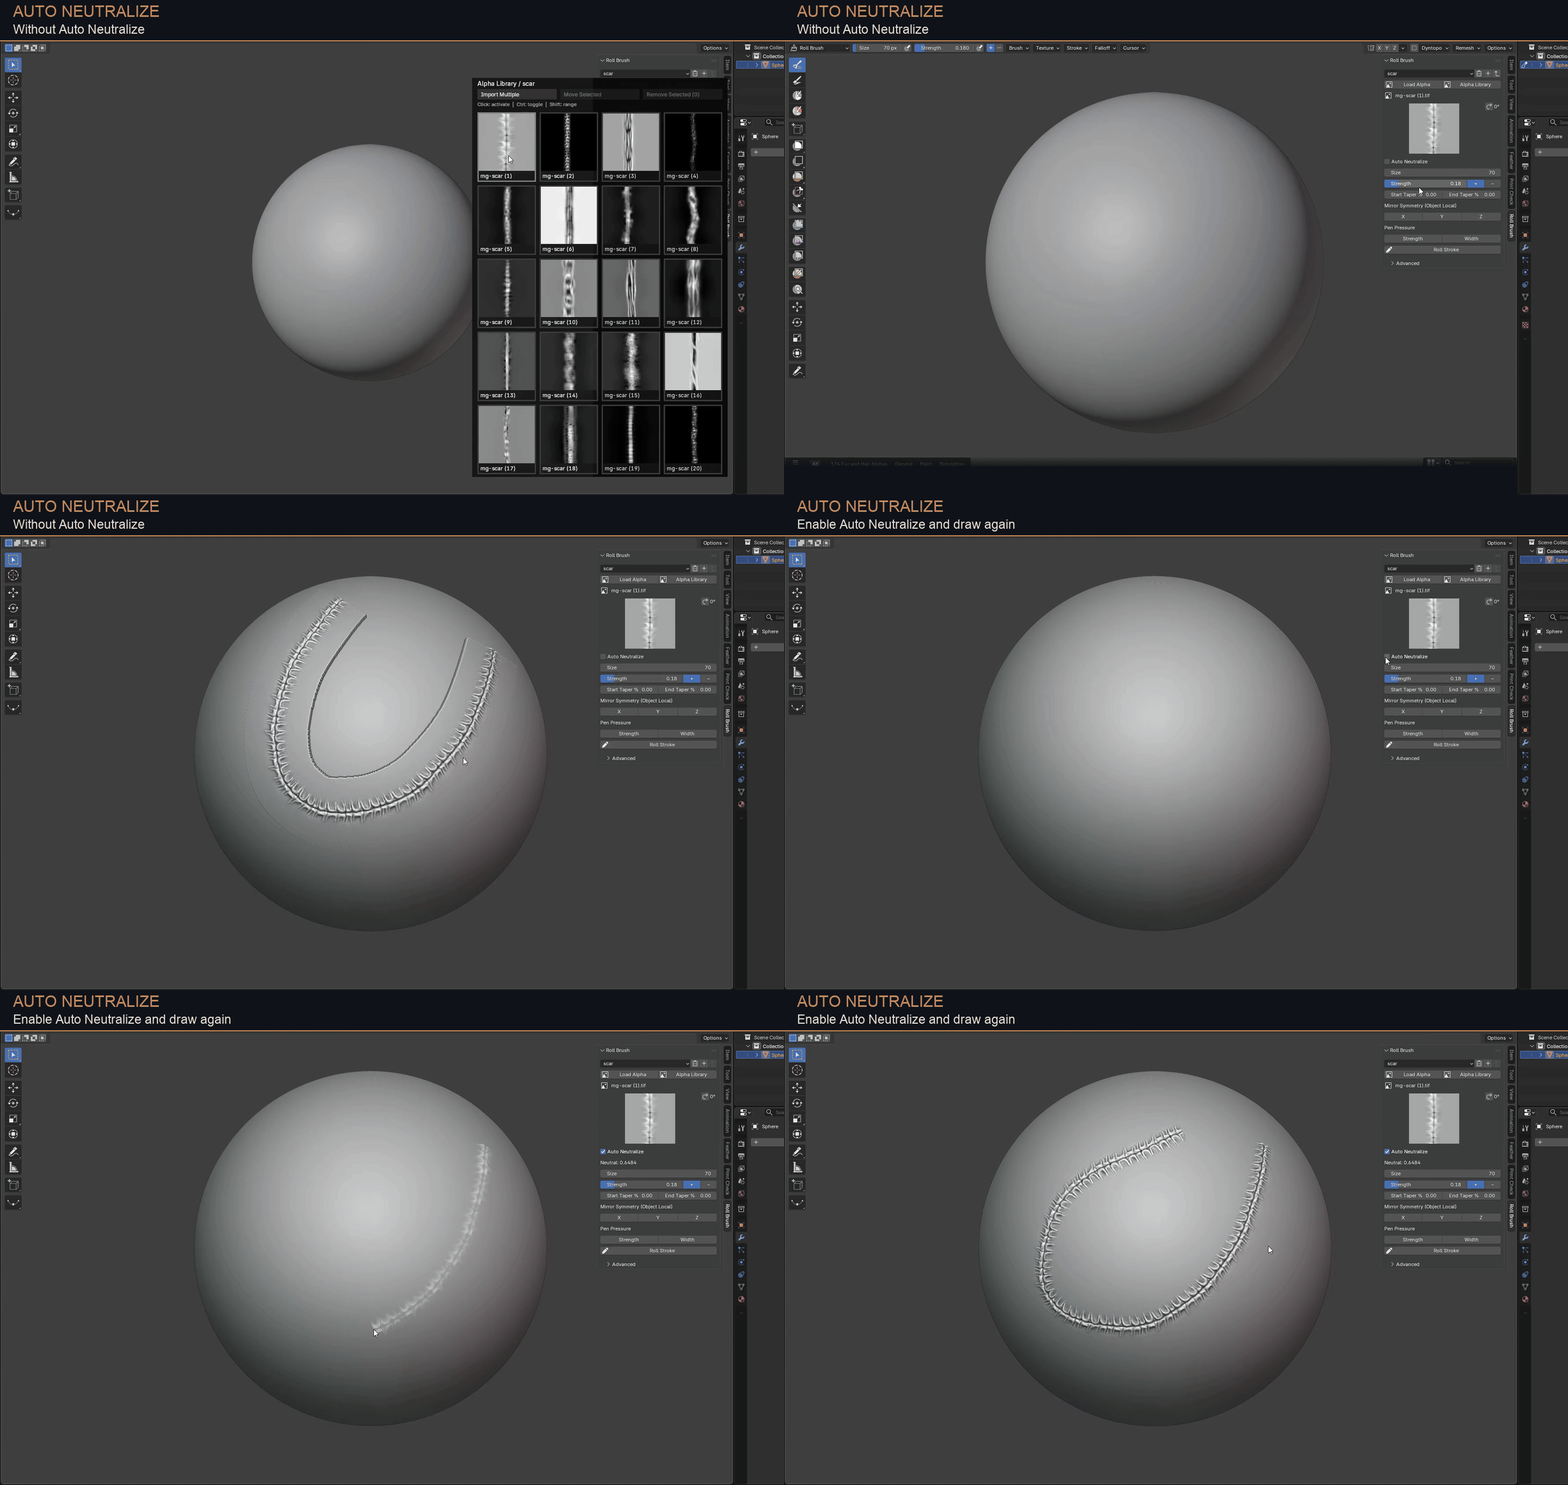
Auto Neutralize: reduce background displacement.
Auto Neutralize estimates the alpha background level to reduce unwanted displacement around the pattern. Adjust Neutral Level manually if needed.
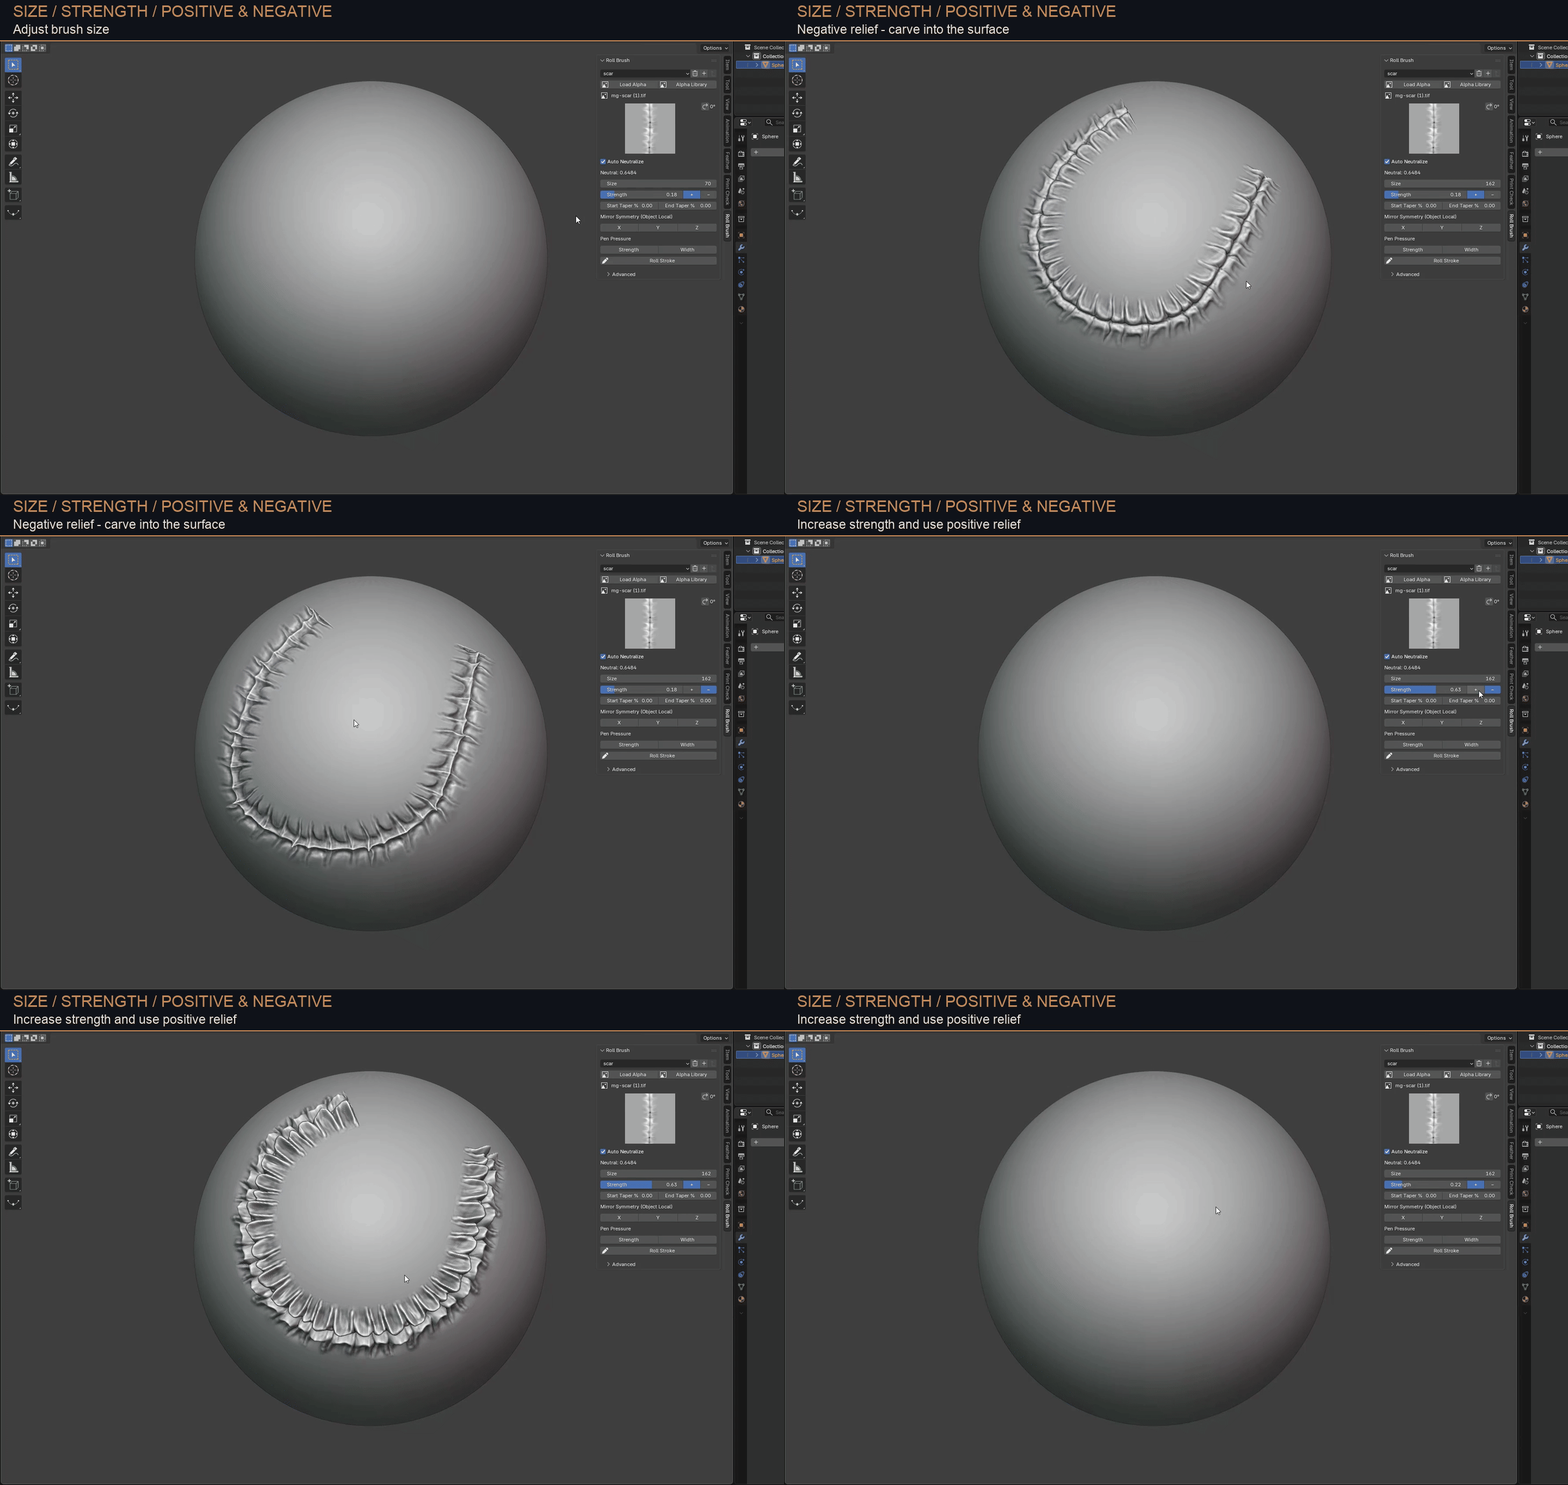
Brush controls: adjust size and strength.
Set the brush size and detail strength. Use + to raise the surface or - to carve into it.
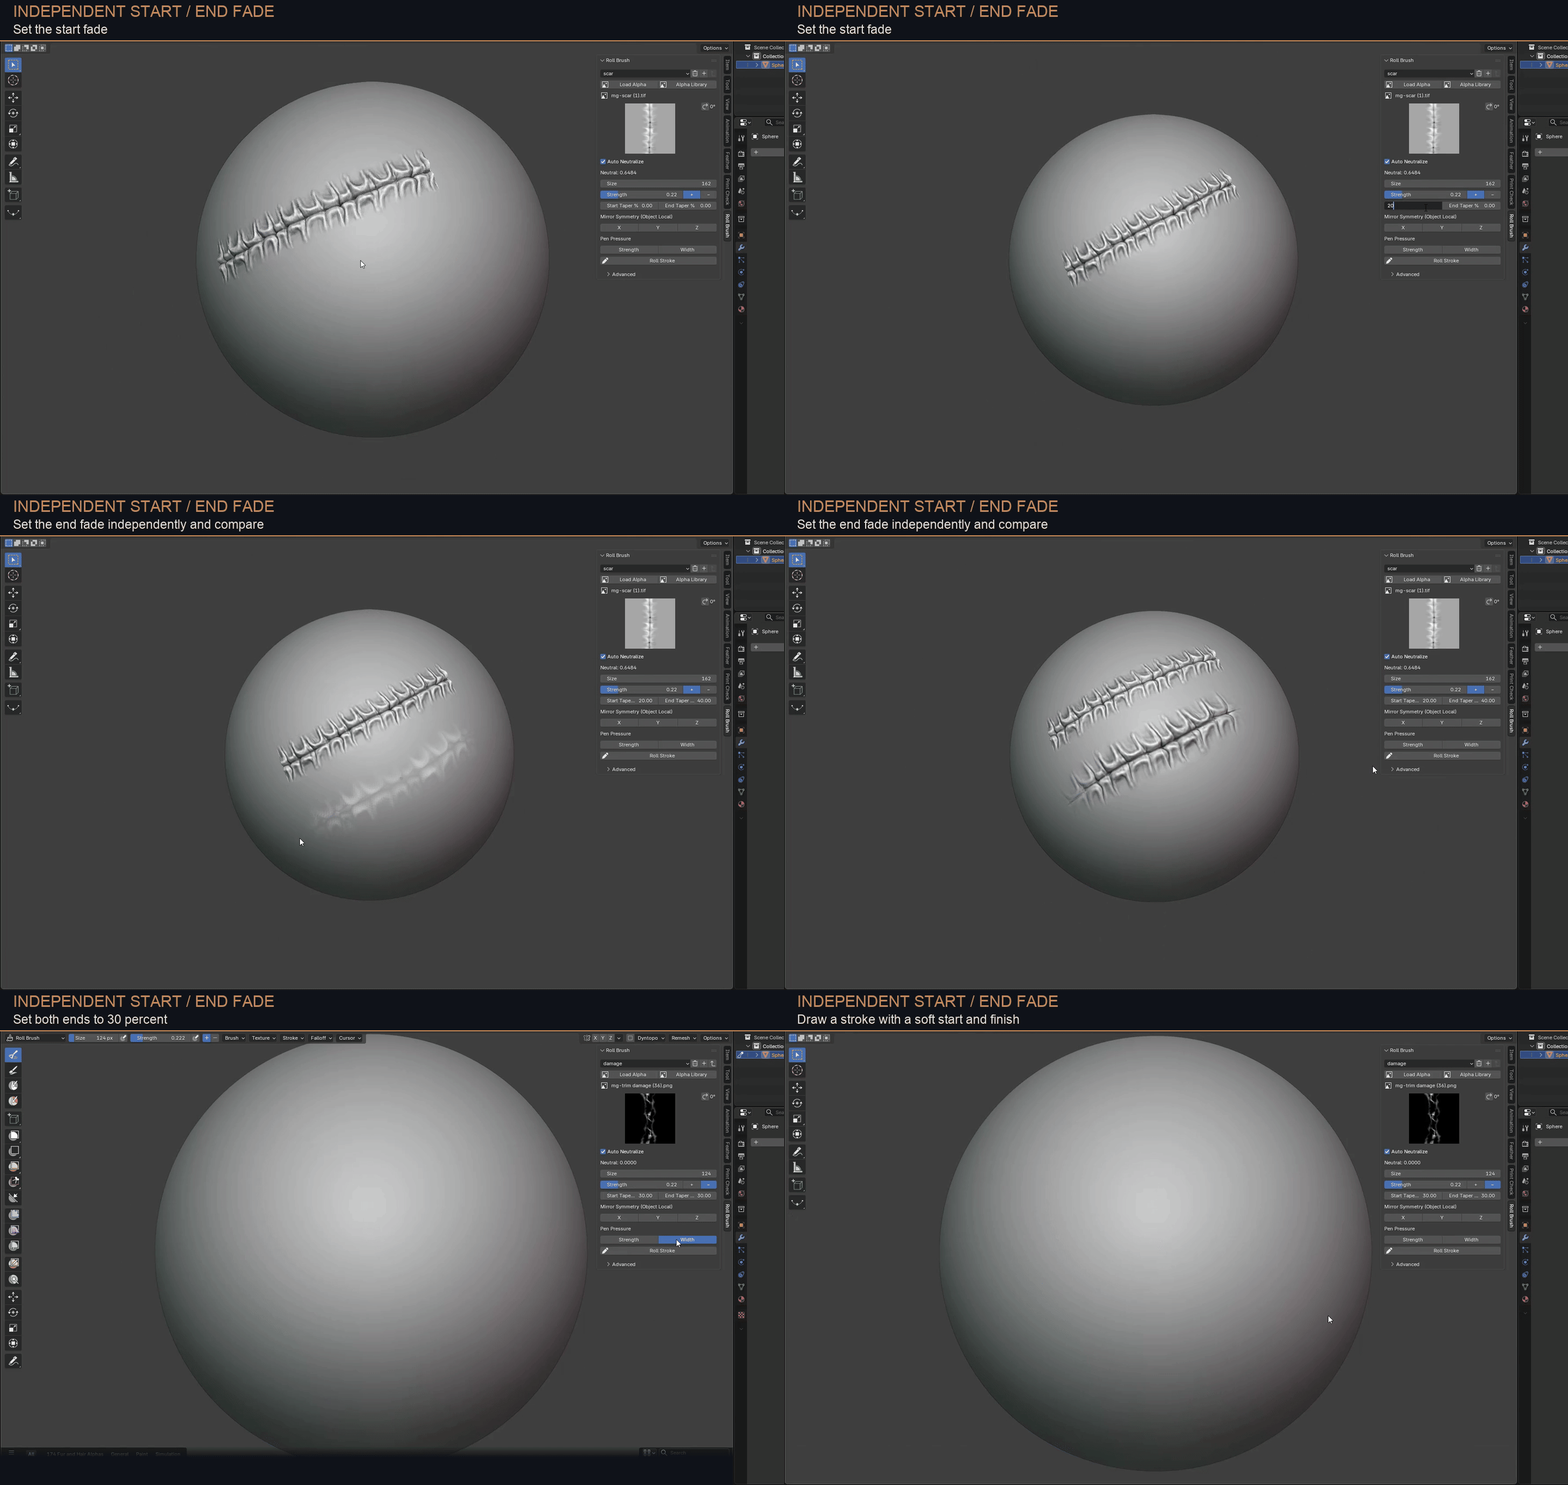
Stroke fade: soften the start and end.
Set Start Taper % and End Taper % independently for a gradual start, a soft finish or both. Fade affects stroke strength; the width stays the same.
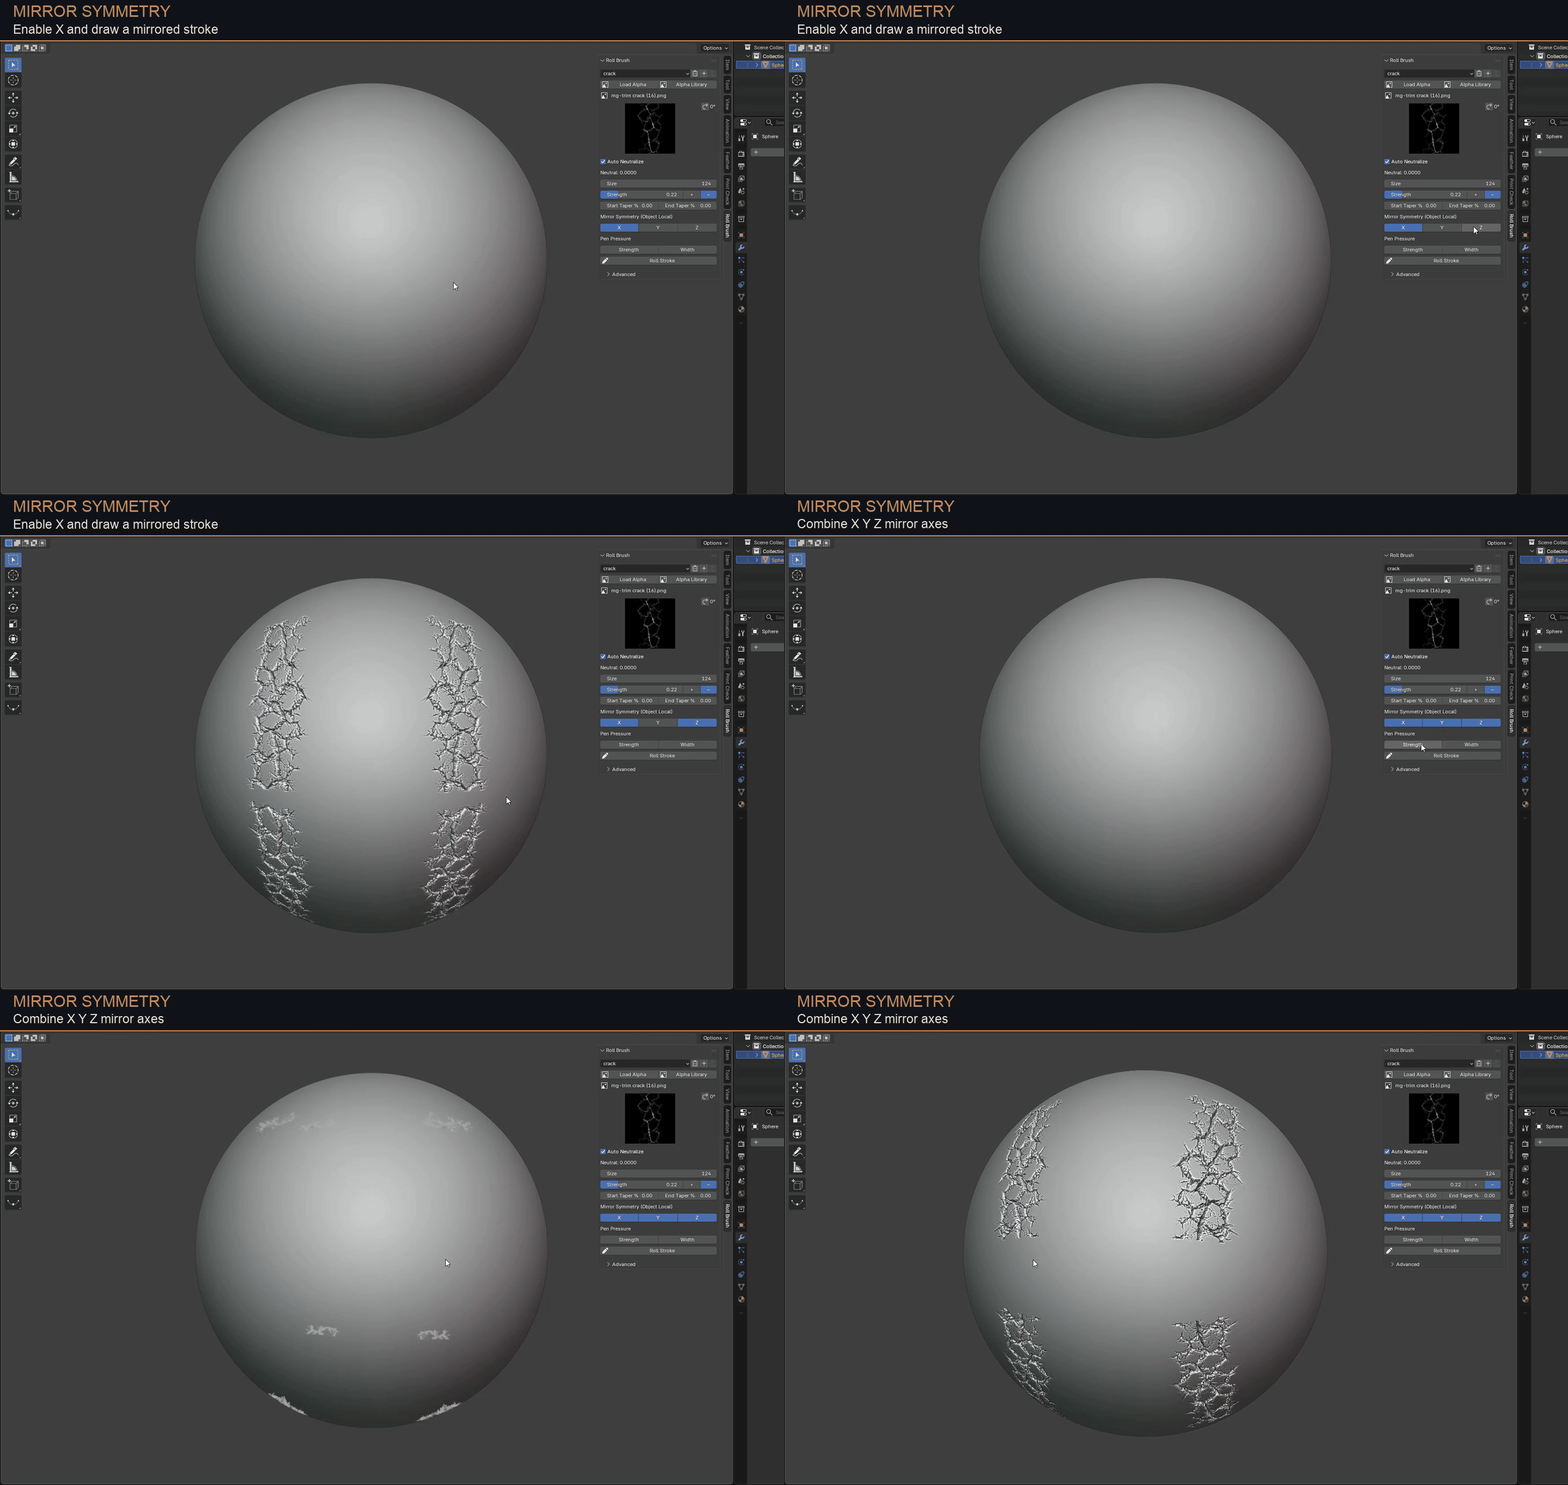
XYZ mirror: sculpt symmetrical details.
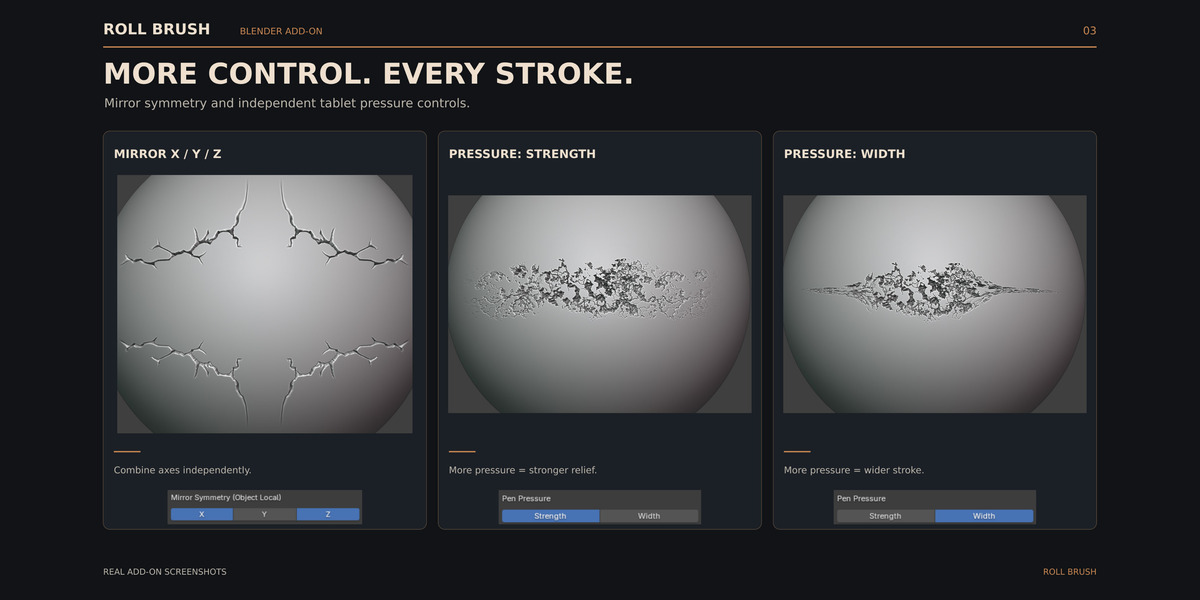
Mirror strokes across X, Y or Z, or combine the axes. Symmetry follows the object's local orientation.
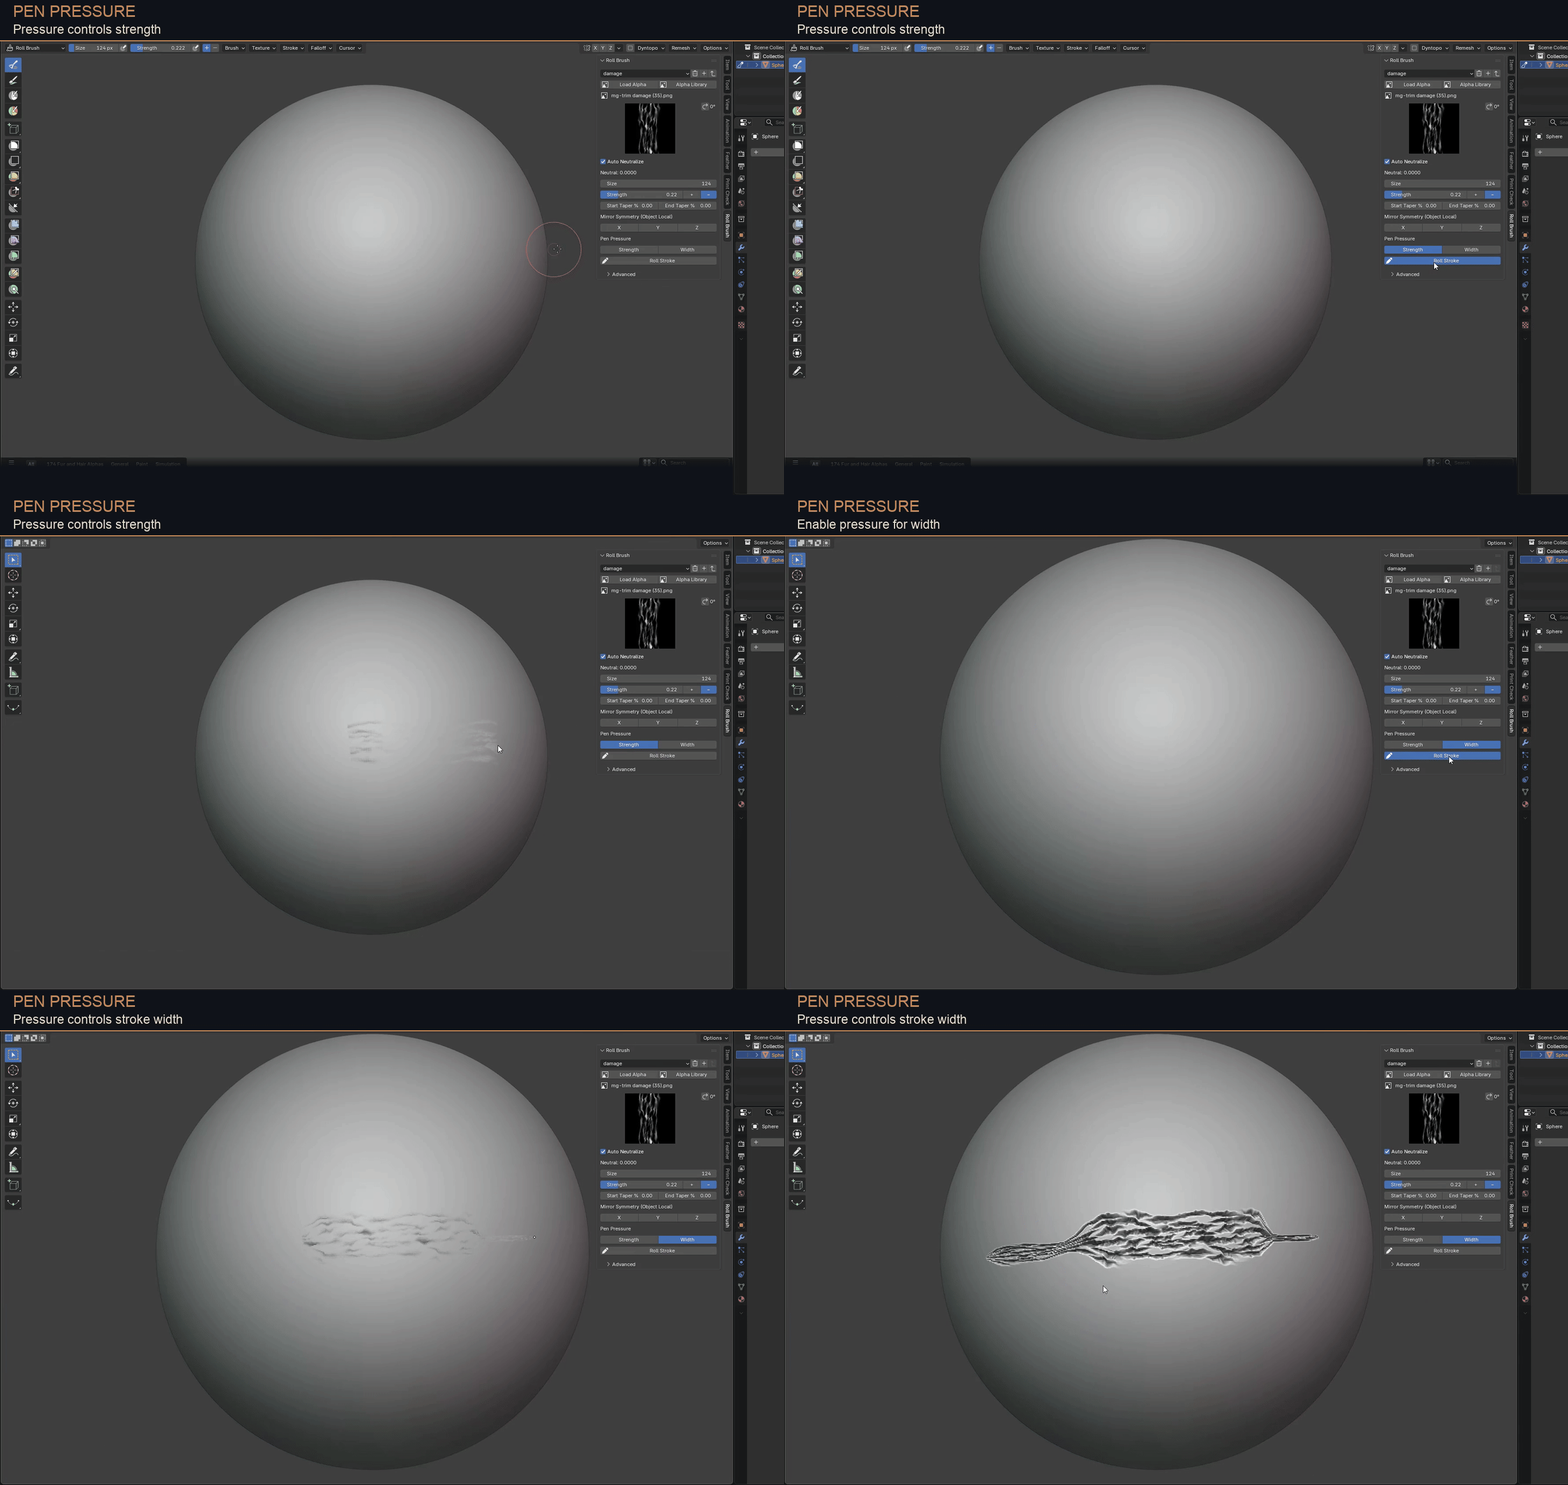
Pen pressure: control strength and width.
Use a pressure-sensitive tablet to vary stroke strength, width or both. Press harder for stronger or wider details. Width pressure keeps the alpha repetition length unchanged.
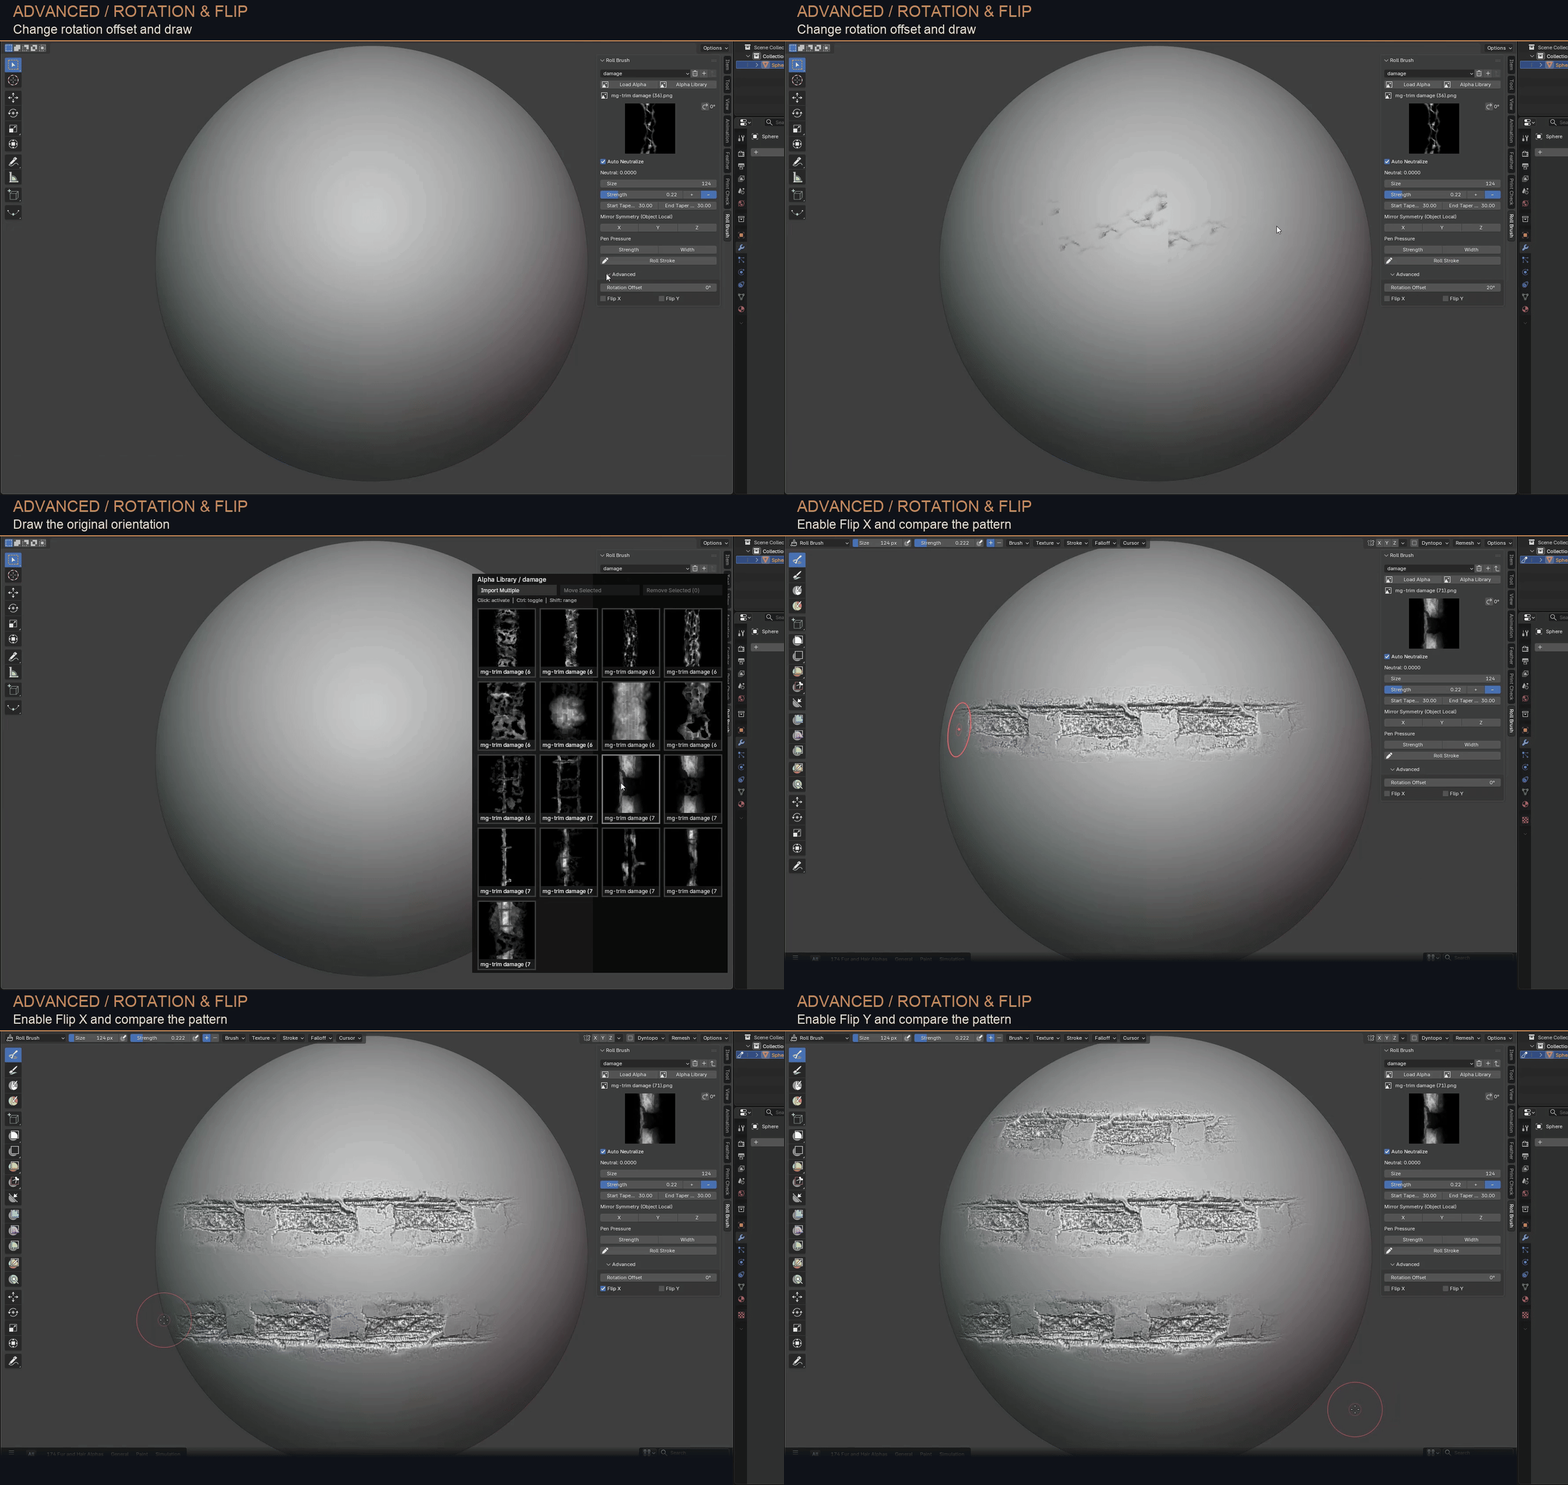
Rotation & flip: orient your alpha.
Use Rotation Offset, Flip X and Flip Y in Advanced to orient the pattern. The button beside the alpha preview also rotates it in 90-degree steps.
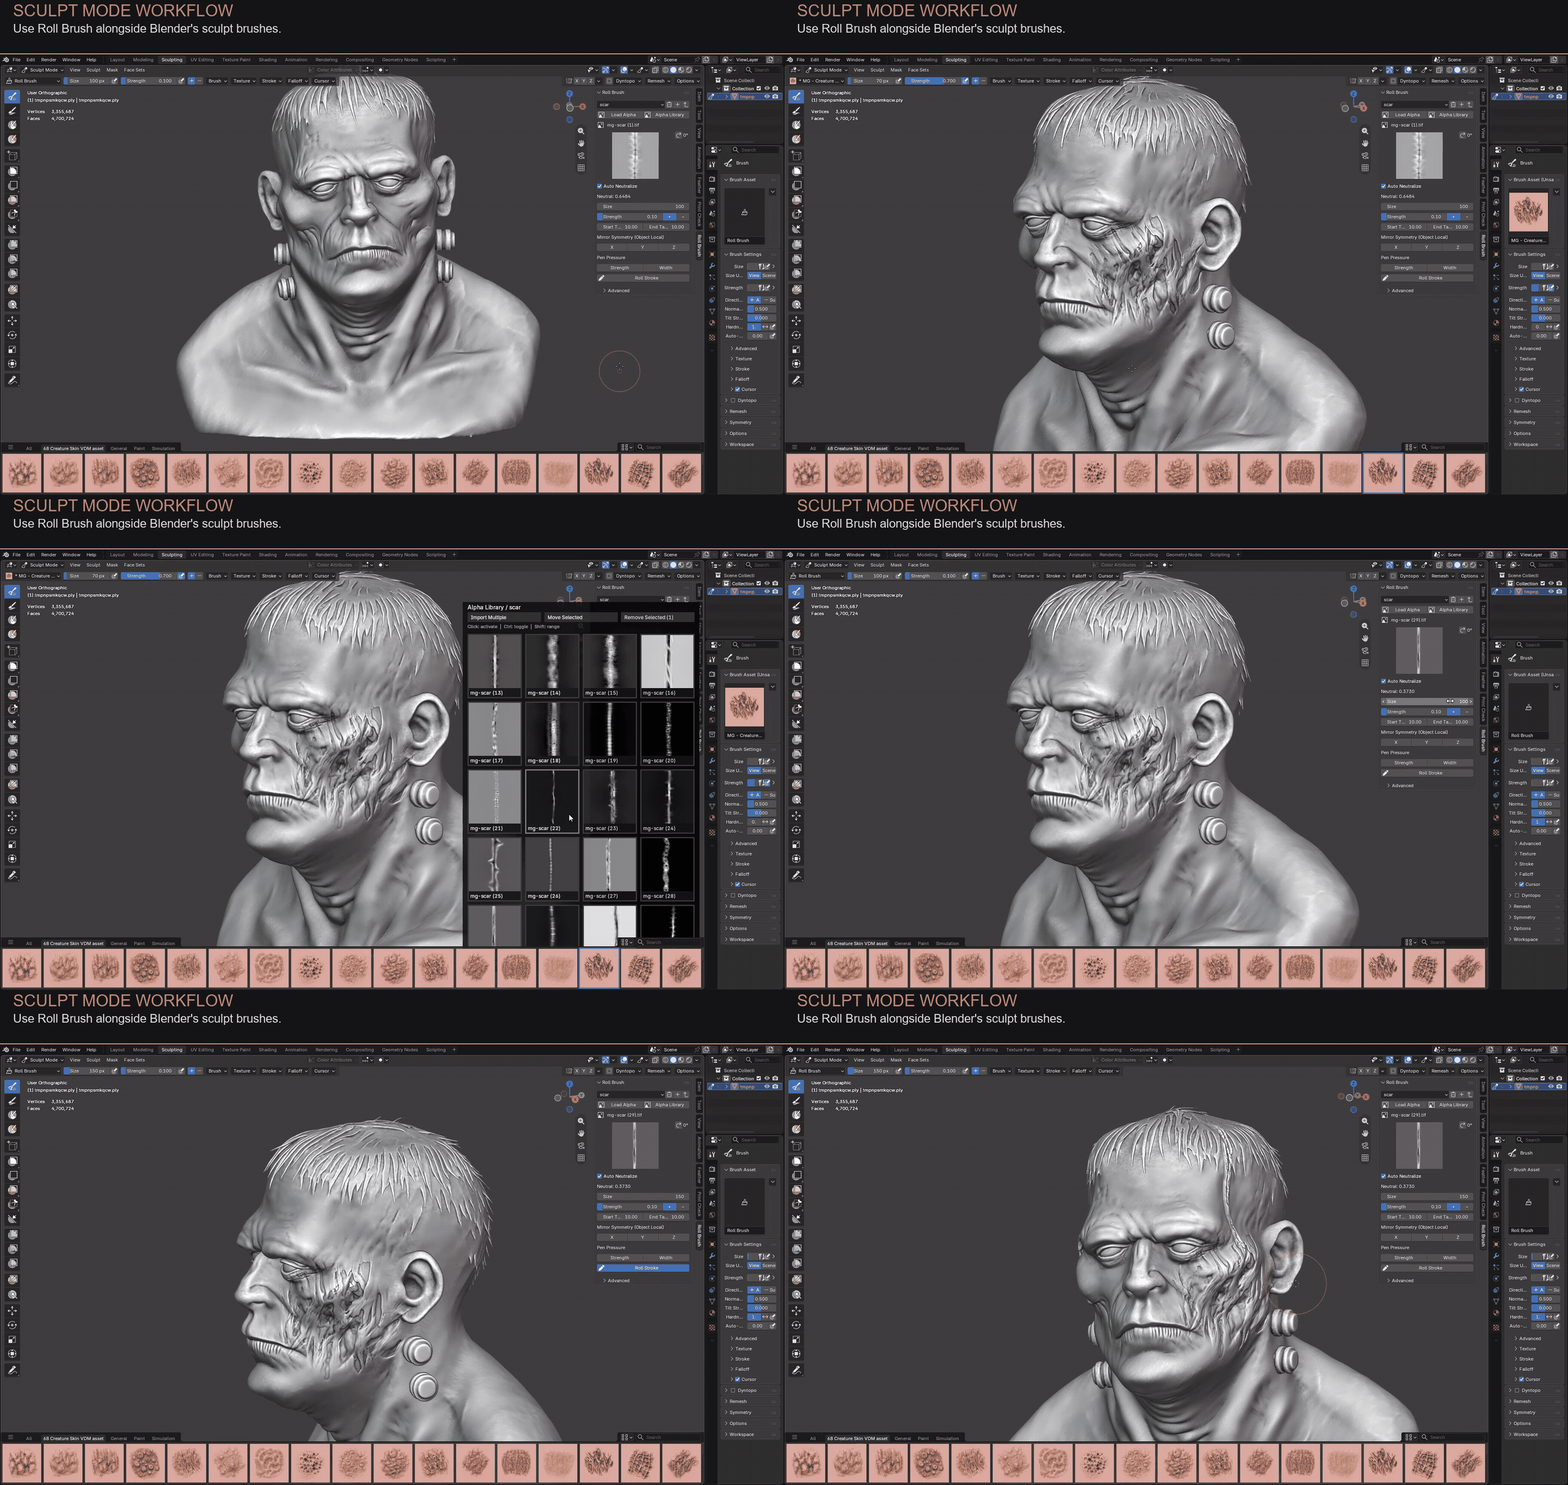
Work alongside Blender sculpt brushes.
Use Roll Brush alongside Blender's sculpt brushes in Sculpt Mode. After a stroke finishes, Roll Brush exits automatically so you can continue working with other Blender tools.
Video tutorial and PDF guide included.
Your purchase includes a complete Roll Brush video tutorial and an illustrated PDF user guide, covering setup, alpha import and all brush controls.
How to use Roll Brush
Select a mesh in Object or Sculpt Mode and open the Roll Brush sidebar. Choose a Free Sample brush or import your own grayscale alpha.
Set size and strength, then choose fade, symmetry or pressure controls as needed.
Click Roll Stroke, draw on the mesh with the left mouse button and release to apply the detail.
Installation & requirements
Compatible with Blender 4.5 and newer.
- Open Blender and go to Edit > Preferences > Add-ons.
- Open the menu, choose Install from Disk and select the Roll Brush release ZIP. Install the ZIP directly without extracting it.
- Enable Roll Brush. Select a mesh in Object or Sculpt Mode, press N in the 3D Viewport and open the Roll Brush tab.
Before you sculpt
Check that the two repeating alpha edges match to avoid visible seams.
Use a mesh with enough geometry to hold the detail. Draw with a mouse or a tablet; pen pressure requires a pressure-sensitive tablet. Dense meshes and multiple mirror axes can take longer to process. Roll Brush shows a lightweight preview while you draw and applies the geometry when you release the stroke.
More from Mona-Ghafourian
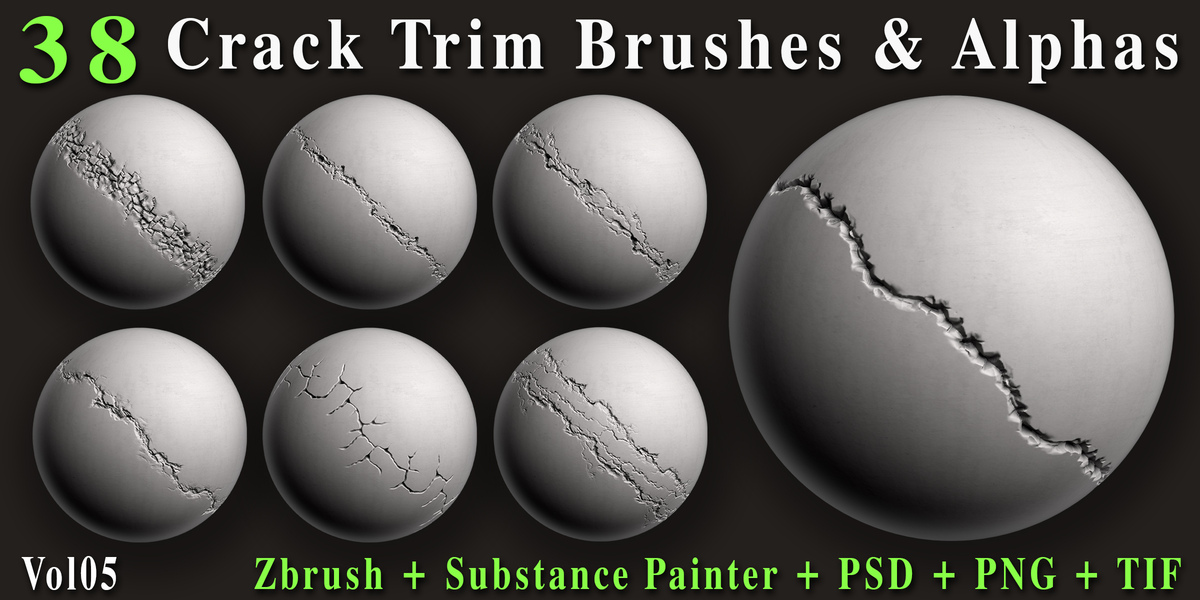
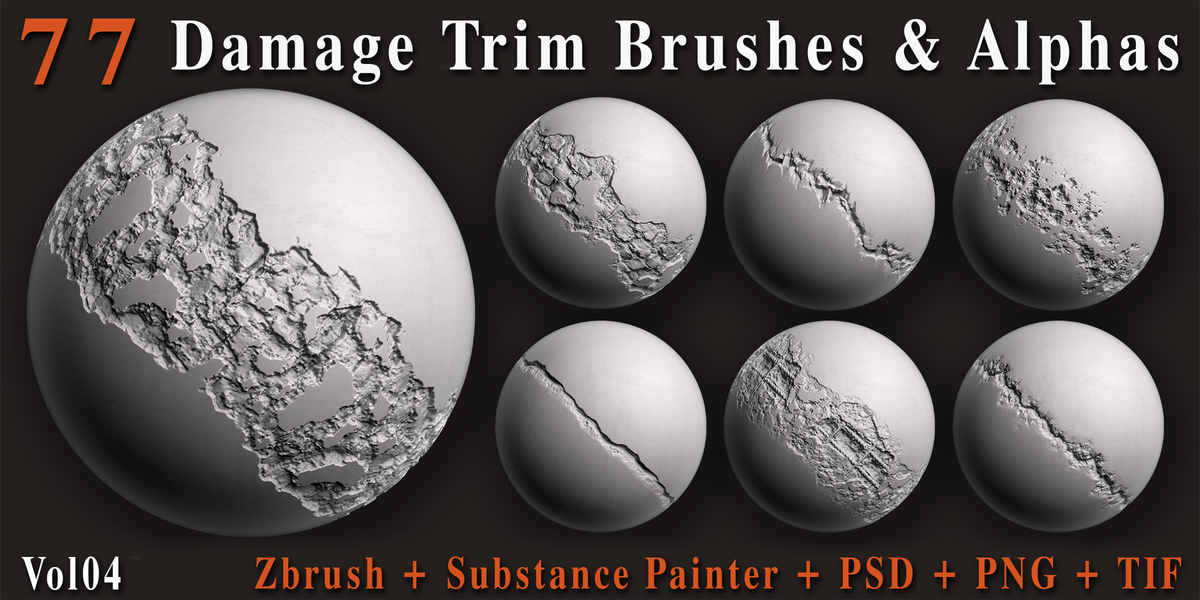
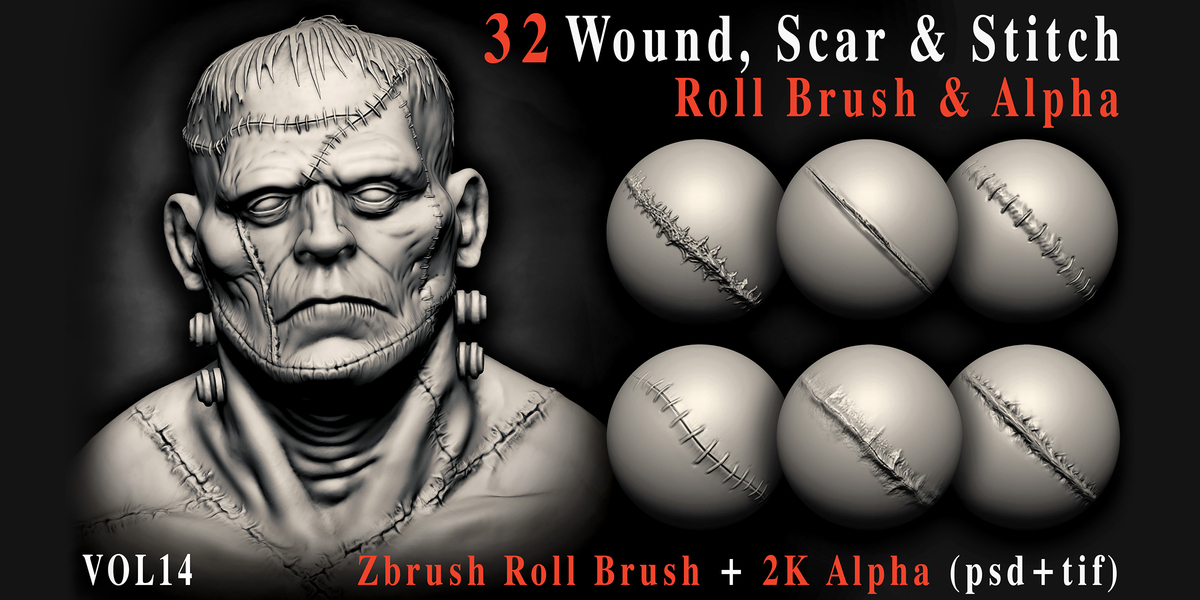
Explore the full alpha collections behind the 6 sample brushes. Sold separately.
Roll Brush support
Need help with Roll Brush? Email [email protected].
