Roll Brush Add-On
 Mona-Ghafourian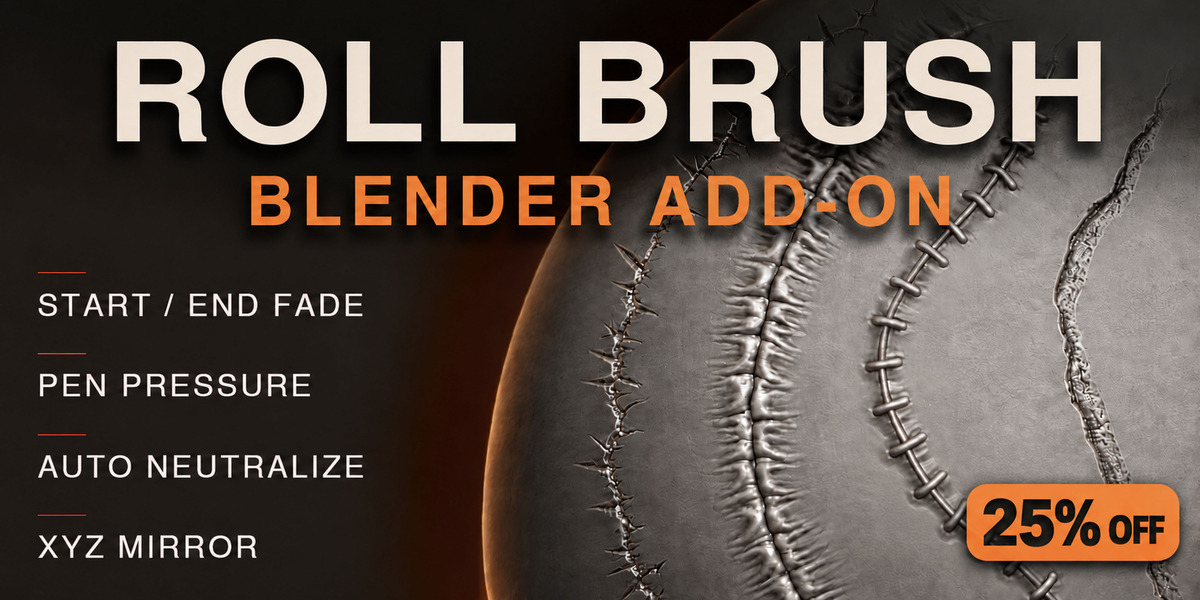
Getting Started
- In Blender 4.5 or newer, go to Edit > Preferences > Add-ons > Install from Disk. Select the release ZIP without extracting it and enable Roll Brush.
- Select a mesh in Object or Sculpt Mode. Press N in the 3D Viewport and open the Roll Brush tab.


- Choose a Free Sample brush or load your own grayscale alpha.
- Adjust Size, Strength and relief direction (+ / −).
- Click Roll Stroke, drag with the left mouse button and release to apply. Press Esc or right-click to cancel.
Main Controls
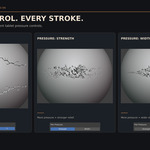
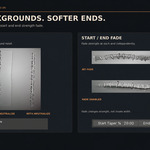
- Auto Neutralize: reduces alpha background displacement. Adjust Neutral Level manually if needed.
- Start / End Taper: independently fade stroke strength at each end, without narrowing the stroke.
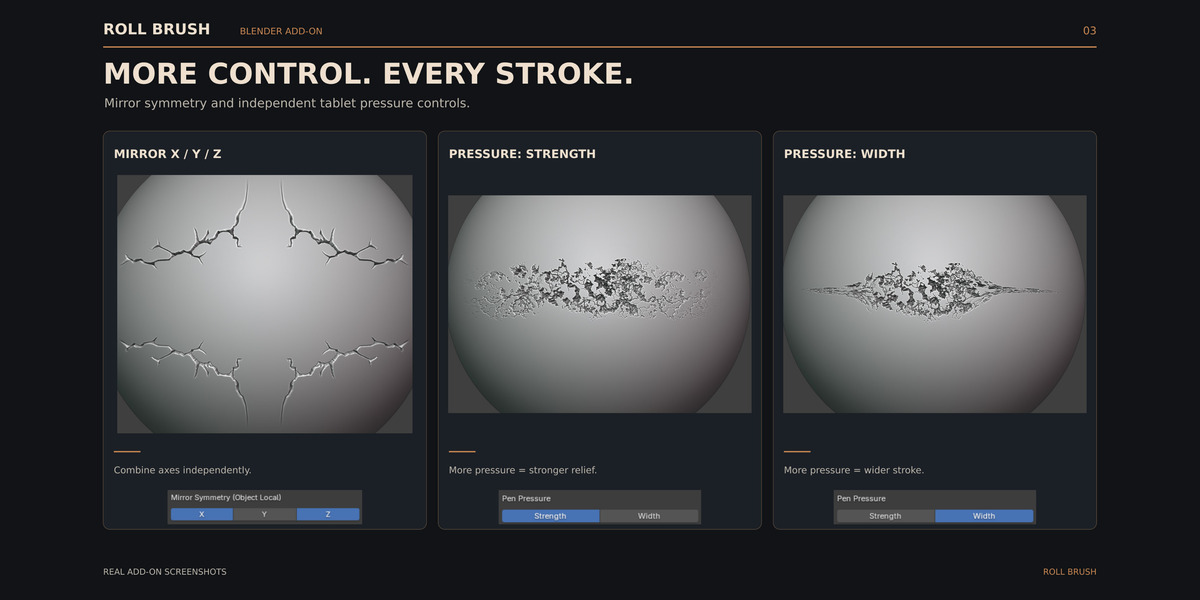
- X/Y/Z Mirror: mirror strokes across the object's local planes.
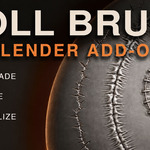
- Pen Pressure: control Strength and Width independently with a pressure-sensitive tablet.
- Advanced: change alpha orientation with Rotation Offset and Flip X/Y.
For clean results, use enough mesh geometry and an alpha with matching edges along the repeat direction. Heavy meshes use a lightweight preview; geometry is applied on release.
$7
 Included
Includes 12 months of
- Support from Mona-Ghafourian
- Product updates
Extend this product’s Support Period +12 months: 50% of product price
Have questions before purchasing?
Login to message
| Blender Extension Compatible | Yes |
| Published | about 7 hours ago |
| Blender Version | 4.5 - 5.2 |
| Extension Type | Add-on |
| License | GPL |
Discover more products like this
alpha grayscale surface detail roll brush stitches pen pressure continuous stroke scars cracks sculpt brush sculpting symmetry