Roof Builder
 Tsykhra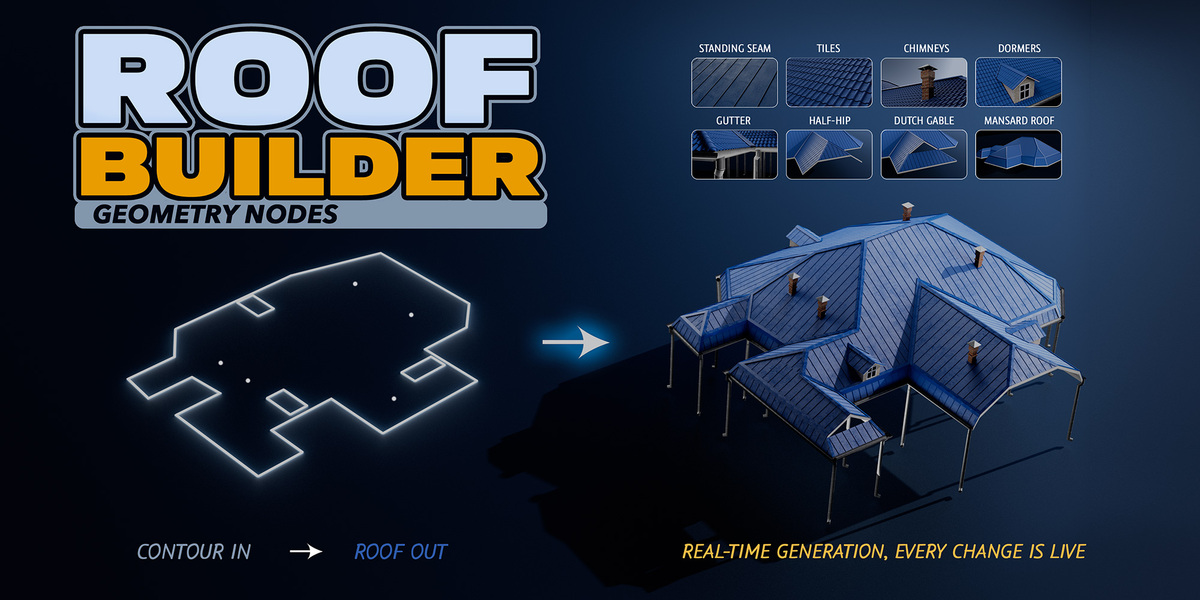
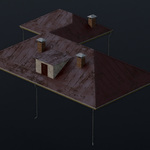
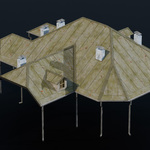
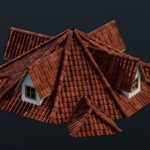
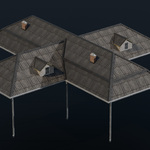
Overview
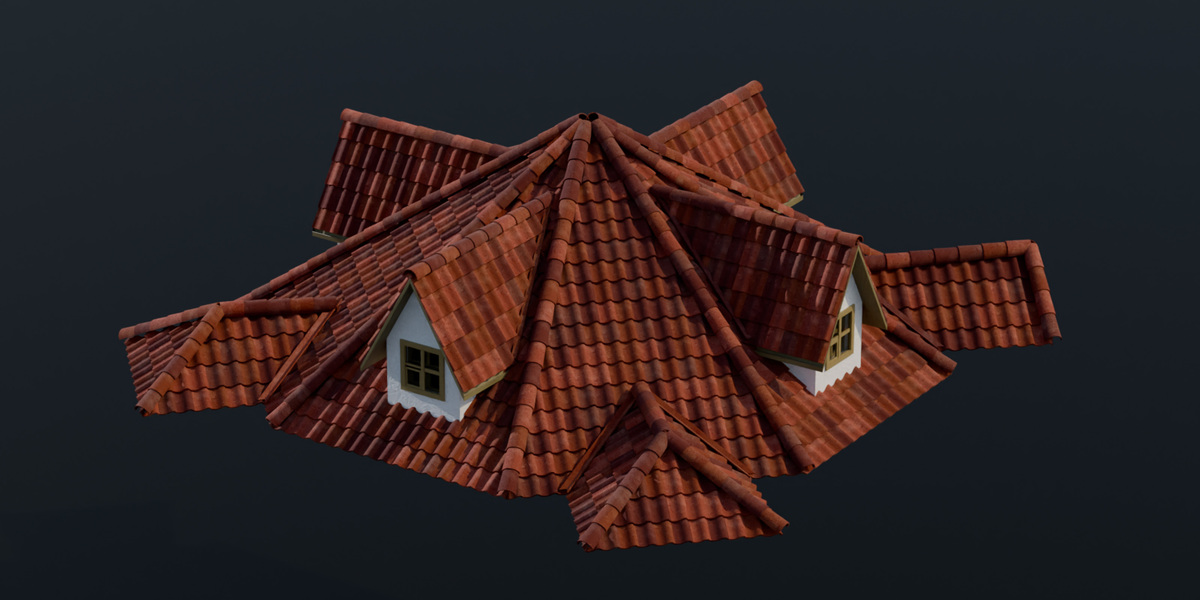
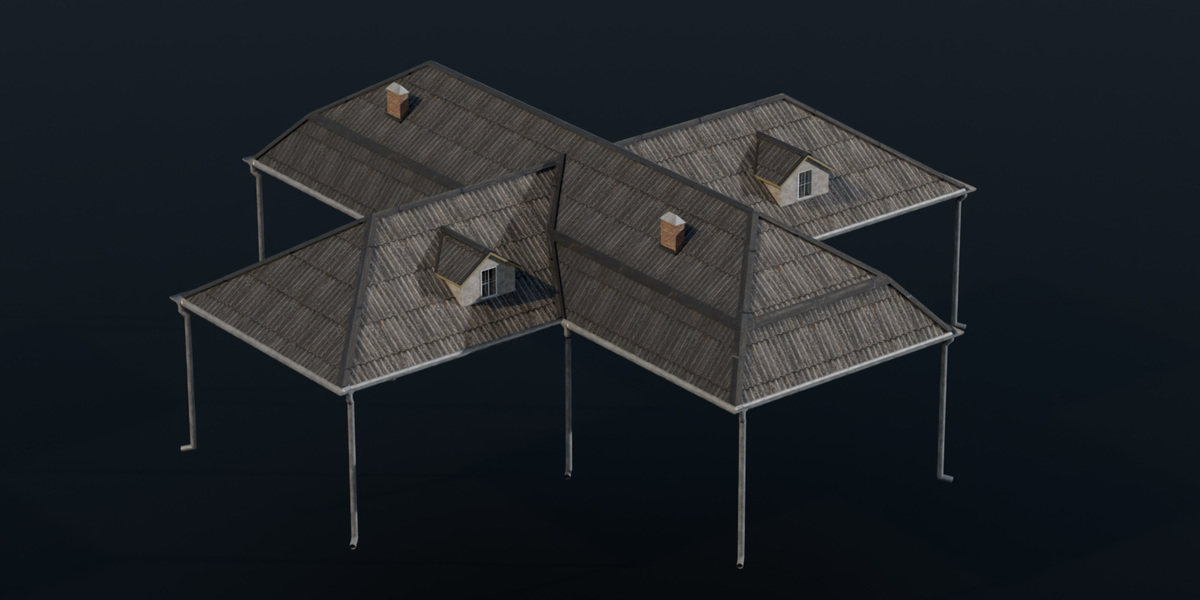
Roof Builder is a Geometry Nodes modifier for Blender that turns a flat outline into a complete roof — slopes, gables, mansards, trims, tiles, gutters, chimneys and dormers. Everything stays procedural: edit the outline or any parameter and the roof rebuilds in real time.
A video tutorial covering the full workflow is available on YouTube: [link to tutorial].
Editions
Roof Builder ships in three editions. Each one includes everything from the edition above it in this table.
| Feature | Core | Advanced | Full |
|---|---|---|---|
| Roof engine: hip, gable, half-hip, mansard roofs from any outline | ✓ | ✓ | ✓ |
| Contour view (color-coded technical preview) | — | — | ✓ |
| Build from an extruded plane (Filter input geometry) | — | ✓ | ✓ |
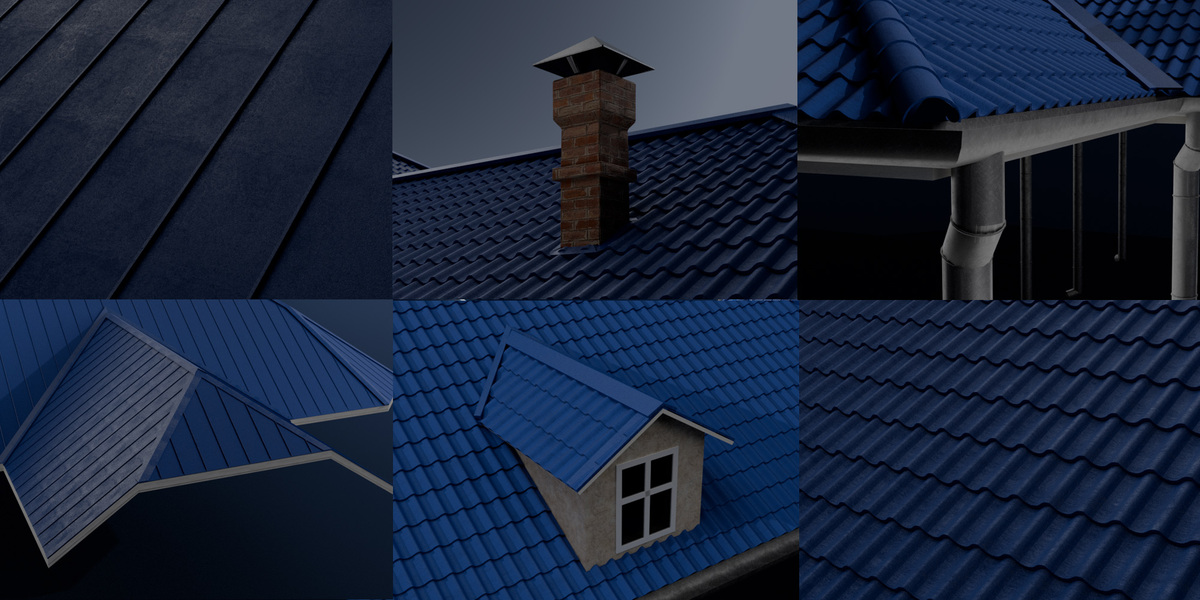
| Chimneys | — | ✓ | ✓ |
| Trims: ridge, hip and valley caps | — | ✓ | ✓ |
| Covering: tiles (7 profiles) and standing seam | — | ✓ | ✓ |
| Rainwater: gutters, downpipes, brackets | — | ✓ | ✓ |
| Dormers with windows or doors | — | ✓ | ✓ |
| Materials panel: assign your own materials and UV controls | — | ✓ | ✓ |
| Wall mode (use a wall block as input) | — | — | ✓ |
| Textured material library: 19 roofs, 6 tiles, 13 trims, 5 soffits, dormer, gutter and chimney materials | — | — | ✓ |
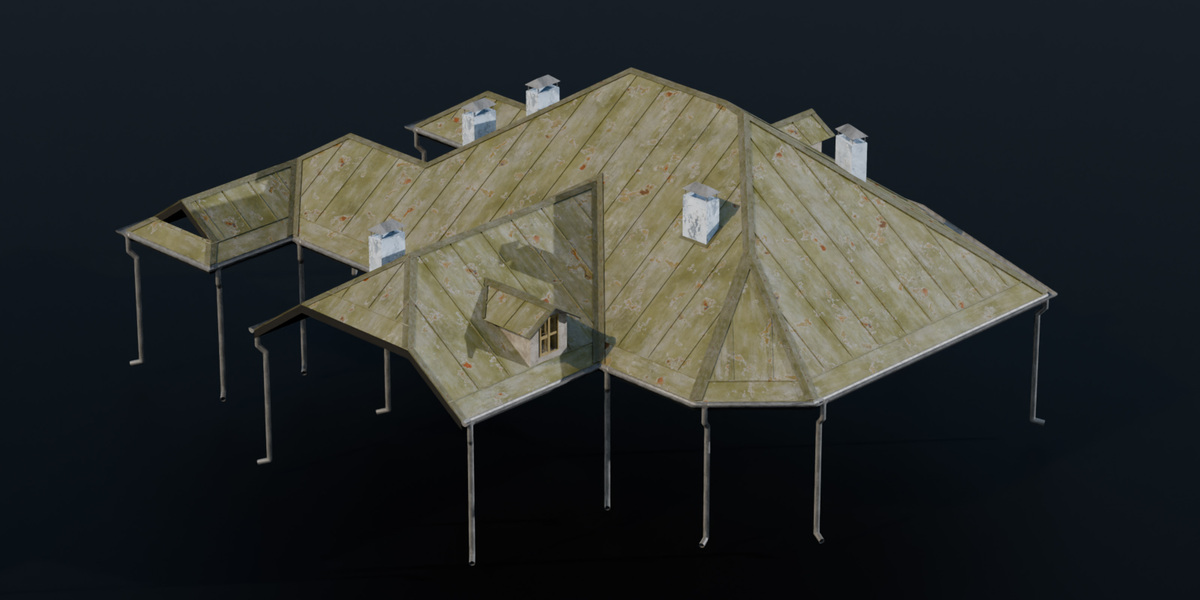
| Aging (procedural weathering) | — | — | ✓ |
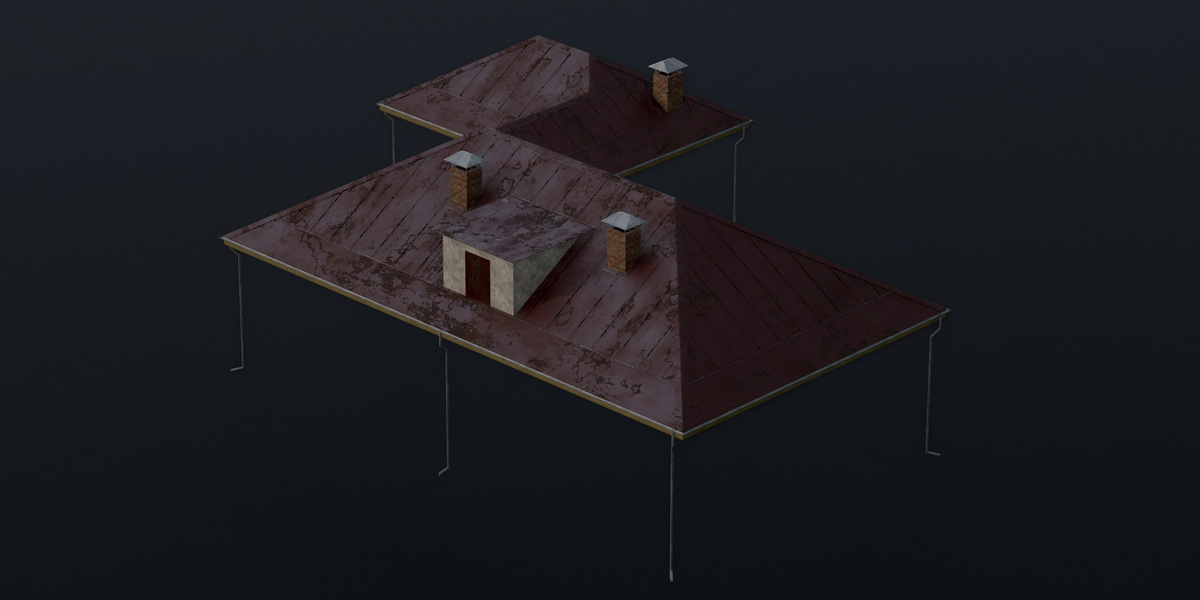
| 12 ready-made example roofs | — | ✓ (no materials) | ✓ |
Advanced ships without materials: assign your own in the Materials panel.
Installation
Roof Builder is distributed as an asset library — there is no add-on to enable.
- Unzip the download to a permanent folder, for example
Documents/Blender Assets/Roof Builder. - In Blender open Edit → Preferences → File Paths → Asset Libraries, click + and select that folder.
- Name the library (for example Roof Builder). Set Import Method to Append (Reuse Data) so materials and node groups are not duplicated each time you drag an asset into the scene.
- Open an Asset Browser editor and pick the library from the drop-down at the top left.
The library is organized into catalogs:
| Catalog | Contents |
|---|---|
| 00 – Roof Builder | The Roof Builder node group |
| 01 – Roofs | Roof surface materials |
| 02 – Soffits | Materials for the underside of overhangs |
| 03 – Tiles | Tile materials |
| 04 – Trims | Ridge, hip and valley trim materials |
| 05 – Dormer | Walls and Windows materials |
| 06 – Gutter | Gutter and downpipe materials |
| 07 – Chimneys | Chimney materials |
| 08 – Examples | Ready-made roof objects |
Material catalogs are included in the Full edition only. Example roofs are included in Advanced and Full.
Minimum Blender version: 5.2.
Quick start
A basic roof takes four steps.
- Add a Plane, enter Edit Mode and delete its face (X → Only Faces) so only the outline edges remain. Shape the outline to match your building's walls.
- Drag Roof Builder from the 00 – Roof Builder catalog onto the object. A Geometry Nodes modifier is added and the roof appears.
- Set Roof → Pitch and Overhang in the modifier panel.
- Enable the extras you need — Trims, Covering, Rainwater, Chimney, Dormer — and assign materials in the Materials panel.
The fastest way to learn the outline conventions is to drag one of the objects from 08 – Examples (Advanced, Full) into the scene and inspect it in Edit Mode.
Preparing the input mesh
The roof shape is controlled by the input mesh and a few standard Blender edge attributes — no custom attributes to create by hand.
Build methods
| Method | Input | Setting |
|---|---|---|
| Outline | Flat closed loop of edges (or a flat face) at the eaves level | Default |
| Extruded plane | Any extruded or non-flat footprint | Enable Filter input geometry |
| Wall block (Full) | A closed wall volume, e.g. an extruded footprint | Enable Wall mode: the roof is built on the top outline and the walls are added to the result with the Walls material |
Marking elements
| Element | How to mark it | Notes |
|---|---|---|
| Hip slope (default) | Nothing | Every outline edge gets a slope |
| Gable end | Edge Bevel Weight = 1 (Edit Mode: Ctrl+E → Edge Bevel Weight) | Values between 0 and 1 give a half-hip (jerkinhead) |
| Mansard break | Edge Crease > 0 (Shift+E) | Only when Mansard is set to Attribute. Walls applies the break to the whole perimeter |
| Chimney | A loose vertex inside the outline | One chimney per vertex. Size is set in the Chimney panel |
| Dormer (Advanced, Full) | A closed loop of edges inside the main outline; assign its vertices to a vertex group named dormer | Mark the dormer's front edge with Bevel Weight = 1 to get a gabled dormer |
Contour view (Full)
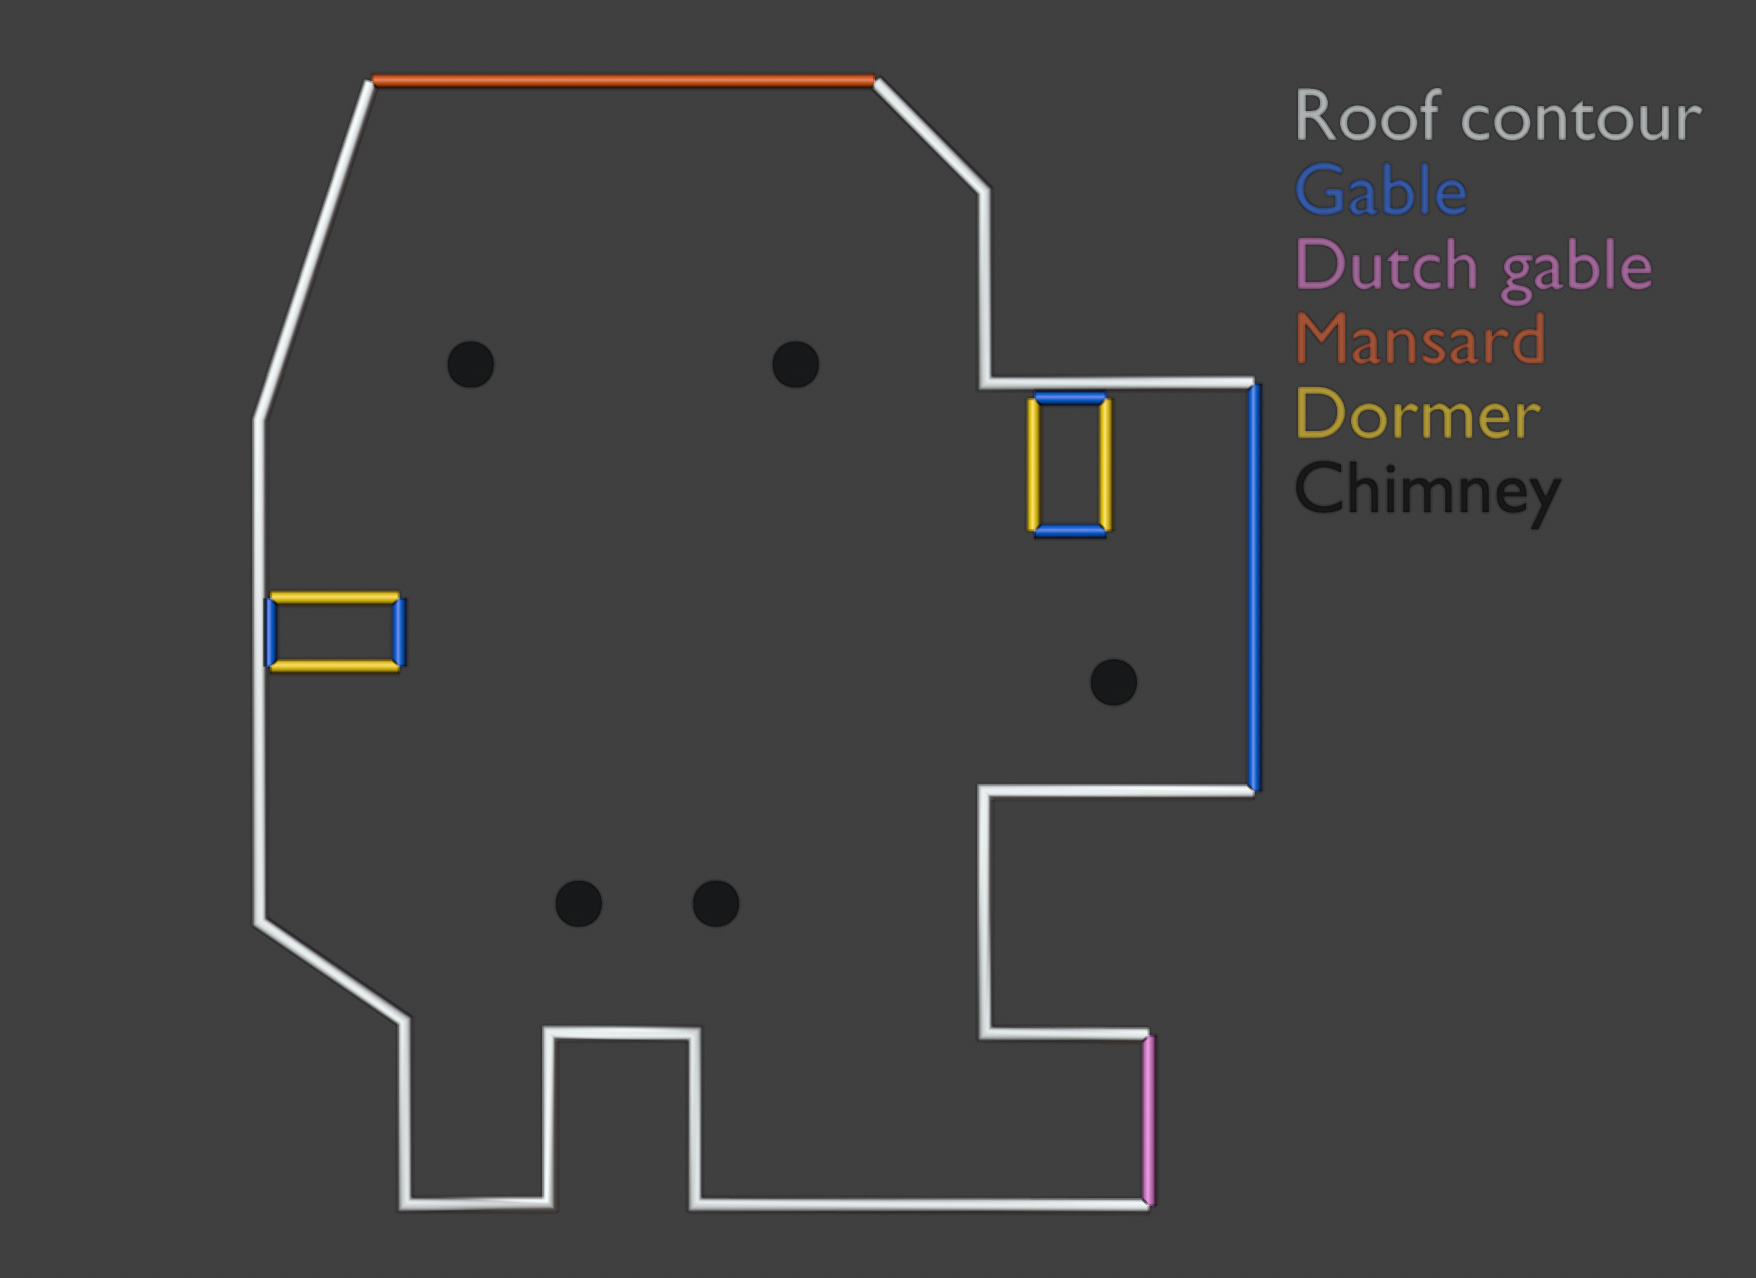
Set Render to Contour to see a lightweight technical preview. Outline edges are drawn as color-coded lines by role: roof, gable, Dutch gable, mansard, dormer, chimney. Use it to check your marking before switching back to Final.
Edge attributes on the output (Core)
The roof mesh produced by Roof Builder Core carries an integer edge attribute roof_edge that labels the type of every roof edge. Use it to build your own details on top of the roof — ridge caps, flashing, snow guards, gutters — in a second Geometry Nodes modifier placed after Roof Builder.
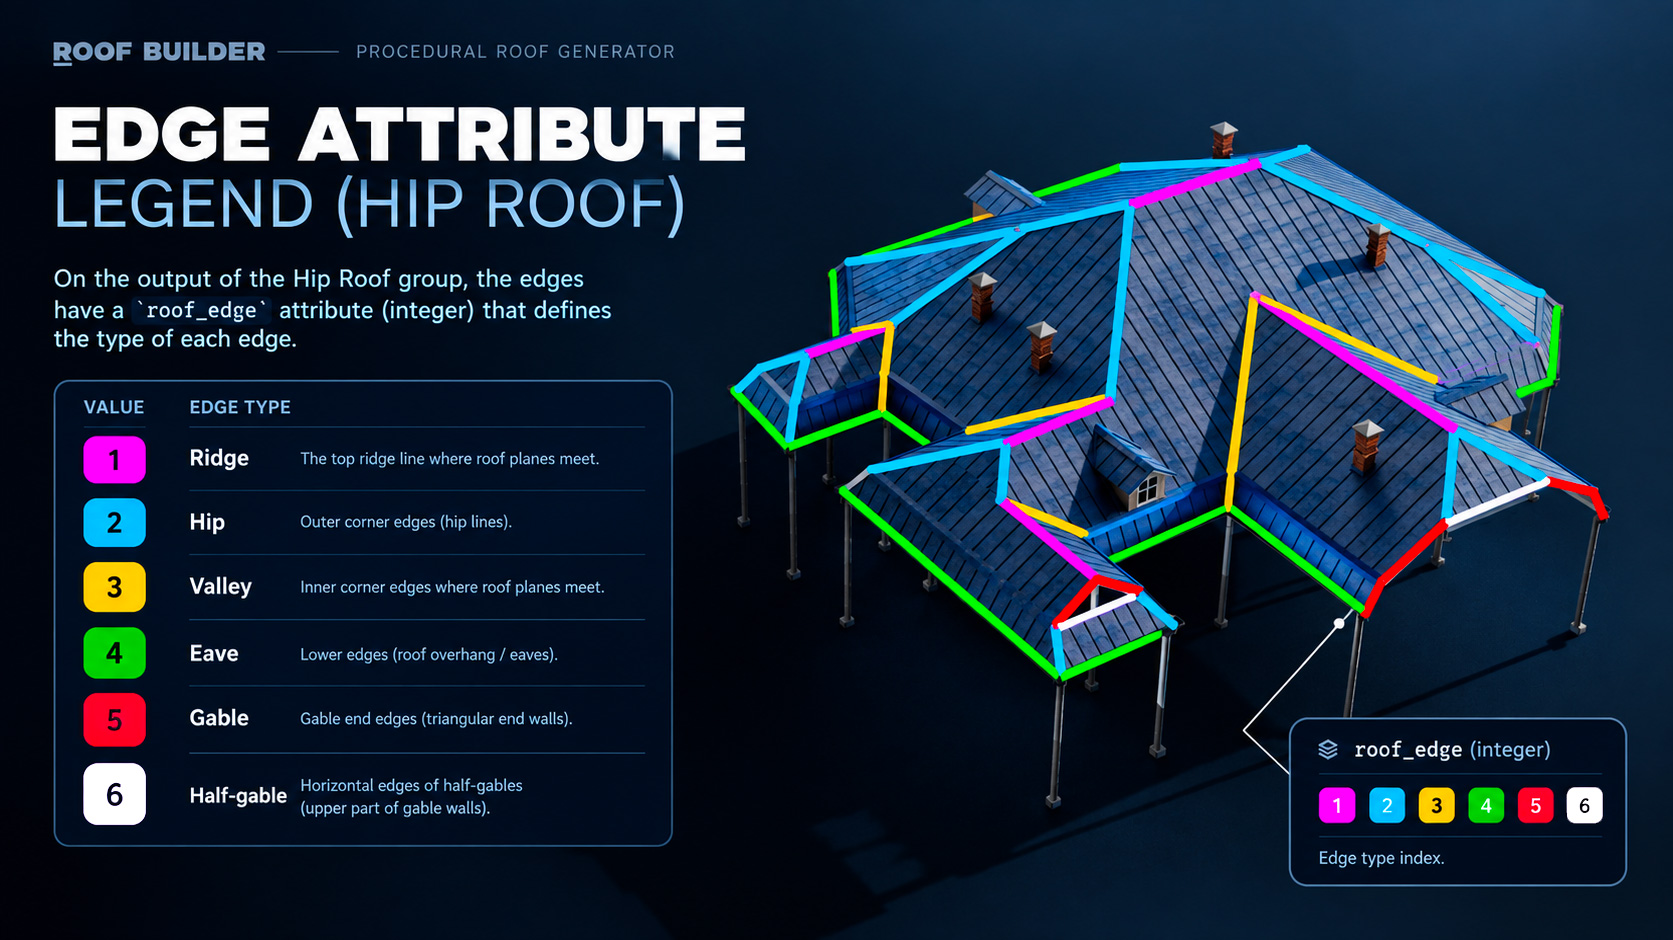
| Value | Edge type | Description |
|---|---|---|
| 0 | Other | All remaining edges (roof thickness, underside and so on) |
| 1 | Ridge | Top ridge line where roof planes meet |
| 2 | Hip | Outer corner edges (hip lines) |
| 3 | Valley | Inner corner edges where roof planes meet |
| 4 | Eave | Lower edges of the roof overhang |
| 5 | Gable | Edges of gable ends |
| 6 | Half-gable | Horizontal edges of half-gables |
To select one type: add a Named Attribute node (Integer, name roof_edge), compare it with the value using Compare → Equal, and use the result as a selection — for example in Separate Geometry (Edge domain) followed by Mesh to Curve to get the ridge lines as curves.
Parameter reference
Defaults and ranges below are the modifier's defaults. Lengths are in Blender units (meters), angles in degrees. Every parameter also has a tooltip in Blender.
General
| Parameter | Default | Description |
|---|---|---|
| Render (Full) | Final | Final: full geometry with materials. Contour: color-coded technical view |
| Line Thickness (Full) | 0.1 (0.03–0.2) | Line thickness in Contour view |
| Text size (Full) | 0.5–3 | Label size in Contour view |
| Filter input geometry | Off | Reduce the input to a clean flat footprint. Enable for extruded or non-flat input |
| Wall mode (Full) | Off | Treat the input as walls; the wall block is added to the result |
Roof
| Parameter | Default | Description |
|---|---|---|
| Pitch | 35° (5–85°) | Slope angle of the main roof |
| Mansard | Off | Off, Walls (whole perimeter) or Attribute (edges with Crease) |
| Mansard angle | 50° (5–85°) | Slope of the lower, steep part |
| Mansard break height | 1.0 (0.1–10) | Height of the break above the eaves |
| Iterations (0 = auto) | 0 | Solver steps. Raise it if a complex roof does not close completely |
| Overhang | 0.2 (0–2) | How far the roof extends past the walls |
| Thickness | 0.03 (0.001–0.3) | Roof slab thickness |
| Align Eaves to Slope | Off | Off: plumb (vertical) eave cut. On: square to the slope |
Chimney (Advanced, Full)
| Parameter | Default | Description |
|---|---|---|
| Chimney | On | Build chimneys at loose vertices |
| Dimensions | 0.3 × 0.62 × 1.0 | Width (X), depth (Y), height above the roof (Z) |
| Cap offset | 0.08 (0–0.2) | Gap between chimney top and cap |
| Cap overhang | 0.05 (0–0.3) | How far the cap extends past the sides |
Trims (Advanced, Full)
| Parameter | Default | Description |
|---|---|---|
| Trims | On | Caps on ridges, hips and valleys |
| Trims Type | Planar | Planar: bent sheet. Round: half-cylinder |
| Cover Radius | 0.1 | Radius of Round trims |
| Trim width | 0.2 (0.01–0.4) | Width of hip and valley trims |
| Thickness | 0.015 (0.001–0.03) | Trim sheet thickness |
| Trims Z offset | 0 (−0.2–0.2) | Moves trims up or down |
Covering (Advanced, Full)
Type: None (plain surface), Tiles or Standing seam.
Standing seam
| Parameter | Default | Description |
|---|---|---|
| Spacing | 1.0 (0.2–3) | Distance between seams |
| Height | 0.026 (0–0.04) | Seam height above the surface |
| Trim height | 0 (0–5) | Absolute height of the trim line above the plan level |
| Bottom seam width | 0.02 (0.01–0.05) | Width of the seam base |
| Bottom seam height | 0.015 (0.001–0.05) | Height of the seam base |
Tiles
| Parameter | Default | Description |
|---|---|---|
| Tiles Type | Flat | Flat, Beaver, S-Tile, Wave, Dome 50, Dome 25, Square |
| Tiles Width | 0.25 (0.1–1) | Tile width along the eaves |
| Tiles Height | 0.35 (0.1–1) | Tile length along the slope |
| Tiles Thickness | 0.01 (0.01–0.04) | Tile thickness |
| Tiles Depth Scale | 1.0 (0.3–2) | Depth of waves and domes |
| Roundness | 0 (0–1) | Rounds tile corners |
| Segments | 5 (1–5) | Segments in rounded corners |
| Random rotations | 0 (0–15) | Random tilt per tile for a hand-laid look |
| Z-Offset | 0 (0–0.1) | Lifts the tile layer off the roof surface |
| UV random | 0 (0–1) | Random texture offset per tile to break repetition |
| UV seed | 0 | Seed for UV random |
Rainwater (Advanced, Full)
| Parameter | Default | Description |
|---|---|---|
| Rainwater | Off | Gutters and downpipes along the eaves |
| At gable ends | On | Downpipe at each end of a gutter run |
| Intermediate outlets | On | Extra downpipes on long runs (see Min spacing) |
| At outer corners | On | Downpipes at convex corners |
| At inner corners | On | Downpipes at concave corners |
| Overall size | 0.05 (0.03–0.2) | Size of gutters and downpipes |
| Min spacing | 12 | Minimum distance between downpipes on a straight run |
| Pipe bottom Z | −3 (−50–0) | Where downpipes end, relative to the object origin |
| Shoe height | 0.08 | Height of the outlet elbow |
| Shoe projection | 0.34 | How far the elbow projects from the wall |
| Clamp spacing | 1.0 | Distance between gutter brackets |
| Corner angle | 15.8° (1–90°) | Minimum outline turn that counts as a corner |
| Reverse | On | Flip gutters if they appear inside the roof |
Dormer (Advanced, Full)
| Parameter | Default | Description |
|---|---|---|
| Dormer | On | Build dormers from loops in the dormer vertex group |
| Dormer Type | Window | Window or Door in the dormer front |
| Dormer Height | 1.0 (0.4–10) | Height of dormer walls |
| Dormer Roof Pitch | 35° (5–85°) | Slope of the dormer roof |
| Dormer Overhang | 0.28 (0.01–0.3) | Dormer roof overhang |
| Dormer Thickness | 0.05 (0–0.2) | Dormer roof thickness |
| Align Eaves to Slope | Off | Plumb or square dormer eaves |
Door / Window
| Parameter | Default | Description |
|---|---|---|
| Frame width | 0.08 (0.01–0.1) | Frame width |
| Muntins | On | Glazing bars |
| Muntin width | 0.06 (0.01–0.08) | Glazing bar width |
| Mid muntin offset | 0.1 (0–0.5) | Vertical offset of the middle bar |
| Door / Window Width | 0.6 (0.12–1.5) | Opening width |
| Door / Window Height | 0.9 (0.3–2) | Opening height |
| Door / Window Offset | 0, 0, 0 | Offset of the opening in the dormer front |
Materials
Each part of the roof has its own material slot in the Materials panel (Advanced and Full; Core has no material slots). In the Full edition, drag a material from the Asset Browser into the slot, or pick it from the slot's drop-down.
| Slot | Used for | Full library |
|---|---|---|
| Roof | Roof surface | 19 materials (Roof 01–19) |
| Soffit | Underside of overhangs | 5 materials |
| Tiles | Individual tiles | 6 materials |
| Trims | Ridge, hip and valley trims | 13 materials, matched by number to the roofs |
| Gutter | Gutters, downpipes, brackets | 3 materials |
| Chimney | Chimneys | Chimney Bricks |
| Dormer wall | Dormer walls | 5 materials |
| Dormer door | Door (Dormer Type = Door) | Use any Roof or Trim material |
| Dormer window | Window frame and muntins (Dormer Type = Window). The glass uses the built-in Glass material | 3 materials |
Trims are numbered to match roofs: Trim 04 Rusty goes with Roof 04 Rusty.
Texture controls
| Parameter | Default | Description |
|---|---|---|
| UV Scale | 1.0 (0.1–10) | Texture scale of the generated UVs (stored in the UVScale attribute) |
| UV Rotate 90 deg | Off | Rotates the generated UVs by 90° |
| Aging (Full) | 0 (0–100) | Amount of dirt, rust and fading blended into the materials |
| Aging Mask Scale (Full) | 1.0 (0.1–3) | Scale of the pattern that distributes weathering |
Using your own materials: the roof generates UVs automatically. In your shader, read them with an Attribute node or a UV Map node, and multiply by the UVScale attribute if you want UV Scale to affect them.
Troubleshooting
| Problem | Fix |
|---|---|
| Roof is not closed or parts are missing on a complex outline | Raise Iterations from 0 (auto) to a fixed value, e.g. 500 |
| Roof is broken or has spikes in one spot | In Edit Mode, nudge the outline vertex next to the broken area slightly. This usually resolves cases where several roof edges meet at exactly the same point |
| Nothing appears on an extruded plane | Enable Filter input geometry |
| Gable not created | Check that the edge's Bevel Weight is exactly 1 |
| Gutters face inward | Toggle Rainwater → Reverse |
| Downpipes too short or too long | Adjust Pipe bottom Z (relative to the object origin) |
| Viewport is slow with tiles | Tune the tiles first, then set Covering → Type to None while you work on the rest of the scene and switch it back before rendering |
| Textures look stretched or too large | Adjust UV Scale or enable UV Rotate 90 deg |
Tips:
- Keep the object's scale applied (Ctrl+A → Scale) so lengths match the values in the panel.
- Place the object origin at ground level so Pipe bottom Z lands on the ground.
Support
Questions and bug reports: [email protected]. Please include your Blender version and, if possible, the outline mesh.
-
$10
-
$35
-
$50
Have questions about this product?
Login to message
| Published | about 18 hours ago |
| Blender Version | 5.2 |
| Render Engine Used | Cycles, Eevee |
| Misc Data | Uvs-Unwrapped, Textured |
| License | Royalty Free |

Discover more products like this
RoofGenerator Roofing procedural RoofTiles roof-tiles Roof Generator roof procedural roof Blender Roof Generator Roof_Generator