 blenderustad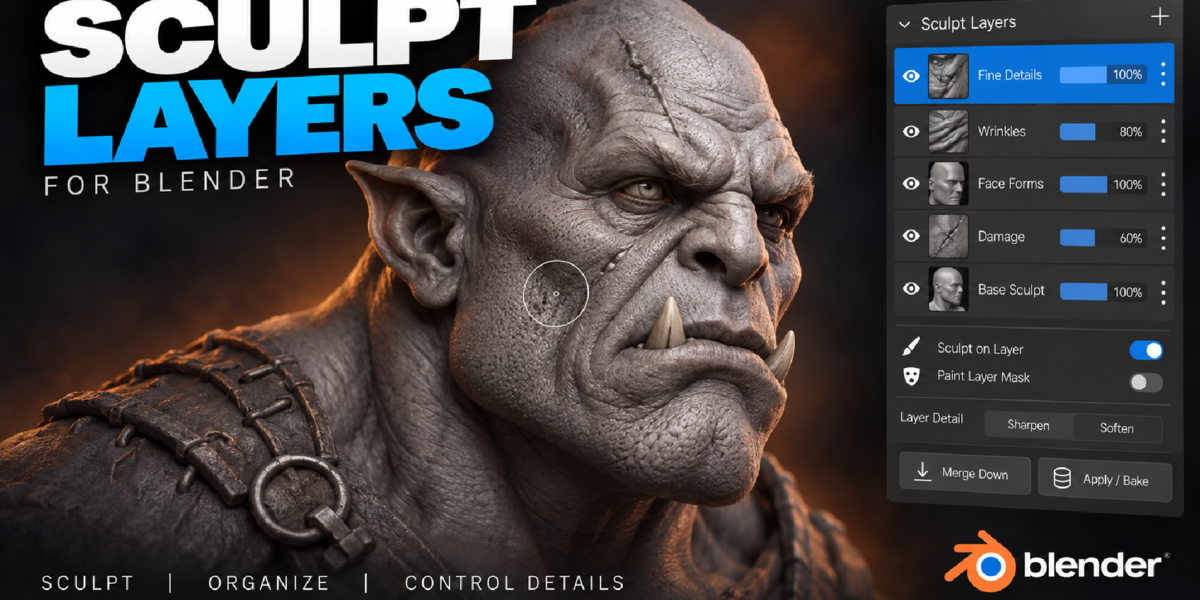

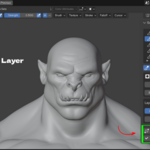
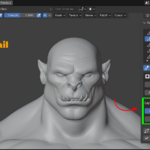
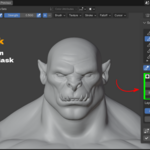
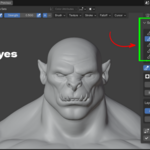
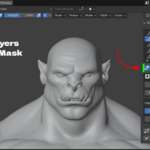
Stop sculpting on a single, permanent mesh
Every sculptor knows the moment. You add skin pores, then notice the brow is too heavy. The pores are already baked into the same mesh, so fixing the brow means losing the detail or redoing it.
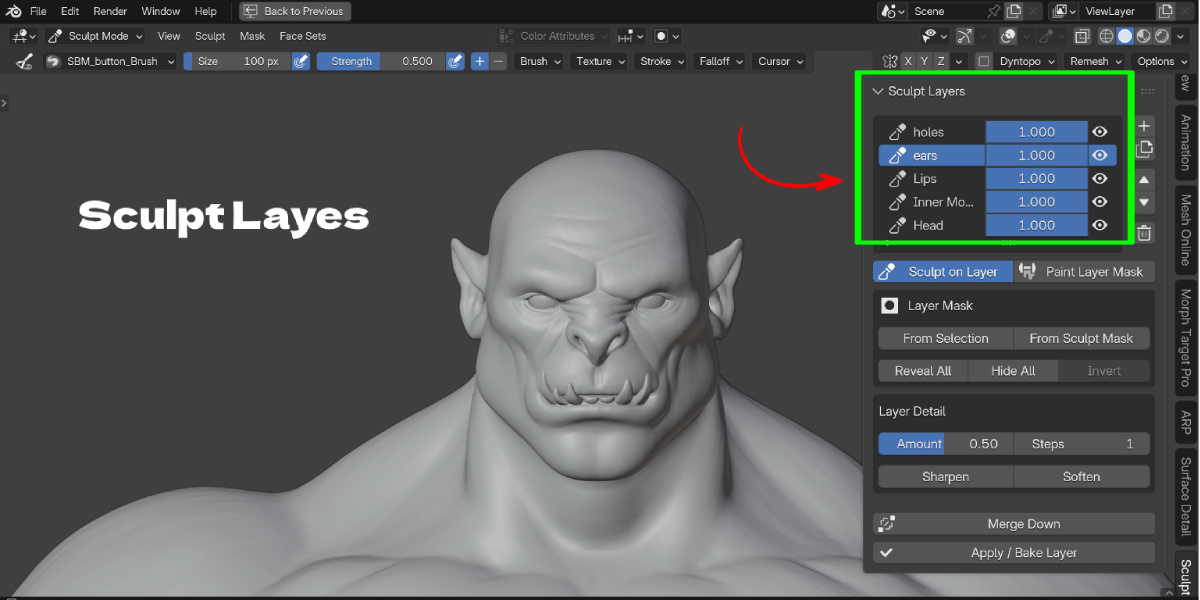
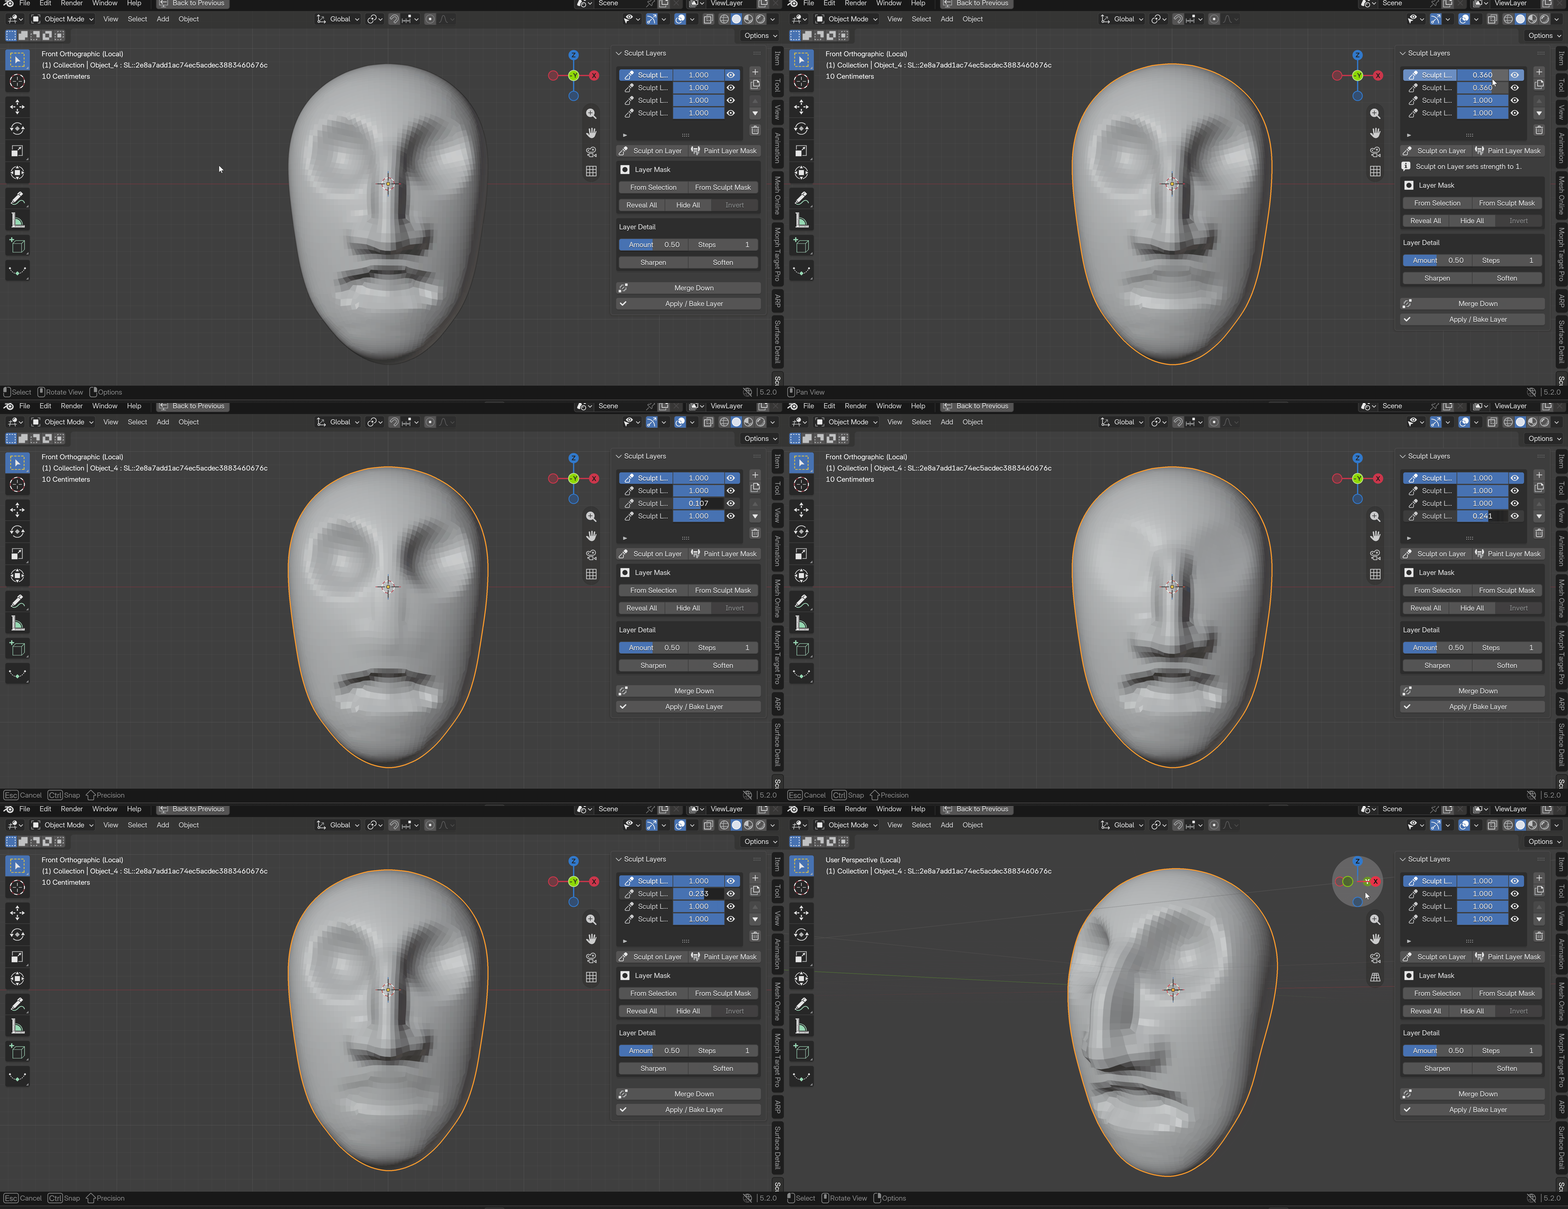
Sculpt Layers fixes that. Each part of your sculpt lives on its own layer. Big forms on one layer, wrinkles on another, pores on a third. You can hide, weaken, reverse, mask, reorder or delete any of them without touching the rest.
How it works
Sculpt Layers stores each layer as a native Blender relative shape key. The final shape is calculated like this:
Basis + sum of (strength x visibility x mask x layer displacement)
Because it uses shape keys and vertex groups, there are no image caches, no timers, no save handlers and no external files. Everything is saved inside your .blend file. If you disable the add-on later, the shape keys still show your sculpt.
What you get
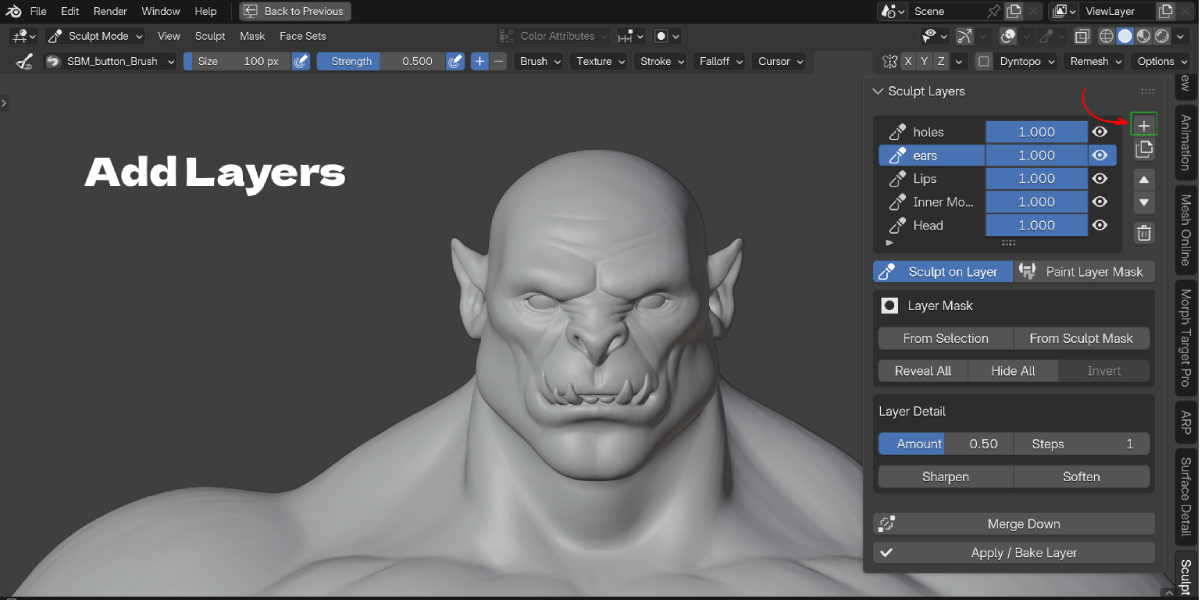
- A layer stack in the 3D View sidebar (N panel, "Sculpt Layers" tab)
- A strength slider on every layer, from -1 to +1
- An eye icon to hide a layer without losing its data
- One independent mask per layer, painted with Blender's normal weight paint
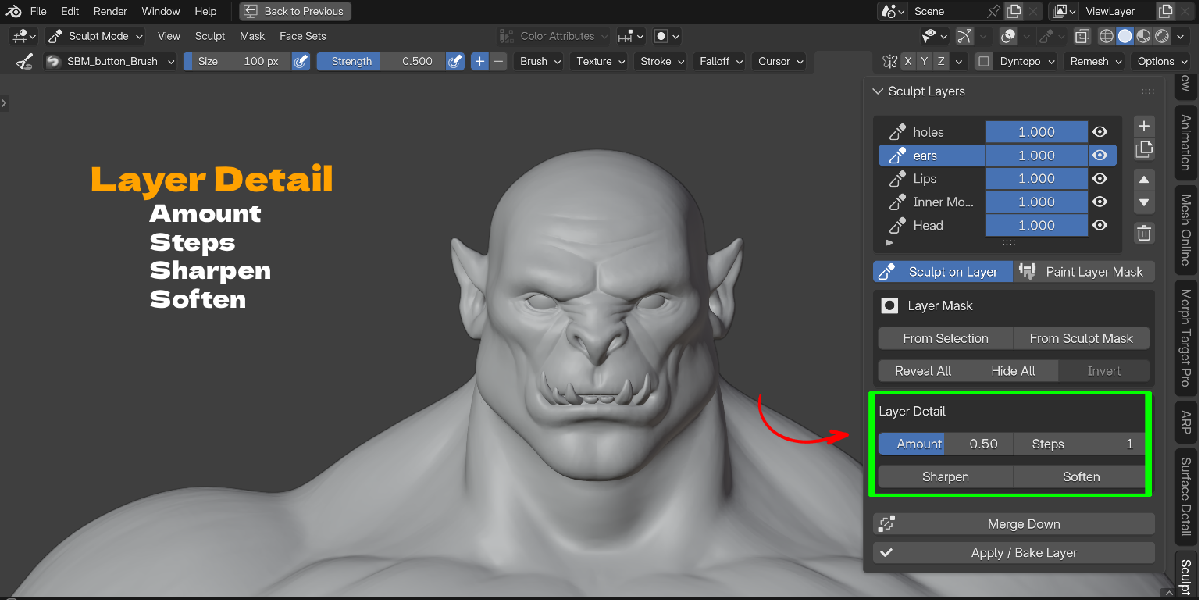
- Sharpen and Soften filters that work on one layer only
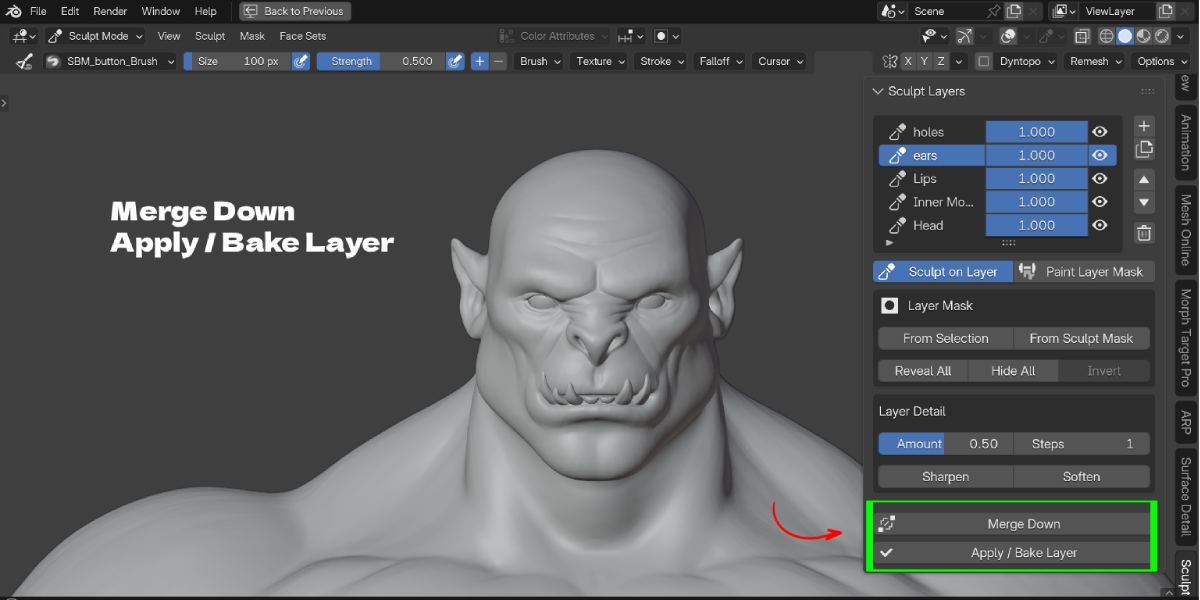
- Duplicate, reorder, rename, Merge Down and Apply / Bake
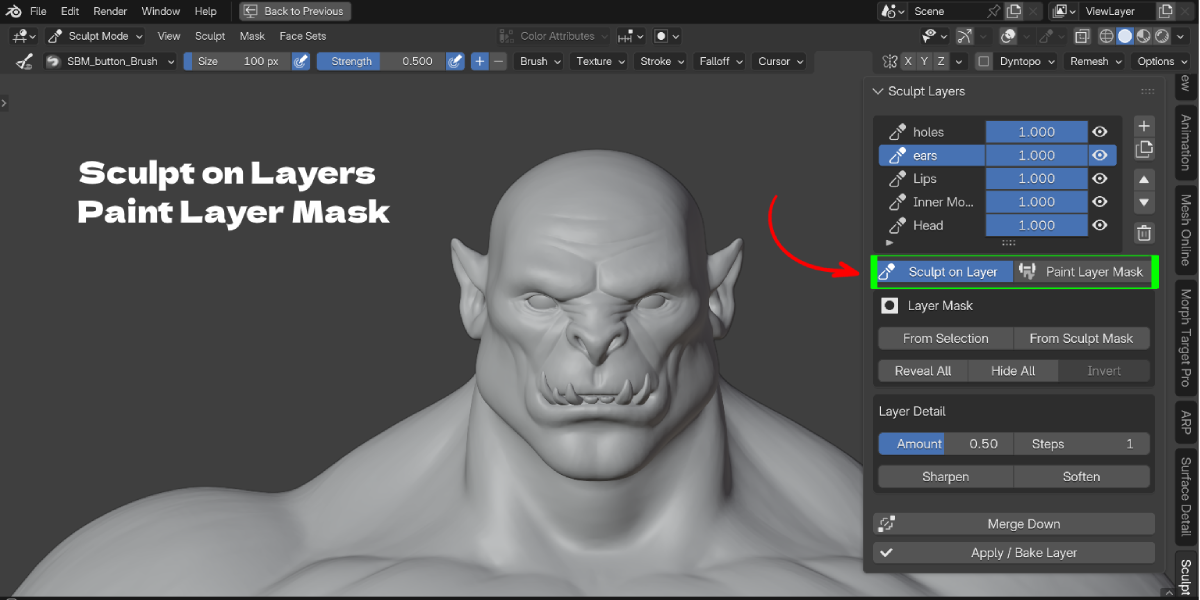
- A one-click Sculpt on Layer button that sets you up to brush on the active layer
- Works with Blender's own sculpt brushes, so you keep the tools you already know
Who it is for
Character artists, creature artists, hard surface sculptors, and anyone who wants to try changes without committing to them. It suits both quick concept sculpts and long production characters that need art direction changes late in the process.
Requirements
- Blender 4.3 or newer (tested on Blender 5.2.1 LTS)
- A mesh with the resolution you want to sculpt at (see the limits below)
- No extra software. It only uses Blender and its bundled NumPy.
Honest limits
Good tools are clear about what they do not do:
- Layers need fixed topology. Dyntopo, voxel remesh and other topology changes after you create layers are not supported. Subdivide first, then add layers.
- Multires is not supported. Shape keys cannot store Multires grids, so the add-on asks you to apply or remove the Multires modifier first.
- Absolute shape keys are not supported. Existing relative shape keys can live alongside your layers.
- Keep the layer stack unanimated. Delete, Merge and Bake are blocked when shape key animation or drivers are present.
Key Features with Benefits
| Feature | What it does | Why it helps |
|---|---|---|
| Independent sculpt layers | Each layer stores its own displacement | Fix one area without redoing another |
| Strength from -1 to +1 | 1 is full effect, 0 is off, negative reverses the layer | Push a wrinkle deeper, soften it, or flip it into a dent |
| Layer visibility (eye icon) | Turns a layer off without deleting it | Compare with and without a detail instantly |
| Per layer masks | Vertex weights restrict where the layer shows. 1 reveals, 0 hides | Apply a layer to the left cheek only, or fade it across the face |
| Paint Layer Mask | Opens native Weight Paint on that layer's mask | Paint masks with tools you already use |
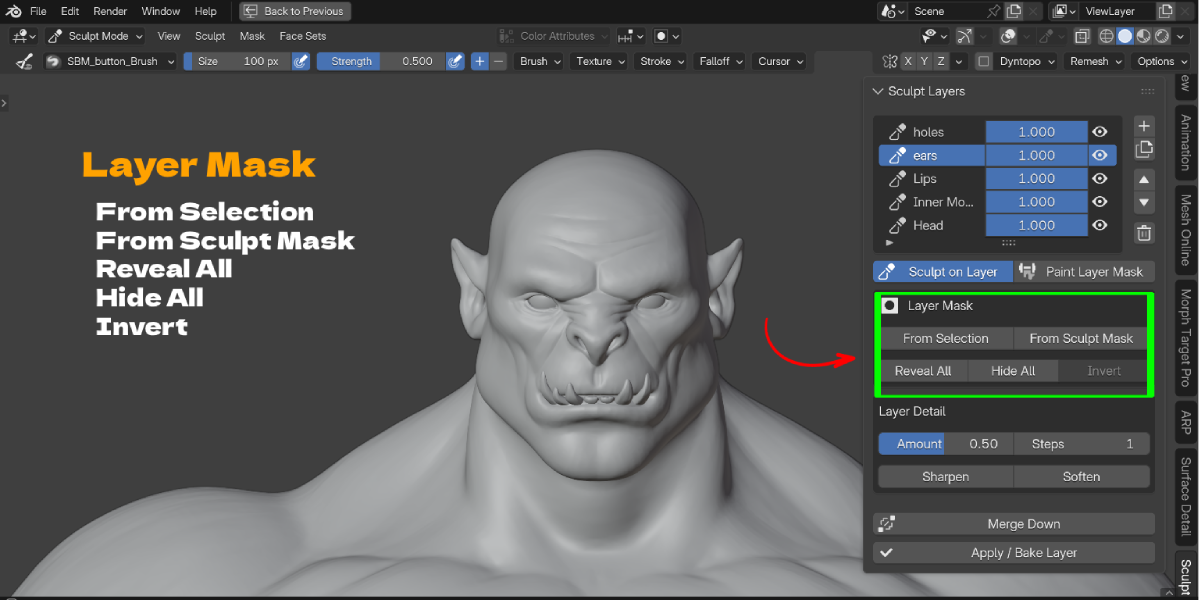
| Mask from selection | Turns selected Edit Mode vertices into a mask | Quick, precise masks for hard areas |
| Mask from sculpt mask | Captures your painted sculpt mask as a layer mask | Reuse masks you already made |
| Reveal All, Hide All, Invert | One-click mask fills and inversion | Fast mask cleanup |
| Sharpen and Soften | Filters the stored displacement of one layer, with Amount and Steps controls | Tune a layer's detail without touching the Basis or other layers |
| Duplicate layer | Copies sculpt data and mask into a fully independent layer | Make variations or start a new pass from a good one |
| Move Up and Down | Reorders the stack | Keep the list readable. Layers add together, so order does not change the look |
| Rename in the list | Double-click the layer name | Stay organized ("Brow", "Pores", "Scars") |
| Merge Down | Combines the current visible result into the layer below | Keep the stack short once a detail is approved |
| Apply / Bake | Adds the layer's current contribution to the Basis and removes the row | Commit a finished layer into the base mesh. Other layers keep their deformation |
| Sculpt on Layer | Selects the layer, shows it at strength 1 and enters Sculpt Mode | You cannot sculpt into the wrong key by accident |
| Locked hidden layers | Hidden or zero-strength layers cannot receive brush strokes | No invisible strokes you cannot see or undo easily |
| Make Mesh Single User | One button in the panel when the mesh is shared | Fixes the most common setup problem quickly |
| Stored in the .blend | Shape keys and vertex groups only | Portable, no missing files, no background scripts |
Workflow Benefits
Try ideas without fear. Add a layer, sculpt, and hide it if the idea fails. Your base sculpt is never touched.
Get feedback and change it fast. A director says "less wrinkles". Drag the wrinkle layer strength to 0.5. Done.
Keep detail separate from form. Large forms, medium forms and fine detail each live on their own layer, so you can change one without breaking the others.
Localize an effect. Mask a layer so it only affects the area you want, then paint the falloff with a normal weight brush.
Mirror a look, then change it. Duplicate a layer to keep an approved version, then push the copy further.
Finish clean. When the look is approved, Merge Down to shrink the stack or Bake to commit layers into the Basis.
Stay inside Blender. No exports, no external tools, no separate file format.
Use Cases
- Character skin detail. Base anatomy on the Basis, wrinkles on one layer, pores on another, scars on a third. Dial each to taste.
- Creature design. Try horns, ridges or scales on a layer. If the design changes, hide the layer instead of rebuilding.
- Facial expression tweaks. Add small corrective sculpts on masked layers and control how strongly they show.
- Art direction rounds. Keep a "before" layer and a "revision" layer, and switch between them for reviews.
- Age and damage variations. Put wear, dents or aging on a layer and blend it with the strength slider.
- Hard surface dents and wear. Sculpt dents on their own layer so you can remove them later.
- Sculpt practice and study. Add your corrections as a layer over a reference model and toggle between the two.
- Cleanup passes. Use Soften on a noisy layer, or Sharpen on a soft one, without touching the rest of the model.
