Sculpt Layers: Non-Destructive Sculpt Layers With Masks and Strength Sliders for Blender
 blenderustad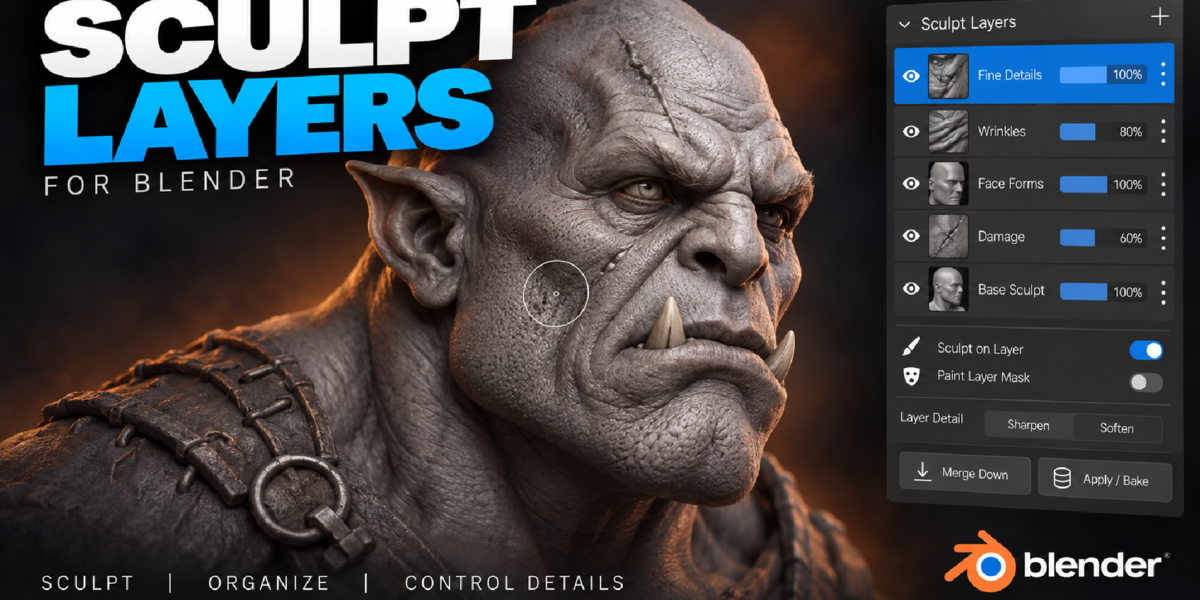
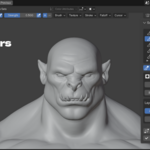
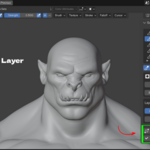
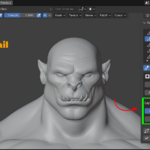
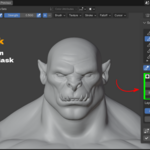
Installation
- Open Blender and go to Edit > Preferences > Add-ons.
- Open the dropdown at the top right and choose Install from Disk.
- Select the add-on .zip file and enable Sculpt Layers.
- Select a mesh object. Open the sidebar (press N in the 3D View) and choose the Sculpt Layers tab.
Before you start
Subdivide or otherwise prepare your mesh to the resolution you want before adding layers. Layers store one position per vertex, so topology must stay the same afterward. If the mesh is shared by several objects, click Make Mesh Single User in the panel.
Quick start
- Select your mesh.
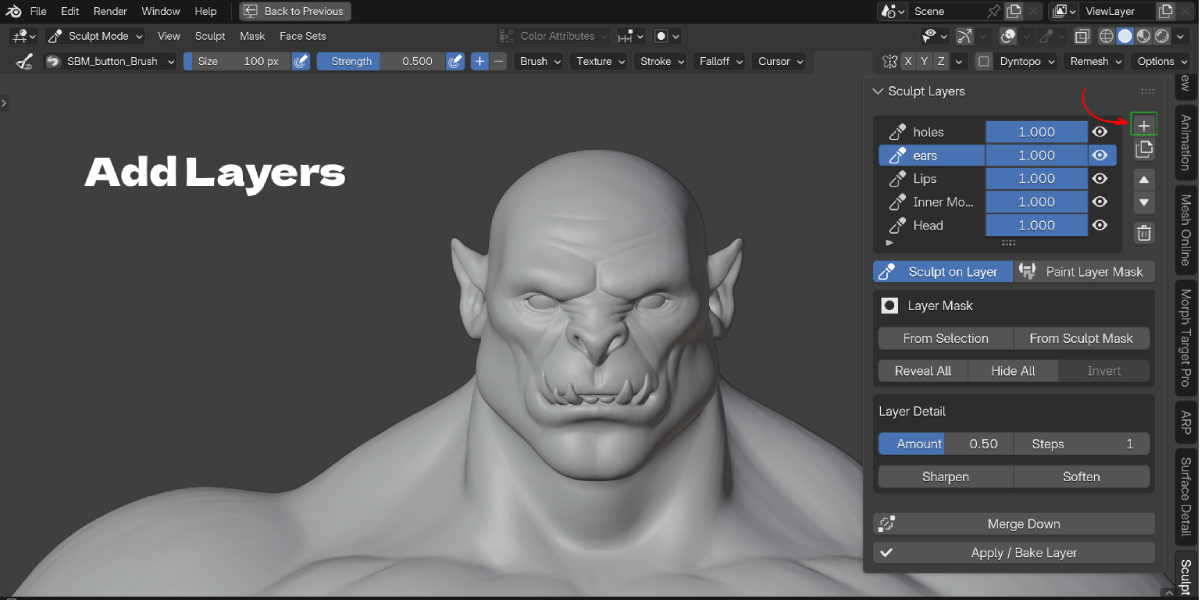
- Click + on the right side of the layer list to create a layer.
- Click Sculpt on Layer.
- Sculpt with any Blender brush.
- Adjust the layer's strength slider, or click the eye to hide it.
- Add more layers as needed.
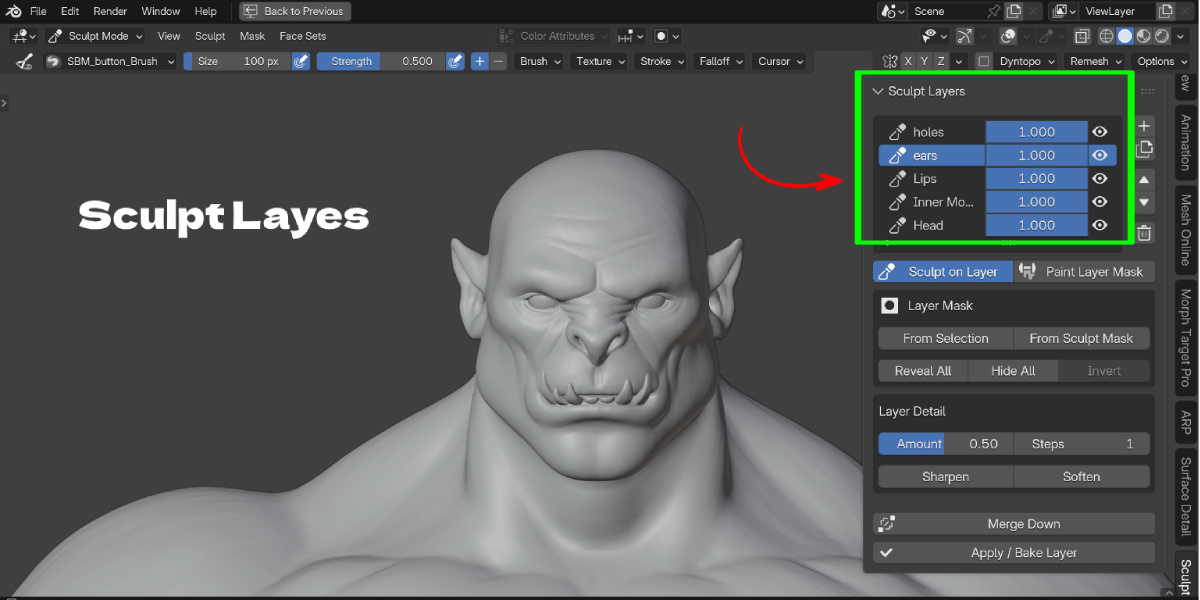
The layer list
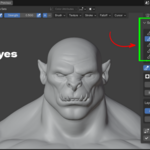
Each row has a name, a strength slider and an eye icon. If the layer has a mask, a mask toggle appears in the row as well.
- Click a row to select it.
- Double-click the name to rename it.
- Drag the strength slider to blend the layer from -1 to +1.
- Click the eye to show or hide the layer.
Buttons on the right side of the list:
| Button | Action |
|---|---|
| + | New empty layer, inserted above the selected row. Nothing is copied |
| Duplicate | Copies the sculpt and mask into an independent layer |
| Up / Down | Moves the layer in the stack |
| Trash | Deletes the selected layer (the last layer can also be removed) |
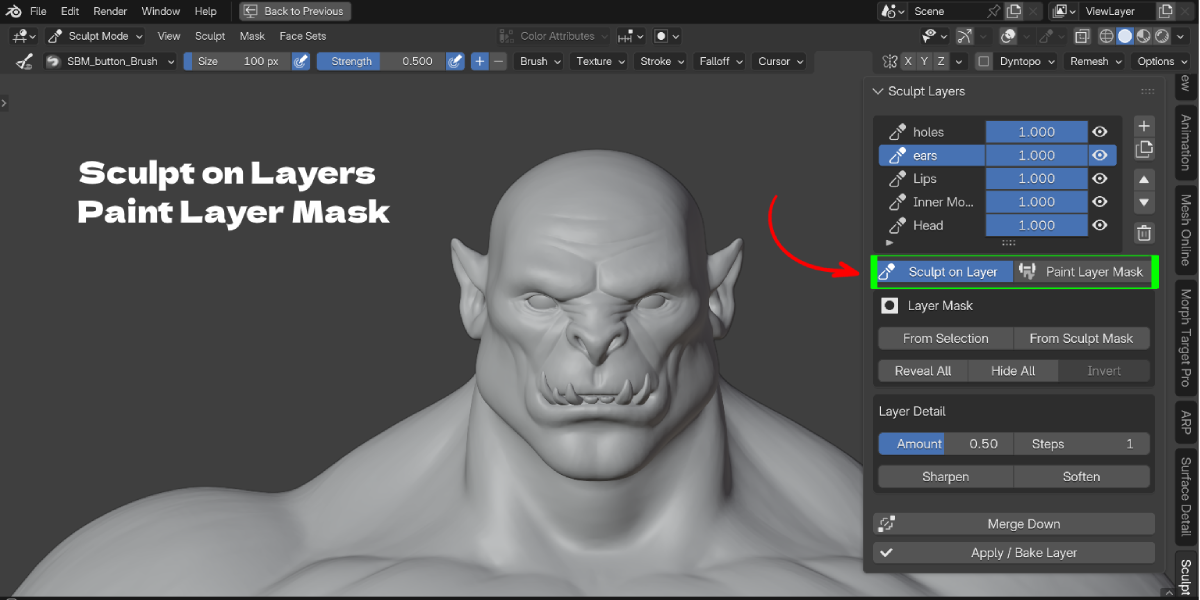
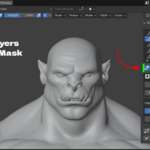
Sculpt on Layer and Paint Layer Mask
These two buttons sit side by side under the list. The active one is highlighted, and switching to one deactivates the other.
- Sculpt on Layer shows the layer at full strength and enters Sculpt Mode. It also resets hidden or partial-strength layers so brush strokes are predictable.
- Paint Layer Mask enters Weight Paint Mode for that layer's mask. Weight 1 (red) reveals the layer. Weight 0 (blue) hides it.
Hidden layers and layers at zero strength are locked so you cannot sculpt on something you cannot see.
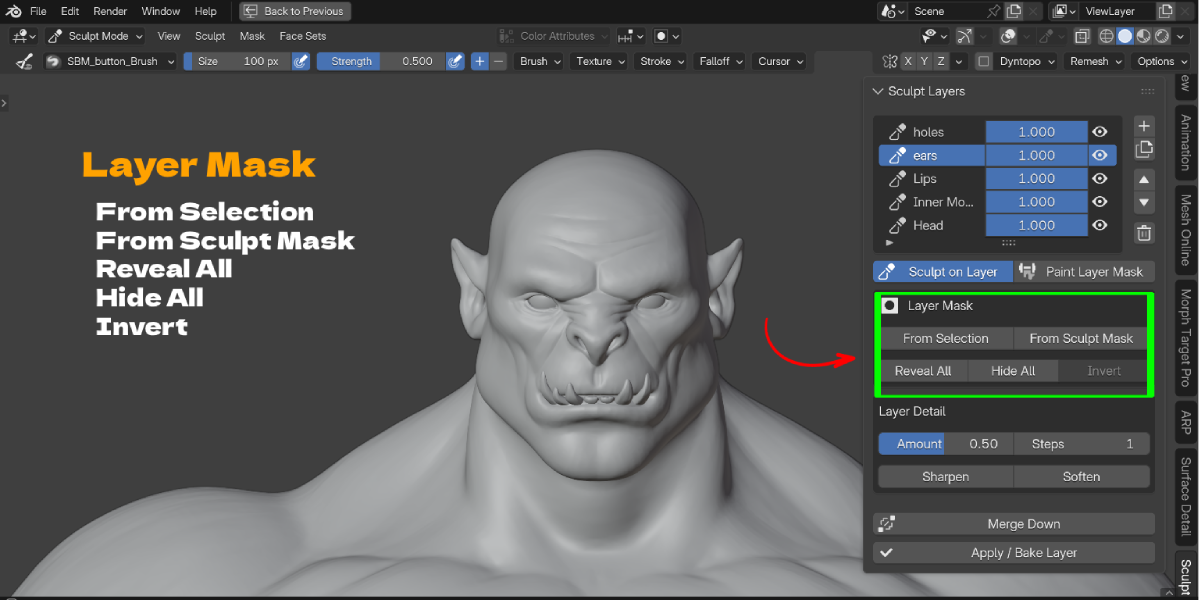
Layer masks
Each layer can have its own mask. Turn the mask on or off with Enable Mask. Turning it off keeps the mask for later.
- From Selection: select vertices in Edit Mode first, then click the button. Selected vertices reveal the layer.
- From Sculpt Mask: paints a layer mask from your current sculpt mask. Masked areas become weight 0 and unmasked areas become weight 1. This is a snapshot, so capture it again after changing the sculpt mask.
- Reveal All: fills the mask with 1.
- Hide All: fills the mask with 0.
- Invert: flips the weights.
- Trash icon: removes the mask.
A layer mask controls where a layer shows. Blender's sculpt mask only protects vertices from new strokes. They are separate.
Layer Detail (Sharpen and Soften)
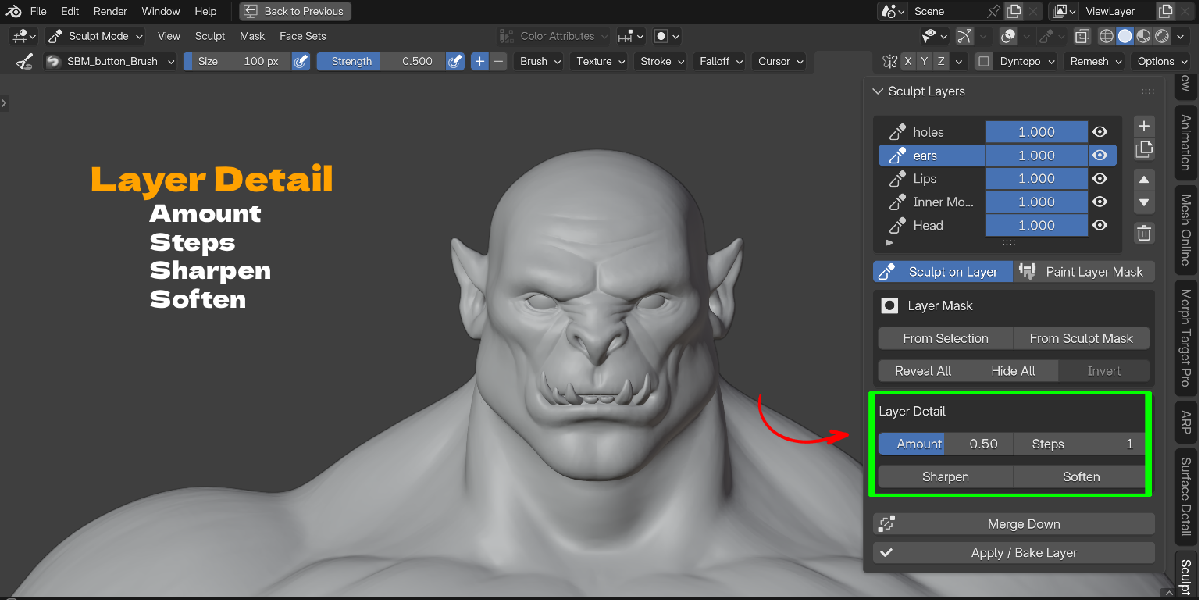
Set Amount and Steps, then click Sharpen or Soften.
- Soften smooths the stored displacement on that layer.
- Sharpen increases the differences between neighboring displacements.
Filters change only the active layer, and they also affect detail hidden by the mask. Repeated sharpening can exaggerate noise, so keep the amount low and use Undo if needed.
Merge Down
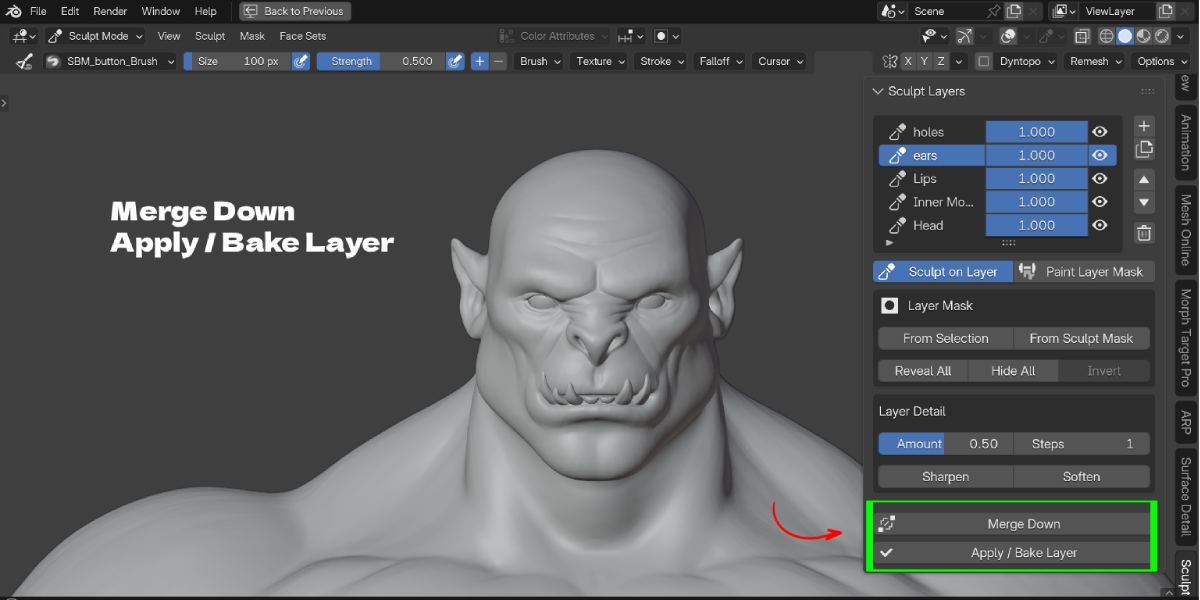
Combines the selected layer and the layer below it into the lower layer, at strength 1 and without a mask. The result matches what you currently see. Hidden layers and masked-out detail are not kept. To keep everything, show the layers and turn masks off first.
Apply / Bake Layer
Adds the layer's current visible, masked contribution to the Basis, then removes the layer. Other layers keep their deformation.
How the result is calculated
Basis + sum(strength x visibility x mask x layer displacement)
Because layers add together, changing their order does not change the look of the model.
Saving and compatibility
- Layer data, masks, names and settings are stored in the .blend file.
- Each layer uses an internal shape key named
SL::...and an optional vertex group namedSL Mask::.... Manage them from the panel. If you rename or delete them in Blender's Data tabs, the layer disconnects. Use Undo to restore. - The visible layer name can be renamed freely.
- Keep Blender's Global Undo enabled. Layer operations record full snapshots.
- Property edits like strength or name follow Blender's native undo behavior, so in Sculpt Mode they do not create separate undo steps. Use Object Mode when you need every change to be undoable.
Memory
Each layer costs about 12 bytes per vertex plus Blender's overhead. A layer on a one million vertex mesh is roughly 12 MB before masks and undo history. Filters and stack operations use temporary arrays sized to the vertex and edge count.
Supported and unsupported setups
| Setup | Status |
|---|---|
| Fixed topology mesh | Supported |
| Existing relative shape keys | Supported alongside layers |
| Dyntopo | Not supported |
| Voxel remesh or topology change after layers exist | Not supported |
| Multires modifier | Not supported. Apply or remove first |
| Absolute shape keys | Not supported |
| Shape key animation or drivers | Delete, Merge and Bake are blocked while present |
| Linked or library meshes | Use a local, editable mesh. Shared meshes can be made single user |
Blender 4.3 is the minimum version. The add-on is tested on Blender 5.2.1 LTS. Other supported versions have not been tested by the developer.
Have questions about this product?
Login to message
| Blender Extension Compatible | Yes |
| Published | 17 days ago |
| Blender Version | 3.4 - 5.2 |
| Extension Type | Add-on |
| Render Engine Used | Cycles, Eevee |
| License | GPL |

Discover more products like this
sculpt layers shape keys layers sculpt-tools weight paint mask Workflow Sculpt mask modeling sculpting non-destructive blender 5 character sculpting