Seam Blend - Blend Mesh And Materials
 ThriftBlend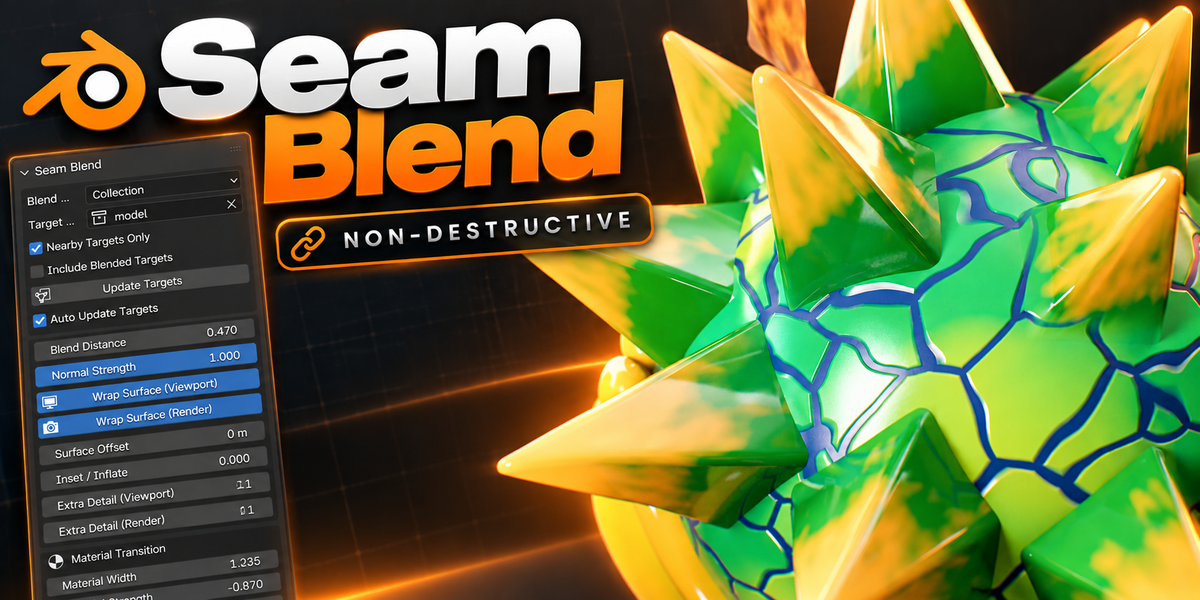
Seam Blend — User Guide
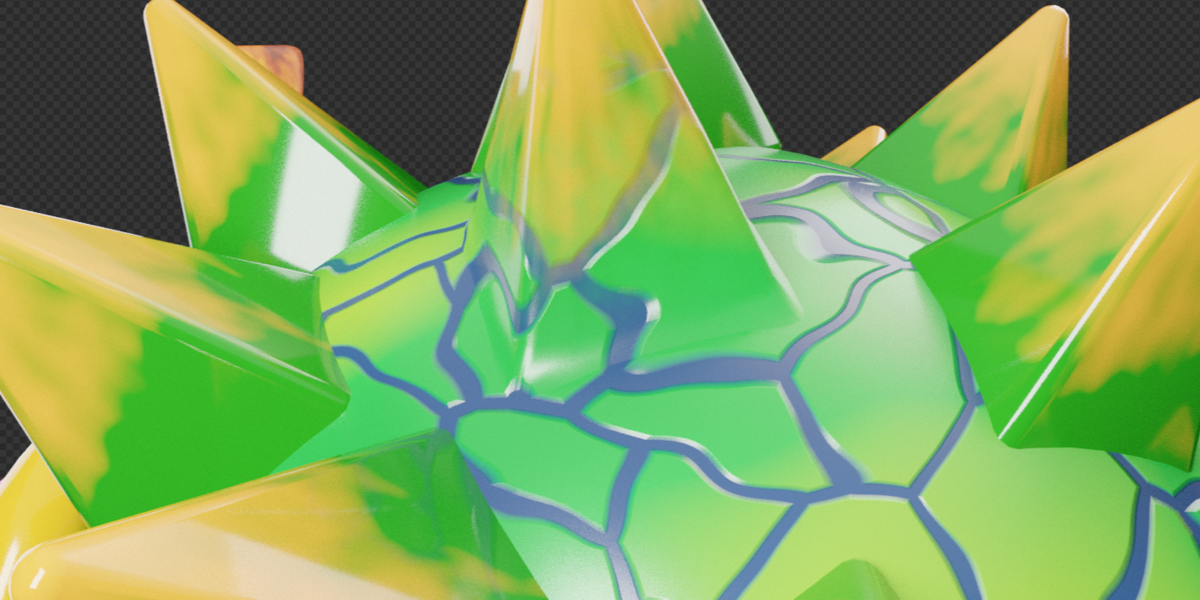
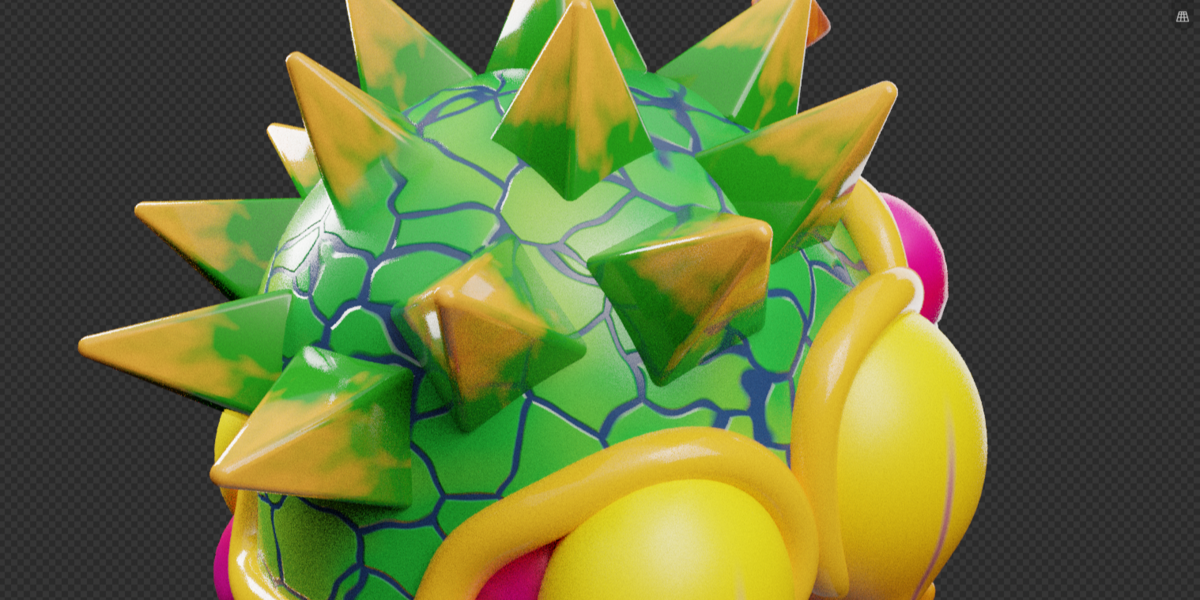
Seam Blend creates smooth surface, normal, and material transitions between separate Blender objects while keeping them editable.
Use it to blend an attachment into one base object or several surrounding surfaces. Different objects can use different materials.
A non-destructive workflow
Seam Blend uses modifiers and generated materials. Your original meshes stay separate, and you can continue moving, reshaping, and adjusting them.
It does not permanently weld objects, create shared topology, or produce a watertight Boolean union. Its purpose is to make separate surfaces look smoothly connected.
Compatibility
Tested Blender version: 5.2.0 LTS
Tested platform: macOS
Render engines: Cycles and EEVEE
Windows and Linux: designed for compatibility, but not runtime-tested
Complex scenes and shader setups can have different performance and limitations between render engines.
Installation
Download the add-on ZIP. Leave it zipped.
Open Blender’s Preferences → Add-ons.
Open the dropdown menu and choose Install from Disk.
Select the ZIP and enable Seam Blend if prompted.
In the 3D Viewport, press N and open the Seam Blend tab.
When updating an existing installation, save your project and restart Blender after installing the new version.
Quick start: blend two objects
The attachment is the object you want to blend. The base supplies the target surface and material.
Position the attachment close to or intersecting the base.
Make sure both objects have materials with connected surface shaders.
In Object Mode, select the attachment first, then select the base last so it is active.
Choose Single Object mode and click Blend Into Active Object.
Switch to Material Preview or Rendered shading to inspect the material transition.
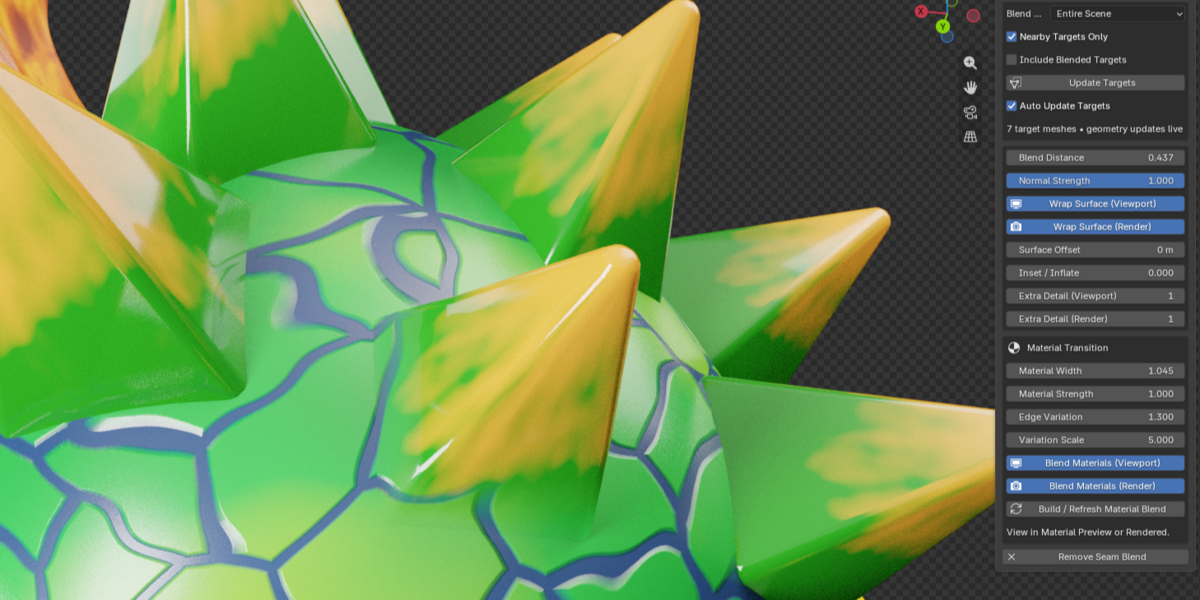
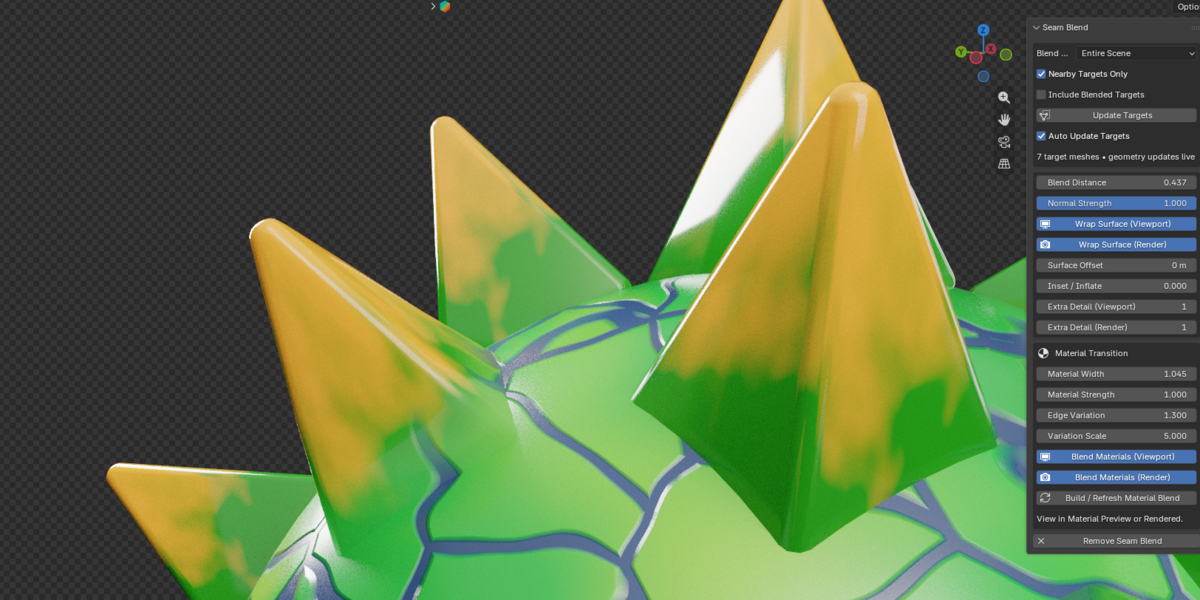
Adjust Blend Distance, Extra Detail, and Material Width to shape the result.
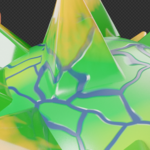
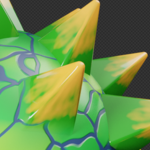
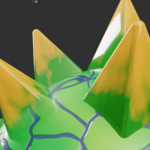
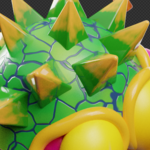
For example, a spike can remain a separate object while its lower surface and material blend into a shell.
Blend into multiple objects
Select the attachment.
Choose Collection or Entire Scene under Blend With.
For Collection mode, choose the collection containing your target meshes.
Click Blend With Surroundings.
For an existing setup, click Update Targets instead.
Different regions of the attachment can blend toward different nearby target surfaces. A collection gives you direct control over which objects participate.
Nearby Targets Only
This option limits collection or scene targets using their bounding boxes and your blend widths.
It helps exclude distant objects. Bounding boxes are an approximate filter, so a large object can remain eligible even when part of its surface is far away.
Include Blended Targets
Enable this on the receiving attachment when another object that already uses Seam Blend should contribute to its blend.
For example:
A purple object already blends into a shell.
A nearby triangle should also blend toward that purple object.
Select the triangle, enable Include Blended Targets, and click Update Targets.
Influence must remain one-way. Objects that would create a circular dependency are excluded.
Controls
| Control | What it does |
|---|---|
| Blend Distance | Sets the area affected by surface wrapping and normal blending. |
| Normal Strength | Adjusts the influence of transferred target normals. |
| Wrap Surface | Enables or disables surface wrapping separately for the viewport and rendering. |
| Surface Offset | Adjusts the wrapped surface’s offset from the target. |
| Inset / Inflate | Moves the attachment inward or outward within the blend area. |
| Extra Detail | Adds subdivision before blending, providing more vertices for a smoother geometric transition. Viewport and render levels are separate. |
| Material Width | Sets the width of the material transition. |
| Material Strength | Controls how strongly the target material influences the attachment. |
| Edge Variation | Adds irregularity to the material transition. |
| Variation Scale | Adjusts the scale of that irregularity. |
| Build / Refresh Material Blend | Rebuilds the generated material after source shader changes. |
| Update Targets | Refreshes the target set and rebuilds the material blend. |
| Remove Seam Blend | Removes the generated setup from the selected attachment. |
Increase Extra Detail gradually: higher levels add geometry and increase processing time.
Materials, volume, and displacement
Seam Blend blends the materials’ Surface shaders. Source UV and procedural coordinate bindings are supported, including objects sharing a material but using different UV layouts.
Materials may also have Volume and Displacement connected:
The attachment keeps its original volume and displacement connections in the generated material.
Target objects retain their own outputs.
Volume and displacement are not transferred or crossfaded between objects.
A connected Surface shader is required for material blending.
Render-time displacement can move the final surface beyond the geometry used to calculate the seam, so heavily displaced materials may need additional adjustment.
What updates automatically?
Moving or editing an included target updates the blend through the modifier setup.
With Auto Update Targets enabled, collection and scene membership is checked approximately once per second in Object Mode.
Use Build / Refresh Material Blend after changing source shader nodes or shader values. Use Update Targets after changing your target selection.
Automatic membership checks pause during Edit Mode and rendering. Before rendering, refresh the target set if it has changed. For animations where objects cross the nearby-filter boundary during rendering, disable nearby filtering and use a defined target collection.
Tips for smoother results
Start with one base or a small target collection.
Position the objects close enough for the blend distances to reach.
Increase Extra Detail when the attachment lacks enough geometry for a smooth transition.
Adjust geometric Blend Distance and Material Width separately.
Check both viewport and render Extra Detail levels.
Inspect the final result in your chosen render engine.
Extra Detail adds geometry before the surface blend. A subdivision modifier later in the stack can produce a different result.
Troubleshooting
The surface transition looks angular.
Increase Extra Detail gradually and check Blend Distance. Sparse geometry can limit the shape of the transition.
The materials do not appear to blend.
Use Material Preview or Rendered shading. Check that materials have connected Surface shaders, increase Material Width if needed, and click Build / Refresh Material Blend.
A nearby object is ignored.
Check the target collection and nearby filter. If that object already has Seam Blend, enable Include Blended Targets on the receiving attachment. Circular dependencies remain excluded.
An unwanted material influences the attachment.
Use a focused collection to restrict the target surfaces. Hidden meshes can still be eligible targets.
The viewport and render look different.
Check the separate viewport/render settings for Extra Detail, surface wrapping, and material blending. Also check displacement and render-engine settings.
The material changes after a refresh.
Refresh rebuilds the material using the current source shaders. It also places the material modifier last in the stack, following the original blending workflow.
Known limitations
Multiple targets use the nearest eligible surface; changing the target set can change the result.
Some arrangements with several target materials can show material-selection artifacts where material IDs interpolate across the mesh.
OSL and some animated or object-dependent shader setups are unsupported.
Transferred tangent-space normal maps may need adjustment.
Large combinations of materials and UV maps can exceed EEVEE’s shader limits.
Seam Blend does not create a single welded mesh suitable for watertight export or 3D printing.
Removing the effect
Select the attachment and click Remove Seam Blend.
This removes the add-on’s generated setup while keeping the original meshes and source materials. Avoid applying the modifiers if you want to retain this reversible workflow.
Version and license
Version: 2.2.2
Author: Alberto P
License: GPL-3.0-or-later
The download includes the installable add-on, editable Python source, and complete license text. You may use the add-on in personal and commercial projects. Modification and redistribution of the add-on are governed by the included GPL license.
Have questions about this product?
Login to message
| Blender Extension Compatible | Yes |
| Published | 4 days ago |
| Blender Version | 4.2 - 5.2 |
| Extension Type | Add-on |
| Render Engine Used | Cycles, Eevee |
| License | GPL |
Discover more products like this
blend texture material blending addon script 3d plugin blender mesh Mesh Blending