Selection Keeper
 Skubby's garage


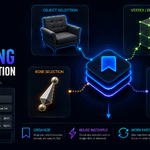
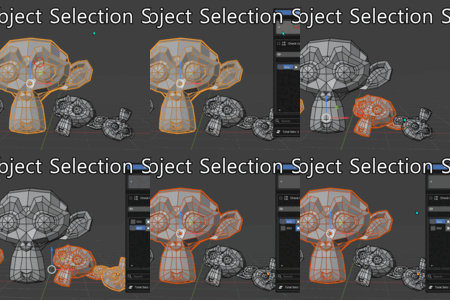
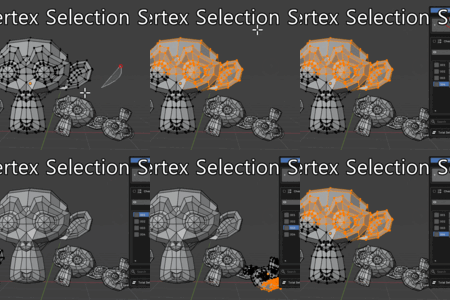
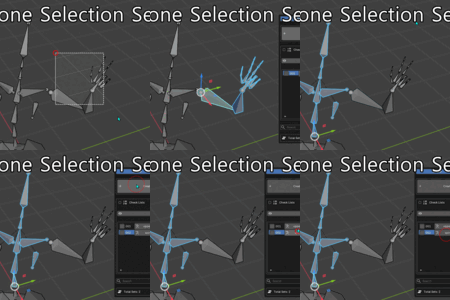
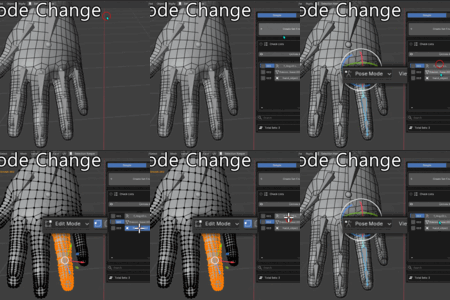
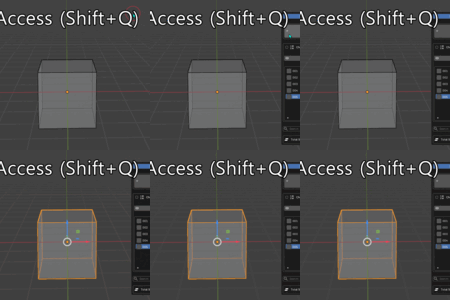
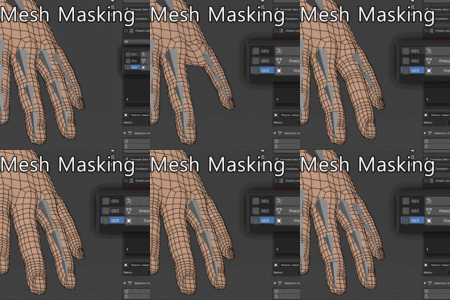
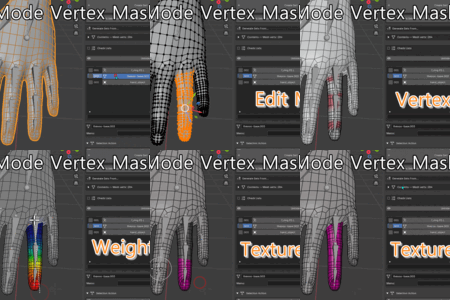
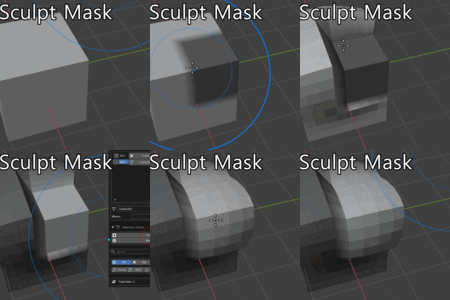
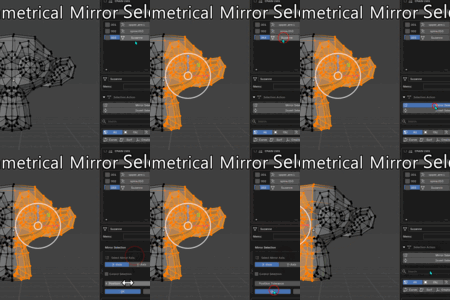
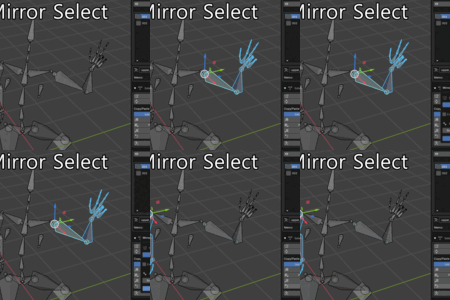
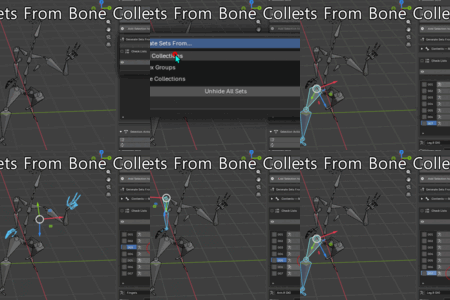
Selection Keeper User Manual
for Blender 4.x / 5.0+
User Manual
v1.4
Advanced selection sets for Objects, Pose Bones,
and all Edit Mode types — with batch operations and grouping.
1. Overview
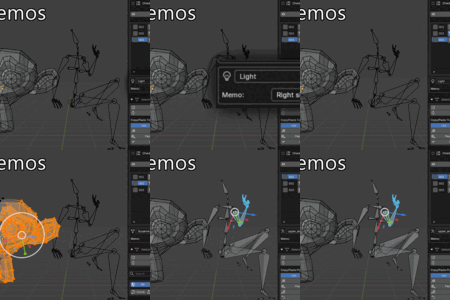
Selection Keeper is a Blender addon that lets you save, recall, and manage named selection sets across all major editing modes. Instead of manually re-selecting the same vertices, bones, or objects every session, you store them once and restore them with a single click.
Key capabilities:
- Save selections in Object, Pose, Edit Armature, Edit Mesh, Edit Curve, Edit Surface, Weight Paint, and Vertex Paint modes
- Shift Select and Shift Deselect — add or subtract a stored set from the current selection without losing existing work
- Multi-object Edit Mode support — Shift Select and Batch Select across sets that belong to different mesh objects
- Batch operations on multiple checked sets: select, merge, group, move, delete
- Per-set and scene-wide visibility toggling (show/hide elements)
- Mirror Selection for bones and symmetric meshes
- Import and Export sets as JSON for sharing across scenes or with teammates
- Filter by type and search by name; organize sets into Custom Groups
2. Installation
- Open Blender and go to Edit > Preferences > Add-ons.
- Click Install from the top-right corner.
- Locate the file Selection_keeper.py and click Install Add-on.
- Enable the addon by checking the box next to Selection Keeper (Objects + Pose Bones + Edit Modes)
- The panel appears in the 3D Viewport sidebar under the Selection Keeper tab (press N to open the sidebar if it is not visible).
Note: The addon requires Blender 4.5 or later. It is also compatible with Blender 5.0+ including the bone visibility API changes introduced in that version.
3. Panel Layout
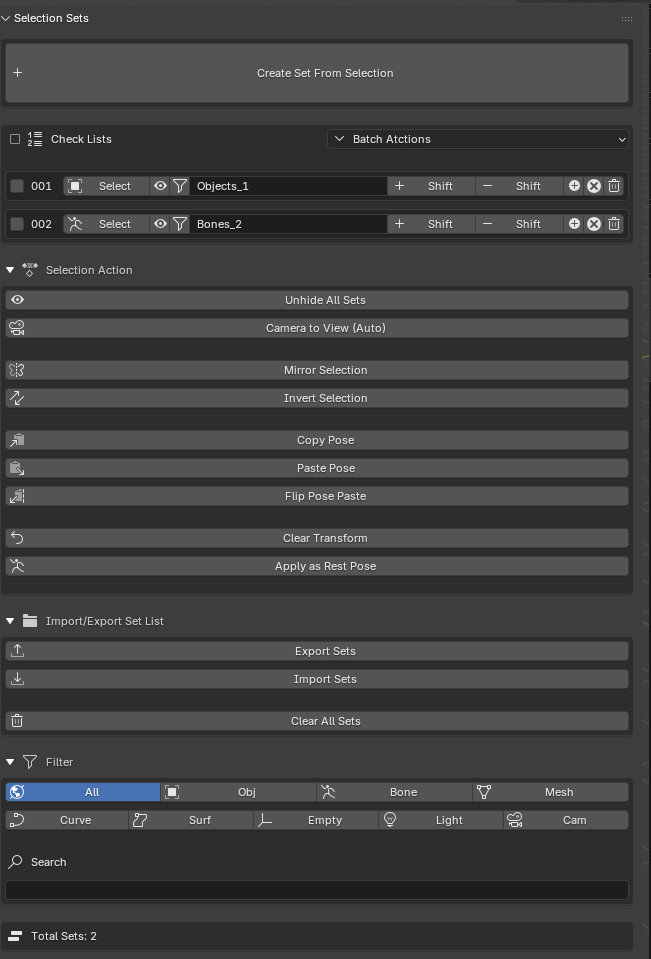
The addon panel is divided into the following sections from top to bottom.
3.1 Create Set From Selection
A large button at the top of the panel. Click it to save the current selection as a new named set. The set type is determined automatically from the current Blender mode.
3.2 Set List
Each saved set appears as a row in this area. Reading left to right, each row contains the following controls:

| Control | Description |
|---|---|
| Checkbox | Mark this set for batch operations. Use the header checkbox to check or uncheck all visible sets at once. |
| Select button | Click to recall this set — deselects everything, then selects the stored elements. The icon reflects the set type (mesh, bone, object, etc.). |
| Eye icon | Toggle visibility of this set's elements. A highlighted/alert eye indicates partial visibility (some elements are hidden by other means). |
| Index number | Display-only index of the set in the current filtered list. |
| Label field | Editable name for the set. Click to rename inline. |
| Shift+ (ADD icon) | Add this set's elements to the current selection without deselecting anything. |
| Shift- (REMOVE icon) | Remove this set's elements from the current selection. |
| + icon | Add the currently selected elements into this set (union with existing content). |
| Cancel icon | Remove the currently selected elements from this set. |
| X icon | Delete this set permanently. |
3.3 Batch Actions (Checked Actions menu)
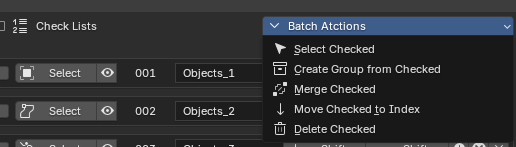
Click the Batch Actions dropdown in the Set List header to apply an operation to all checked sets simultaneously.
| Action | Description |
|---|---|
| Select Checked | Selects all elements from every checked set. Handles multiple mesh objects via multi-object Edit Mode (v1.1+). |
| Create Group from Checked | Creates a named Custom Group containing the checked sets for easy filtering later. |
| Merge Checked | Combines all checked sets of the same type into a single set. |
| Move Checked to Index | Moves all checked sets to the specified list position. |
| Delete Checked | Permanently removes all checked sets. |
3.4 Selection Action
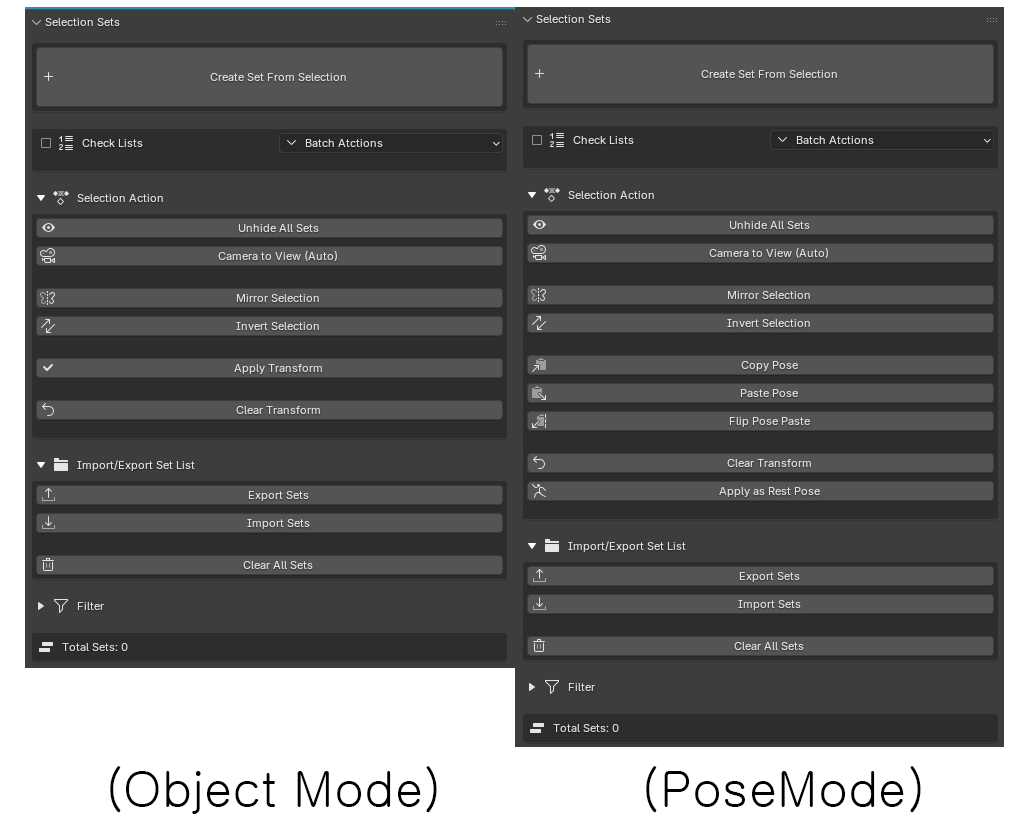
A collapsible section with scene-level utilities.
| Option | Description |
|---|---|
| Unhide All Sets | Restores visibility of elements hidden by any set in the list. |
| Camera to View | When enabled, recalling a Camera set also switches the active viewport to that camera perspective. |
| Mirror Selection | Reflects the current selection to its symmetrical counterpart (available in Object, Edit, Pose, Weight Paint, and Vertex Paint modes). |
| Invert Selection | Inverts the current selection within the active element set. |
| Copy / Paste Pose | Copies or pastes the current pose (Pose mode only). |
| Flip Pose Paste | Pastes the copied pose mirrored to the opposite side (Pose mode only). |
| Apply Transform | Applies the current transform to the selected objects (Object mode only). |
| Clear Transform | Zeros out location, rotation, and/or scale for selected elements (Object and Pose modes). |
| Apply as Rest Pose | Sets the current pose as the armature's rest pose (Pose mode only). |
3.5 Import / Export
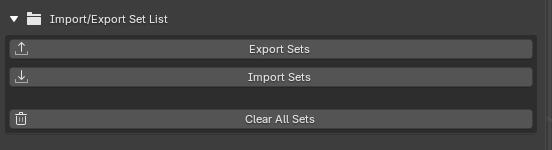
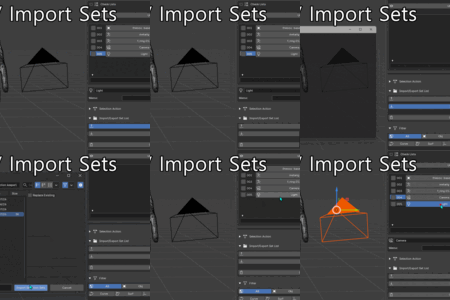
Save and load your set list as a JSON file. Useful for sharing rigs, moving sets between scenes, or backing up work.
- Export Sets — Writes all sets (labels, element indices, type metadata) to a .json file of your choice.
- Import Sets — Reads a .json file and appends the stored sets to the current list.
- Clear All Sets — Removes every set from the current scene. This action cannot be undone.
3.6 Filter
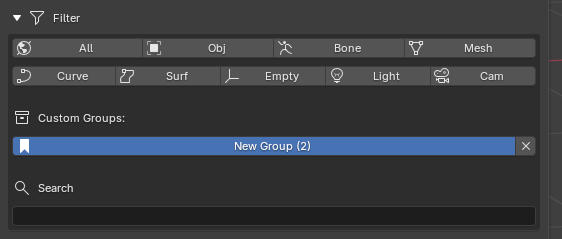
Narrow the visible sets in the list using type filters, custom group filters, or a text search.
- Type buttons (Row 1): All, Object, Bone, Mesh
- Type buttons (Row 2): Curve, Surface, Empty, Light, Camera
- Custom Groups: Any groups you have created appear here as toggle buttons.
- Search field: Type any part of a set's name to show only matching sets.
3.7 Status Bar

The bottom of the panel displays the total number of sets and how many are currently checked.
4. Working With Sets
4.1 Creating a Set
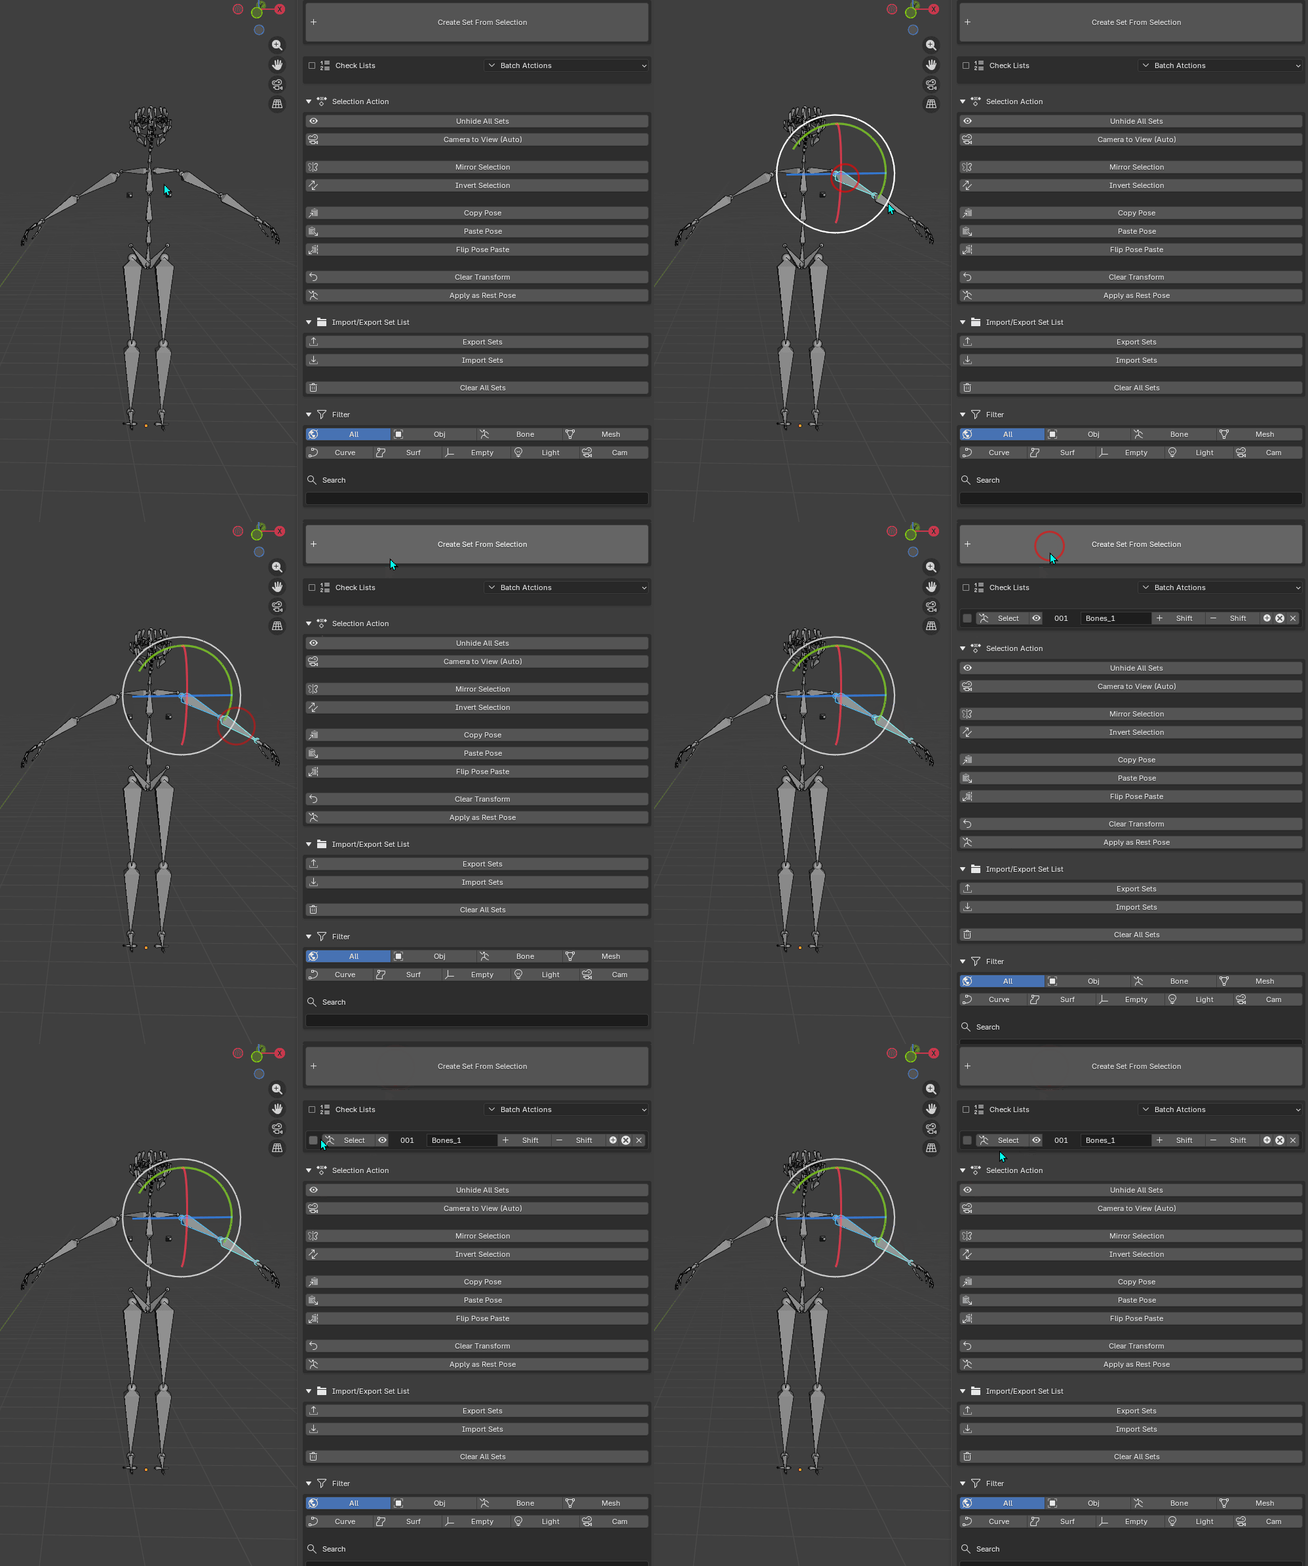
- Make sure you are in the correct Blender mode for the selection you want to save.
- Select the objects, bones, vertices, edges, faces, or curve points you want.
- Click Create Set From Selection at the top of the panel.
- A new set appears in the list with an auto-generated name. Click the label field to rename it immediately.
Note: A set records the type of its content at creation time. You cannot mix, for example, vertices and objects in the same set.
4.2 Recalling a Set (Select)
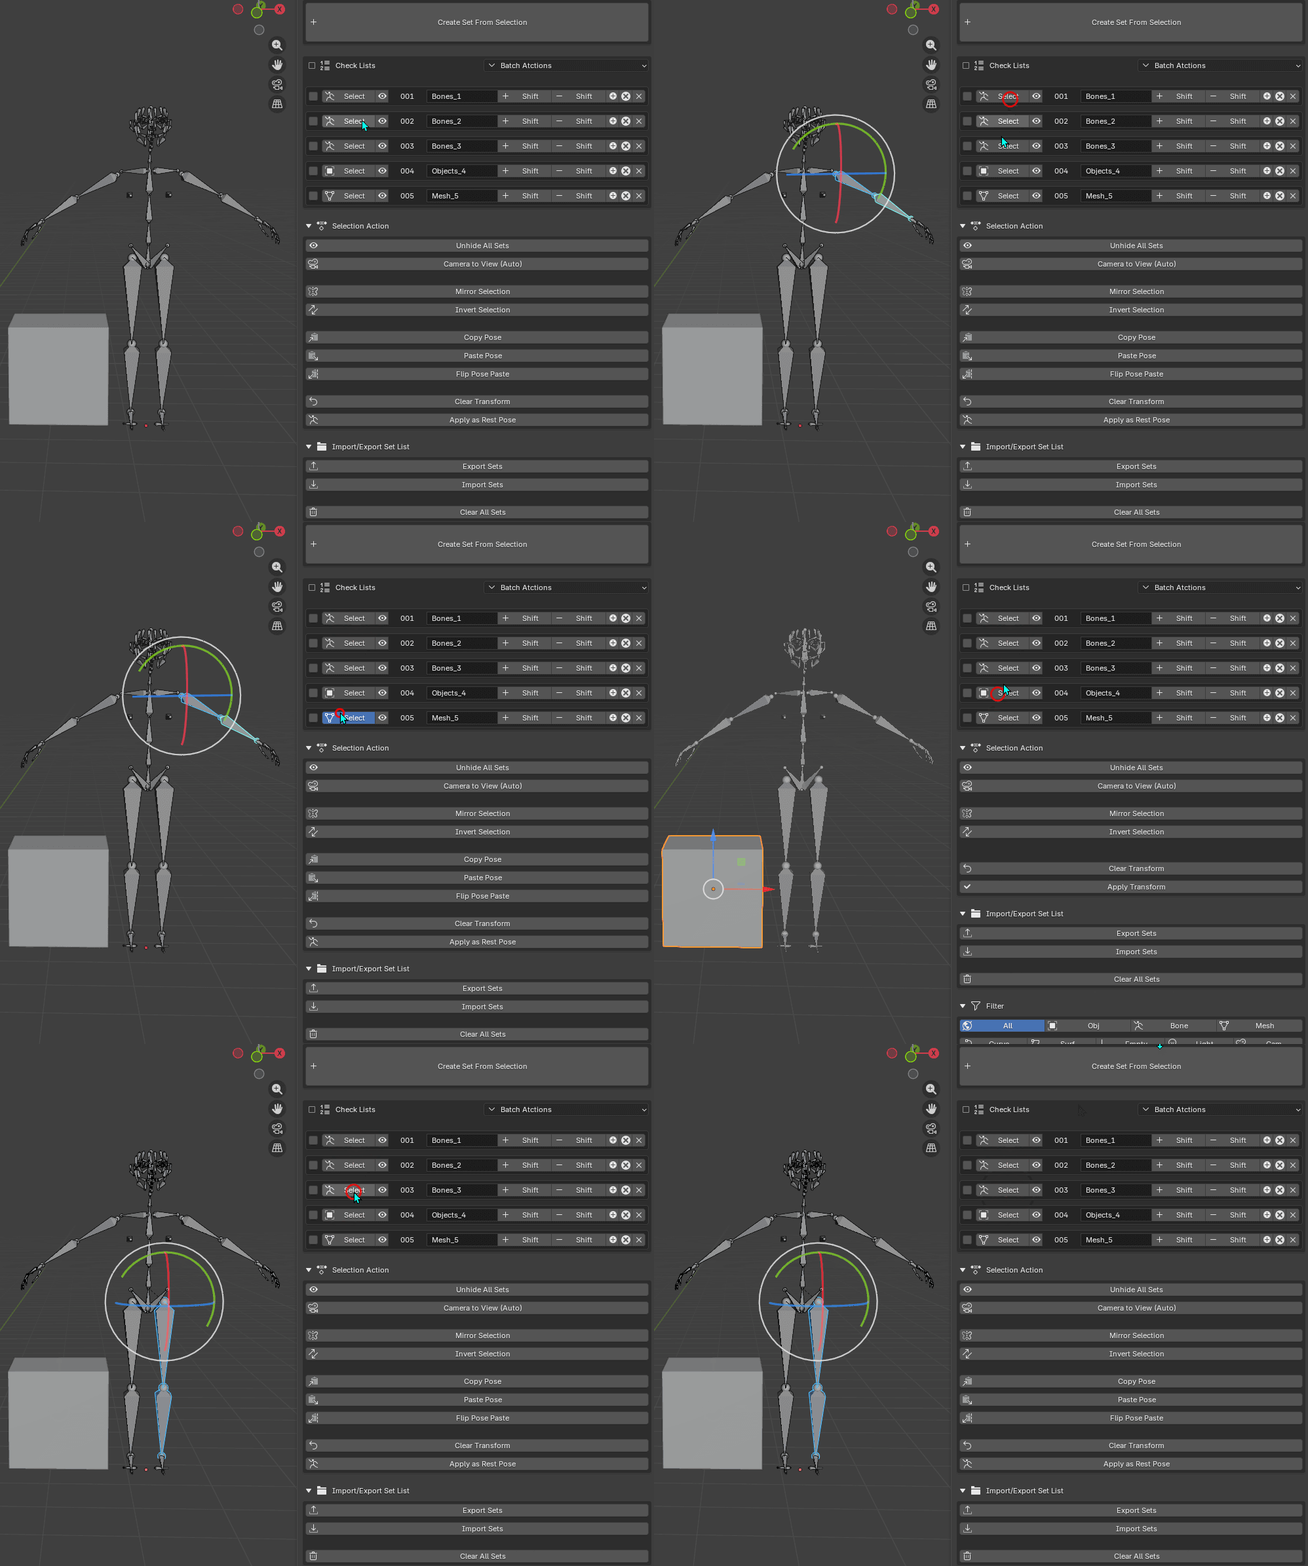
Click the Select button on a set row. The addon switches to the appropriate mode if necessary, deselects everything, and then selects the stored elements.
If a stored object or element no longer exists in the scene, it is silently skipped and you will see a warning in the Info bar.
4.3 Shift Select and Shift Deselect
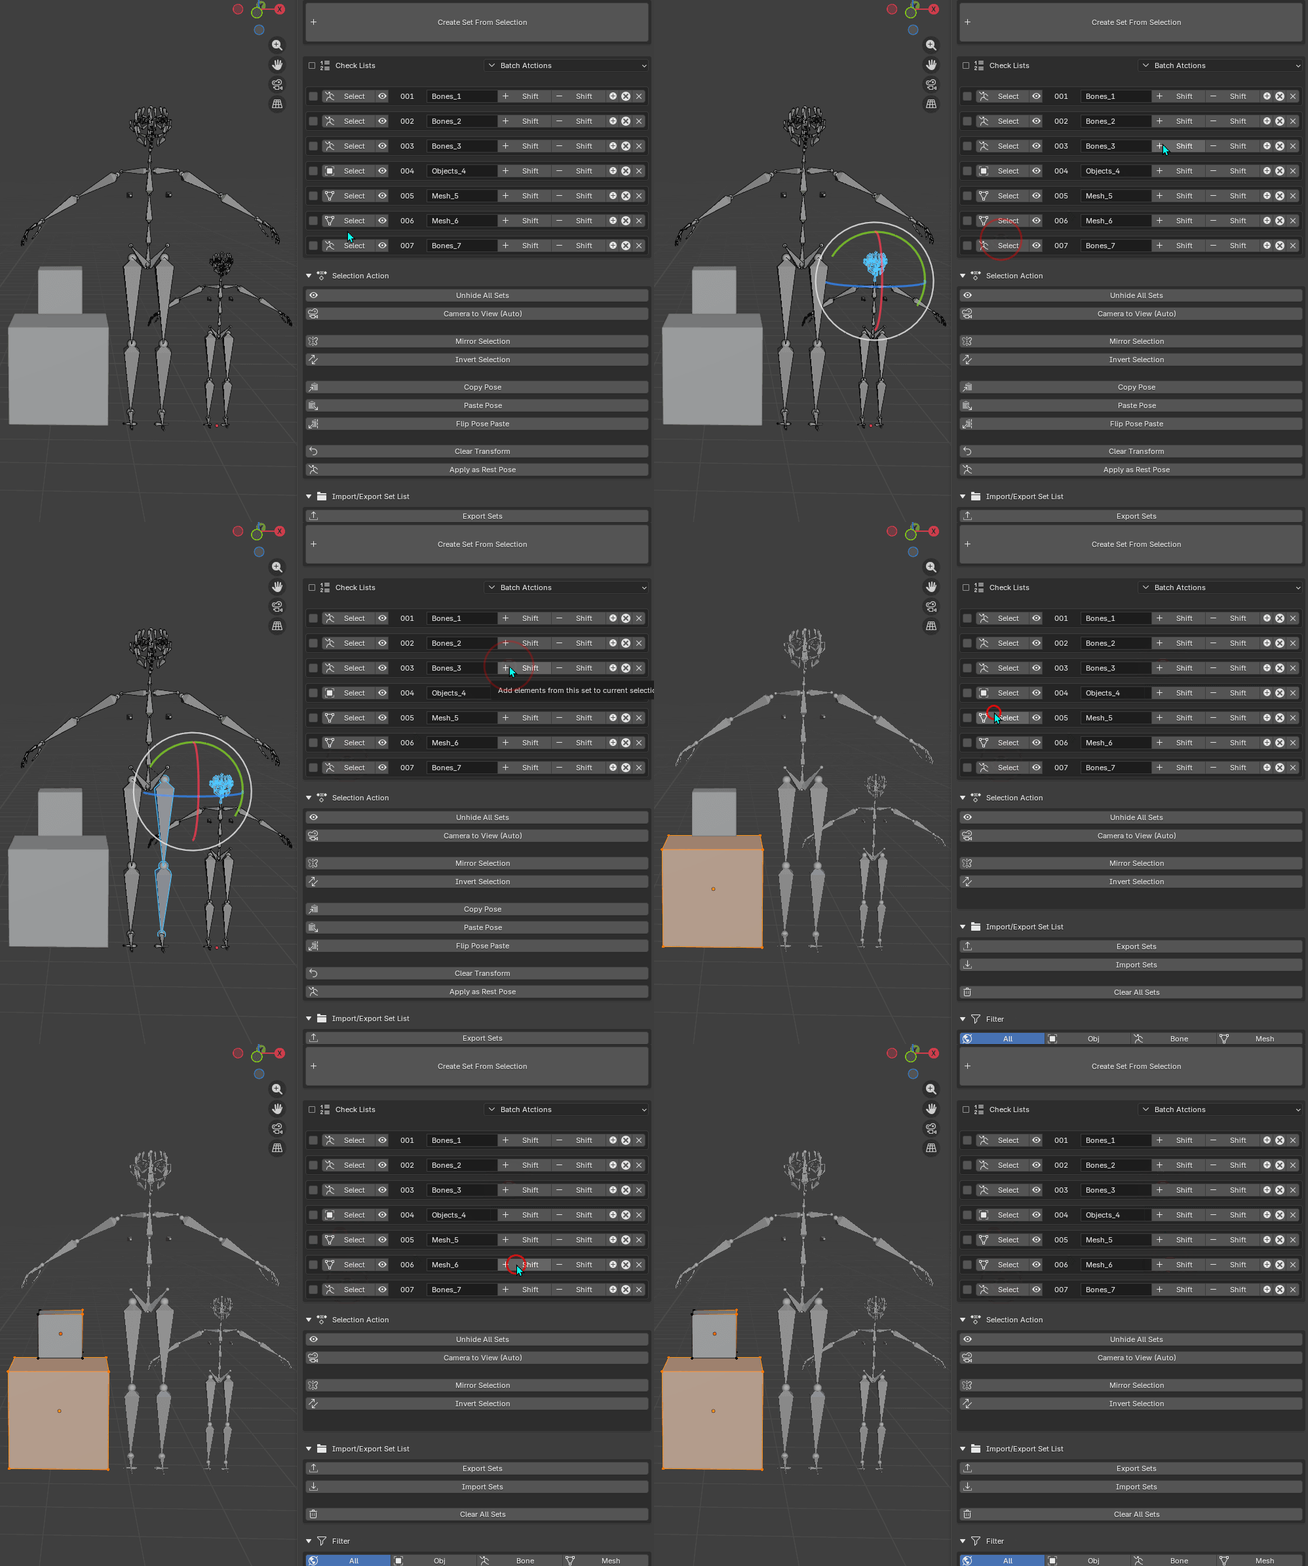
Shift controls let you build up or reduce a selection incrementally without losing what you have already selected.
- Shift+ (ADD) — adds the set's elements to the current selection.
- Shift- (REMOVE) — removes the set's elements from the current selection.
Important: Shift operations are mode-aware. Clicking Shift+ on a Bone set while in Edit Mesh mode will be rejected with a warning. You must be in the correct mode for the set type.
Multi-object Edit Mode (v1.1+)
In Blender, you can enter Edit Mode with multiple mesh objects selected simultaneously. Selection Keeper v1.1 fully supports this workflow for Shift Select:
- If the target mesh object is already part of the current multi-object Edit Mode session, its vertices are added immediately without any mode switching.
- If the target mesh object is not yet in the session, the addon exits Edit Mode, adds the object to the selection (keeping all existing objects selected), and re-enters Edit Mode — creating a combined multi-object session. Your previous vertex selections are preserved.
Note: This means you can freely Shift-click sets from different mesh objects one after another and they will all appear selected together in a single Edit Mode session.
4.4 Updating a Set
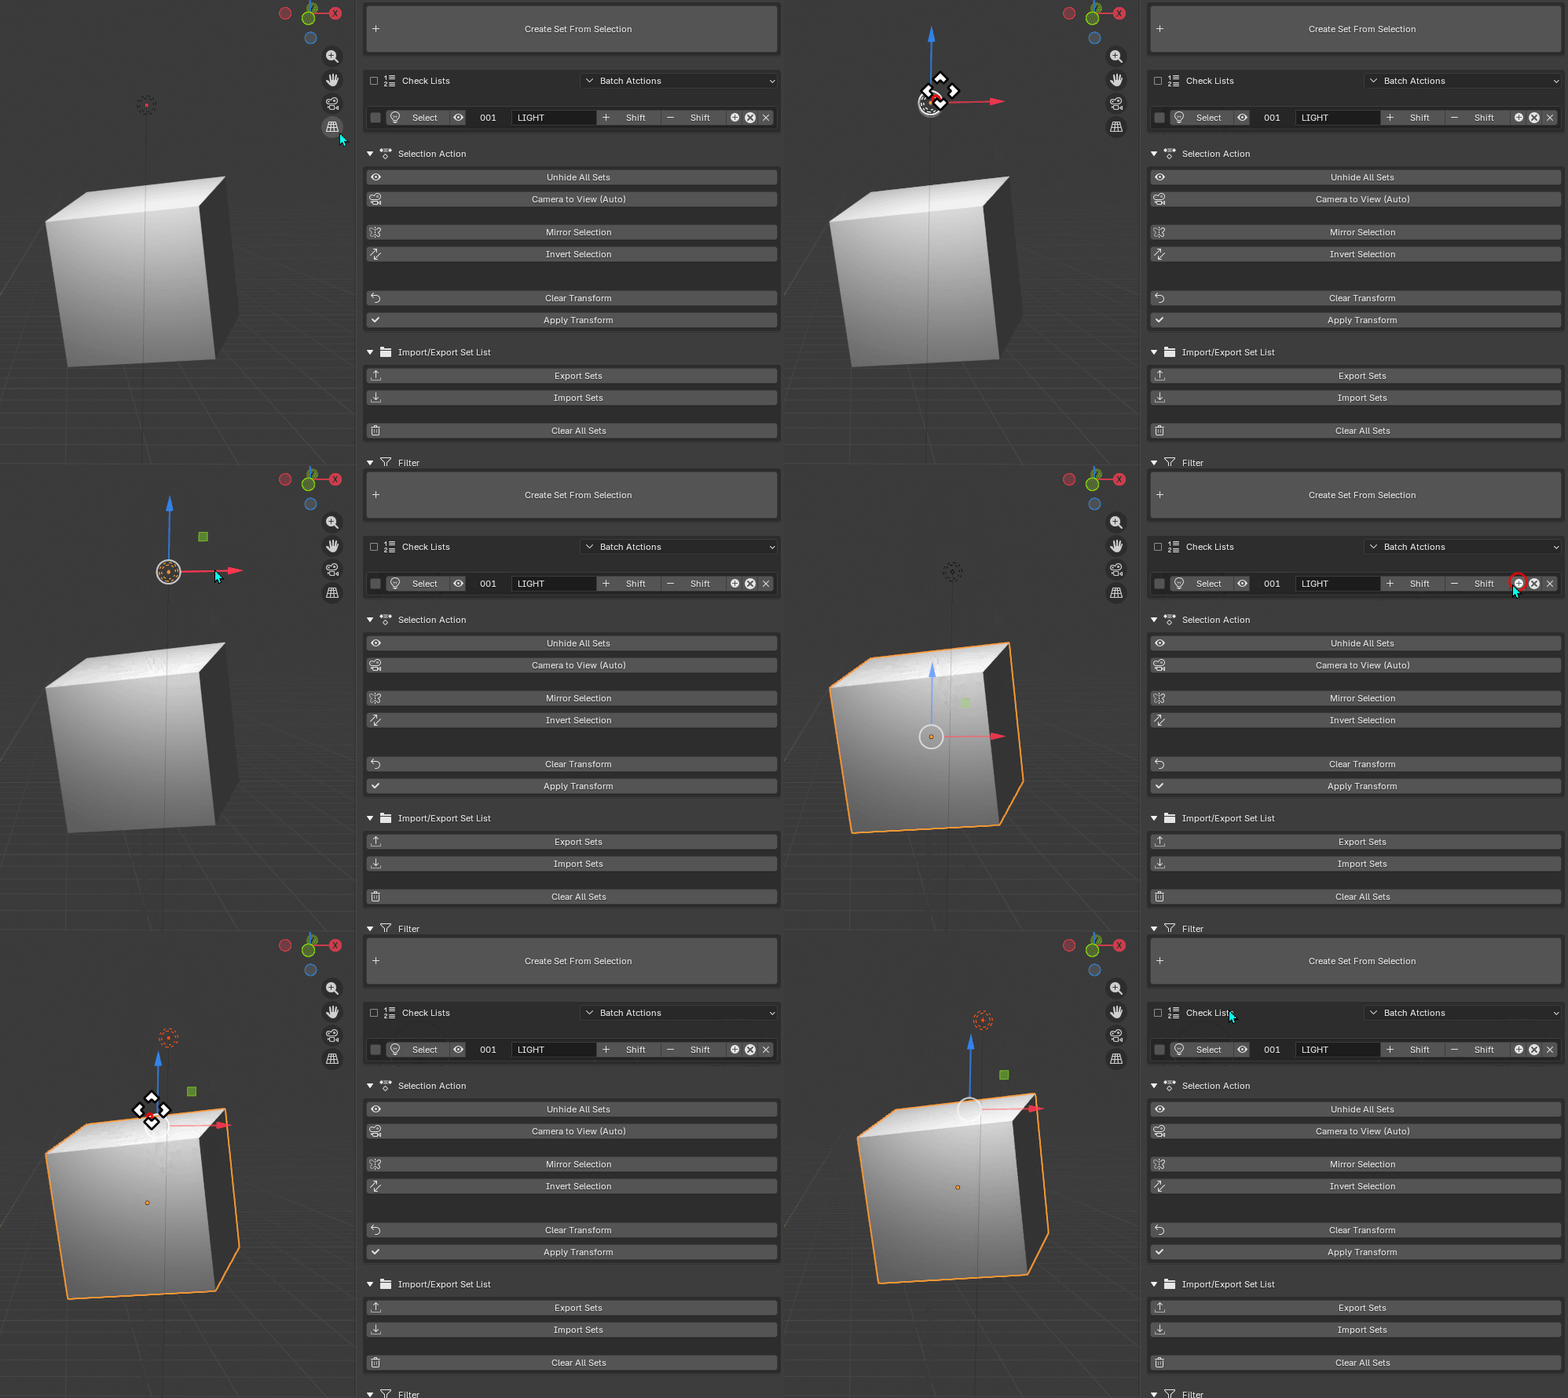
You can add or remove elements from an existing set without recreating it.
- + icon — select some elements, then click + on a set to union them into the stored selection.
- Cancel icon — select some elements, then click the cancel icon to remove them from the stored selection.
For paint modes (Weight Paint, Vertex Paint), only vertex membership is recorded; edges and faces are not applicable in those modes.
4.5 Batch Select Across Multiple Objects(V1.1+)
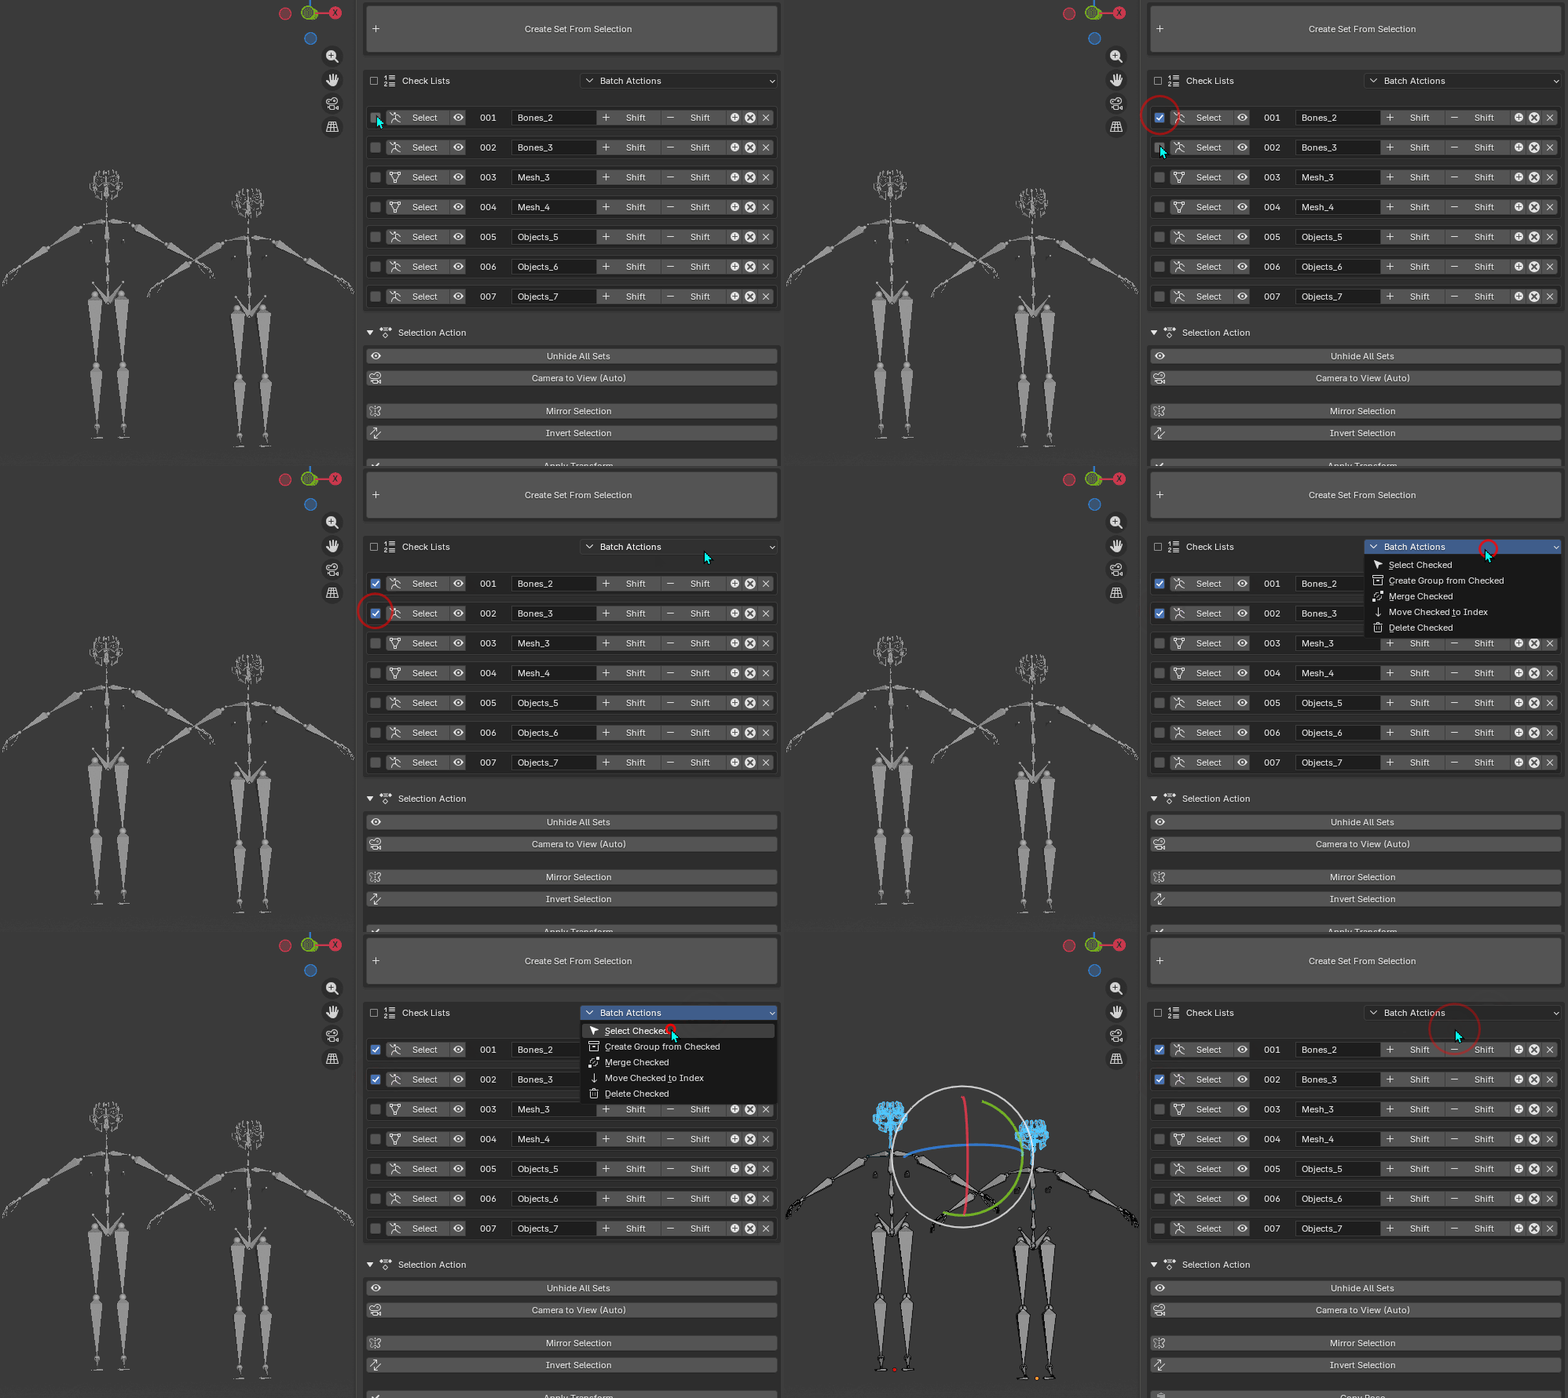
When you check multiple MESH sets that belong to different objects and then use Select Checked from the Batch Actions menu, the addon:
- Groups the checked sets by object name.
- Exits to Object Mode and selects all relevant mesh objects at once.
- Enters Edit Mode — Blender creates a multi-object edit session automatically.
- For each object, opens the corresponding bmesh and marks the stored vertices, edges, and faces as selected.
Note: Hidden objects are skipped with a warning in the Info bar. Make sure all target objects are visible (Alt+H) before using Batch Select.
5. Set Types and Mode Compatibility
Each set stores a specific element type. The table below lists which Blender mode creates or recalls each set type, and what restrictions apply.
| Blender Mode | Compatible Set Types | Notes |
|---|---|---|
| Object Mode | OBJECT | Stores object names. All object types supported including meshes, cameras, lights, empties. |
| Pose Mode | BONE | Stores pose bone names and the armature object name. |
| Edit Armature | BONE | Stores edit bone names. Recalled via Pose Mode or Edit Armature depending on current context. |
| Edit Mesh | MESH | Stores vertex, edge, and face indices. Multi-object sessions supported (v1.2+). |
| Edit Curve | CURVE | Stores spline index + point index pairs. Bezier and NURBS splines supported. |
| Edit Surface | SURFACE | Stores spline index + point index pairs for surface objects. |
| Weight Paint | MESH | Stores vertex indices only (no edges or faces). |
| Vertex Paint | MESH | Stores vertex indices only (no edges or faces). |
Important: Vertex indices are stored as raw integer positions. If you add or remove vertices from a mesh after saving a set, the indices may no longer correspond to the intended vertices. Always update your sets after significant mesh editing.
6. Visibility Toggling
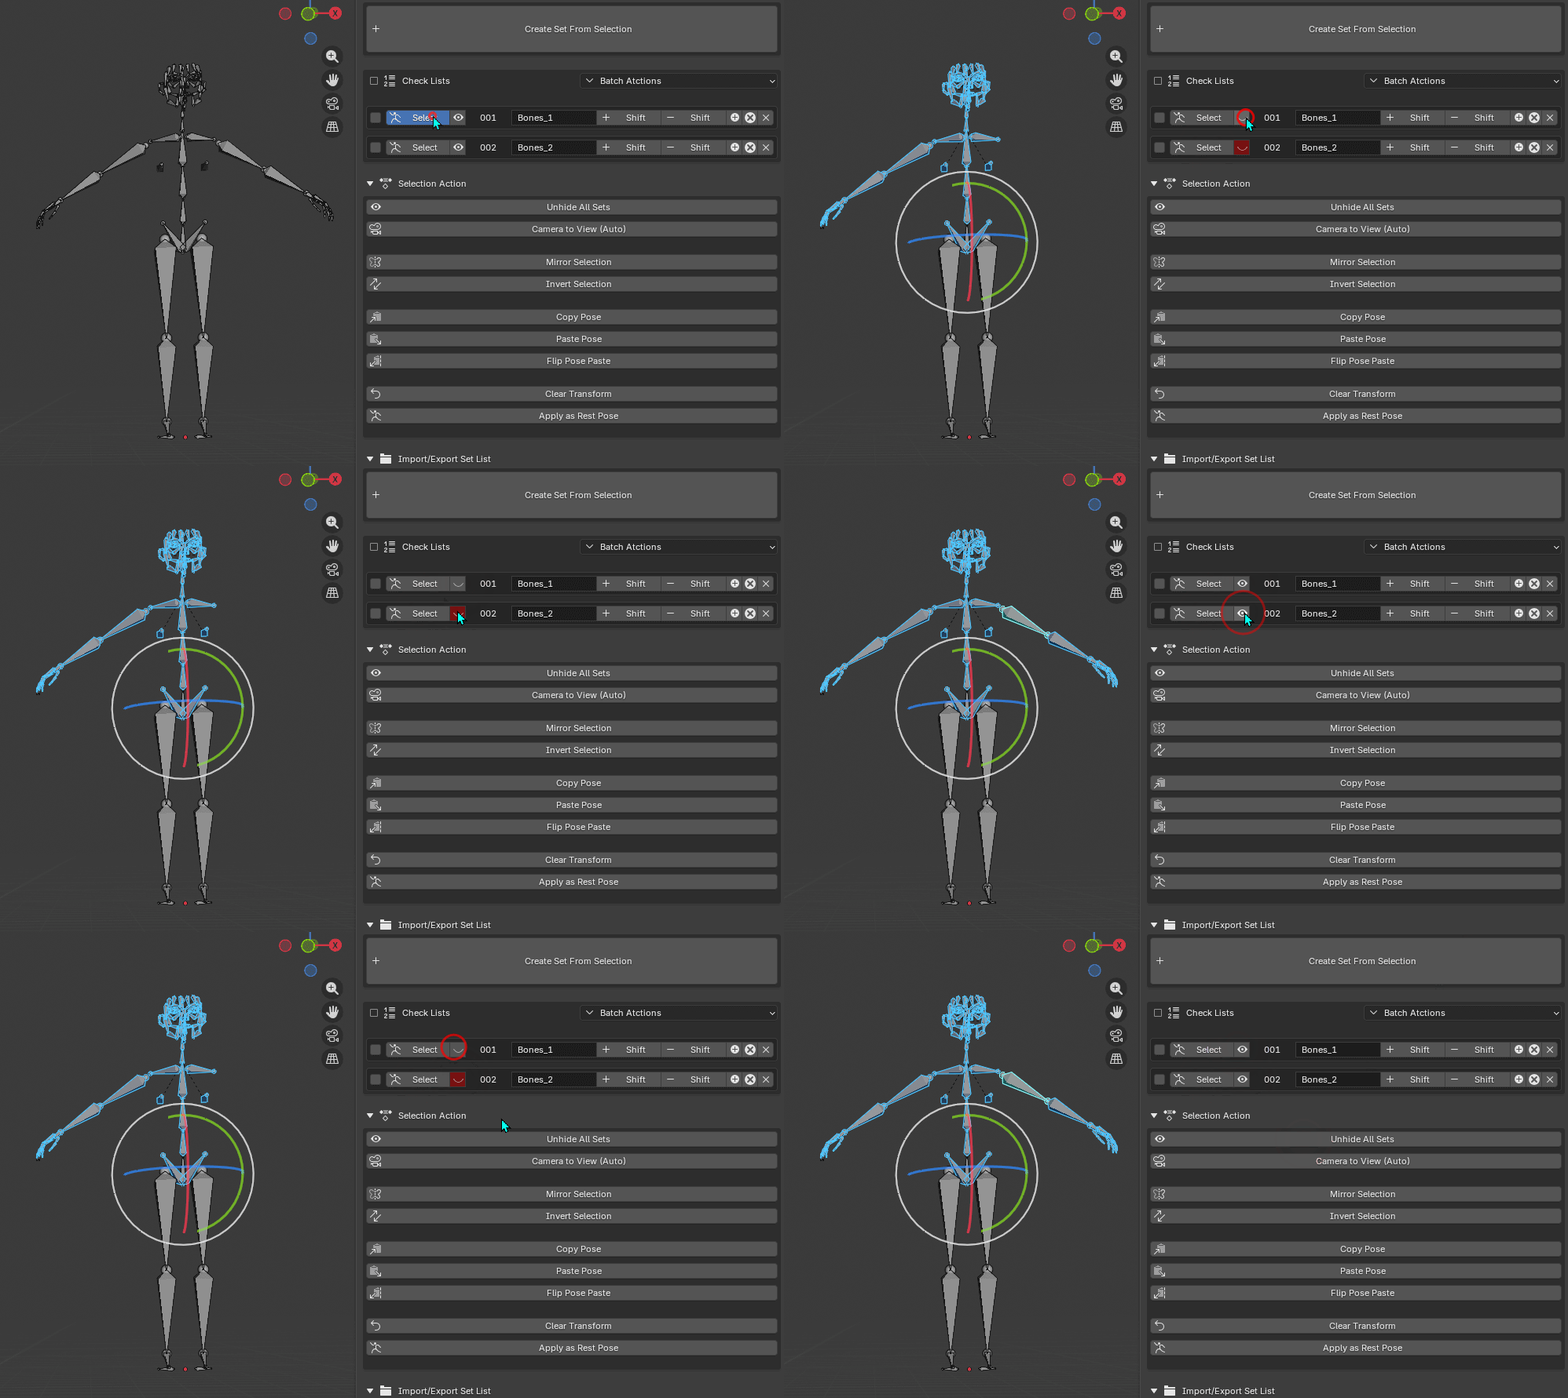
Each set row has an eye icon button. Clicking it toggles the visibility of all elements in that set.
| Icon state | Meaning |
|---|---|
| Open eye (normal) | All elements in the set are visible. |
| Closed eye (highlighted/alert) | Some but not all elements are hidden. This is a 'partial' state — the set's elements may be partially hidden by other operations. |
| Closed eye (normal) | All elements in the set are intentionally hidden. |
The Unhide All Sets button in the Selection Action section restores visibility for every element stored in any set across the entire list.
Note: Visibility state detection for Mesh, Curve, and Surface set types is only evaluated while you are in the corresponding Edit Mode. In Object Mode, those sets will always report the 'visible' state.
7. Custom Groups
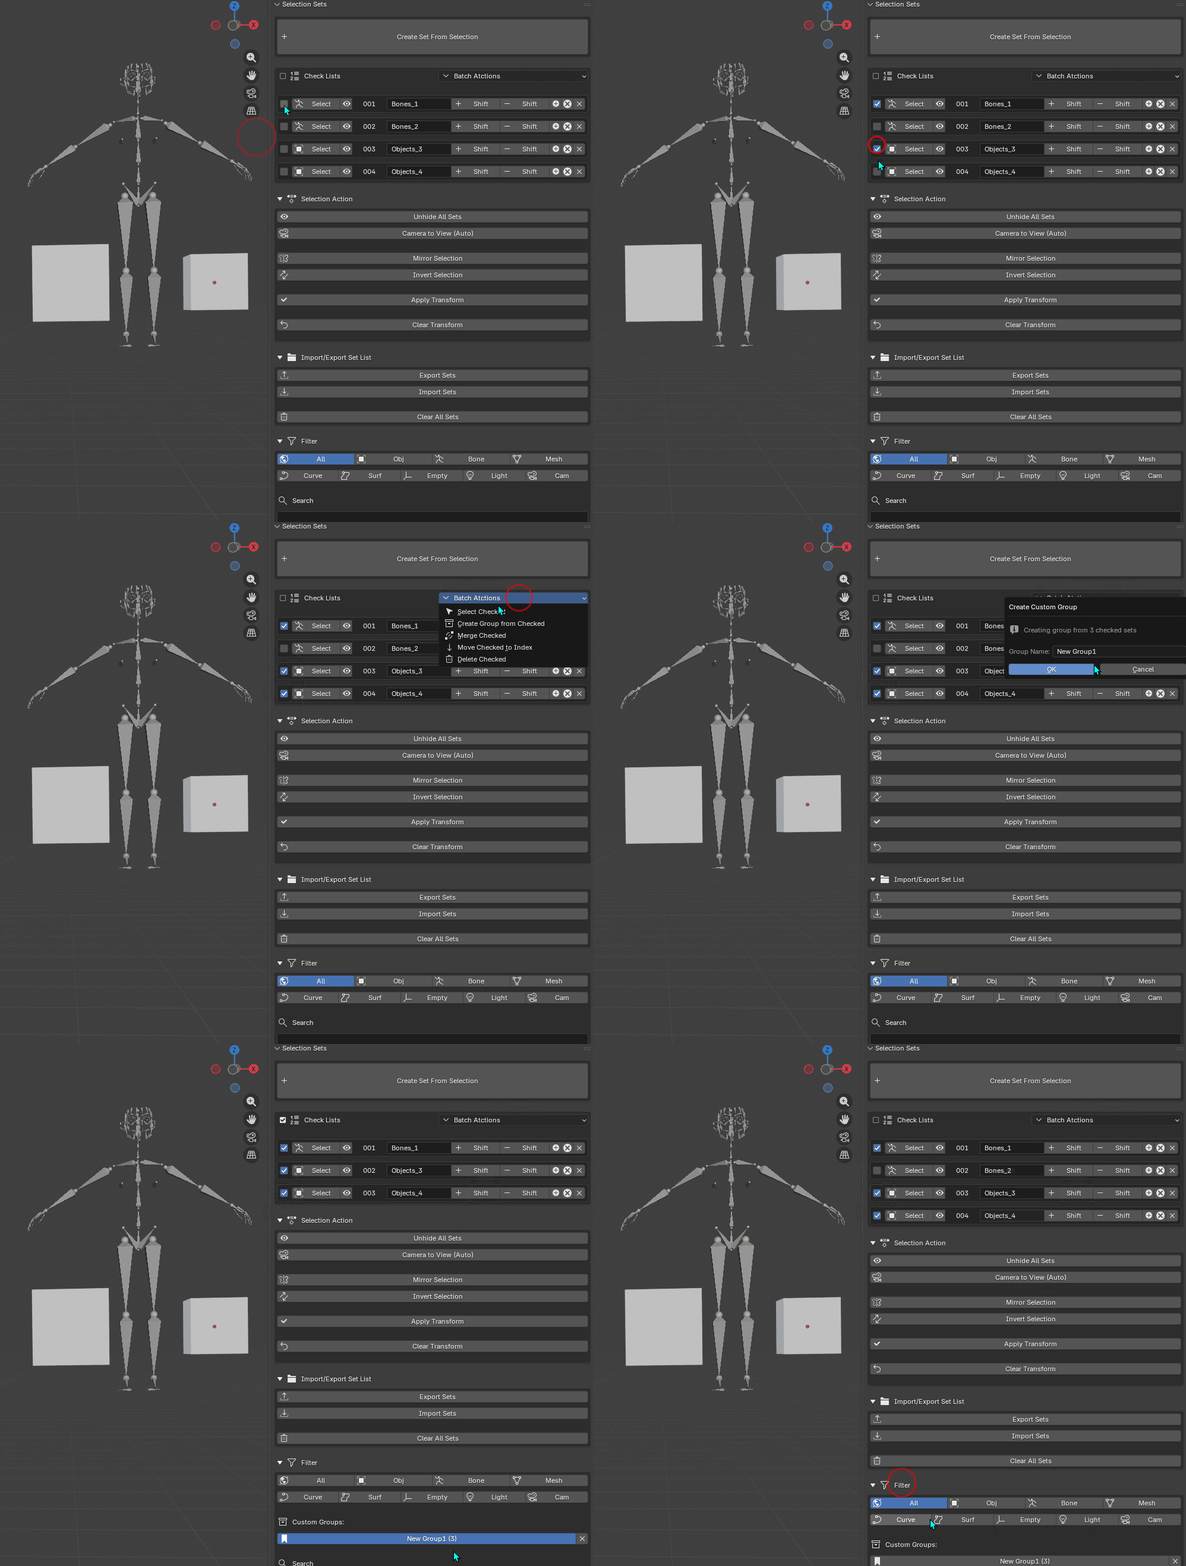
Custom Groups let you organize sets into named categories that appear as filter buttons in the Filter section.
Creating a Group
- Check the sets you want to include in the group.
- Open the Batch Actions menu and click Create Group from Checked.
- Enter a name for the group in the dialog that appears.
- The group appears as a filter button in the Filter section.
Using a Group
Click the group's button in the Filter section to display only the sets that belong to it. Click again or click All to clear the filter.
Removing a Group
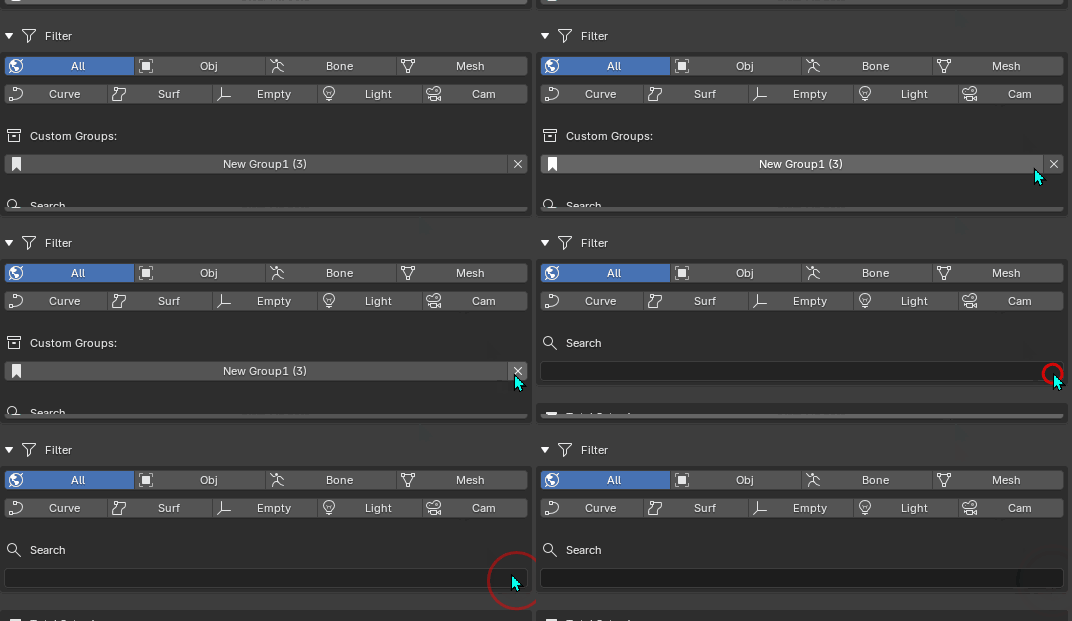
Click the X button next to the group name in the Filter section. This removes the group definition but does not delete the sets that were in it.
8. Mirror Selection
Click Mirror Selection in the Selection Action section to reflect the current selection to its symmetrical counterpart.
Object Mode
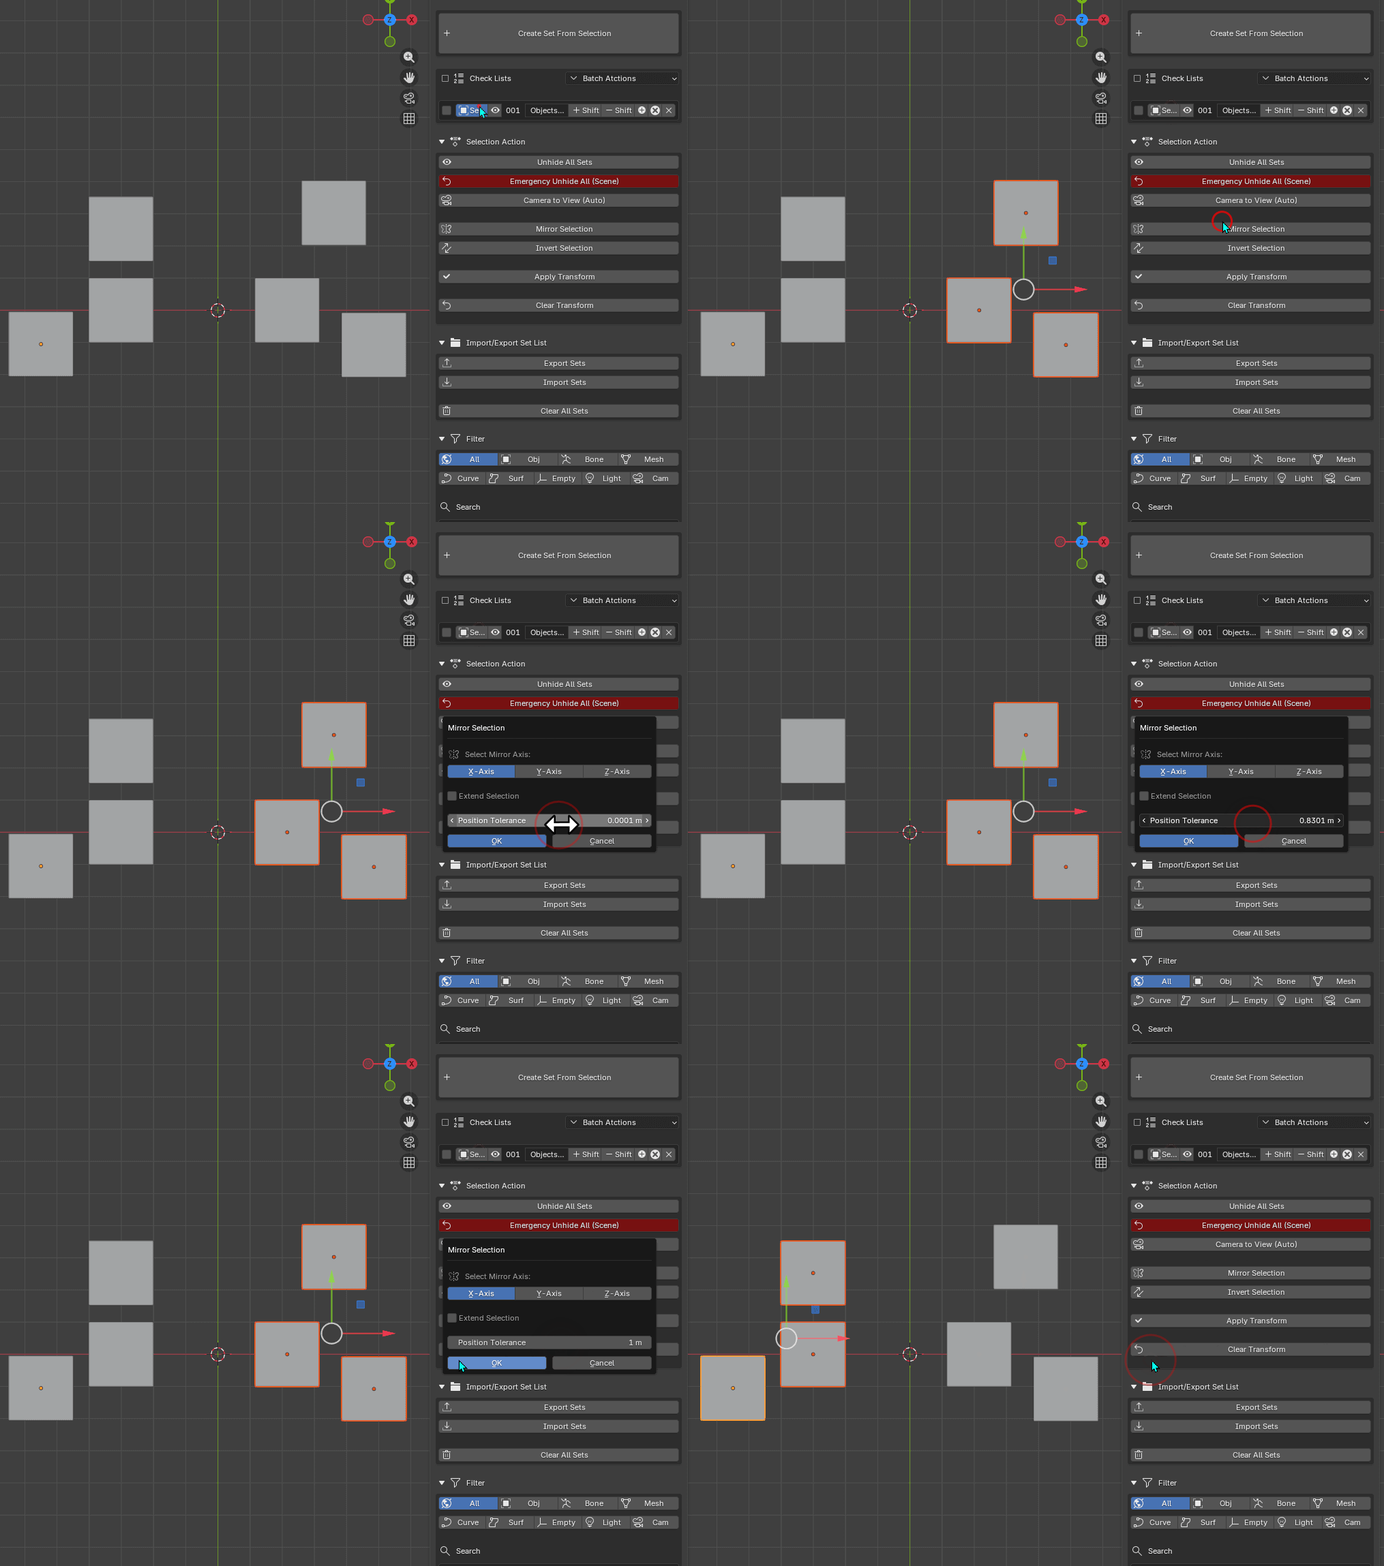
Mirrors the Object selection across the X axis (the standard Blender symmetry axis). Works by finding the closest vertex at the negated X coordinate within a small threshold distance.
Pose Mode and Edit Armature
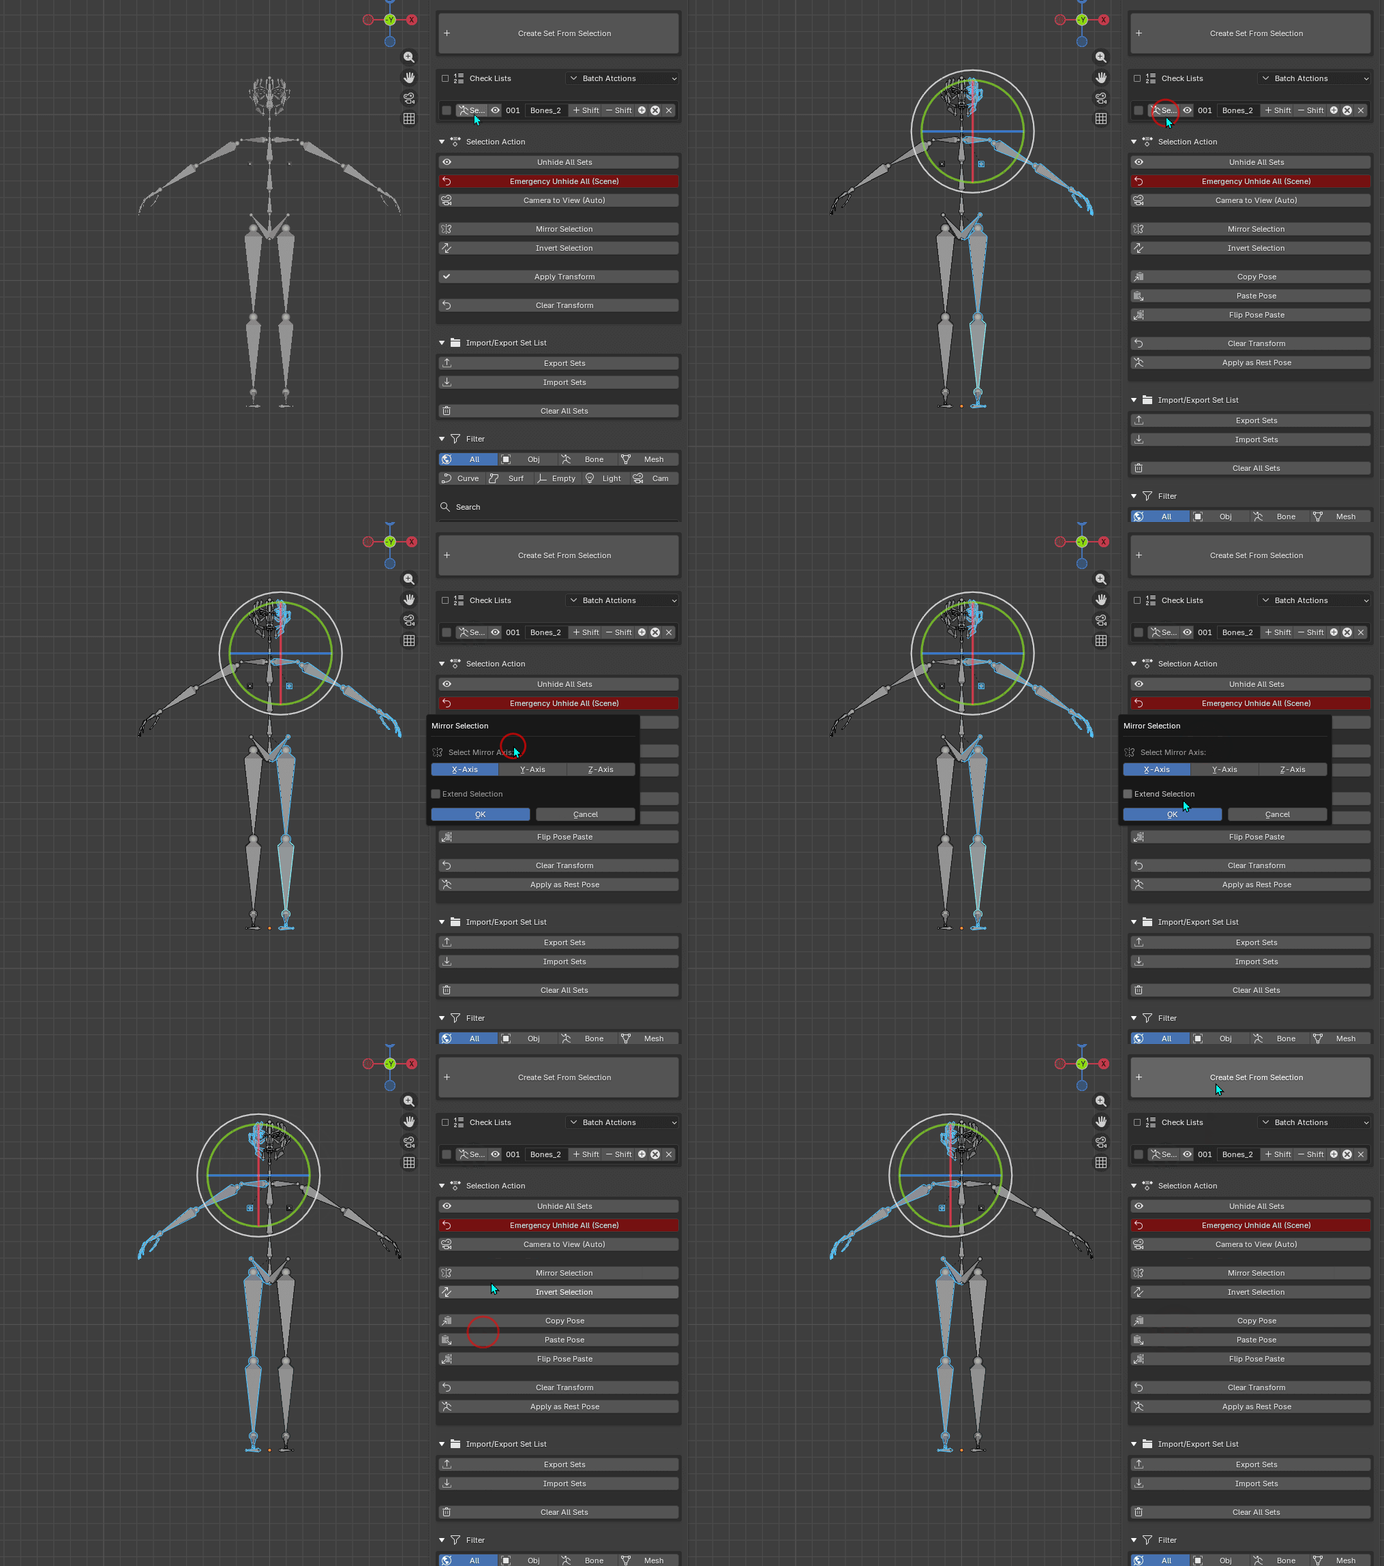
mirror counterpart of each selected object. Counterparts are found by checking common naming conventions: swapping suffixes such as _L / _R, .L / .R, Left / Right, and their lower-case forms.
Edit Mesh
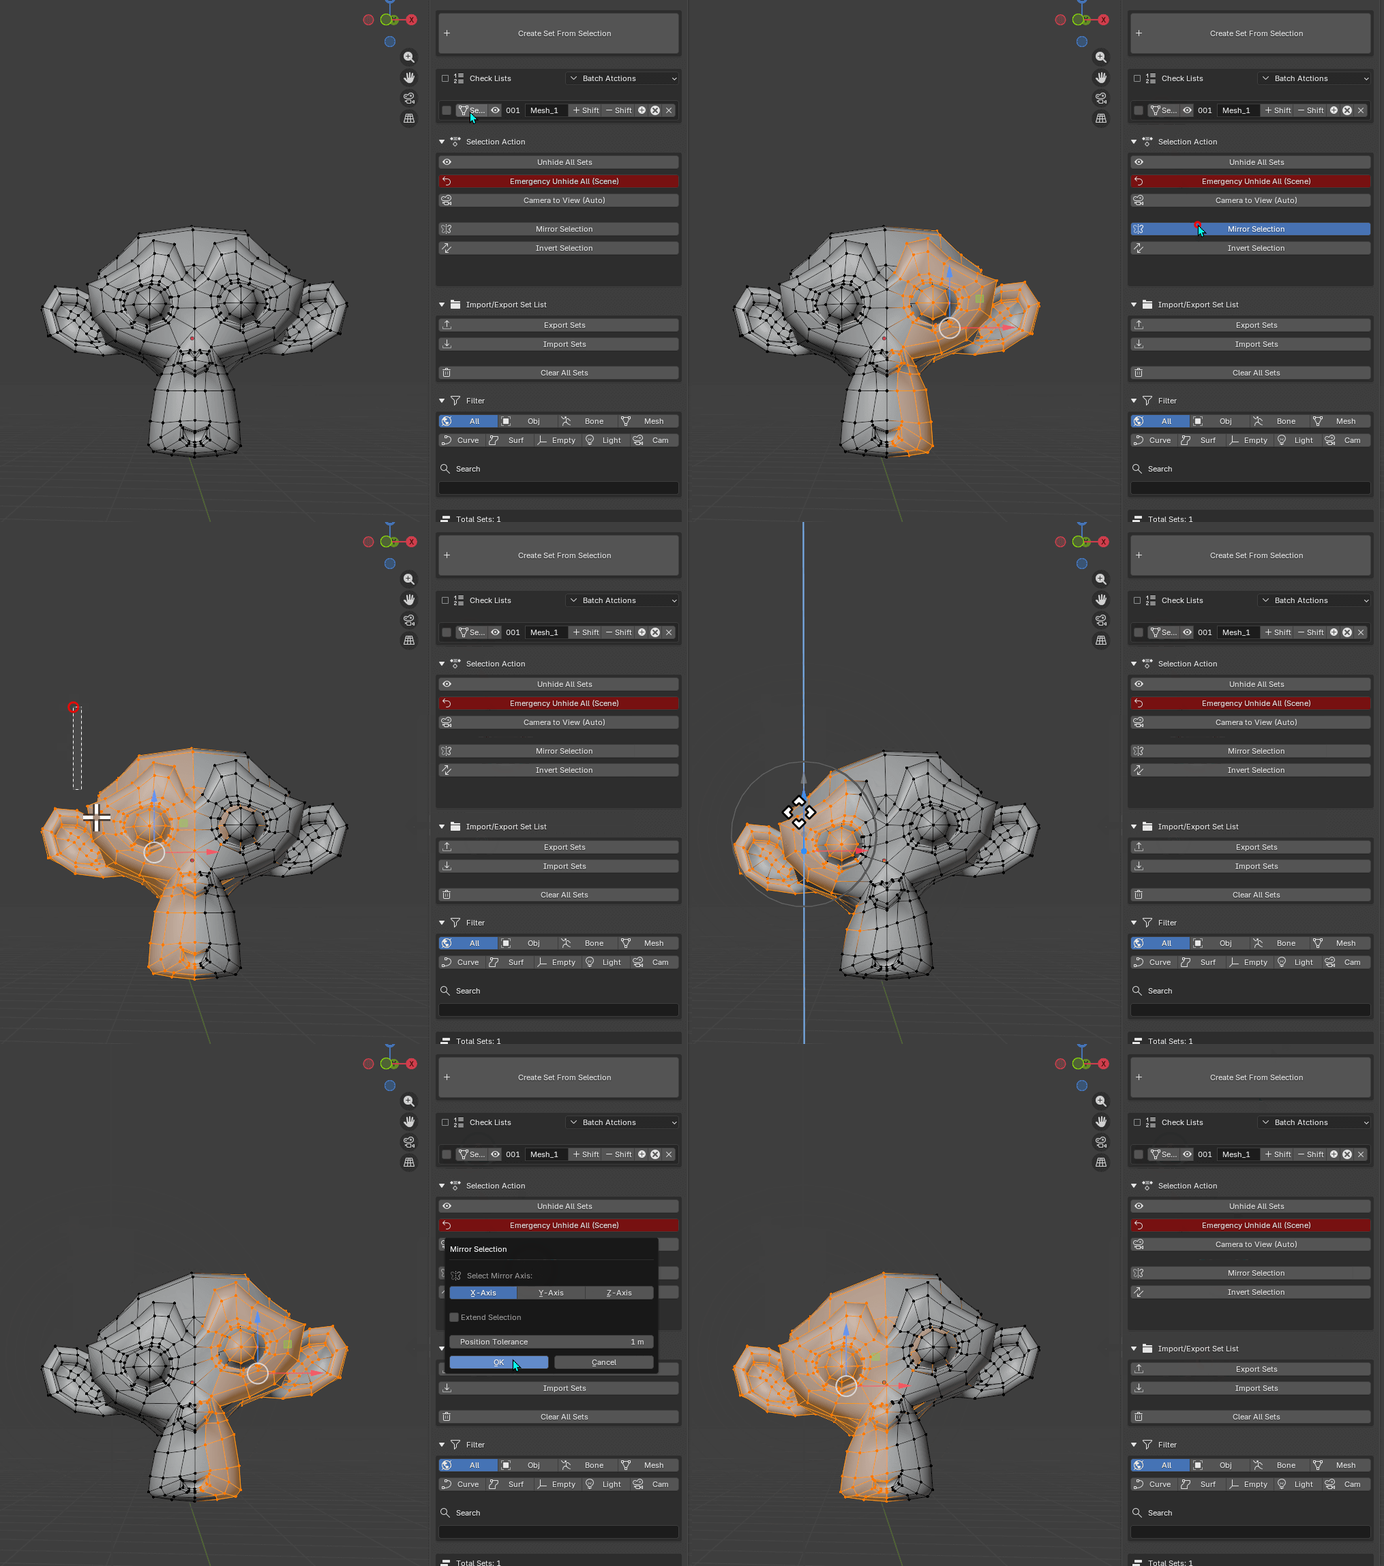
Mirrors the vertex selection across the X axis (the standard Blender symmetry axis). Works by finding the closest vertex at the negated X coordinate within a small threshold distance.
Weight Paint and Vertex Paint
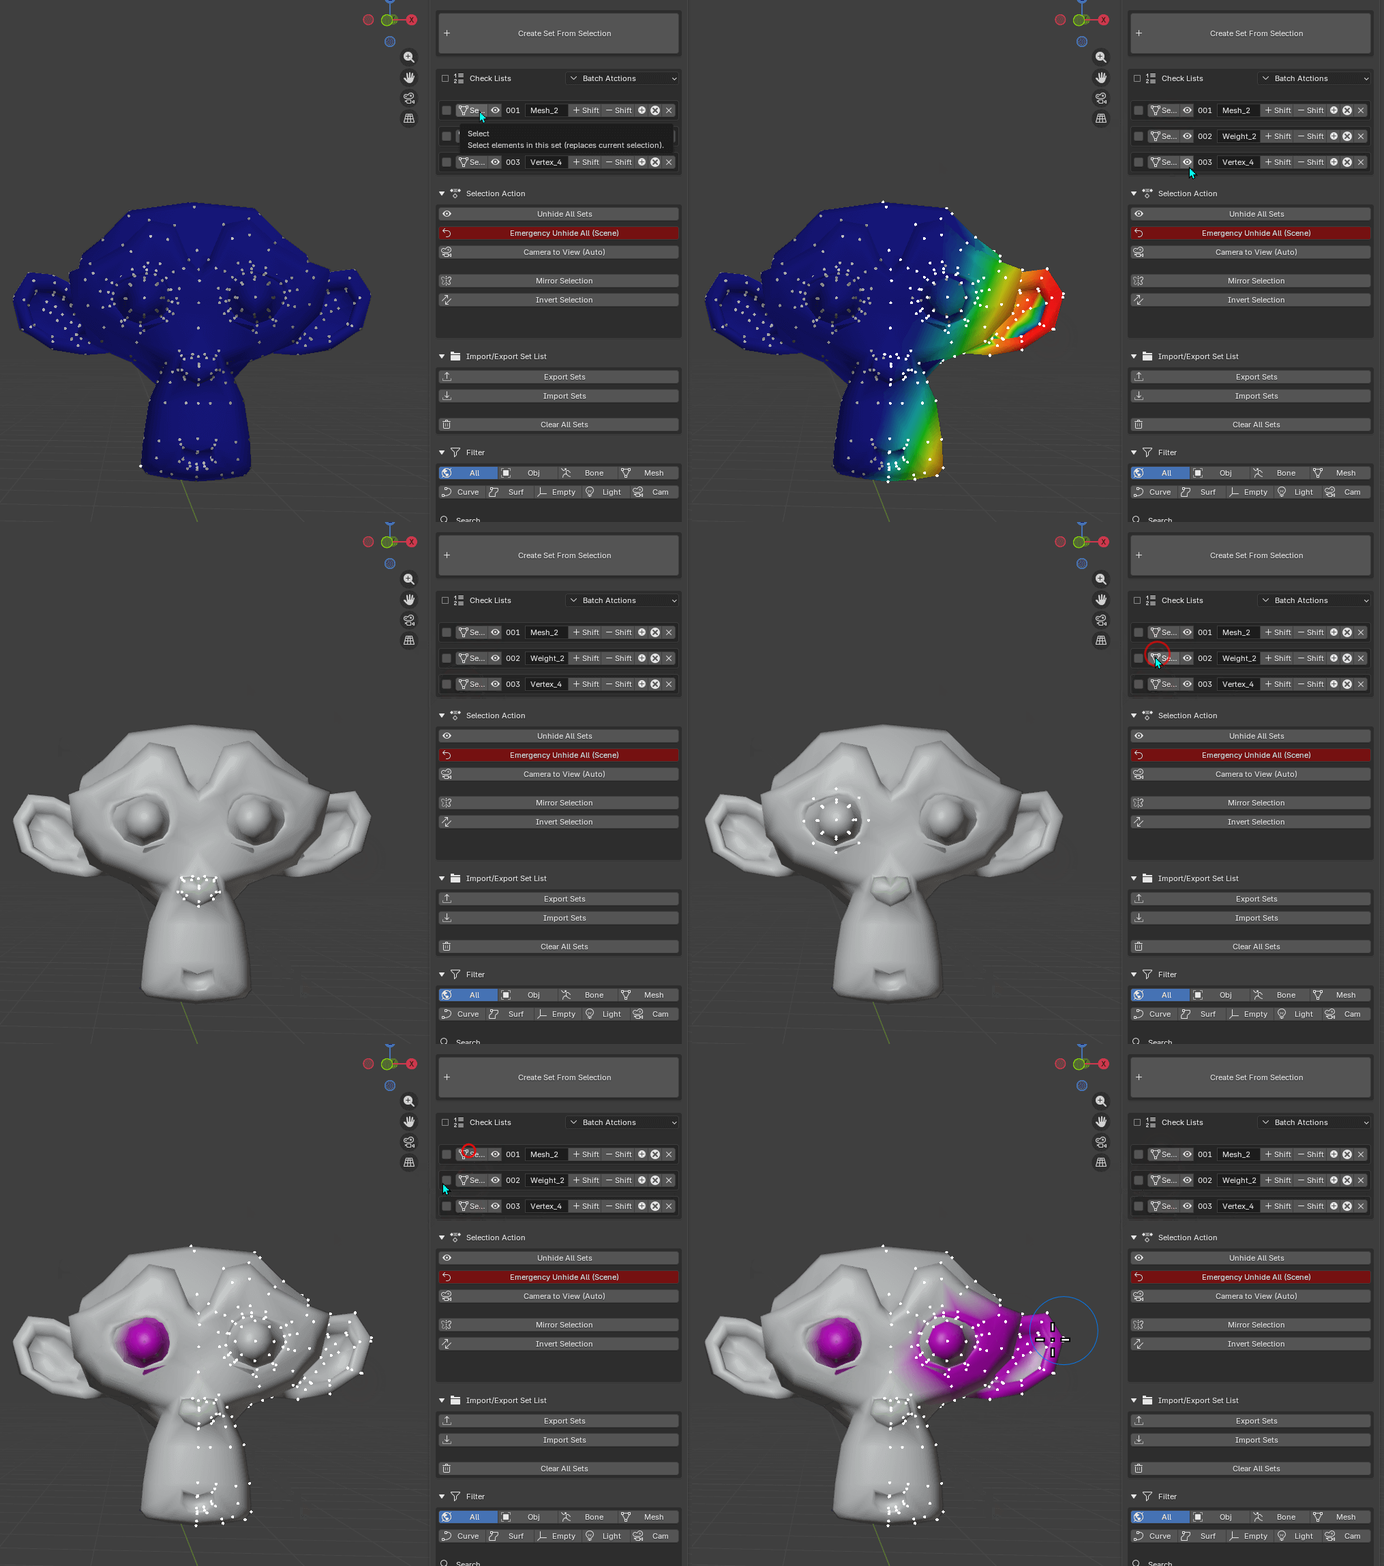
Mirrors the vertex selection across the X axis, identical in behaviour to Edit Mesh mode.
Note: Mirror Selection always adds the mirrored elements to the selection in addition to the originals. It does not deselect the source side.
9. Import and Export
All sets in the current scene can be saved to a JSON file and loaded later. The file stores labels, element indices, armature names, mesh object names, and all other metadata needed to fully reconstruct the set list.
Exporting
- Click Export Sets in the Import/Export section.
- A file browser opens. Choose a location and file name, then click Export Sets.
Importing
- Click Import Sets.
- Navigate to a previously exported .json file and click Import Sets.
- The sets are appended to the existing list. Existing sets are not replaced.
Important: Imported sets reference objects and meshes by name. If the object names in the current scene differ from those in the exported file, the sets will not function correctly. Ensure object names match before importing.
10. Tips and Recommended Workflows
Character Rigging
- Create BONE sets for common pose positions: A-pose, T-pose, rest pose, IK/FK limb groups.
- Use Mirror Selection to quickly extend a one-sided bone selection to both sides of the rig.
- Group left-side and right-side sets into separate Custom Groups for clarity.
- Use Select Checked with multiple bone sets to recall complex multi-limb poses in one click.
Mesh Editing
- Save frequently-edited mesh regions (face loops, edge rings, detail zones) as MESH sets.
- Use Shift+ to accumulate sets from multiple regions before applying an operation.
- When working on a character with multiple body part objects, check sets from each object and use Select Checked to enter a combined multi-object Edit Mode session with all regions pre-selected.
Scene Organisation
- Use Custom Groups to organise sets by shot, layer, or department (e.g., a group named 'Facial Controls' containing all face-related bone sets).
- Export your set list at the end of each major work session as a backup.
- Use the Search field to quickly find a set by partial name when the list grows large.
Paint Modes
- In Weight Paint or Vertex Paint mode, save vertex island selections to quickly switch between influence zones.
- MESH sets created in Edit Mesh mode can be recalled in Weight Paint mode; only vertex selection is applied (edges and faces are ignored).
11. Version History
| Version | Changes |
|---|---|
| v1.2 | Bone hide&unhide in object mode, |
| vertex mesh hide&unhide in pose mode, vertex paint mode , visibility toggle fix | |
| v1.1 | Multi-object Edit Mode support for Shift Select and Batch Select on MESH sets. Sets from different mesh objects can now be combined in a single Edit Mode session, |
| v1 | Initial public release. Object, Bone, Mesh, Curve, and Surface set types. Batch operations, Custom Groups, Import/Export, Mirror Selection, Visibility Toggle, Blender 5.0 bone API compatibility. |
Selection Keeper v1.1 | Created by Skubby | For Blender 4.5 / 5.0+

Discover more products like this
bone selection Mesh Selection Tool Blender Scene Management Selection selection set keeper selection keeper selector selection sets Object Selection