Set The Scene - Blender Studio Lighting Presets & Backdrops: 37 Light Rigs, Product Photography Sets
 Rasheed's Edit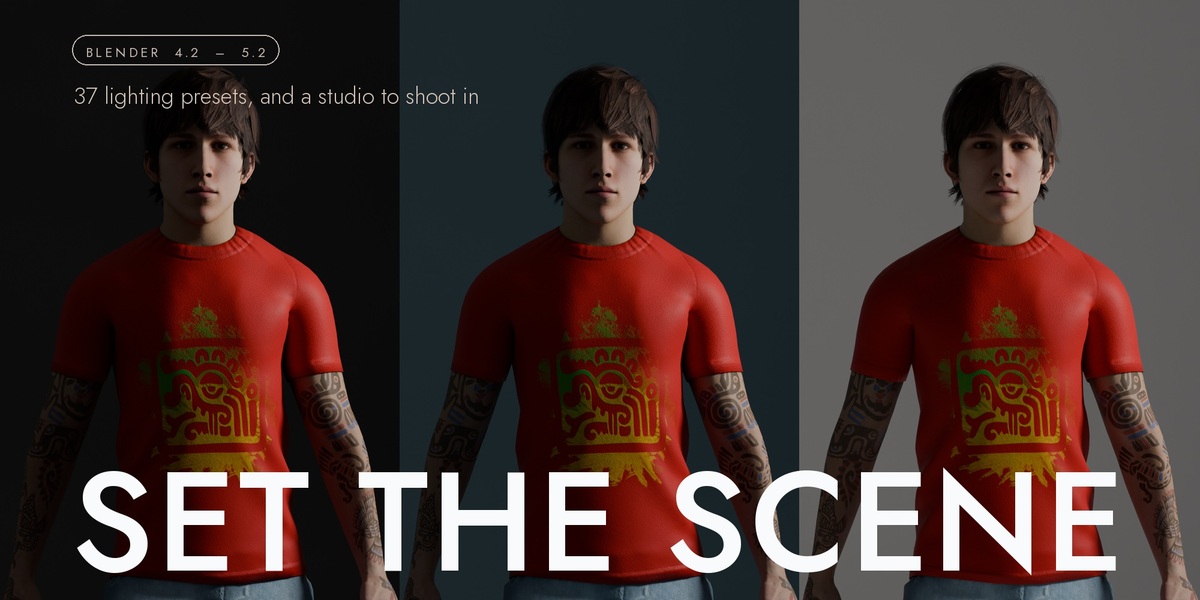






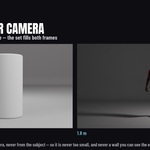

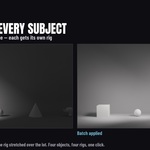
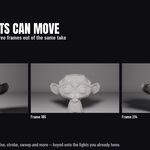

Where to find it
After installing, the panel lives in the Properties editor › Render tab › Set the Scene. It is a normal Blender panel, so it sits with your render settings rather than in a floating window or a separate workspace. It is not in the 3D viewport's N panel.
The panel shows one section at a time. Across the top is a row of three: Light, Set, Batch. Click a name and the panel below becomes that section. They are the order you would actually work in — light the subject, put something behind it, then repeat it across everything in the shot.
Installing
It ships as a Blender extension. Drag the zip into Blender, or use Edit › Preferences › Add-ons › Install from Disk, then tick it. It needs Blender 4.2 LTS or newer.
It declares one permission — file access — and that is for your own saved presets. It makes no network requests, needs no account and has no licence key.
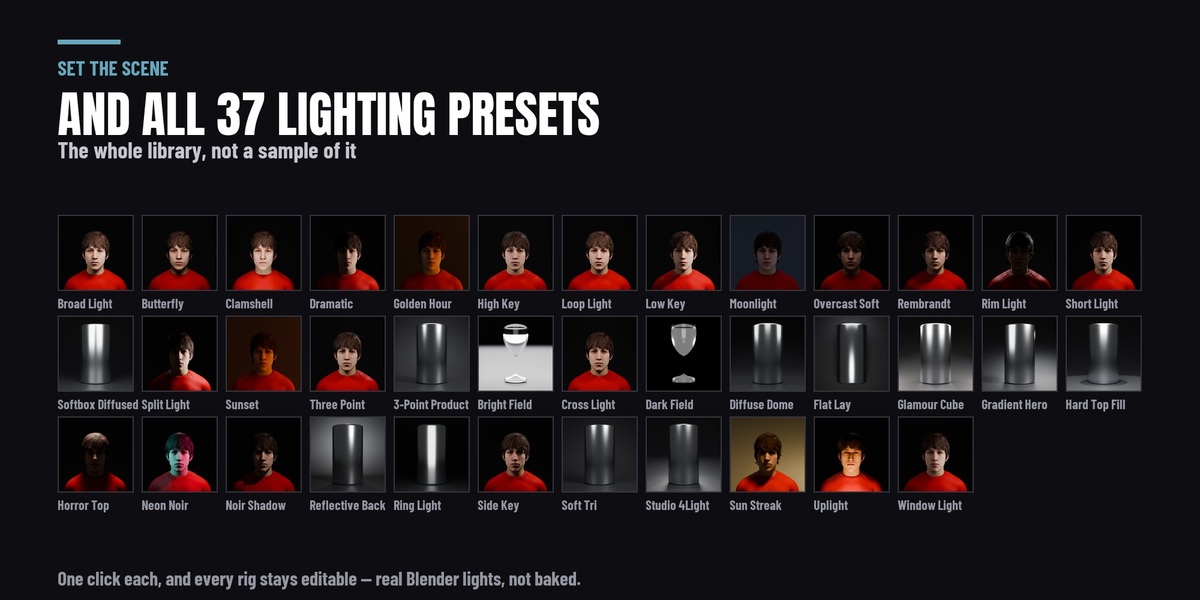
Light — the 37 rigs
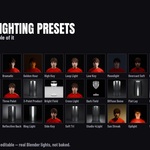
Select the object you want lit and click a preset. It builds ordinary Blender lights, parented to an empty, in their own collection named after the preset.
Nothing is locked and nothing is driven. There is no custom node group, no modifier stack and no dependency on the add-on staying installed — select a light and move it, change its power, delete one. The preset is a starting point you are meant to leave.
The library is grouped into folding categories and each preset shows a rendered thumbnail. Tile Size in the panel header sets how large those tiles are, and Show Thumbnails turns them off if you would rather read a list.
Four master controls sit above the library and move the whole rig at once:
- Intensity — scales every light, holding their relative powers
- Temperature — warms or cools the rig
- Key / Fill — the ratio between the brightest light and the rest, which is what actually decides how dramatic a setup reads
- Orbit — rotates the whole rig around the subject
They are absolute, not incremental. Every light records the power and colour the preset authored, and each slider recomputes from those stored values rather than from wherever the slider was last. Take Intensity to 3.0 and back to 1.0 and you are exactly where you started, to the last decimal. An incremental design drifts, and once it has drifted the slider's position stops meaning anything.
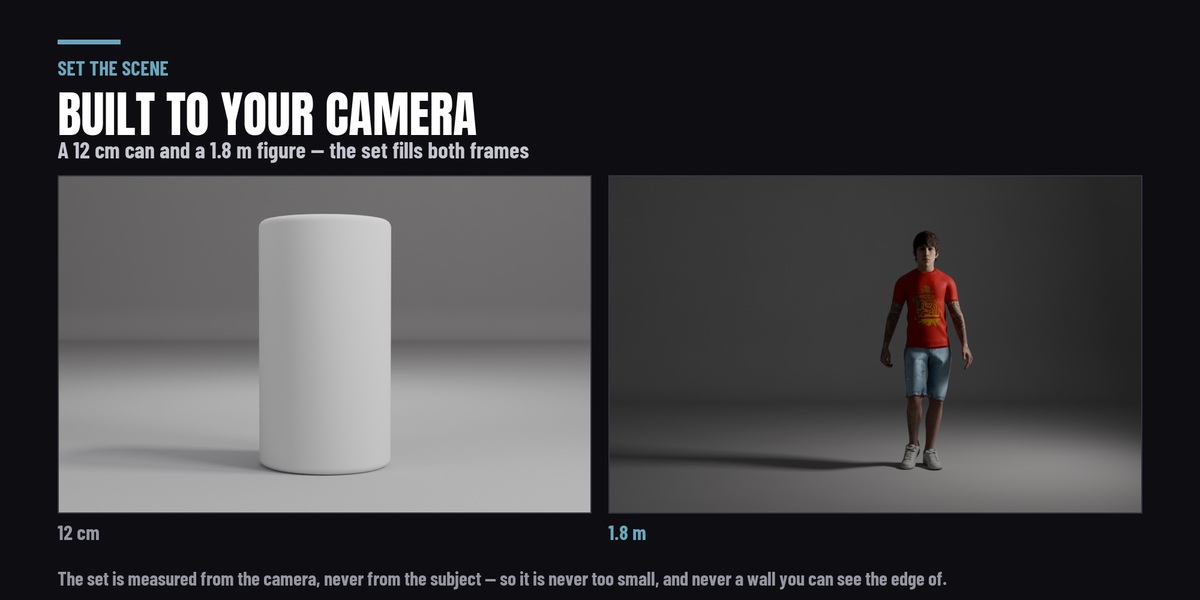
Fit To Subject is on by default: distance, source size and power scale together with the object's size, so the same preset gives the same look on a person and on a 12 cm bottle instead of a softbox ten times the bottle's size. Turn it off and the rig builds at its authored scale.
Add Camera places a camera on the subject if there is not one already. Aim At points the rig at a particular object — a character's head rather than the centre of their bounding box — and it records what it was derived from, so it is re-resolved rather than left pointing at the last thing you lit.
Reset Rig puts the master controls back to what the preset authored. Clear Rigs removes what the add-on built, and only what the add-on built: every object it creates is tagged, and an object without that tag is never deleted.
Saving your own presets
Light something by hand, press Save Preset, give it a name, and it joins the library beside the shipped ones with its own button. Delete Preset removes it.
They are stored outside the add-on folder, so updating or reinstalling cannot delete them. Where exactly depends on one preference:
- If you set a Presets Folder in the add-on's preferences, they go there. That folder is yours — back it up, put it on a drive you share between machines, and the same presets are available in every version of Blender you run.
- If you do not, they go to Blender's own extension data directory for the version you are running. That is per Blender version, so a preset saved in 4.2 will not appear in 5.2.
The second behaviour is the platform's requirement rather than a choice — an add-on may not assume its own folder is writable, and may not pick a location on your disk by itself. Setting the preference is the way round it, and it is the first thing worth doing.
Set — the backdrop
Select your subject and press Build Set. Pick a Shape and a Surface from the two tile galleries; clicking a tile applies it immediately rather than selecting it for a second button press.
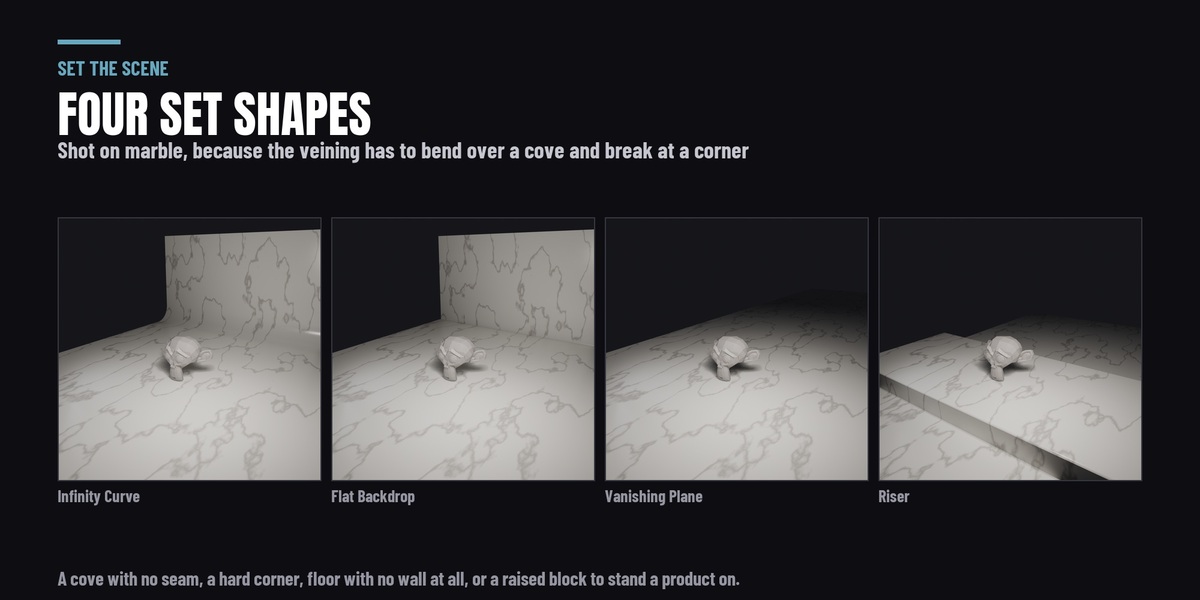
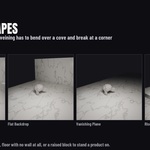
Four shapes:
- Infinity Curve — the seamless cyclorama: floor curving into a back wall with no horizon line
- Flat Backdrop — floor and wall meeting at a real corner, the tabletop standard
- Vanishing Plane — floor only, running out past the frame with nothing behind it
- Riser — a raised block to stand a product on, inside a larger set
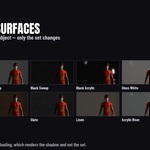
Twelve surfaces: White Sweep, Grey Sweep, Black Sweep, Gloss White, Black Acrylic, Acrylic Riser, Marble Slab, Slate, Concrete, Butcher's Block, Linen Drape, and Floating (Shadow Only).
They are procedural — one material built from a list of pattern layers, with nothing to download and no image files in your project folder. The set is unwrapped in metres, so a texture scale means repeats per metre and survives the set being rebuilt at a different size: the grain runs along the floor and keeps running up the wall instead of smearing where the surface turns vertical.
Changing the surface does not rebuild the set, deliberately — it swaps the material and leaves the geometry where it is. Changing the shape does rebuild, because that is geometry.
How the set is sized
The set is measured against your camera's frustum, not your object's bounding box, and this is the part that is easy to get wrong by hand.
A backdrop sized from the subject is wrong by about a factor of fifteen across the range from a 12 cm bottle to a 1.8 m figure — far too small at one end and absurd at the other, and either way you find out when the edge of it turns up in frame. Sized from the frustum, it fills the frame at both ends, and the wall is placed far enough back that a rim light or a backlight is still behind the subject rather than buried in the wall.
With no camera in the scene it falls back to sizing from the subject, and says so — the line under the button reports the dimensions it used and which rule produced them.
Every edge carries a bevel, scaled as a fraction of the subject rather than a fixed few millimetres. Nothing in the world has a perfectly sharp edge, and a sharp edge catches no highlight at all — it is only the boundary between two shaded faces, and it is one of the reliable tells that a render is a render. Every shape is also shaded smooth with edges over 30° marked sharp, so the cove curves and the corners stay corners.
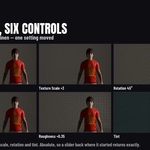
Customise Surface — six controls
- Pattern — how strongly the surface's own pattern shows
- Roughness — glossier or rougher than authored
- Relief — how deep the bump reads. It ships at 5 rather than 1: the surfaces are authored at real millimetre depths, which is right for a surface and about ten times too small to see on a set that is metres across
- Texture Scale — repeats per metre
- Rotation — turns the pattern within the surface
- Tint — multiplied into the surface colour, so white is the identity and a coloured sweep is one slider away from the grey one
Every setting is absolute. The values the material was authored with are stored on the material itself, and each control recomputes from those rather than from what is currently in the node. A 0.0 → 0.5 → 2.0 → 0.25 → 1.0 round trip returns the original stops with no drift. Reset puts everything back to the shipped defaults.
On the four gloss surfaces the Roughness and Pattern controls are clamped. Past a certain roughness EEVEE switches the reflection off entirely, and the reflection is the whole reason those four exist — so the slider stops rather than silently turning off what you bought it for.
Floating, and the shadow catcher
Pick the Floating (Shadow Only) surface and the set stops rendering while the shadow and the reflection stay, leaving your subject on transparent, grounded, ready to composite. There is also a Shadow Only checkbox for the same thing without changing surface; applying any other surface switches it back off.
This is Cycles only, and it is Blender's limit rather than the add-on's. Blender's shadow catcher has no EEVEE implementation at all — the property reads zero there on every version tested. The panel says which engine you are in and what that means, because the usual conclusion when a checkbox does nothing is that the feature is broken.
Light Passes Through
A floor is an occluder, and a few of the 37 rigs put a light below it on purpose — Uplight and Clamshell both do. With Light Passes Through on, which is the default, the set does not block light, so those presets still do what they were authored to do.
The set is one mesh, so this covers the floor and the backdrop together; there is no way to let light through one and not the other. Turning it off makes the set a solid occluder again, and the panel says so.
The wall is handled the other way round: a preset that places a backlight further away than the wall pushes the wall back rather than moving the light, and the set grows to suit — a backlight shifted in front of the wall would be in shot. That happens before the set is sized, so the larger set still fills the frame with no visible background edge.
Reflections on the gloss surfaces
The four gloss surfaces take a planar reflection probe in EEVEE, which is what makes a reflection on a flat floor sharp rather than approximate. In Cycles no probe is added, because Cycles traces the reflection directly and a probe does nothing there — measured at exactly zero difference.
If you build in Cycles and then switch to EEVEE, a line in the panel says a probe is missing and offers a button to add one. An empty reflection looks exactly like a correct matte floor, which is why it is stated rather than left to be noticed.
Move — the thirteen animated effects
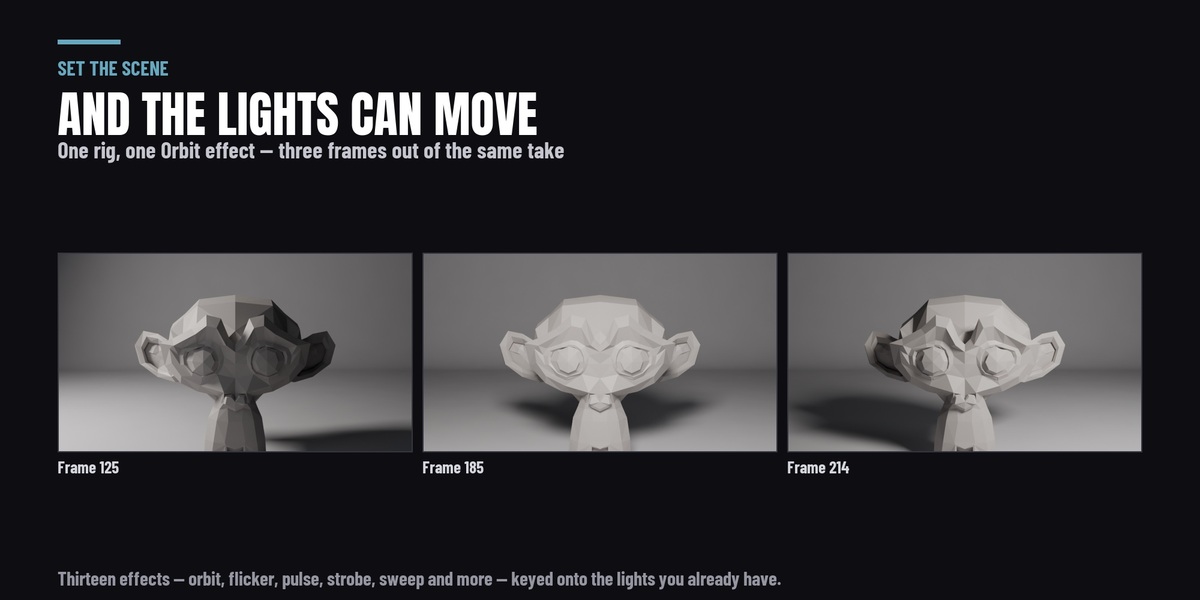
Select a light, or a rig you have just built, pick an effect and press Apply Effect. Orbit, Follow, Sweep and Light Swarm move the lights through the scene; Flicker, Noise Flicker, Strobe, Pulse, Breathe, Bounce, Fade, Colour Fade and RGB Cycle drive their power and their colour. Each effect draws its own parameters under the chooser, and applies to every light in the selection.
It works on any light, not only on a rig this add-on built. Select a lamp you placed by hand and it is animated the same way. When a rig is active the whole rig is animated together, because the master controls hold a key-to-fill ratio across the set and animating one light of the set alone would break it.
What gets written is ordinary keyframes on ordinary Blender lights. Open the Graph Editor and re-time, re-shape or delete any of it by hand. Clear Animation removes what was applied and returns the lights to the values the preset authored.
Batch — one preset across the shot
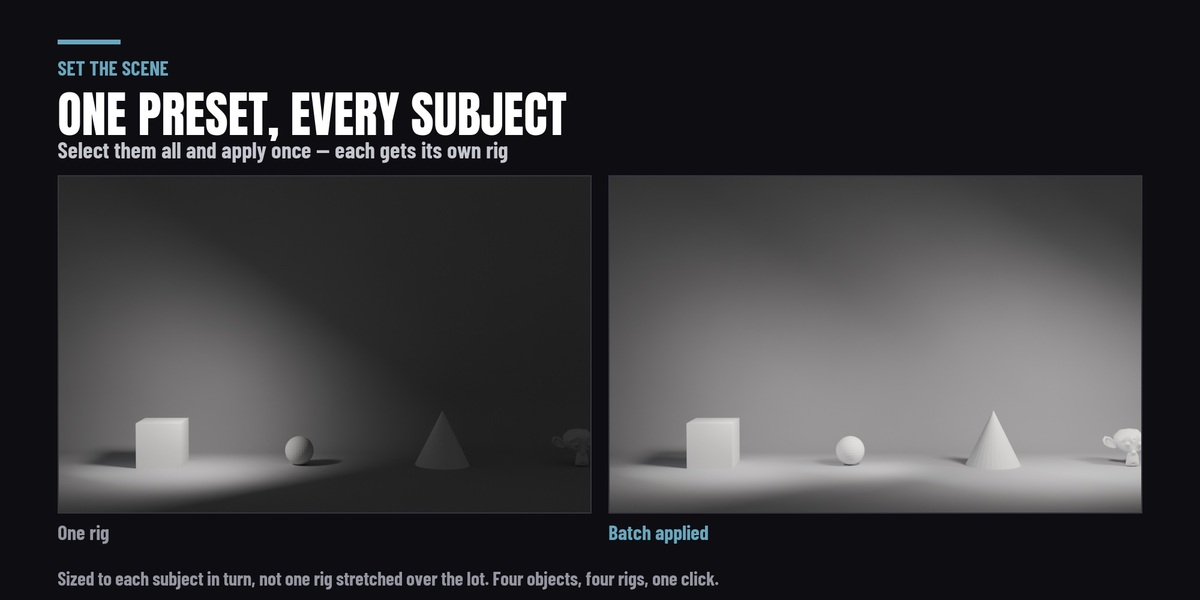
Select several objects, choose a preset, and each gets its own rig fitted to its own size rather than all of them sharing one. Replace Existing decides whether an object that already has a rig is relit or left alone.
If you also own Light It Up
Set the Scene steps aside. The two share code, so both would try to register the same panel and the same operators — installing both would collide rather than merely show the panel twice.
So when Set the Scene starts up and finds Light It Up enabled, it declines to register and adds one line to Light It Up's own panel saying where the sets are. It does not disable, modify or write anything belonging to the other add-on, and everything here is present in Light It Up anyway. Removing or unticking Light It Up brings Set the Scene back at the next start.
What is not in it
Stated plainly so it can be decided before buying rather than after.
- No volumetric fog and no visible light beams — that is Fill the Air, at the same price
- No gobos, IES profiles or softbox modifiers
- No HDRI or world lighting
- No reference-image matching
- No render-pipeline layer — no light groups, snapshots or light linking
Those are all in Light It Up, which contains this product in full. This is the lighting library and the set it stands on, and it is a whole thing on its own.
Requirements
Blender 4.2 LTS or newer. Windows, macOS and Linux. Cycles and EEVEE, with the two engine differences labelled in the panel rather than buried here. No account, no licence key and no network access — it works offline.
This release was tested on Blender 4.2 LTS, 4.5 LTS, 5.1 and 5.2 — not "should work", actually run on each.
Support
Questions, bug reports and feature requests through the Superhive message system on this page. If something does not work the way this page says it does, that is worth reporting — a lot of what is written above exists because somebody said so.
-
$16.15 $19
Have questions about this product?
Login to message
| Blender Extension Compatible | Yes |
| Published | 3 days ago |
| Blender Version | 4.2 - 5.2 |
| Extension Type | Add-on |
| Render Engine Used | Cycles, Eevee |
| License | GPL |
Discover more products like this
shadow catcher procedural presets 3-point Studio cyclorama product rendering backdrop Studio Lighting rig Render Setups Lighting