Sliceform Popup Tools
 Wolfram Kampffmeyer


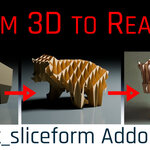
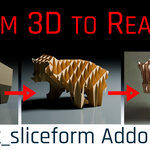
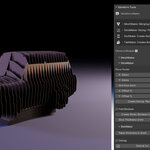
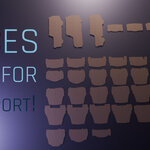
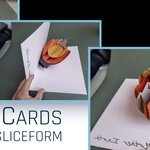
wk_sliceformPopUp Addon
A powerful toolset to convert any mesh into laser-cuttable, interlocking sliceform structures.
How To
Installation:
-
In Blender go to Edit > Preferences > Add-ons
-
Click Install, then choose the wk_sliceformPopUp.zip file
-
Enable wk_sliceformPopUp Tools in the list
-
Access it from the Sidebar (N) > sliceform
Quick Overview
-
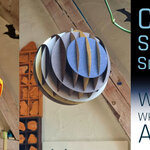
wk_sliceformPopUp is a modular Blender add-on designed to help artists, designers and makers turn 3D models into clean, layered sliceforms.
-
Perfect for laser cutting, papercraft, and pop-up card design.
-
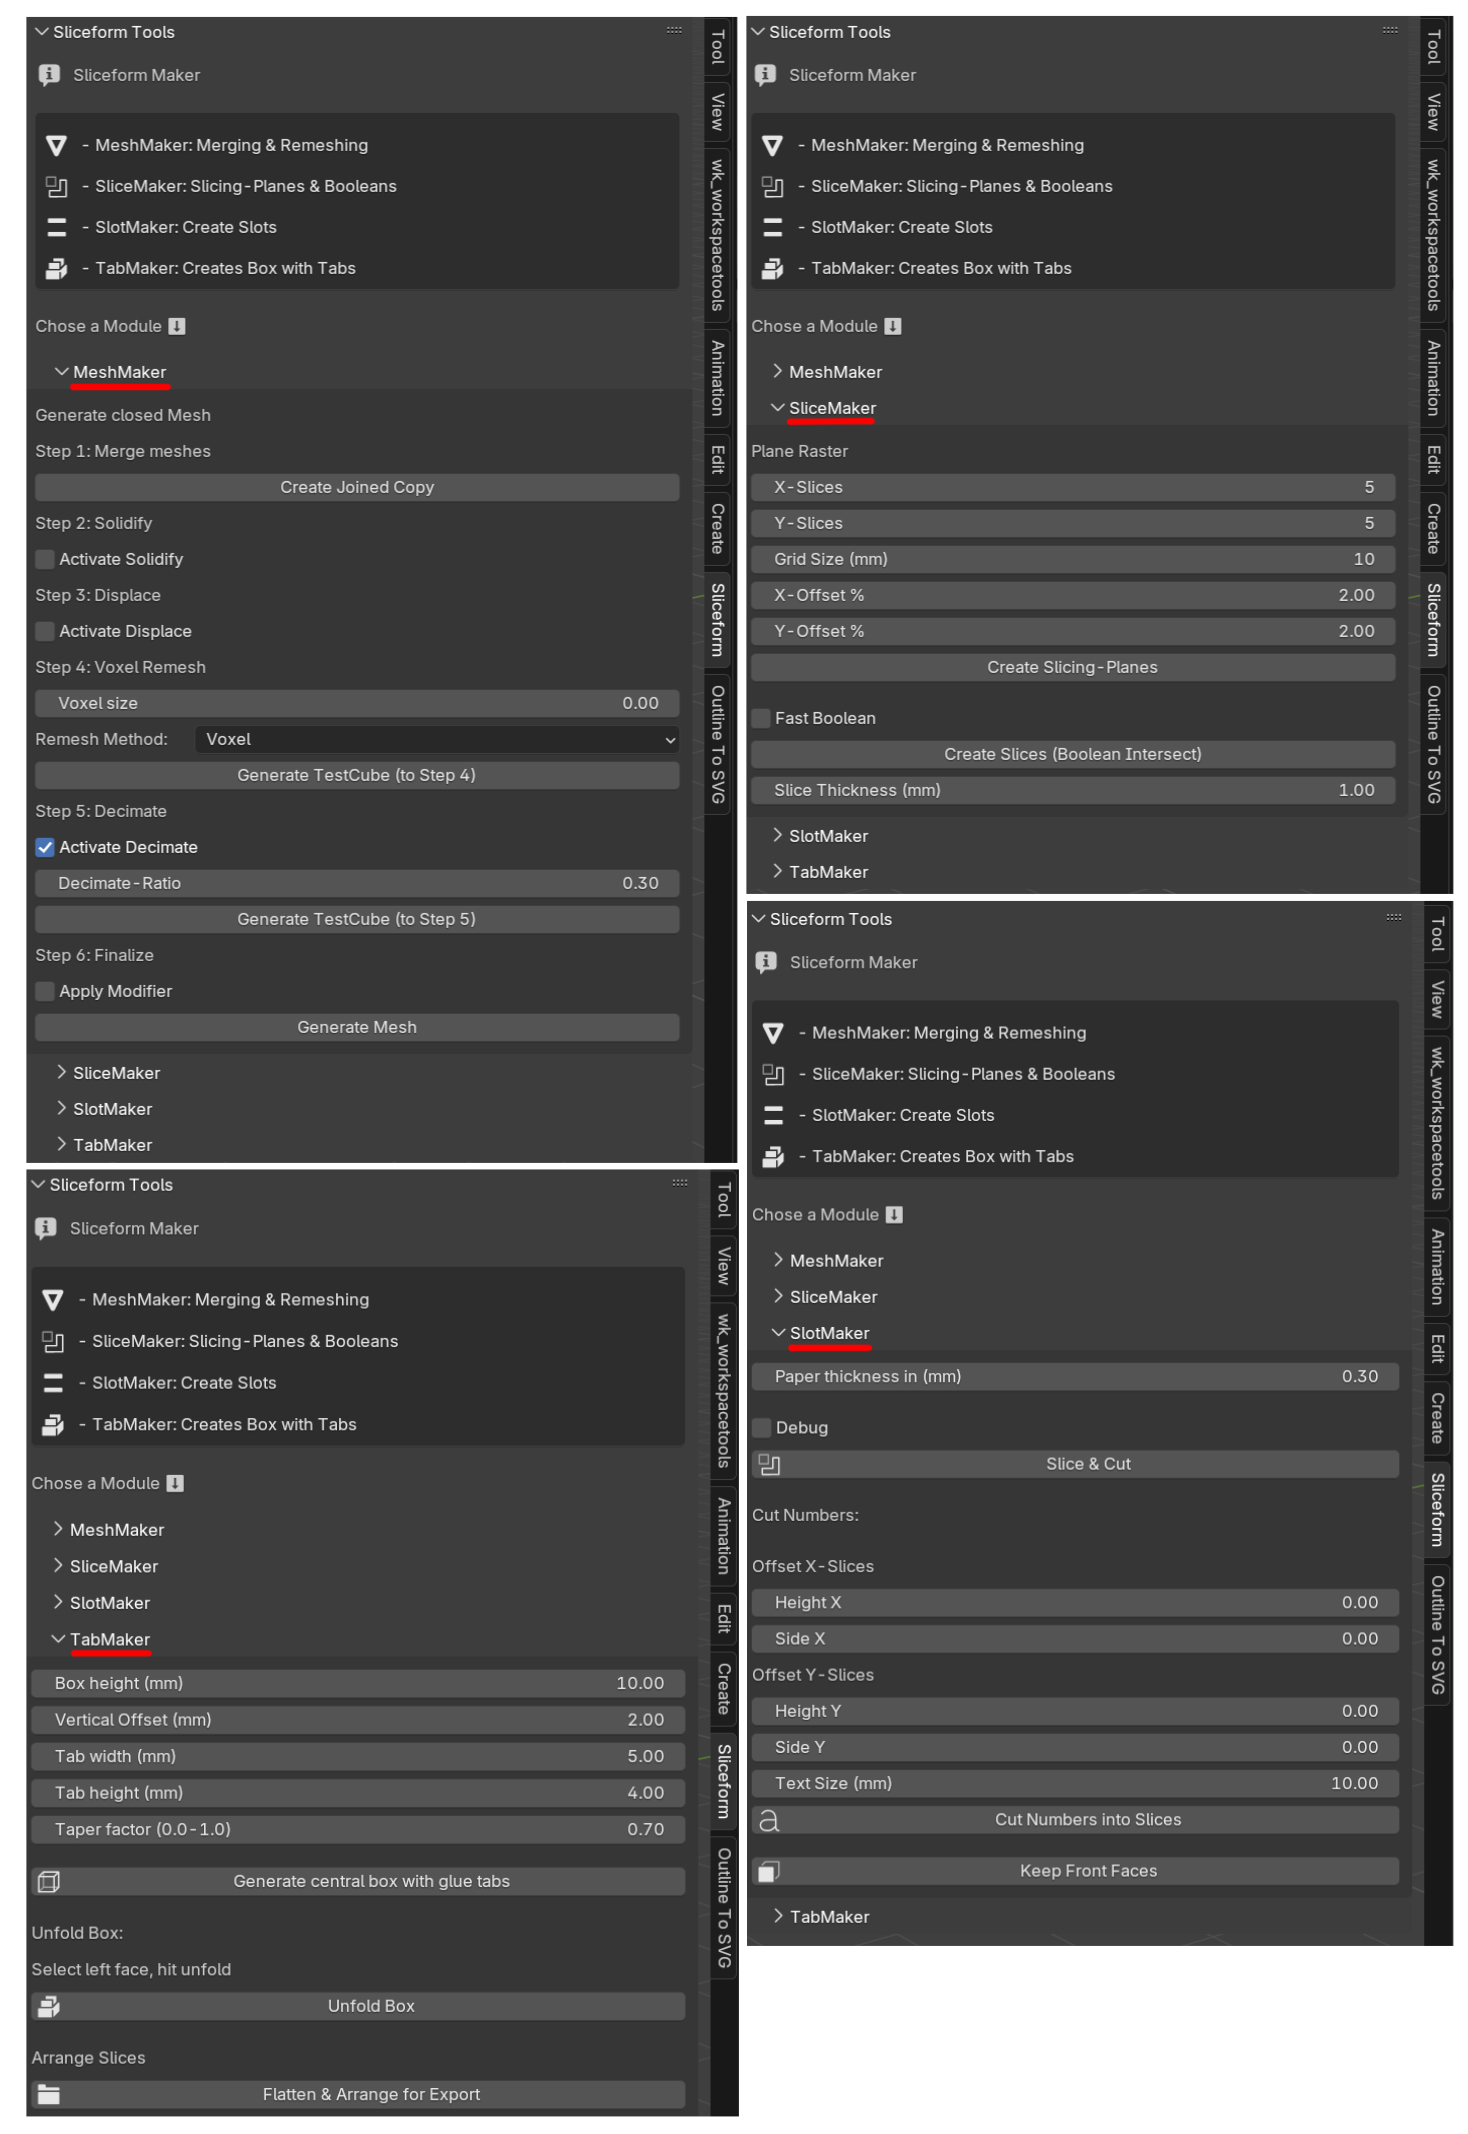
The add-on consists of four modules:
MeshMaker, SliceMaker, SlotMaker, and TabMaker
All geometry stays in Blender and is exported flat for external tools like Illustrator or Inkscape via SVG (svg export addon required).
For quick results, all important buttons are colored red:
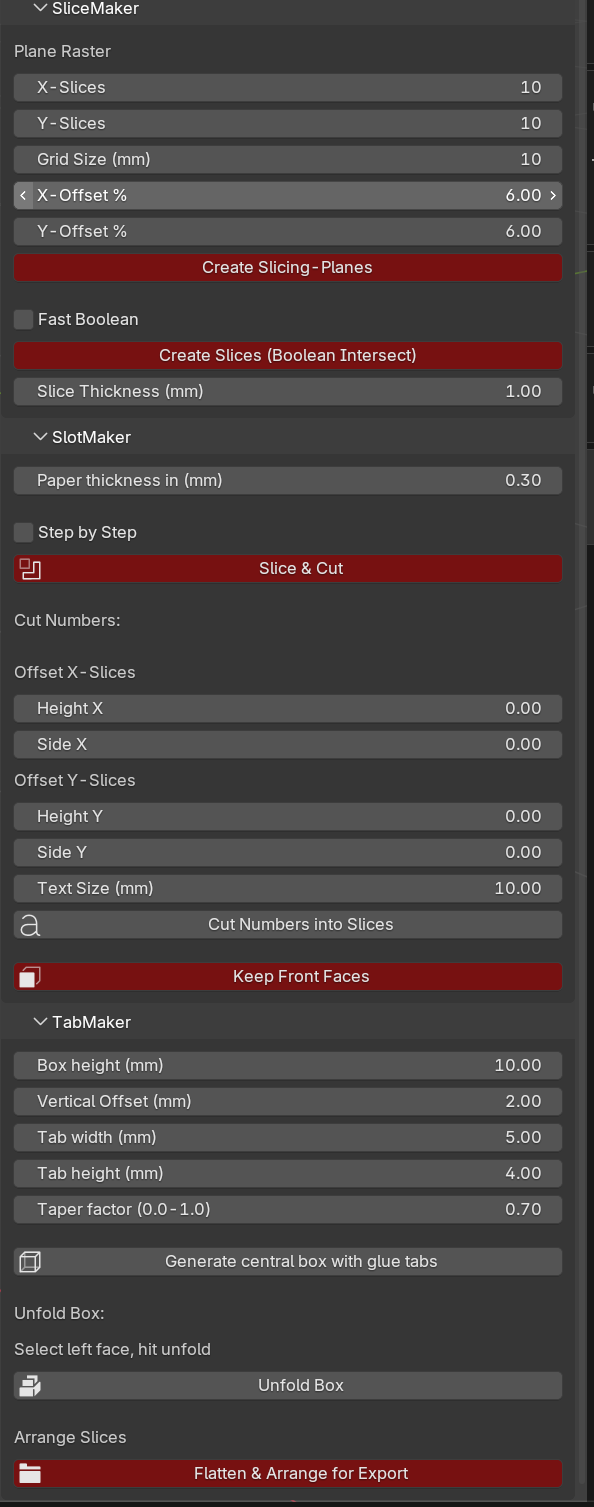
Module Overview
MeshMaker – Clean & Prepare Your Mesh
This module helps you convert complex or multi-part geometry into a single, watertight mesh ready for slicing.
Main Features:
-
Voxel Remesh: Merges disconnected geometry and closes small gaps.
-
Voxel Size: Controls detail resolution (lower = more detail). Voxel size of 0.001 is usually a good idea when mesh size is around 20cm.
-
Solidify & Displace: Helps when your mesh has large openings or is paper-thin. Adds virtual thickness and pushes geometry outward to seal gaps.
TIP: Use MeshMaker when your model has holes or is composed of several disconnected parts. It's especially useful for imported meshes like car models.
If you have a too fine voxel size, you'll get a warning to prevent Blender from freezing:
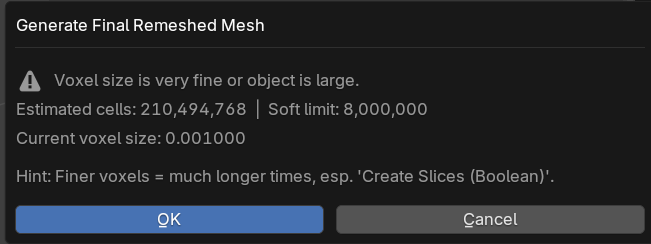
SliceMaker – Generate Cross-Sections
SliceMaker creates the slicing grid and performs boolean intersections with the mesh.
Main Controls:
-
X and Y Slice Count: Number of slices in each direction.
-
Offset (%): How far the outer planes are inset from the object's bounding box.
-
Grid Size (mm):
Defines the resolution of the slicing plane mesh.
A smaller value creates denser geometry, which helps when boolean intersections are imprecise or when you're planning to add boolean numbers later.
Recommended: 1 mm or smaller for high-detail objects. -
Create Slicing-Planes:
Generates a set of flat slicing planes along X and Y based on your input settings. -
Create Slices (Boolean Intersection):
Intersects the slicing planes with your object to create the actual slice geometry. -
Slice Thickness (mm):
Defines the extrusion depth of each slice.
Default is 1 mm, but lower values can be helpful for round or steep models where the default thickness leads to distorted results.Tip: If your slices look oddly cut or have missing parts, lower the slice thickness or increase grid resolution.
SlotMaker – Add Interlocking Notches
SlotMaker creates the slots that allow your slices to snap together.
Modes:
-
Slice & Cut (one click): Generates the intersecting geometry, cuts the slots, and cleans the faces.
-
Step by Step mode: Allows manual adjustment of slot geometry before cutting.
Useful for complex shapes like crescents, where you may want slots at the top and bottom. Just copy-paste the blue and red elements and place / scale them vertically so all intersecting elements have their own slots.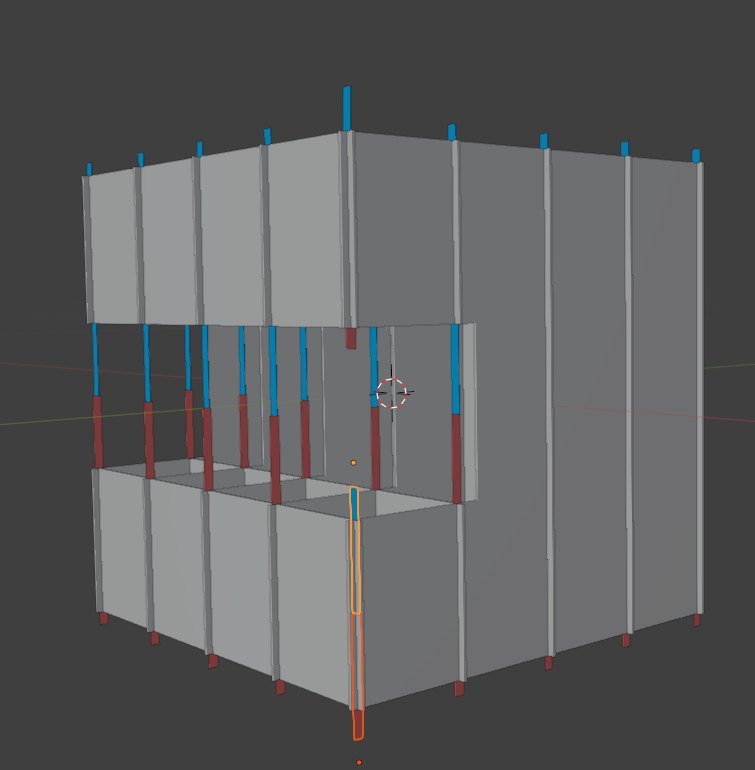
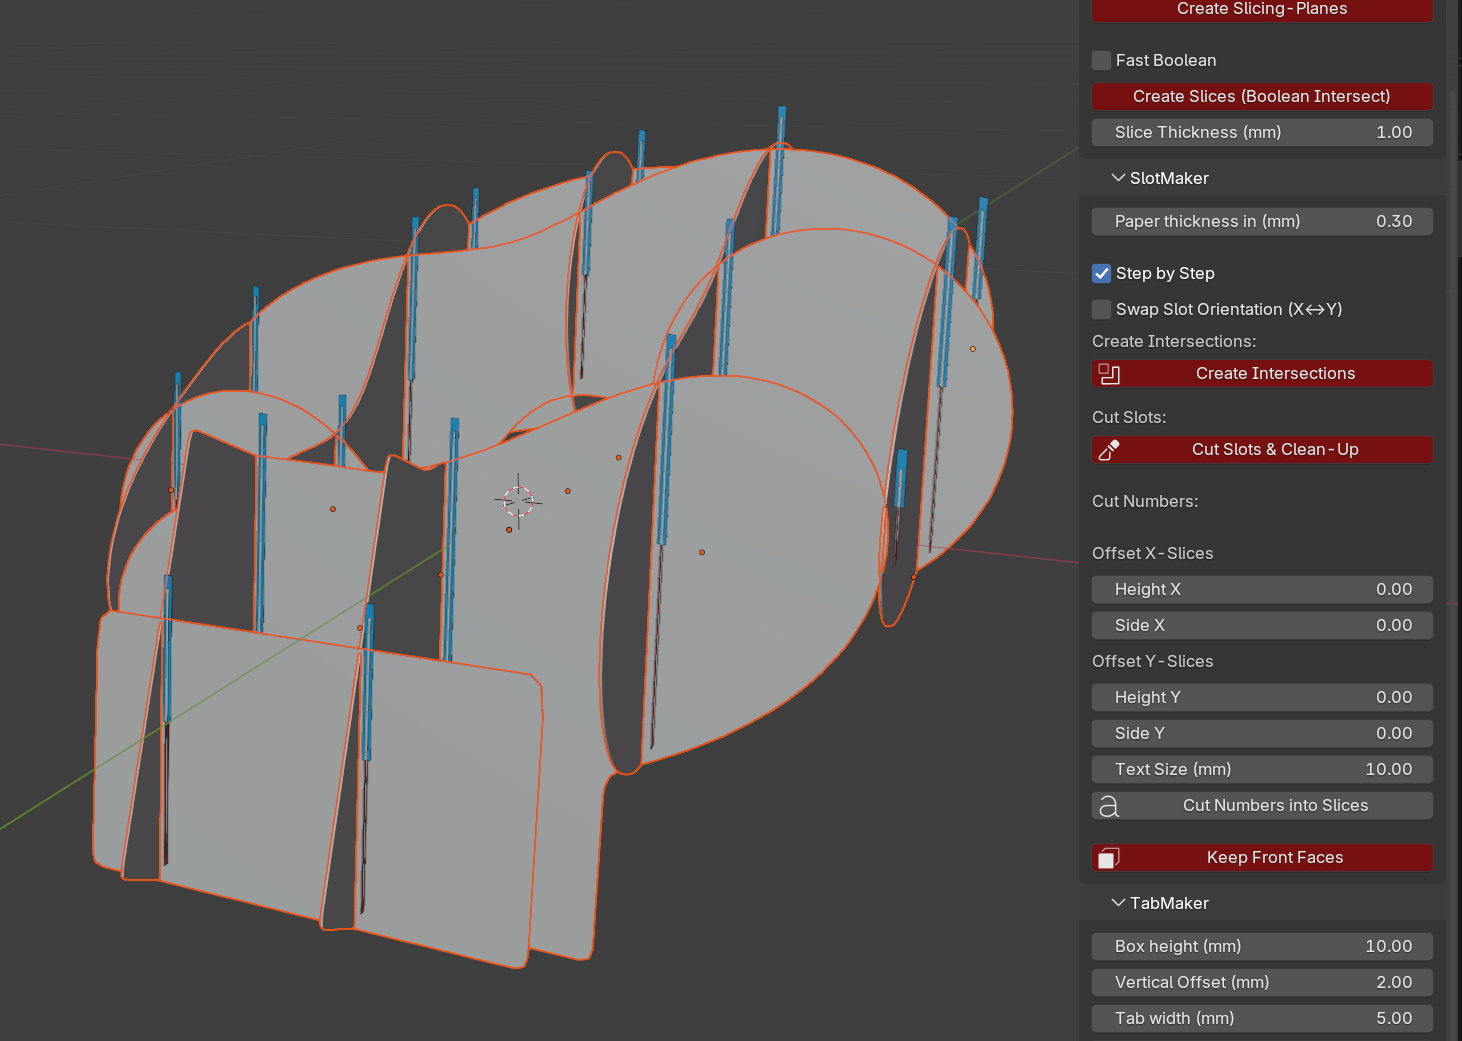
Reverse slots if needed (to prevent overhanging parts to fall off) (New in 1.5.0!).
You can do this also manually for individual red-blue pairs. Just rotate them in edit mode 180° before clicking "Cut Slots & Clean-Up".
Note: Make sure no lost geometry bits float around. Delete them manually if cutting slots causes error messages.
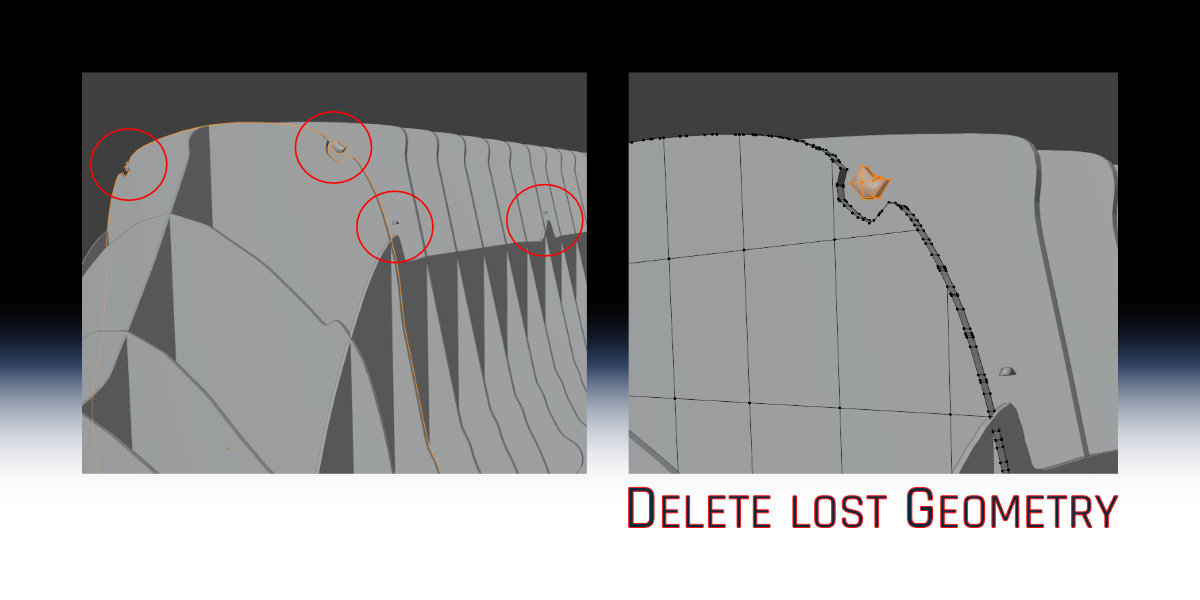
Other Features:
-
Material Thickness: Set the actual thickness of your sheet material (e.g. 1.5 mm for plywood or 0.3mm for heavy paper).
-
Cut Numbers: Cut slice names (like x03, y05) into the geometry using:
-
Height Offset
-
Side Offset (X/Y)
Use test runs to tweak positions until the numbers don’t overlap with any slot. Press undo if needed.
-
-
Keep Front Faces: Deletes backfaces and sidewalls. Produces flat shapes for export.
TabMaker – Pop-Up Support Box & Export Layout
-
If you’re creating foldable pop-up cards, TabMaker helps you generate a support box that:
-
Sits underneath your model
-
Folds flat when the card is closed
-
Pops up when opened
This module is designed for two tasks:
1. Generate a foldable support box (optional, to use your creation for PopUp Cards)
Turn four selected slices into a central mechanical pop-up box:
-
Box height: vertical size of the unfolded box
-
Vertical offset: distance between slices and generated box
-
Tab width / height: size of glue tabs
-
Taper factor: how much the glue tabs narrow toward the tip
Top glue tabs attach to the inner slices. Bottom flaps attach the box to the greeting card base.
Note: The box is cut open (unfolded) at your selected face / edge. You’ll need to manually add a glue tab in your vector program or use tape. This design decision reduces complexity and allows for greater flexibility in editing.
2. Arrange slices for SVG export
Click Flatten & Arrange for Export to:
-
Flatten all slice objects onto the XY plane
-
Automatically distribute them in a clean alphabetical grid layout (e.g., x01 to x10, then y01…)
-
Place the TabBox centered below the grid
Tip: Use an SVG add-on like the add-on “Outline To SVG” to export the result and process it in Illustrator, Inkscape etc.
If the layers which you import to your vector programm aren't named, name them manually by comparing the layout to the identical layout in Blender.
To understand the 3D assembly, compare your exported layout with the original *_cut collection in Blender (hidden by default).
SVG Export & Post-Processing
To export the slices, use the excellent free add-on:
Outline
To SVG → [Makertales]
Steps:
- Click “Flatten & Arrange for Export” in TabMaker.
- Use Outline To SVG to export selected objects (from Top View)
- Open in Illustrator/Inkscape and rename each layer if needed.
Tip: The slice layout matches Blender’s naming (x01, y01 etc.).
Because scaling doesn't match usually (it's often a power of 10), easiest way is to generate a 1 meter square around your slices like this:
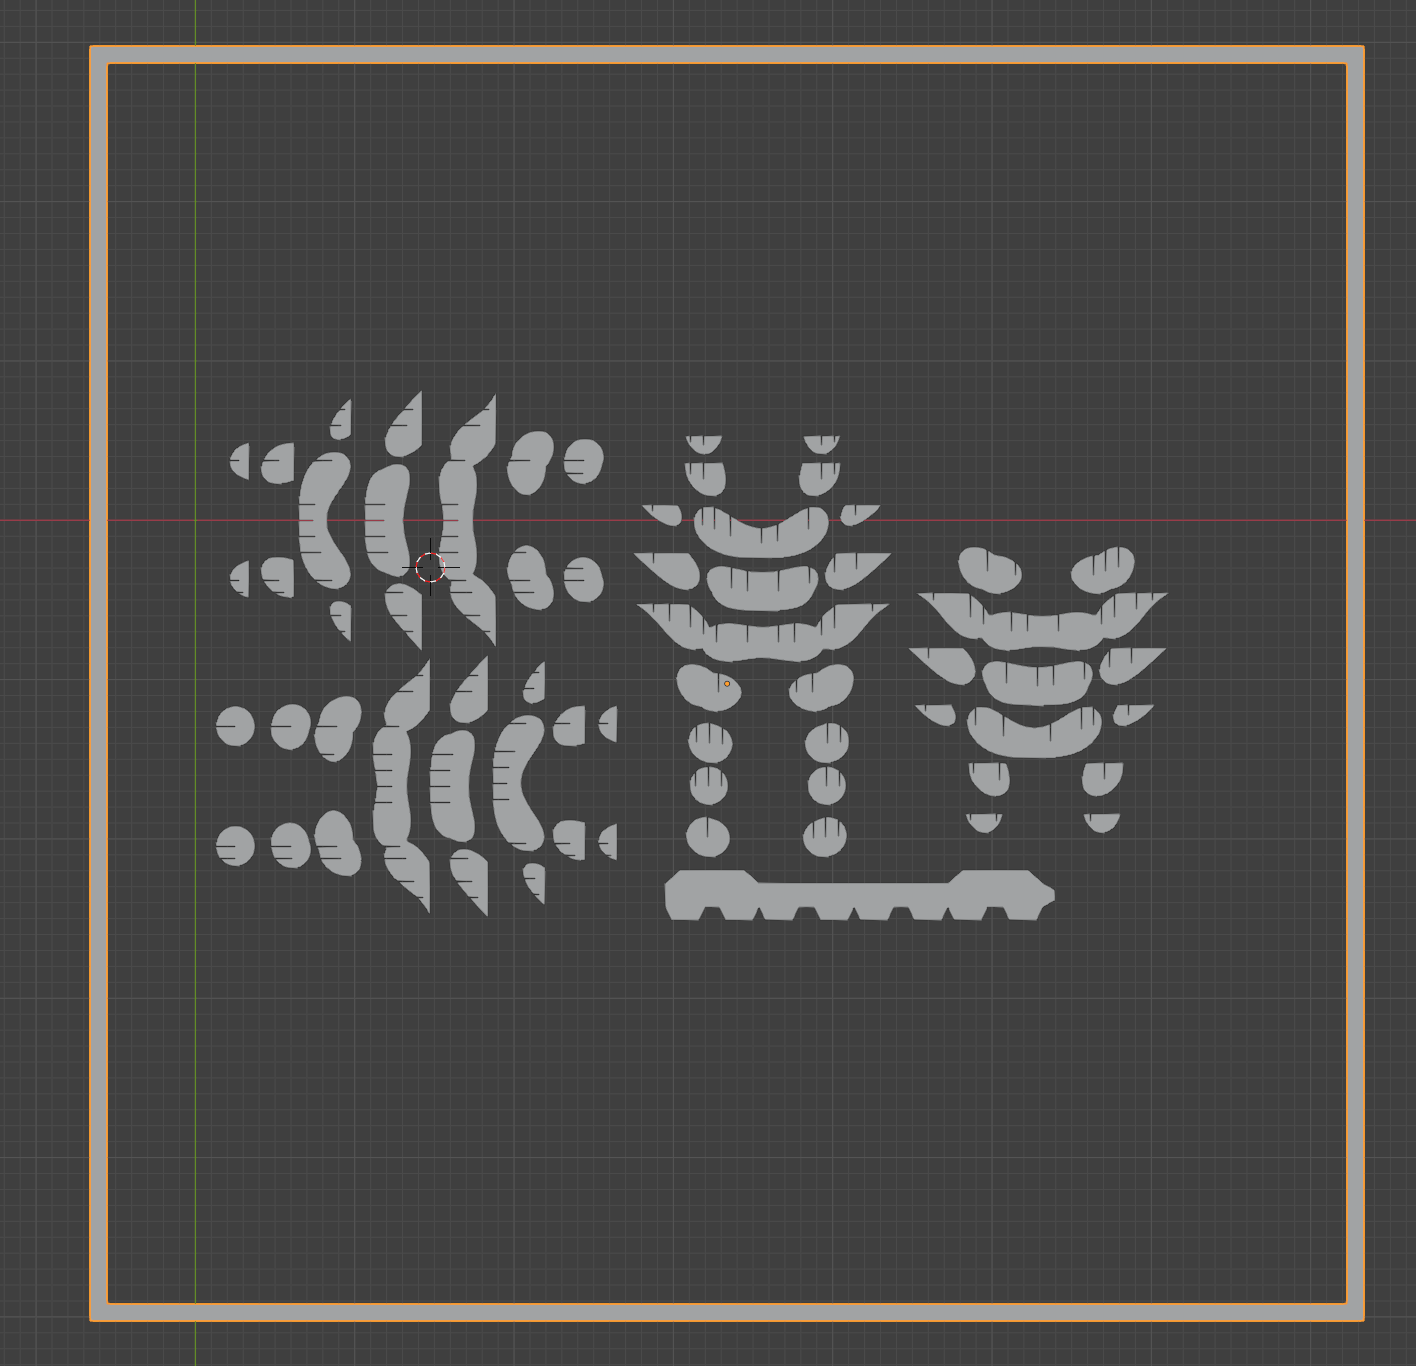
Export everything as SVG and import it to your vector program. Now scale everything to 1 meter and your slices will have the exact size you wanted! You can delete the square now.
To understand the 3D assembly, compare your exported layout with the original *_cut collection in Blender (hidden by default).
 Included
Includes 12 months of
- Support from Wolfram Kampffmeyer
- Product updates
Extend this product’s Support Period +12 months: 25% of product price
Have questions before purchasing?
Login to message
Discover more products like this
pop-up card sliceform maker interlocking objects layered model papercraft cardboard paper designer laser cut svg export 3d slice lasercut