Smart Output Presets – Save & Switch Blender Output Settings
 RealDevCode


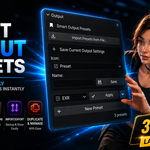
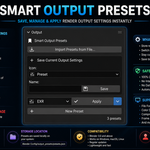
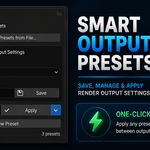
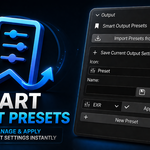
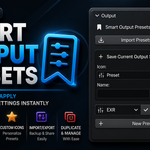
Smart Output Presets
Save your Blender Output setup once, then bring it back whenever you need it.
Installation
- Open Blender.
- Go to Edit → Preferences.
- Open the Add-ons section.
- Install the Smart Output Presets ZIP file.
- Enable the addon.
Once it is enabled, you will find Smart Output Presets in Output Properties.
Where To Find It
Create a Preset
- Set your Output Properties the way you want them.
- Open the Smart Output Presets panel.
- Give the preset a name.
- Save it.
Your current Output setup is saved with the preset.
Apply a Preset
- Open the Smart Output Presets panel.
- Pick the preset you want to use.
- Click Apply.
The saved Output settings are applied to the current scene.
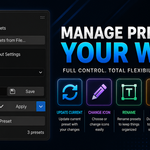
Manage Your Presets
UpdateChange your Output settings and use Update to save the changes to that preset. |
RenameSelect a preset, choose Rename, type the new name, and confirm. |
DuplicateMake a copy of an existing preset and use it as a new configuration. |
Custom IconPick a Blender icon to make the preset easier to recognize. |
DeleteSelect a preset, choose Delete, and confirm. |
Preset LibraryUse the preset list to pick the configuration you want to work with. |
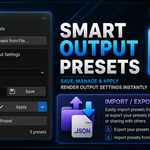
Import & Export
Export Presets
- Open the Smart Output Presets panel.
- Choose Export.
- Choose where you want to save the JSON file.
- Save the JSON file.
Import Presets
- Open the Smart Output Presets panel.
- Choose Import.
- Choose the preset JSON file.
- Choose what to do if a preset with the same name already exists.
Basic Workflow
|
01
ConfigureSet up your Output Properties. |
02
SaveGive it a name and save it. |
03
SelectPick the preset you want. |
04
ApplyApply the saved settings. |
Compatibility
Blender 4.2 - 5.2
Have questions about this product?
Login to message
| Blender Extension Compatible | Yes |
| Dev Fund Contributor | |
| Published | about 2 months ago |
| Blender Version | 4.2 - 5.2 |
| Extension Type | Add-on |
| Render Engine Used | Cycles, Eevee |
| License | GPL |
Discover more products like this
render settings video output blender addon png output presets presets exr render presets rendering render workflow output settings image output