Snap Morph - One-Click Object-Swap Morph Animation For Blender
 Gachoki Studios
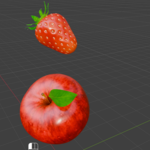
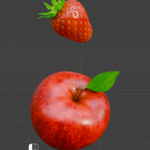
Where to find the panel
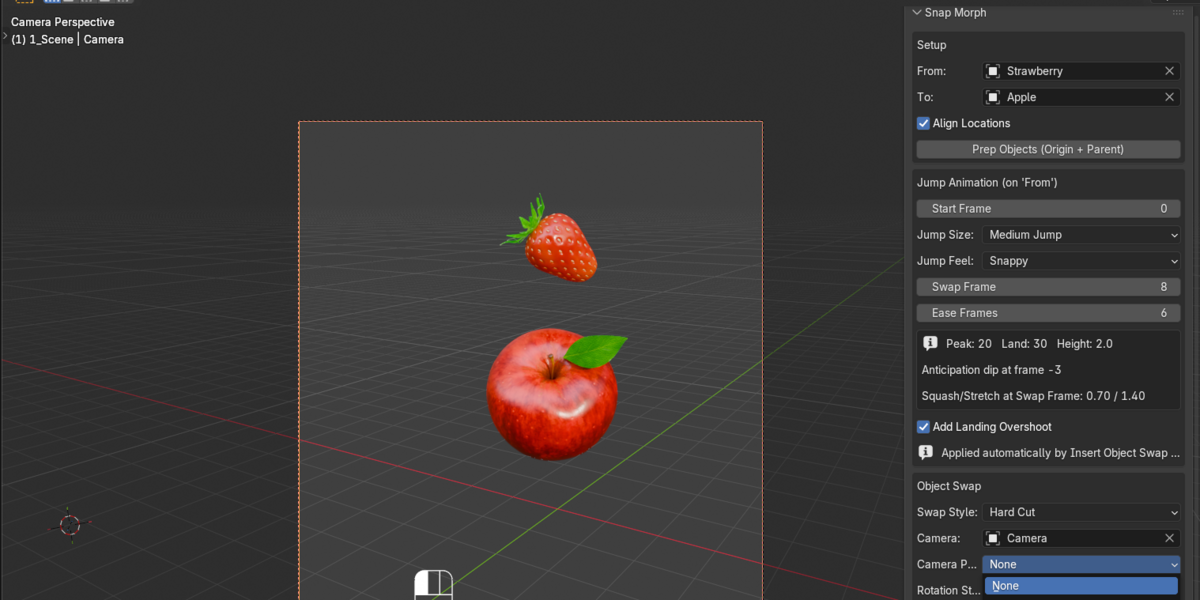
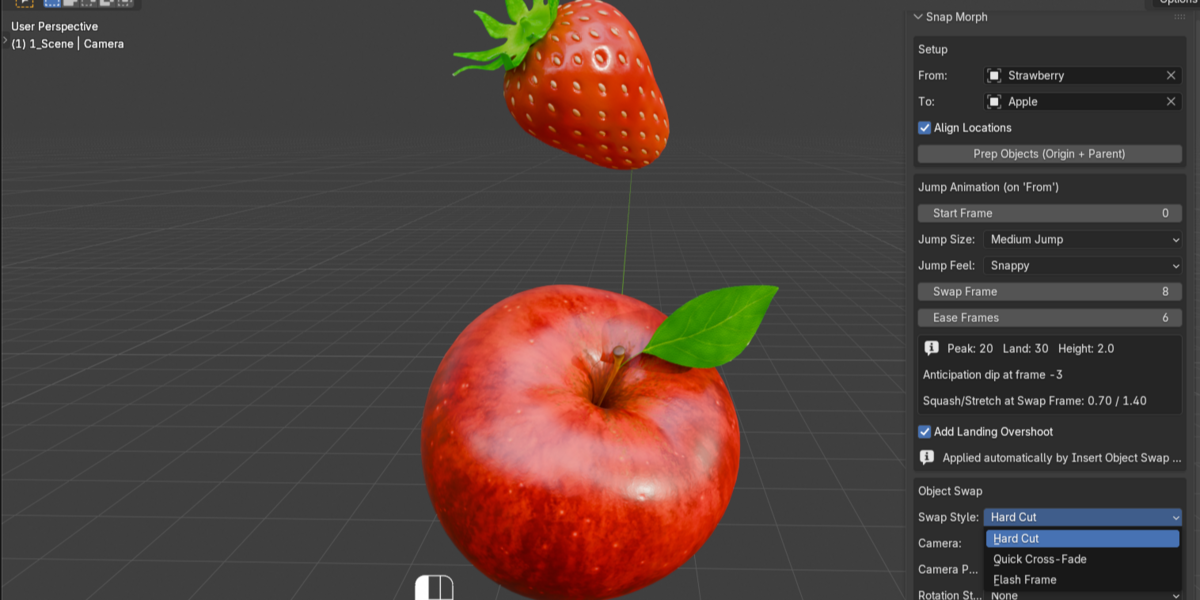
Open the 3D Viewport sidebar (press N) and select the Gachoki tab. You'll see three sections: Setup, Jump Animation, and Object Swap.
1. Setup
- Set From (the object visible first) and To (the object that appears after the swap). Each field automatically excludes whatever is picked in the other.
- Leave Align Locations checked to bring the two objects to the same spot, or uncheck it to keep them where you placed them.
- Click Prep Objects — this centers both objects' origins and parents "To" onto "From".
2. Jump Animation
Choose your settings here; nothing runs until you click Insert Object Swap in the next section.
- Start Frame — where the motion begins.
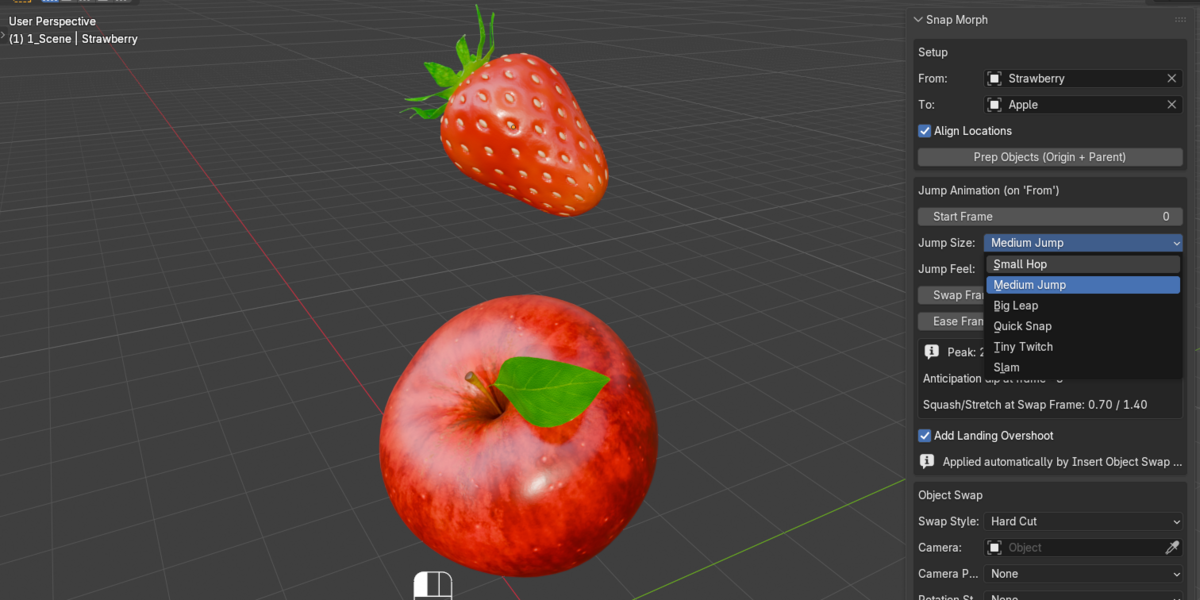
- Jump Size — Small Hop, Medium Jump, Big Leap, Quick Snap, Tiny Twitch, or Slam.
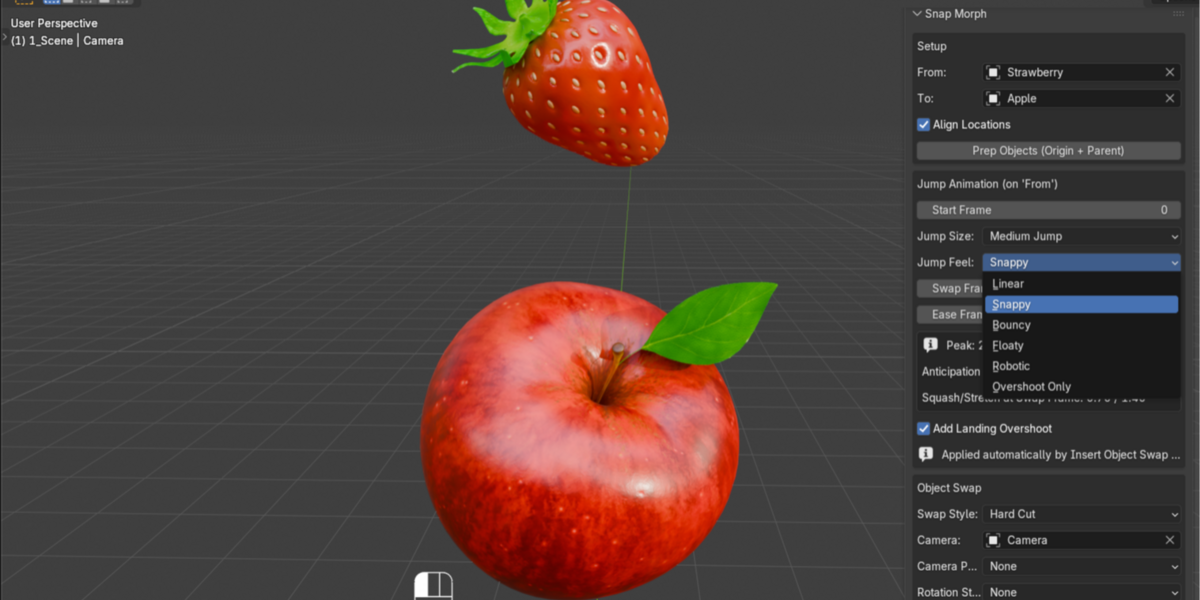
- Jump Feel — Linear, Snappy, Bouncy, Floaty, Robotic, or Overshoot Only.
- Swap Frame — defaults to 8 and auto-updates to the best moment for the swap. Type your own number to override it — your value is remembered until you change one of the jump settings above.
- Ease Frames — how long "To" takes to settle to its normal size after the swap.
- Add Landing Overshoot — check for a crisp, non-wobbly stop.
3. Object Swap
- Swap Style — Hard Cut, Quick Cross-Fade, or Flash Frame.
- Camera and Camera Punch — optional; pick a camera and a Punch In or Shake effect timed to the swap.
- Rotation Style, Axis, Amount, Rotate From/To — optional spin effect on either or both objects.
- Click Insert Object Swap to build the whole animation in one step.
- Click Reset All any time to undo everything Snap Morph has done and return the scene to how it was before.
Tips
- Every keyframe Snap Morph inserts is a normal, editable keyframe — open the Graph Editor to hand-tune anything afterward.
- You can re-run Insert Object Swap as many times as you like; change any setting and click it again to update the whole animation.
- Undo (Ctrl+Z) works normally on every button.
$5
 Included
Includes 12 months of
- Support from Gachoki Studios
- Product updates
Extend this product’s Support Period +12 months: 50% of product price
Have questions before purchasing?
Login to message
| Blender Extension Compatible | Yes |
| Published | 16 days ago |
| Blender Version | 4.5 - 5.2 |
| Extension Type | Add-on |
| Render Engine Used | Cycles, Eevee |
| License | GPL |
