 Martin R.

Snap Together
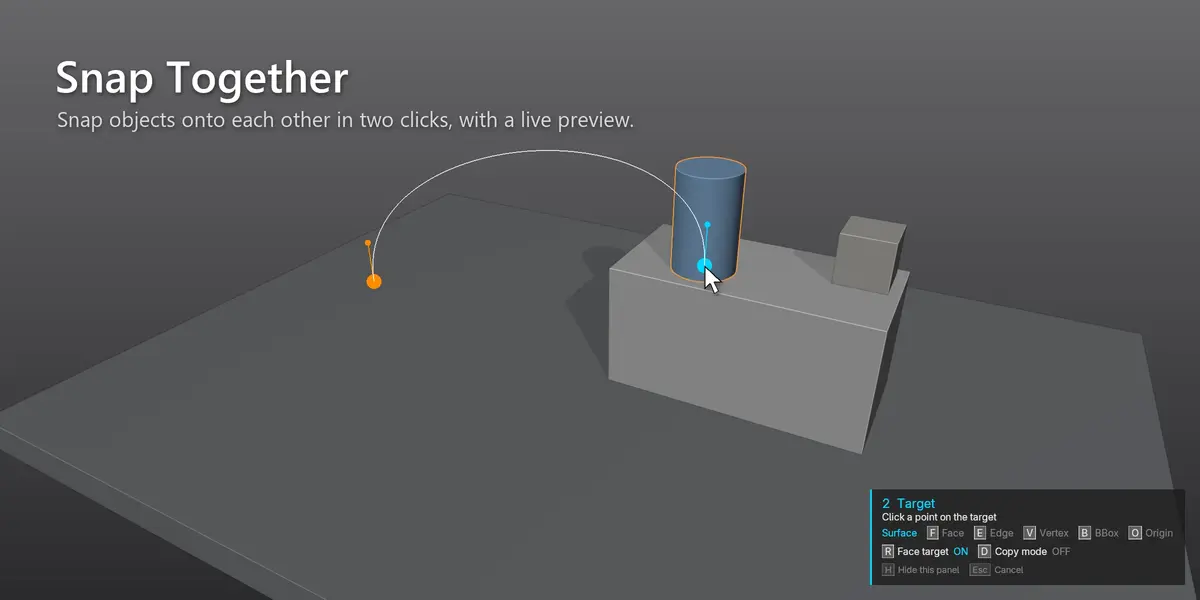
Click a point on your selection, click a point on the target. It jumps over, sits flush and faces the right way.
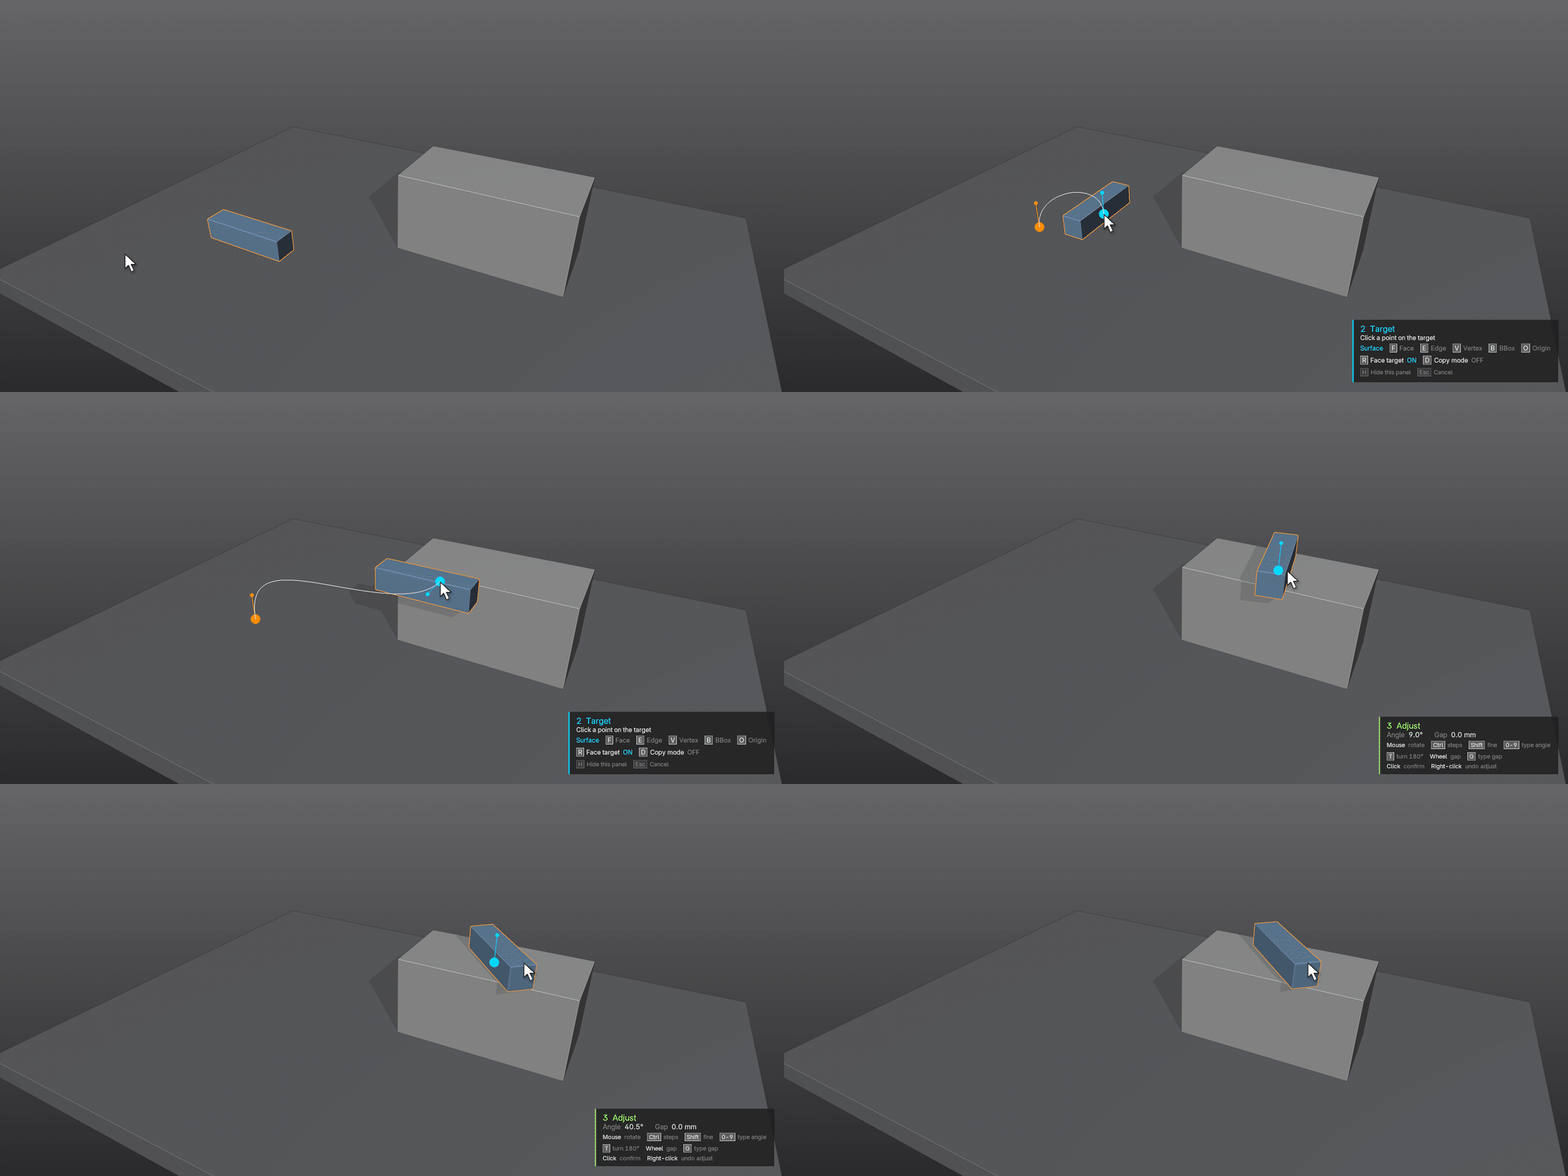
Three steps
Click the point on your selection that should touch the target.
Hover the target to preview, click to snap.
Rotate, lift or type exact values. Click to confirm.
Start it from the Object menu, the right-click menu, the N panel or Alt Shift S
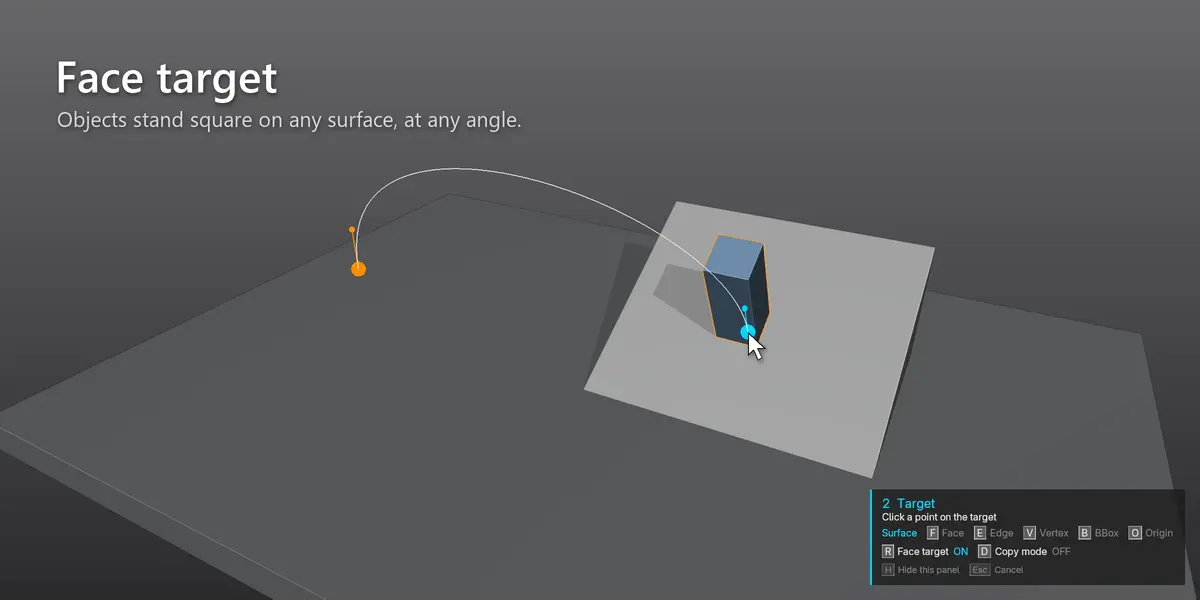
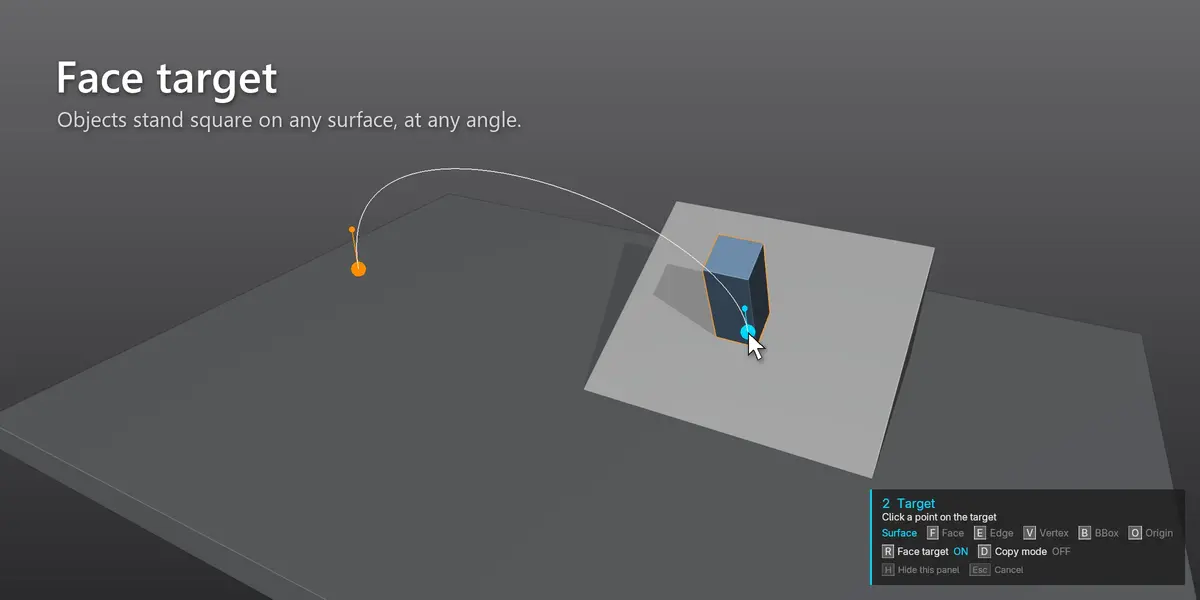
Face target
Objects stand square on slopes, walls and curves. R turns it off.
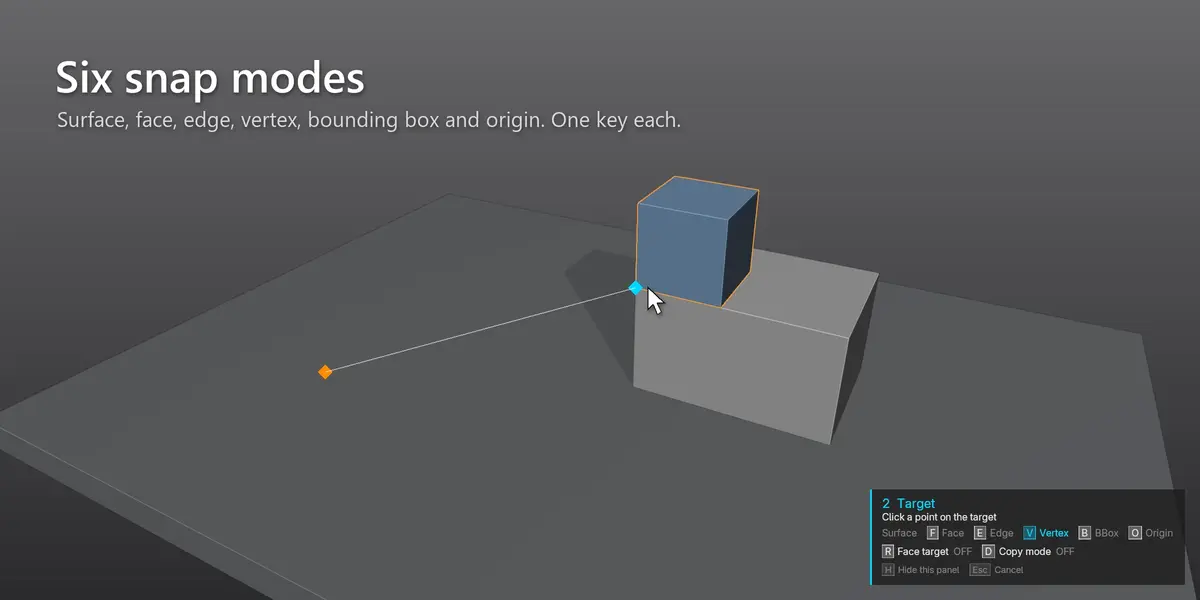
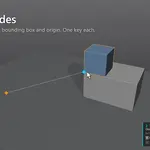
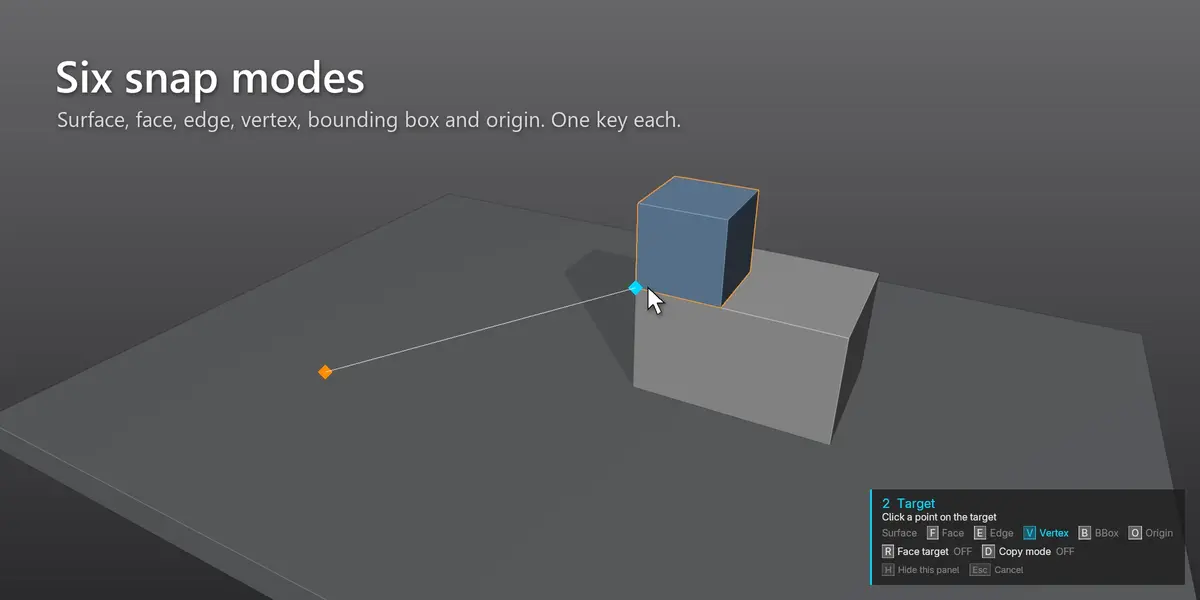
Six snap modes
Surface, F face, E edge, V vertex, B bounding box, O origin.
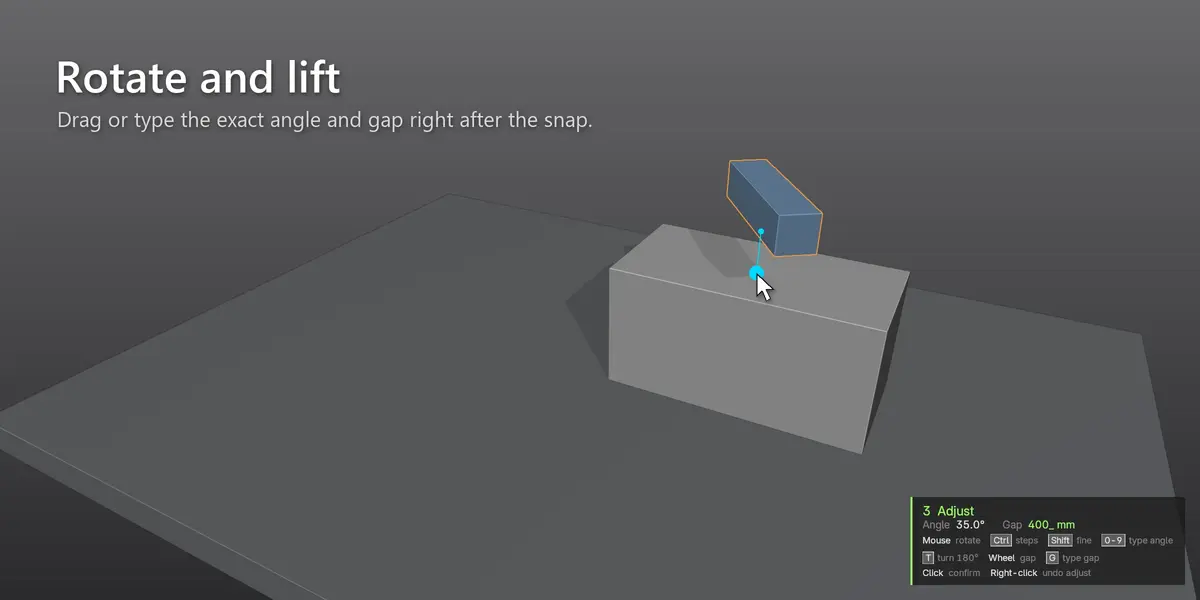
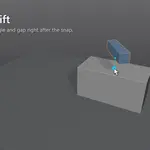
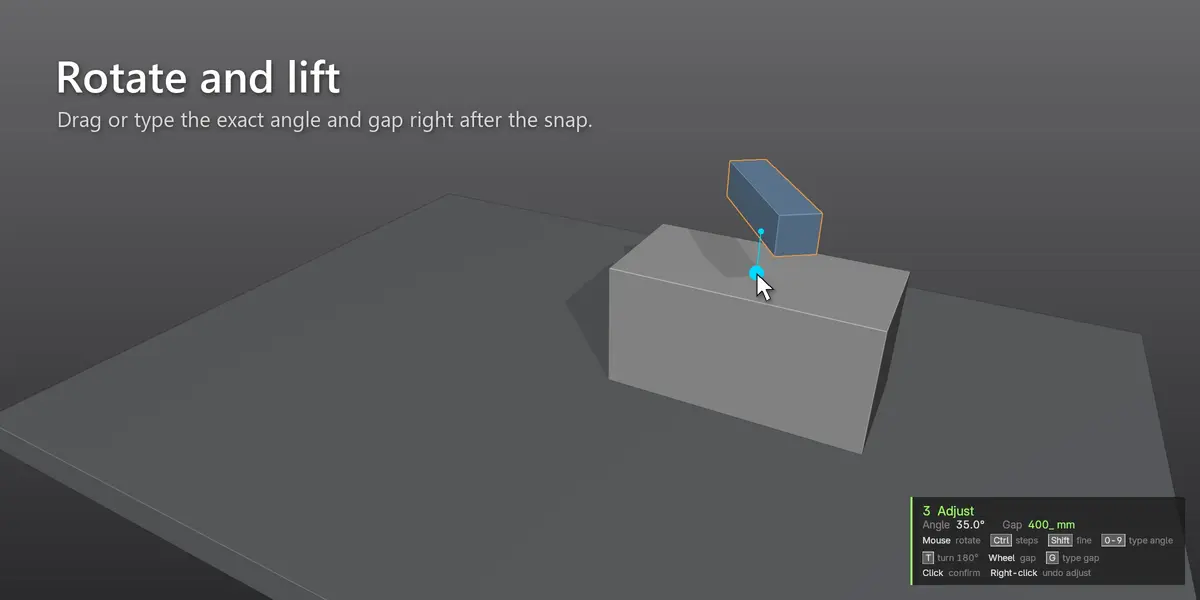
Rotate and lift
Right after the snap: drag or type an angle, scroll or G for a gap in mm.
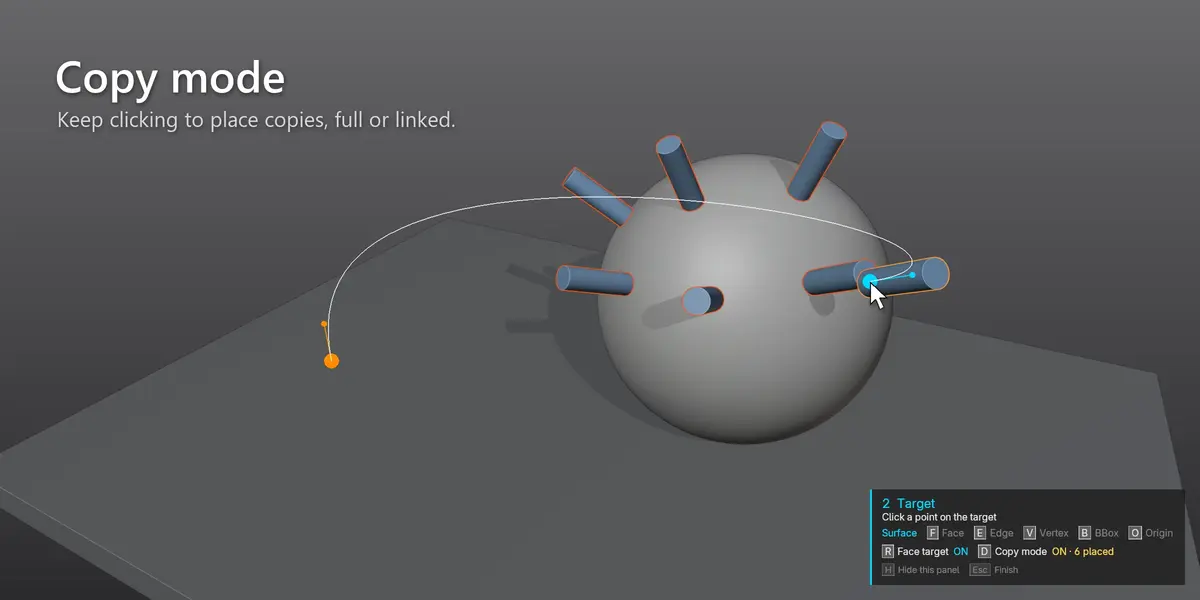
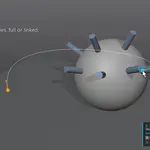
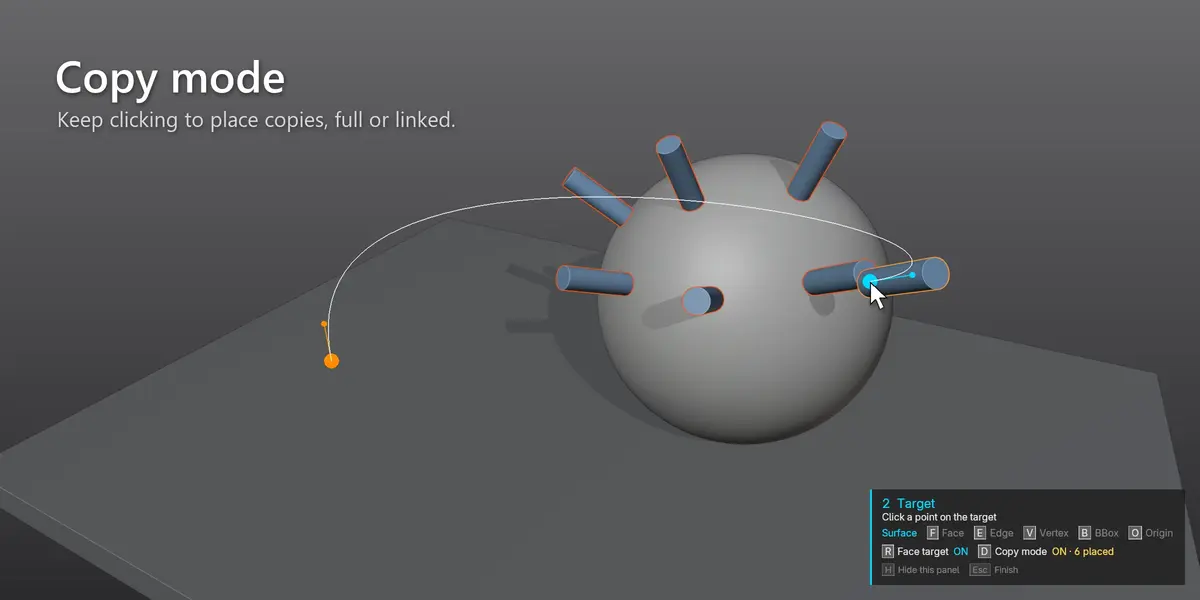
Copy mode
D and every click places a copy, full or linked.
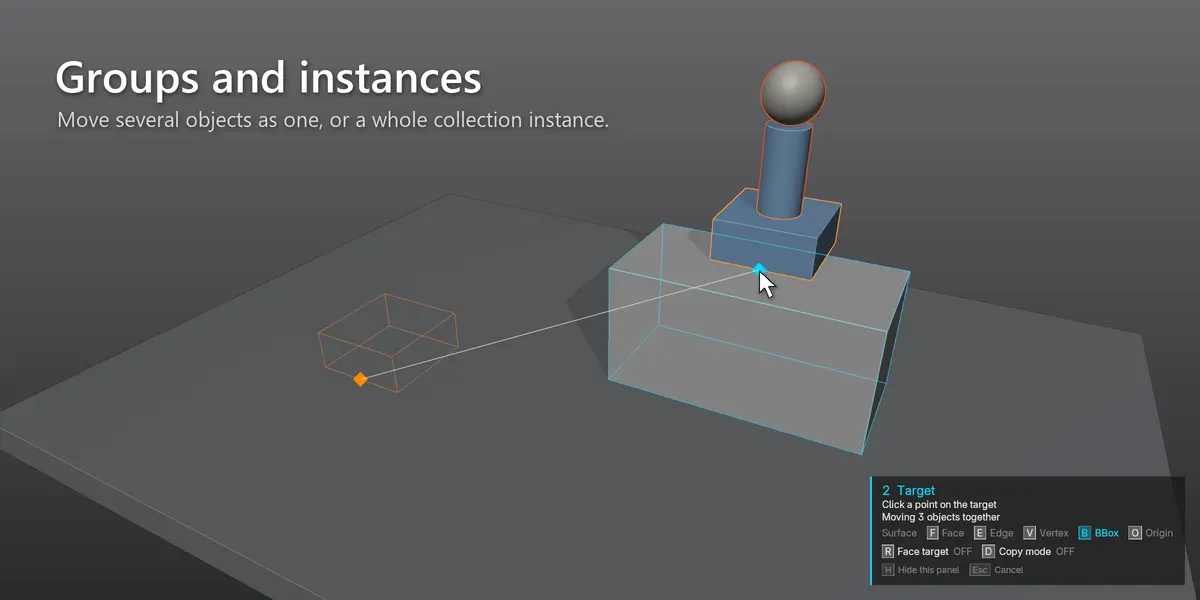
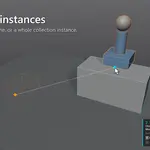
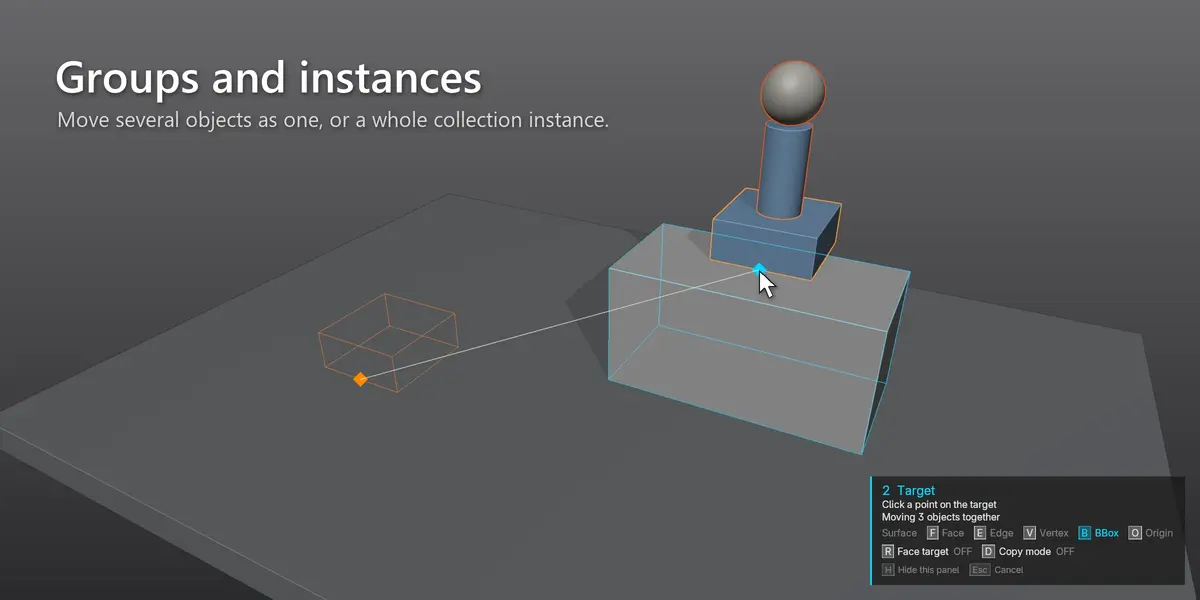
Groups and instances
Move several objects as one, or a collection instance.
Keys
| F E V B O | Face, edge, vertex, bounding box, origin (again for surface) |
| Shift | Hold on the 2nd click in edge mode to align the edges |
| R | Face target on / off |
| D | Copy mode on / off |
| H | Hide the on-screen panel |
| Esc | Cancel |
| Mouse | Rotate (Ctrl steps, Shift fine) |
| 0-9 | Type an angle |
| T | Turn 180° |
| Wheel | Gap along the surface |
| G 0-9 | Type a gap in mm |
| Click | Confirm |
| Right-click | Undo the adjustment, keep the snap |
Install
Edit > Preferences > Get Extensions > dropdown (top right) > Install from Disk, pick the downloaded .zip. On first start it offers the Alt Shift S hotkey.
Blender 4.2 or newer (tested on 4.2 LTS and 5.2). Object Mode only.
FAQ
Why I made it
I kept missing Maya's Snap Together Tool in Blender, so I built my own for my scene work and kept adding what I needed. I'm sharing it in case it helps someone else.
It's early in development, so expect rough edges. Feedback is very welcome: bugs, ideas, anything. Leave a comment or message me here. Martin
GPL-3.0-or-later, like all Blender add-ons.