 Martin R.

Installation
- Download
snap_together-1.0.0.zipfrom your Superhive downloads. Don't unzip it. - In Blender (4.2 or newer): Edit > Preferences > Get Extensions.
- Click the dropdown arrow in the top right and choose Install from Disk...
- Select the .zip.
- The first time it starts, a small popup offers the Alt+Shift+S hotkey. You can change or remove it later in Preferences > Add-ons > Snap Together.
Updating: install the new .zip the same way. It replaces the old version.
Starting the tool
Select the object(s) you want to move, in Object Mode, then use any of these:
- Object menu > Snap Together
- Right-click menu > Snap Together
- Sidebar (N) > Snap tab > Snap Together (the tab also has the most used options)
- Alt+Shift+S, if you turned the hotkey on
How it works
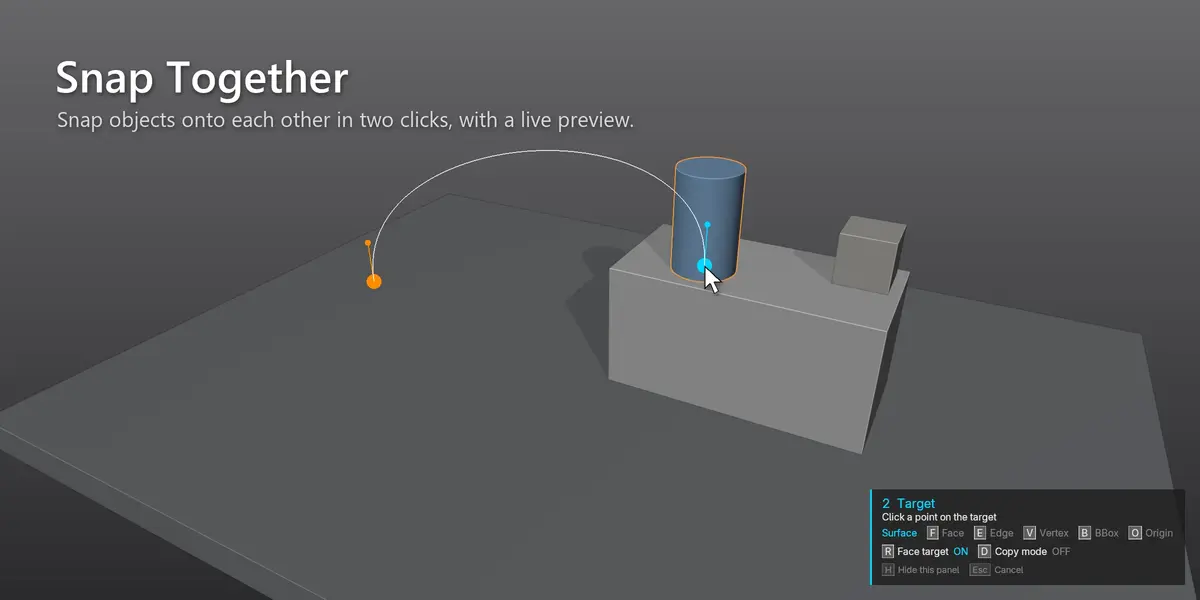
- Source: click a point on your selection. This is the point that will touch the target.
- Target: hover another object. Your selection previews in place (live preview). Click to snap.
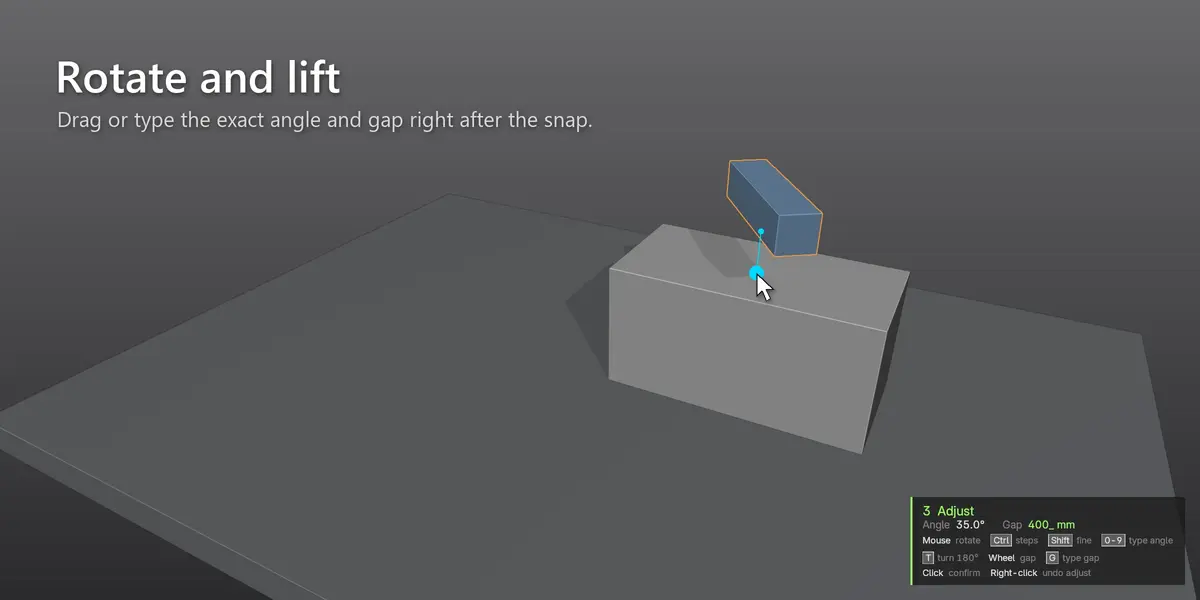
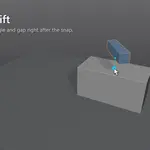
- Adjust: rotate with the mouse, scroll to add a gap, or type exact values. Click or press Enter to confirm.
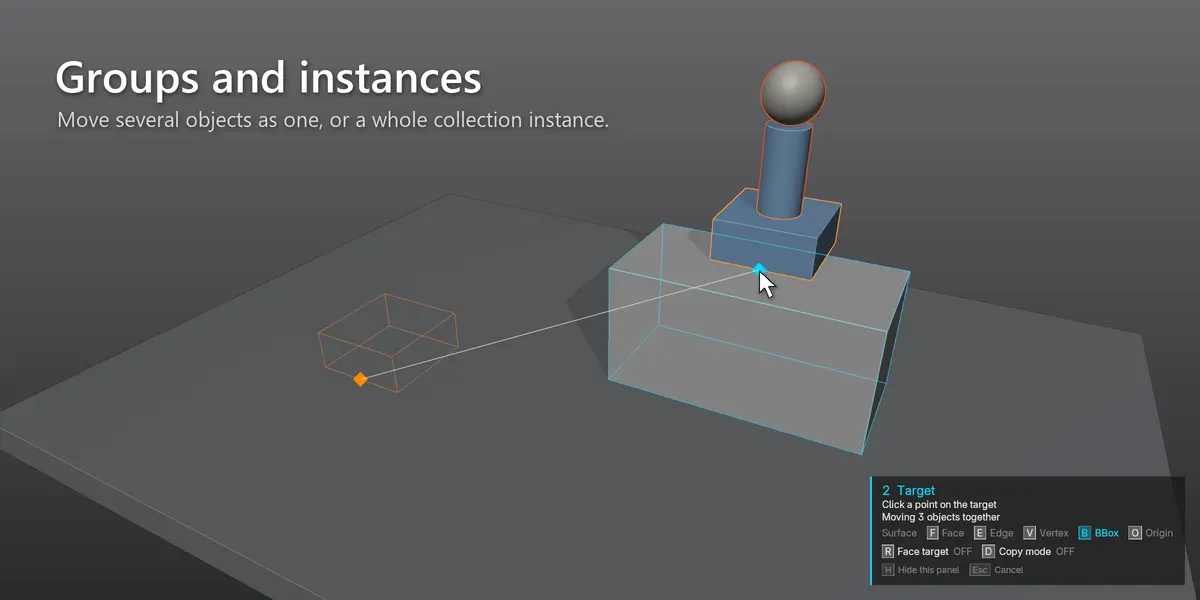
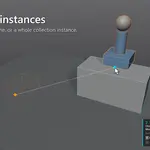
Everything selected moves together as one rigid group. Parented children come along without being moved twice. For a collection instance or linked asset, select the instance and click its geometry.
A small panel in the viewport shows the current step and the key for every option, and Blender's status bar shows the key hints too. Press H to hide the panel.
Snap modes
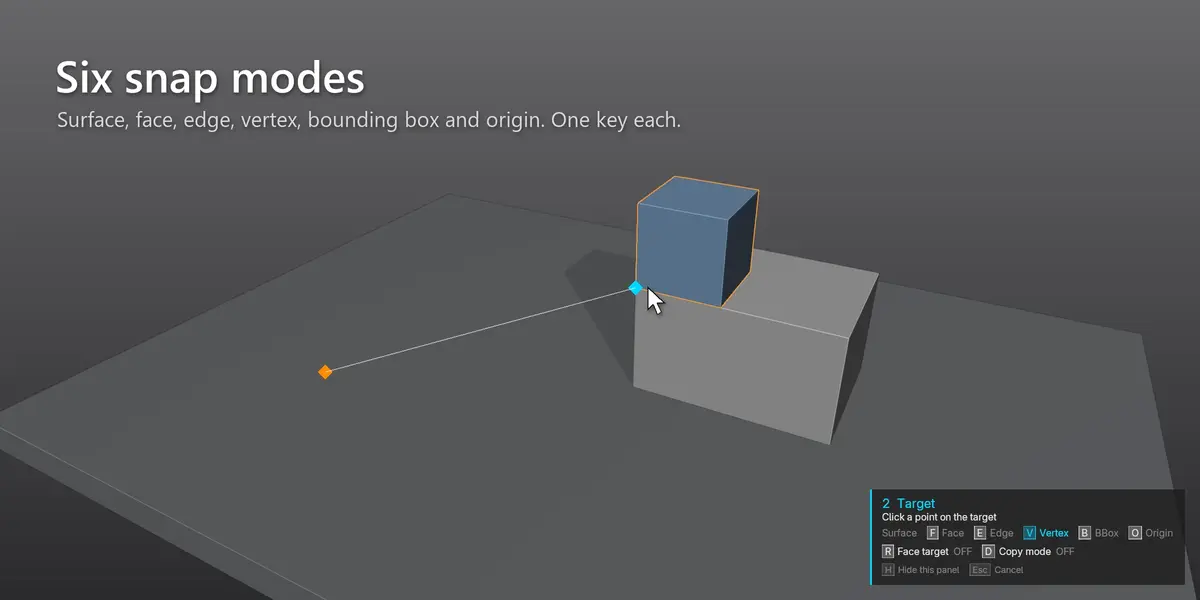
| Key | Mode | Snaps to |
|---|---|---|
| (none) | Surface | Exactly where you click |
| F | Face | The center of the clicked face |
| E | Edge | The midpoint of the nearest edge. Hold Shift on the second click to also line the edges up. |
| V | Vertex | The nearest vertex |
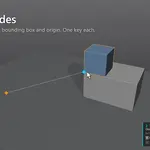
| B | Bounding box | The nearest bounding box corner, edge middle or face center. With several objects selected, one box around all of them. The box stays pickable off the mesh, so corners in empty space work too. |
| O | Origin | The object origin |
Press the same key again to go back to Surface. The mode can be different for the source and the target click.
Face target
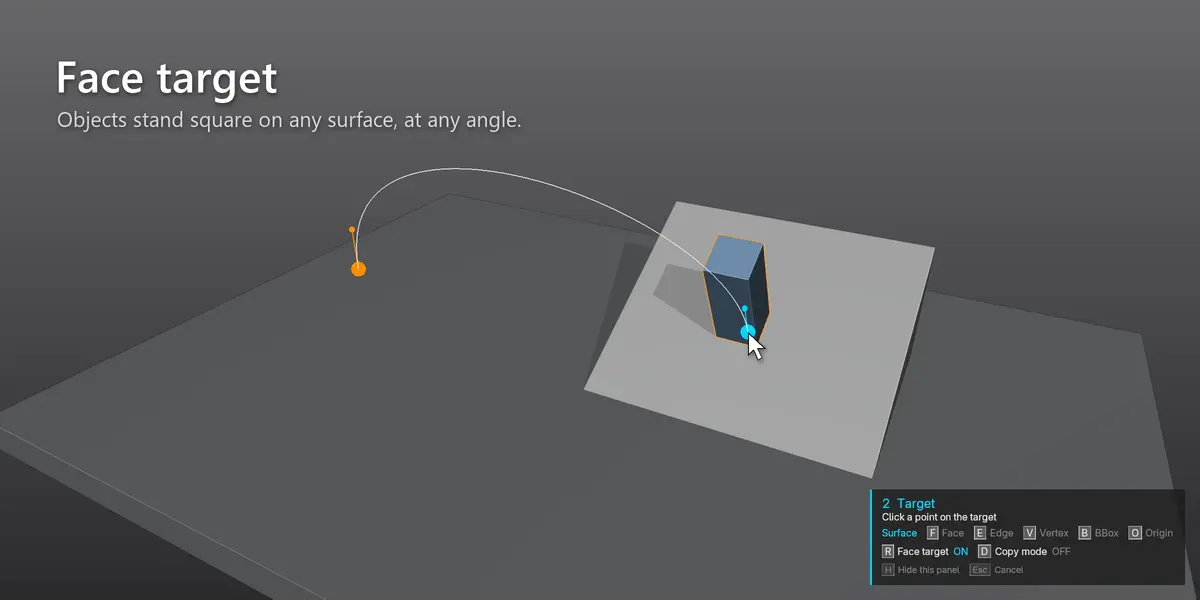
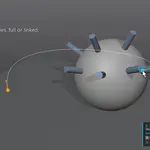
With face target on (the default), the clicked faces meet flat against each other: the object turns so the point you clicked faces the target surface. That's how objects stand square on slopes, walls and curved surfaces. Press R to turn it off and snap without rotating.
Keys while picking (steps 1 and 2)
| Key | What it does |
|---|---|
| F E V B O | Snap mode (see above) |
| R | Face target on / off |
| D | Copy mode on / off |
| H | Hide / show the on-screen panel |
| Esc / right-click | Cancel (in copy mode: finish) |
Keys while adjusting (step 3)
| Key | What it does |
|---|---|
| Mouse | Rotate around the target surface (Ctrl snaps to steps, Shift for fine control) |
| 0-9 . - | Type an exact angle |
| T | Turn 180° |
| Mouse wheel | Gap along the surface normal (Shift finer, Ctrl ×10) |
| G, then 0-9 | Type an exact gap in mm |
| Click / Enter | Confirm (in copy mode: place this copy and pick the next target) |
| Right-click / Esc | Undo the adjustment and keep the snap (in copy mode: drop this copy) |
The whole snap, including rotation and gap, is a single undo step (Ctrl+Z).
Copy mode
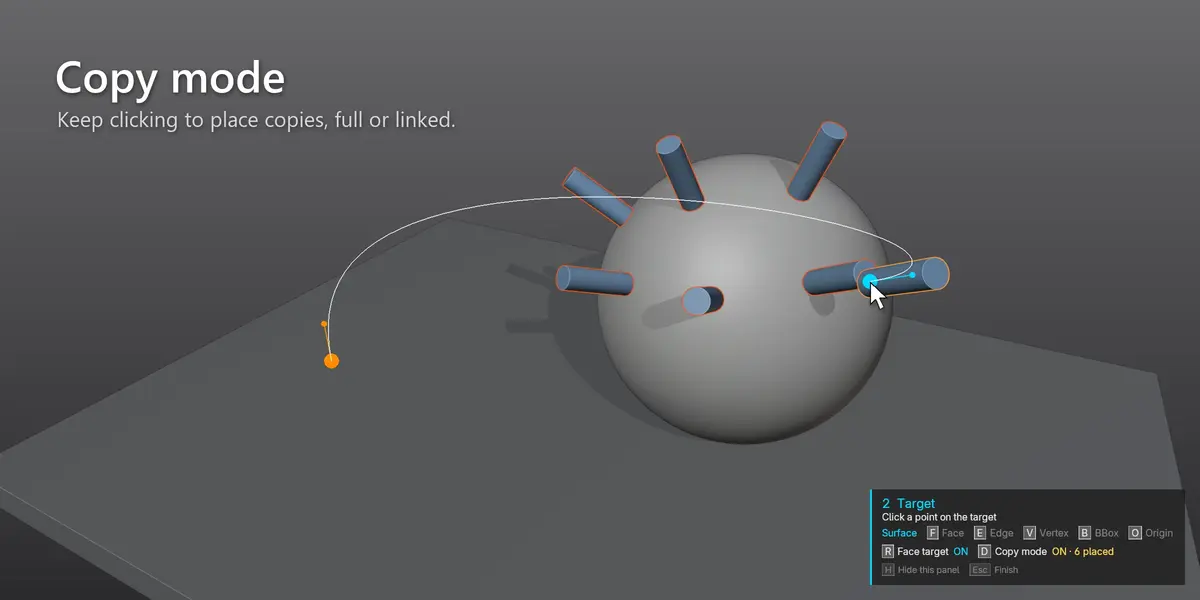
Press D while picking. Every snap now places a copy and the originals stay where they are. After each copy the tool goes straight back to picking a target, so you can keep clicking. Press Esc to finish. Choose full or linked copies in the preferences.
Preferences
In Preferences > Add-ons > Snap Together:
- Hotkey on / off, and rebind it
- Face target on or off by default
- Live preview on / off
- Full or linked copies in copy mode
- Rotation sensitivity and step size, gap step
- On-screen panel: corner, size, opacity, shown or hidden
Good to know
- Works in Object Mode only. It moves objects, not vertices in Edit Mode.
- Gaps are in millimetres and respect your scene's unit scale.
- Tested on Blender 4.2 LTS and 5.2.
Troubleshooting
- The object ends up upside down or sideways: face target turns the point you clicked to face the target. Click the side that should touch the target (for example the bottom of a vase), or press R to snap without rotating.
- The hotkey does nothing: check that it's switched on in the add-on preferences, and that no other add-on uses Alt+Shift+S. You can rebind it there.
- Nothing happens on click: the tool only works in Object Mode with at least one object selected, and the first click has to land on the selection.
Feedback
This is an early release and I'd really like to hear how it works for you: bugs, ideas, confusing behaviour, anything. Leave a comment or send me a message here on Superhive.
Have questions about this product?
Login to message
| Blender Extension Compatible | Yes |
| Published | about 2 hours ago |
| Blender Version | 4.2 - 5.2 |
| Extension Type | Add-on |
| Render Engine Used | Cycles |
| License | GPL |
Discover more products like this
productivity maya align snapping snap Interior Workflow transform layout placement object placement Scene Building