Steel Beam Construction Generator
 Henrik Uhrmann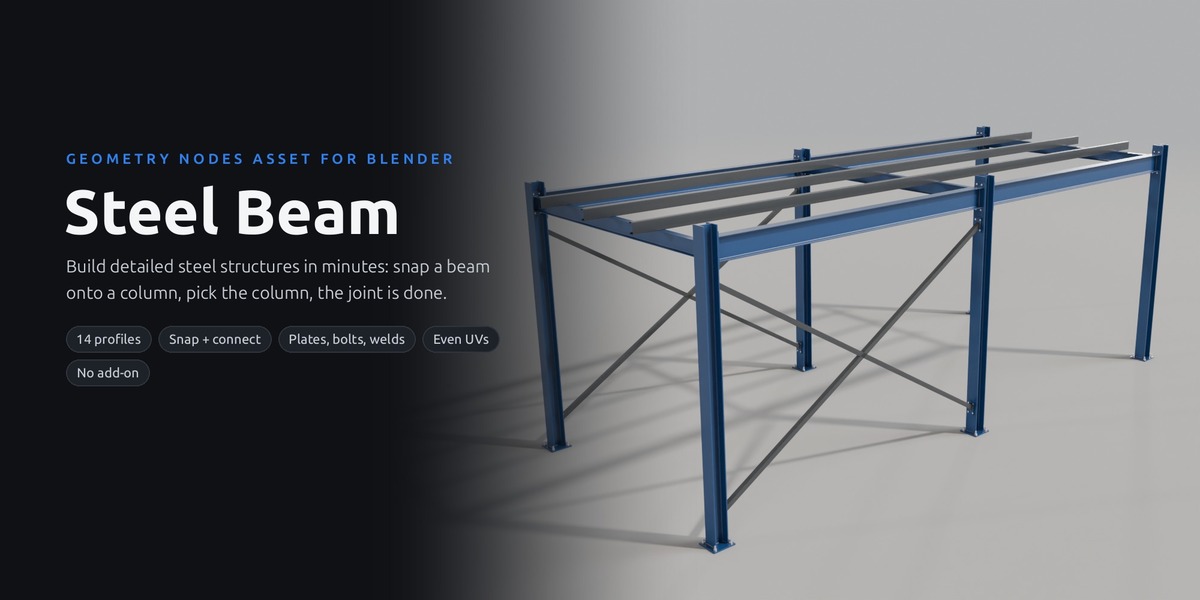









GETTING STARTED
Steel structures in four steps
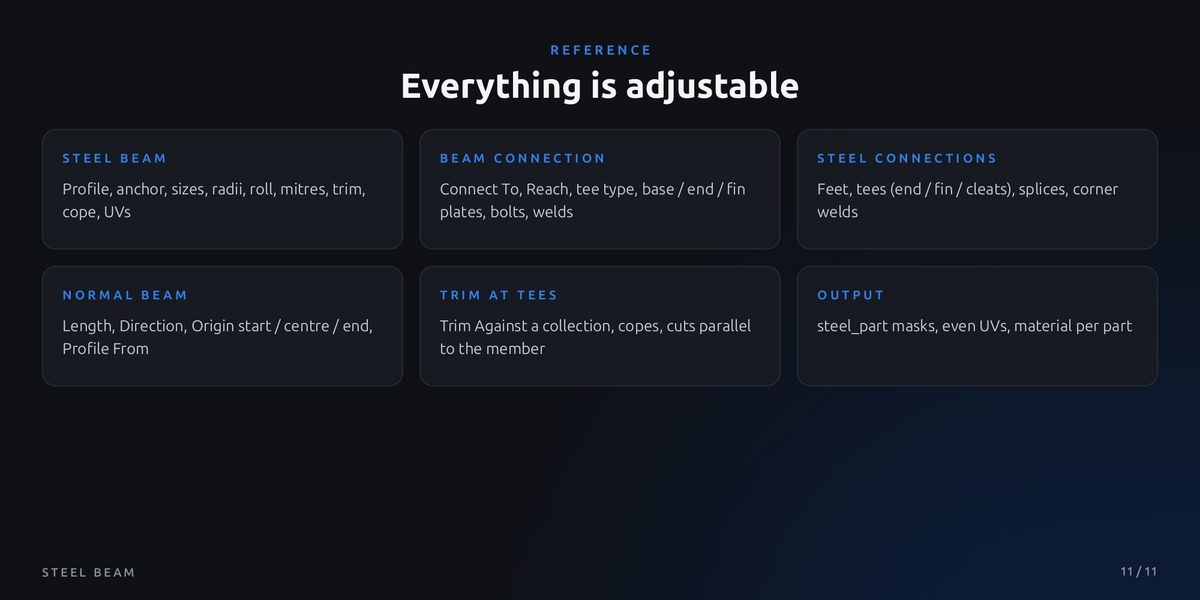
No add-on, no setup. Three Geometry Nodes modifiers: Steel Beam, Beam Connection and Steel Connections, plus the ready-made Normal Beam object.
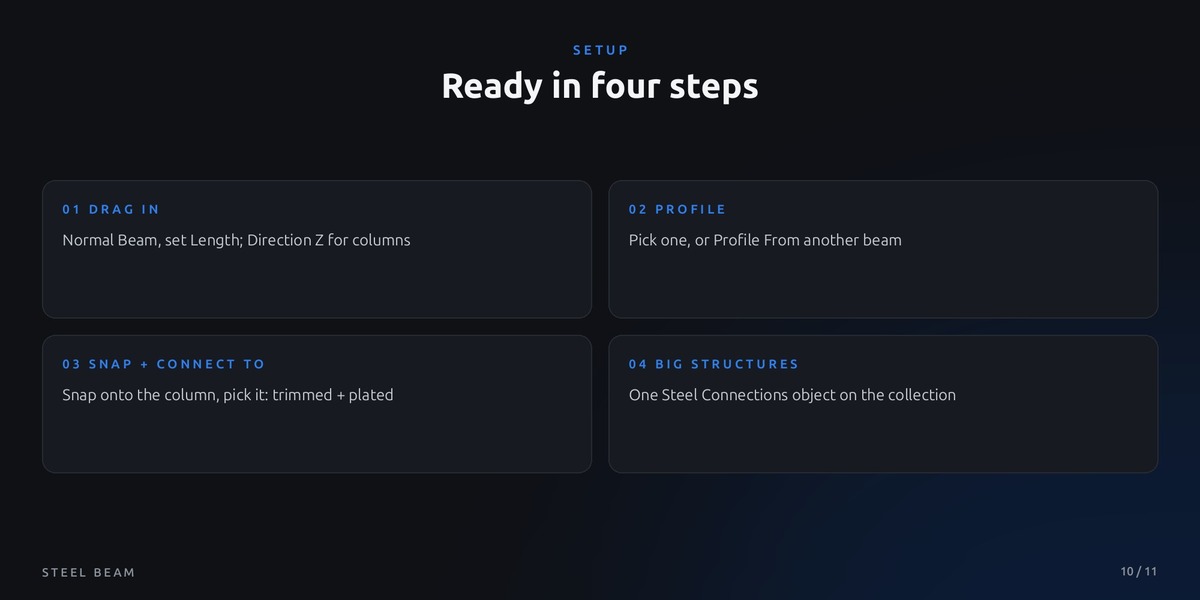
01
Add the asset library
Unzip the folder and add it in Edit > Preferences > File Paths > Asset Libraries (+). Or just open Steel Beam.blend: the demo scene shows every feature.
02
Drag in a Normal Beam
From the Asset Browser. In the Steel Beam modifier set Length, Direction (Z = column, gets a base plate on its own) and Origin (Start / Center / End). Move and rotate it like any object.
03
Pick a profile
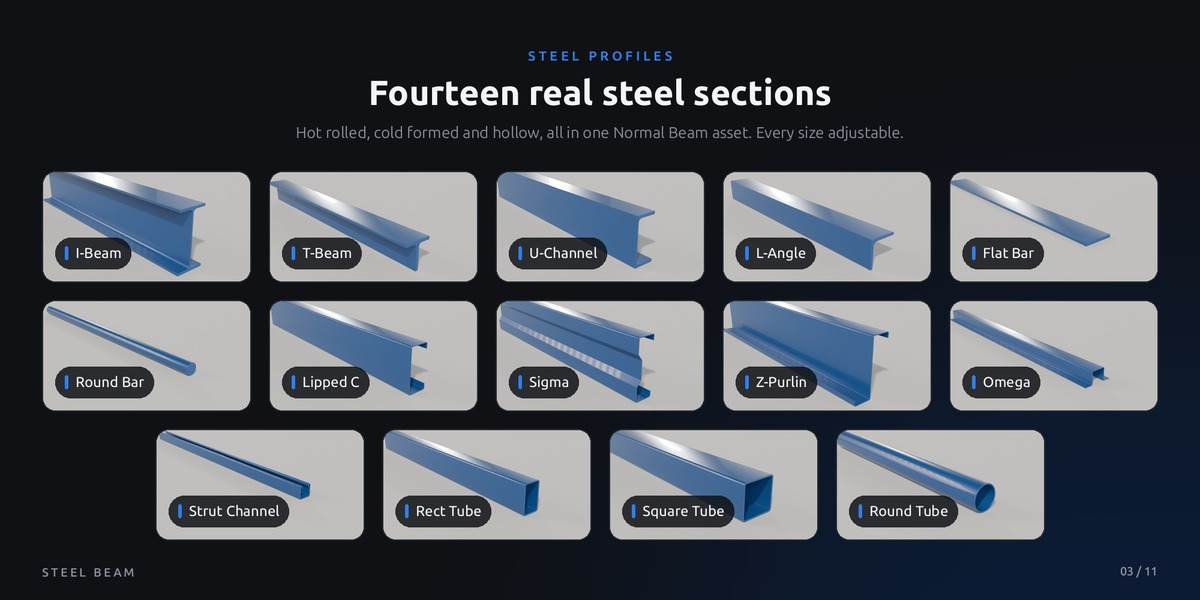
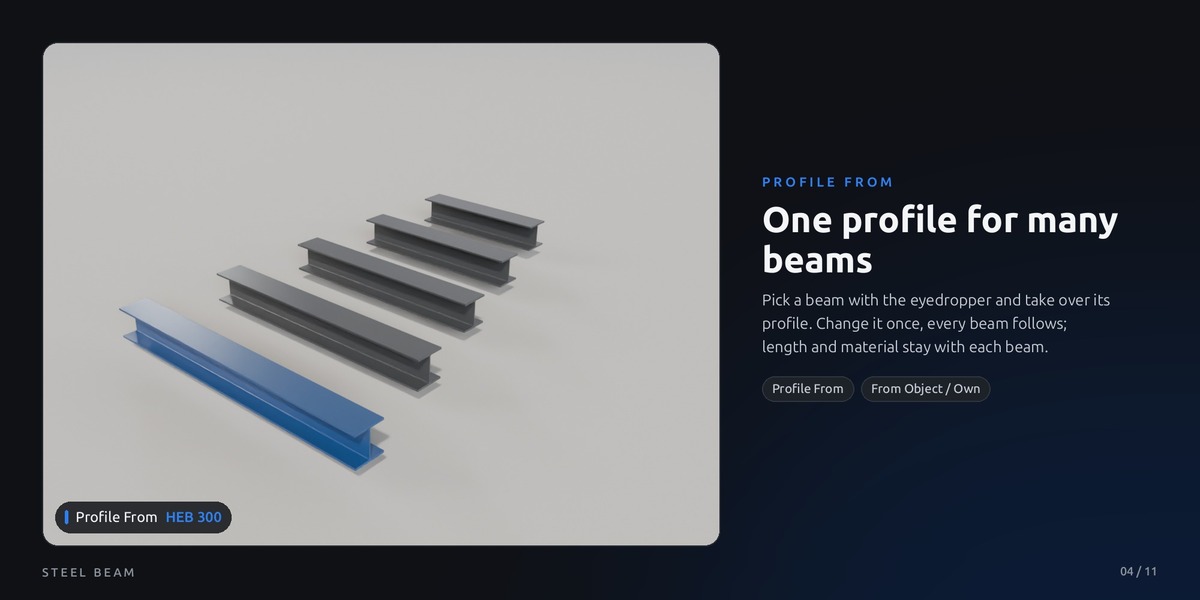
Profile switches between 14 sections, every size is adjustable. Or set Profile Values = From Object and pick another beam in Profile From: change that one and all follow.
04
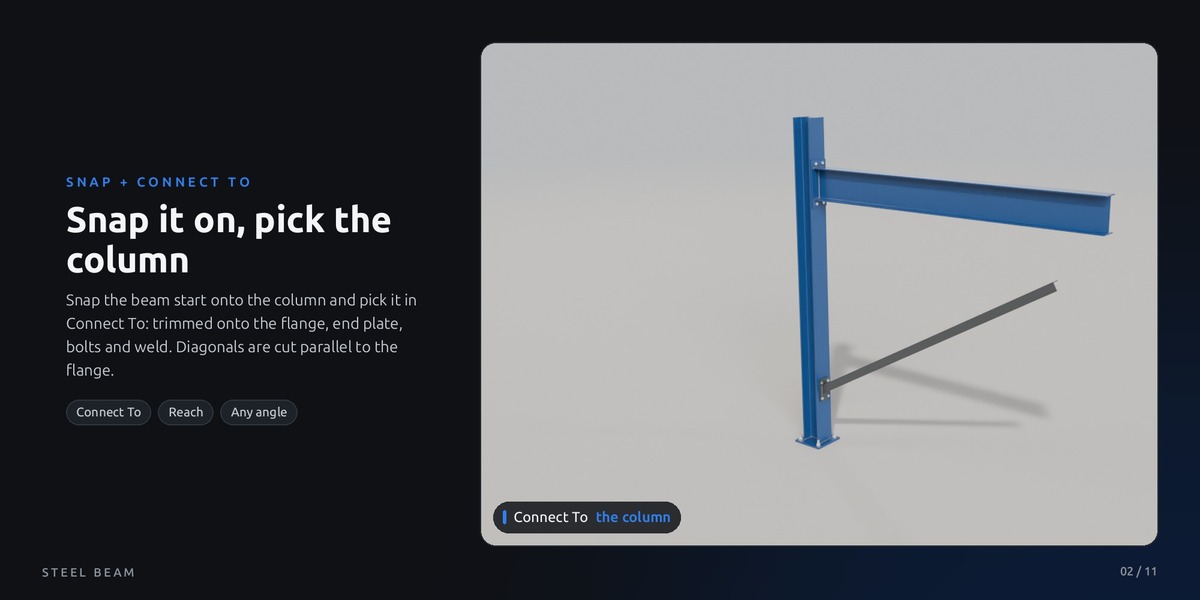
Snap + Connect To
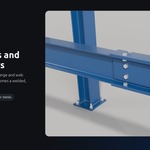
Snap the beam start onto the column, then pick the column with the eyedropper in Beam Connection > Connect To. The end is trimmed onto the surface and gets plate, bolts and weld. Connect To 2 takes the column at the other end.
Tip: the demo scene has one collection per idea, from a single beam to the full hero structure. Open the modifiers there to see the settings.
GOING FURTHER
Connections and big structures
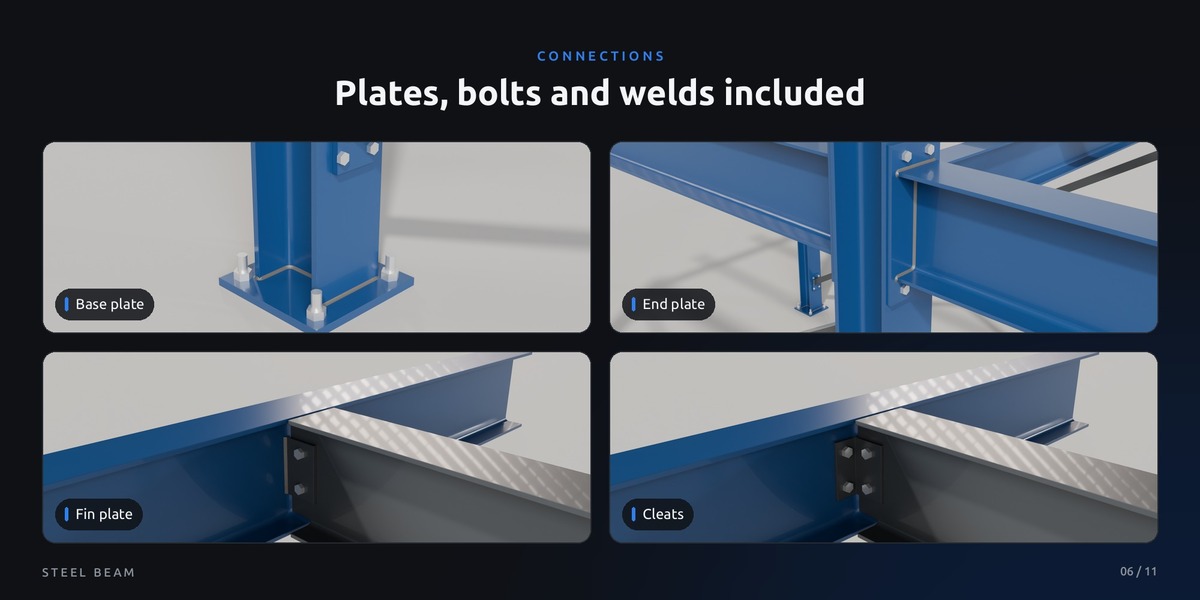
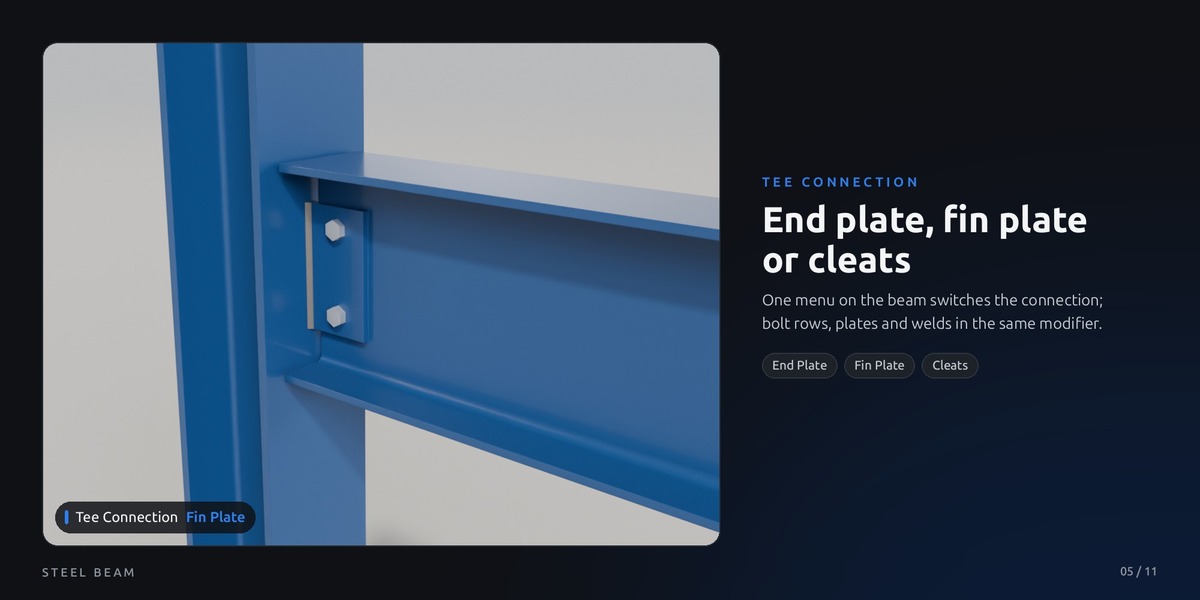
Tee Connection
End Plate (flush on the column), Fin Plate or Cleats. Bolt rows, gauge, plate sizes and welds are in the same modifier. For fin plates / cleats use about 10 mm Trim Clearance, Cope for joists as high as the carrier.
Beam Connection Type
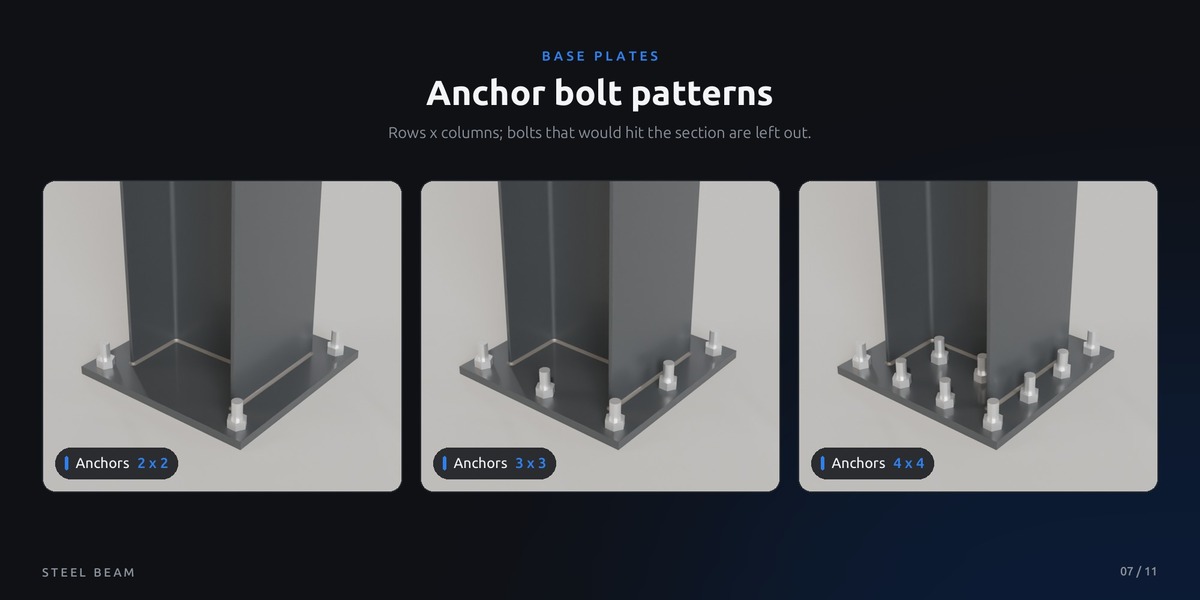
Auto: trimmed ends get the tee connection, free ends pointing down a base plate. Base Plate: column feet only. Beam to Beam: only ends that Trim at Tees moved against a member.
Whole structures
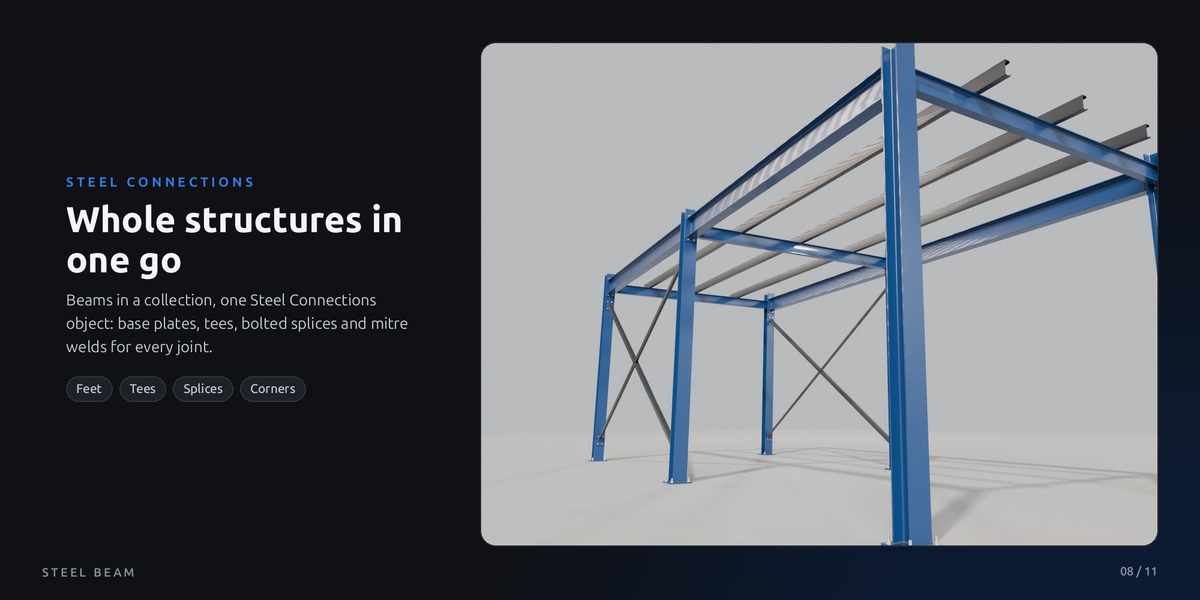
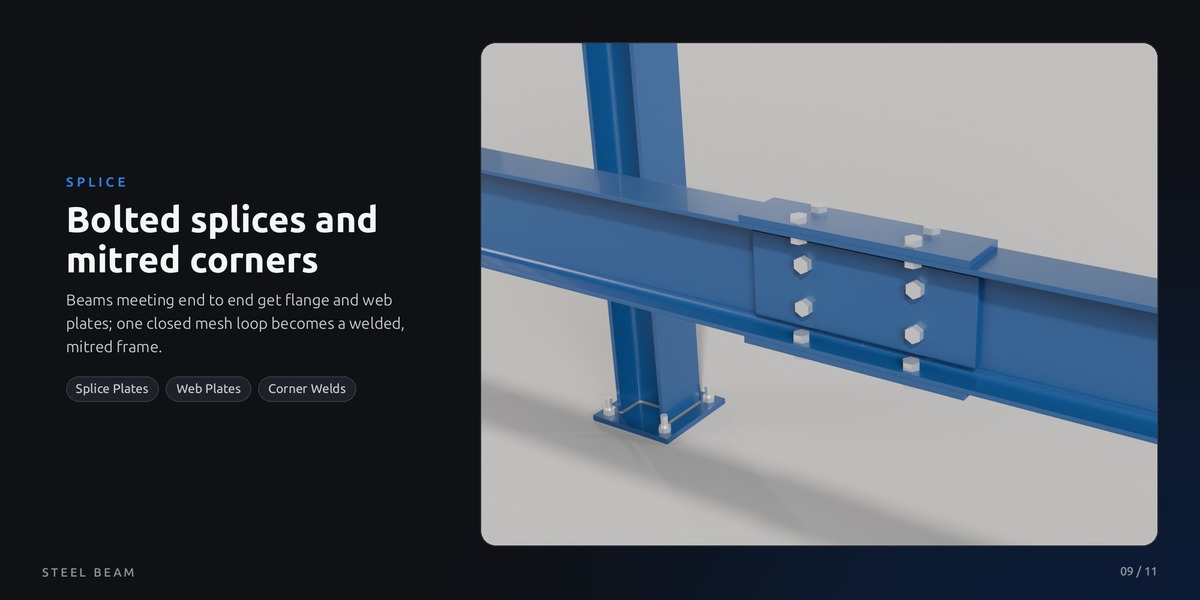
Put all beams in one collection, add an empty mesh object with Steel Connections and pick the collection. It builds base plates, tees, bolted splices and mitre welds. Beams with their own Beam Connection are skipped.
Beams along mesh edges
Add the Steel Beam modifier to your own mesh with Path = Mesh Edges: one beam per edge, a closed loop becomes a mitred frame. For many beams against many columns: Trim at Tees > Trim Against = the columns' collection.
GOOD TO KNOW
Materials, tips and limits
Materials
Empty material sockets use the built-in steel, weld and bolt materials. For your own shaders every face has even UVs (1 UV unit = 1 m x UV Scale) and the attribute steel_part (1 beam, 2 plate, 3 weld, 4 bolt).
Diagonal braces
Cut Parallel to Member (on by default) cuts brace ends parallel to the flange, so the plates lie flat, up to 60 degrees off square.
Avoid loops
Never point two objects at each other with Connect To, Profile From or Trim Against, and never put a beam into its own Trim Against collection.
Known limits
Beam "up" follows the object's Z, vertical beams use X: turn them with Roll. Closed loops have no ends, so no plates. A mitre between a level and a sloped beam leaves a small step.
$8
Have questions about this product?
Login to message
| Published | 5 days ago |
| Blender Version | 5.2 |
| Render Engine Used | Cycles, Eevee |
| License | Royalty Free |
Discover more products like this
construction steel profiles procedural steel structure steel steel beam geometry nodes industrial