 bhdesign
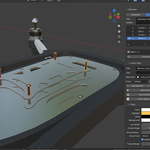
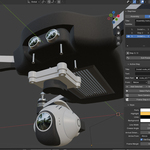
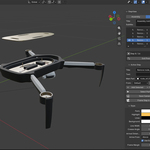
Installation
- Download
stepview-x.x.x.zip. Do not unzip it. - In Blender, open Edit → Preferences → Get Extensions.
- Click the ⌄ menu (top right) → Install from Disk… and select the zip.
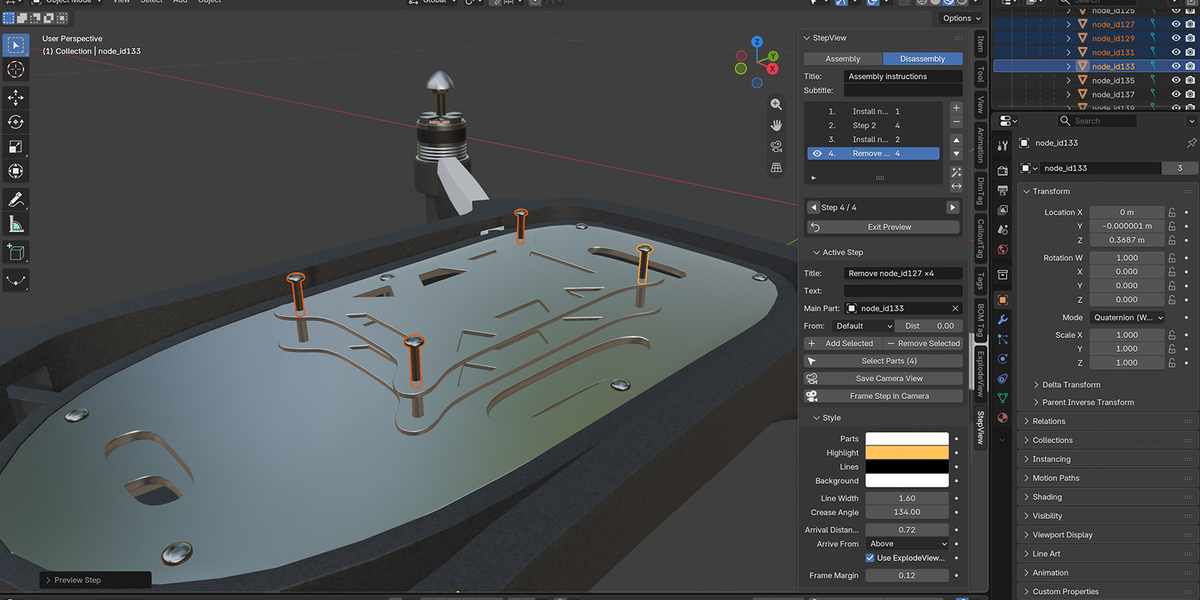
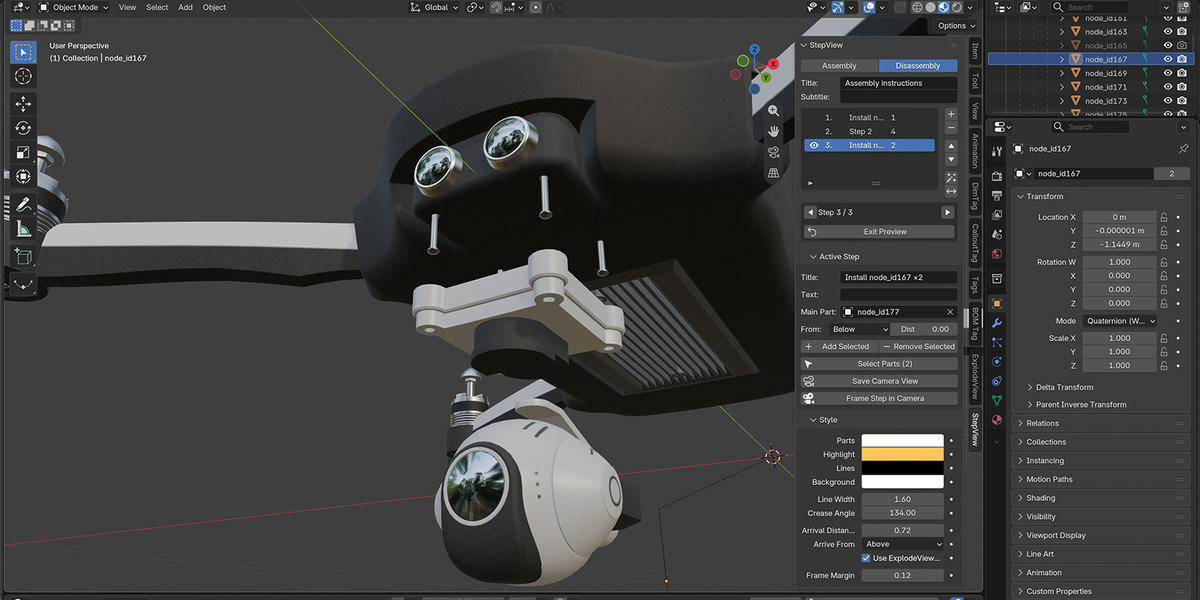
- Press N in the 3D Viewport and open the StepView tab.
To update, uninstall the previous version first, then install the new zip.
Quick Start
- Choose the Mode: Assembly or Disassembly.
- Select the parts of your model and click Auto Steps (✦ icon), or build the steps yourself (see below).
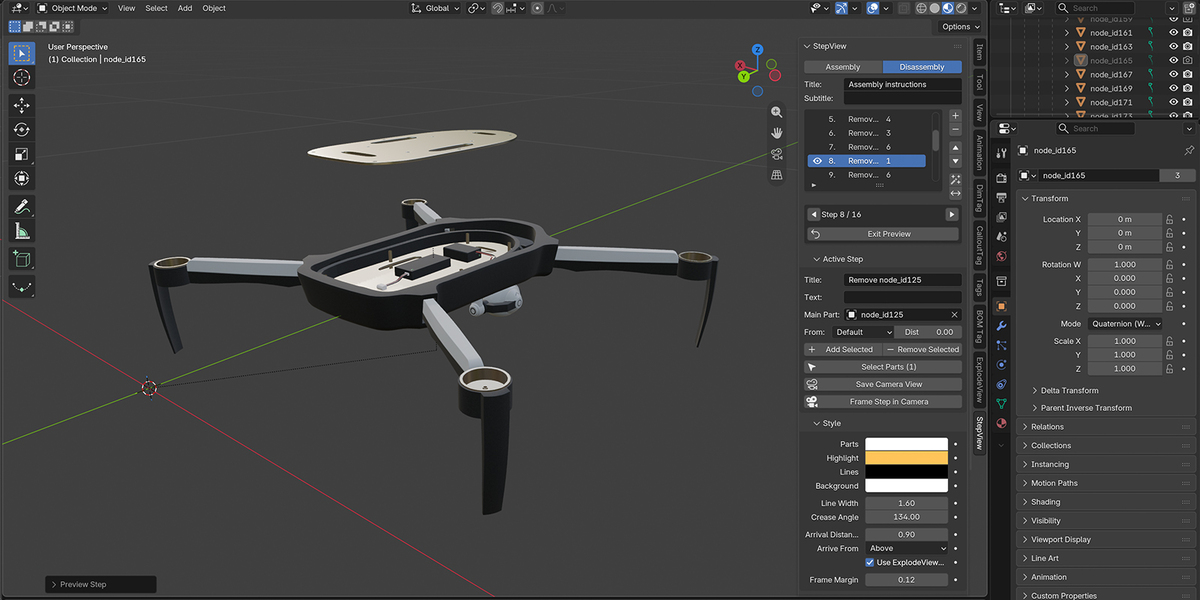
- Click Preview Steps and use the ◀ ▶ arrows to check each step.
- Save your
.blendfile, then click Render All Steps. - Click Export Bundle.
Building Steps by Hand
- Select the parts for the first step. The active object (selected last) becomes the step's main part.
- Click + next to the step list. The step is named automatically ("Install Base Plate").
- Edit the Title and Text in the Active Step panel.
- Repeat for the next steps.
In the Active Step panel:
| Button | What it does |
|---|---|
| Add Selected | Adds the selected parts to the active step |
| Remove Selected | Removes the selected parts from the active step |
| Select Parts | Selects the parts of the active step |
| Main Part | The part a web viewer zooms to for this step |
| From | Direction the parts of this step come from (go to, in a disassembly): Default uses the Style panel, or choose Above, Below, ±X, ±Y or ExplodeView |
| Dist | Offset distance for this step, relative to the part size. 0 uses the Style panel |
A part belongs to one step only: the step where it is installed (or removed). Parts that are in no step stay visible in every step, which is useful for a frame, a base or a workbench.
Assembly and Disassembly
| Assembly | Disassembly | |
|---|---|---|
| Step 1 shows | the first part only | the full product |
| Earlier steps' parts | in place | removed (hidden) |
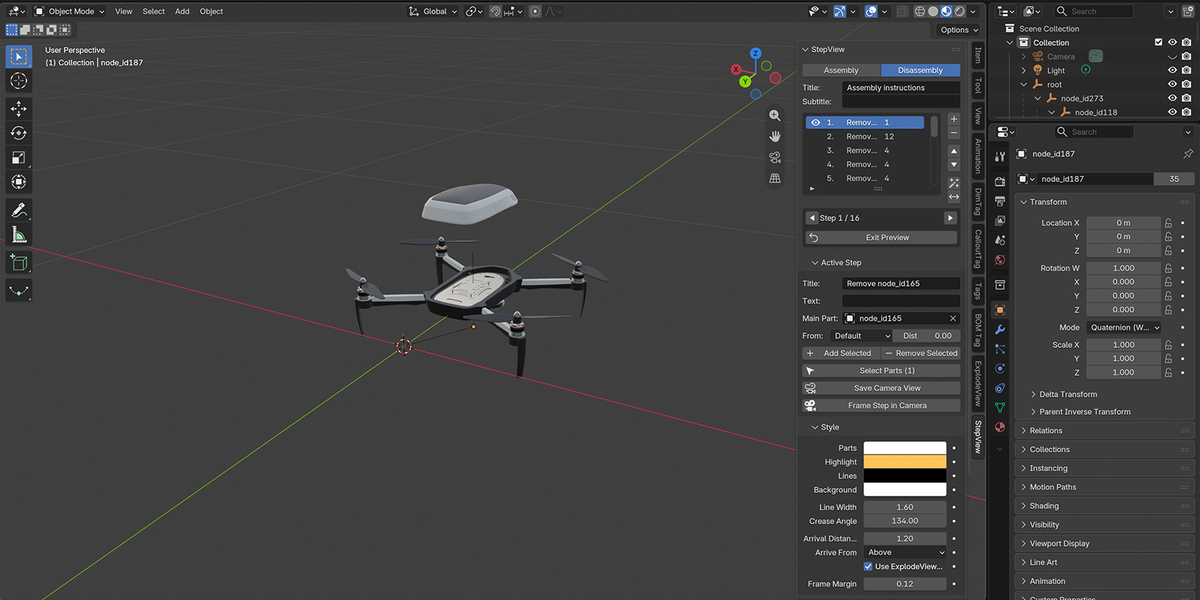
| Current step's parts | highlighted, arriving | highlighted, coming off |
| Later steps' parts | hidden | in place |
| Auto Steps order | bottom-up | top-down |
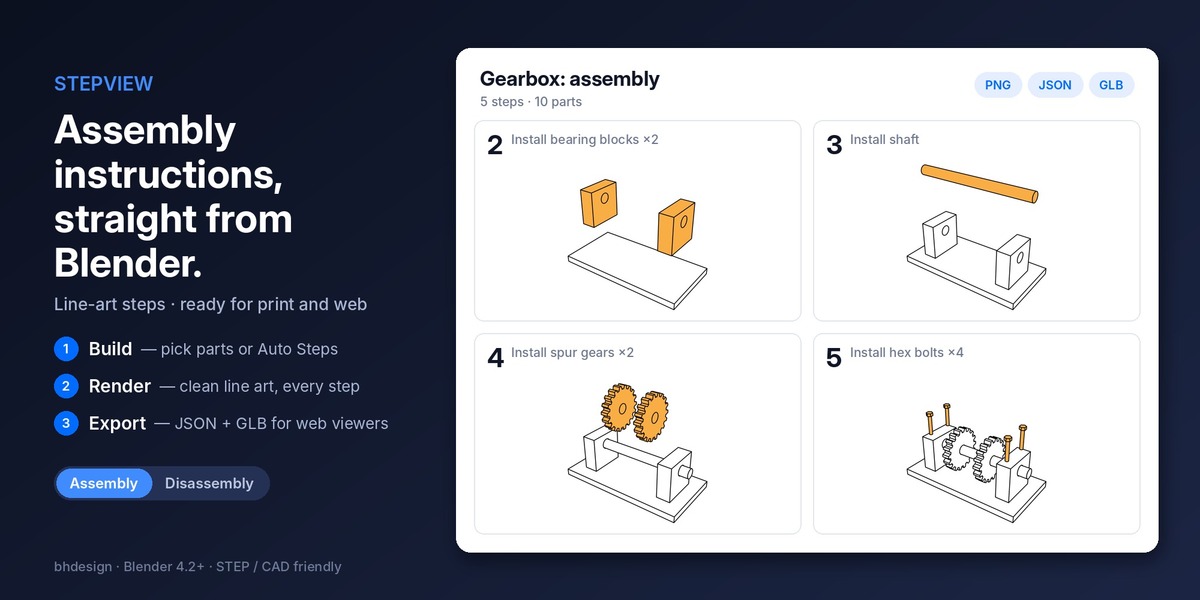
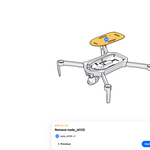
Reverse Steps (⇄ icon) reverses the step order and switches the mode. Generated titles switch from "Install …" to "Remove …" and back.
Preview
- Preview Steps shows the active step.
- ◀ ▶ go to the previous or next step.
- Exit Preview restores every part: position, visibility and color.
While previewing, the viewport shows object colors in Solid mode. Your shading setting comes back when you exit.
Camera
- By default each step is framed automatically around its visible parts, using the angle of your scene camera. If the scene has no camera, StepView creates one.
- To choose the view yourself: position the camera (tip: Ctrl+Alt+Numpad 0 aligns it to your current view), then click Save Camera View. A camera icon appears next to the step.
- Frame Step in Camera moves the camera to the step's view so you can check it.
- For a consistent manual, save the same view on every step.
Style
| Setting | Description |
|---|---|
| Parts | Color of parts already in place |
| Highlight | Color of the current step's parts |
| Lines | Outline color |
| Background | Render background |
| Line Width | Outline thickness in pixels |
| Crease Angle | Edges sharper than this angle get a line. Lower it to draw more edges |
| Arrival Distance | How far the current step's parts are offset, relative to their size |
| Arrive From | Default direction of the offset: above, below, ±X, ±Y. Each step can override it in the Active Step panel |
| Use ExplodeView Directions | Parts with an ExplodeView direction use it instead |
| Frame Margin | Space around the parts in automatic framing |
Render
-
Folder and Bundle set where files go:
<Folder>/<Bundle>/images/step_01.png,step_02.png… - Width / Height set the image size.
- Render All Steps renders every step. The small image button renders the active step only.
Renders use Workbench with Freestyle outlines. StepView changes the render settings only during the render and restores them afterwards.
Export Bundle
Writes into <Folder>/<Bundle>/:
| File | Content |
|---|---|
project.json |
Procedure, steps, bill of materials, part tree, callouts, style |
model.glb |
The assembled model, with custom properties as glTF extras |
images/ |
The step renders (render first to include them) |
Open the export in the web viewer
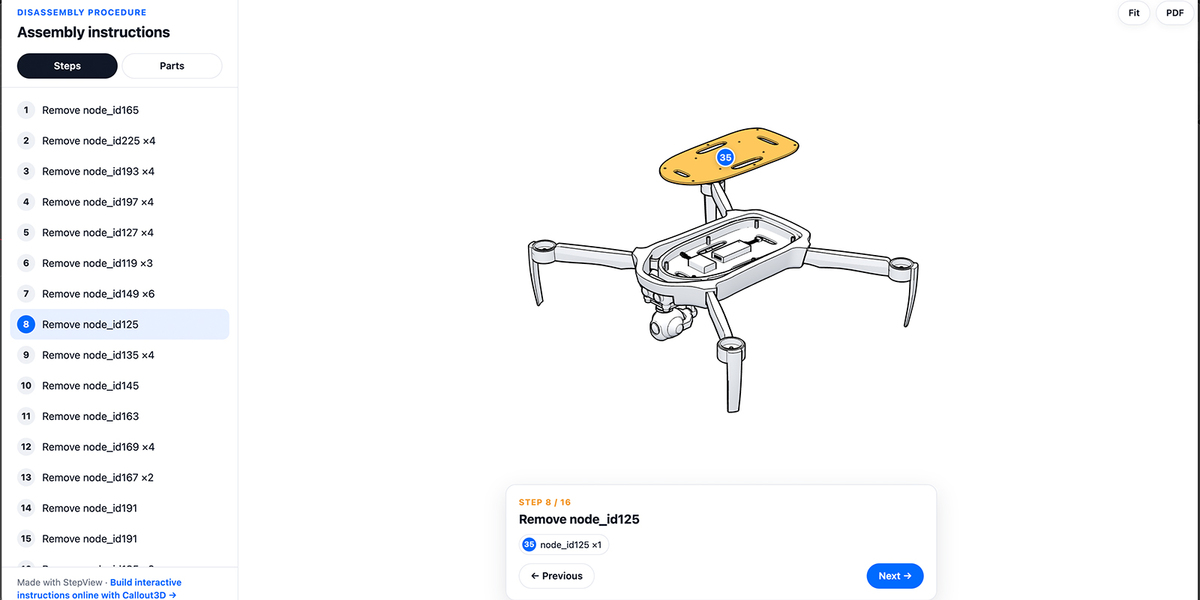
- Click Open Web Viewer (globe icon next to Export Bundle), or go to callout3d.com/stepview/project.html.
- Pick
project.json, thenmodel.glb, and optionally theimagesfolder. - Click View instructions.
Your files are read by your browser only. Nothing is uploaded to a server.
For each step the JSON contains: id, title, description, main part (partId), parts placed / active / hidden, BOM item numbers, camera (position, target, field of view, in Y-up coordinates) and image path. Part names in the JSON match the node names in the GLB.
Bill of materials: if your parts have BOM Tag properties, StepView uses them. Otherwise it groups identical parts (shared mesh, or the same name without .001).
Tips
- Name your parts clearly before exporting: the names appear in the BOM and in the web viewer.
- CAD imports: join or parent sub-parts so that one object = one part in the instructions.
- Maintenance procedures: use Disassembly mode and describe the tools and checks in each step's text.
- Print: render at 2000×1500 or more and place the images in your layout tool.
Known Limitations
- Parts arrive in a straight line. Rotations and screwing motions are not shown.
- Arrows and labels are not drawn on the renders yet.
- Freestyle outlines are computed on the CPU: large assemblies take longer to render.
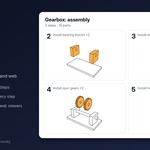
- The free web viewer opens files from your computer. To share a link with others or host the instructions on your own server, use Callout3D.
Support
Questions, bugs or feature requests: [email protected], or the Superhive product page. Please include your Blender version and, if possible, a screenshot or a small .blend file.
Have questions about this product?
Login to message
| Blender Extension Compatible | Yes |
| Published | 1 day ago |
| Blender Version | 4.2 - 5.3 |
| Extension Type | Add-on |
| Render Engine Used | Cycles, Eevee |
| License | GPL |
Discover more products like this
cad manual assembly instructions line art glb Maintenance threejs work instructions Technical Documentation step by step