 Quentin Pointillart

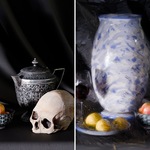
A filter with a painter's hand
Supa Painter is a filter, built the way painters actually work — strokes that follow the form, paint with real thickness, color that shifts every time the brush reloads. Twenty looks to start from, and every part of the hand is yours to change.
Supa Painter doesn't use AI to paint your images/textures/renders
Watch it paint. Stop it where you like.
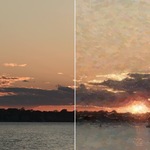
The strokes land over your image as they are laid, big shapes first, then the detail — so you see what every setting does as it happens.
If it looks right half way through, press Enter: it stops there and finishes the painting as it stands.
Press Esc and it is thrown away, your last result untouched. You decide when a painting is done, not the settings.
Blender stays usable the whole time, in the Image Editor, the Shader Editor and the Compositor alike.
This video is in realtime to show the speed - painting an image 3492 x 1965 px in 11 seconds. Halving the resolution would makes painting 4x faster.
Twenty looks, one picture
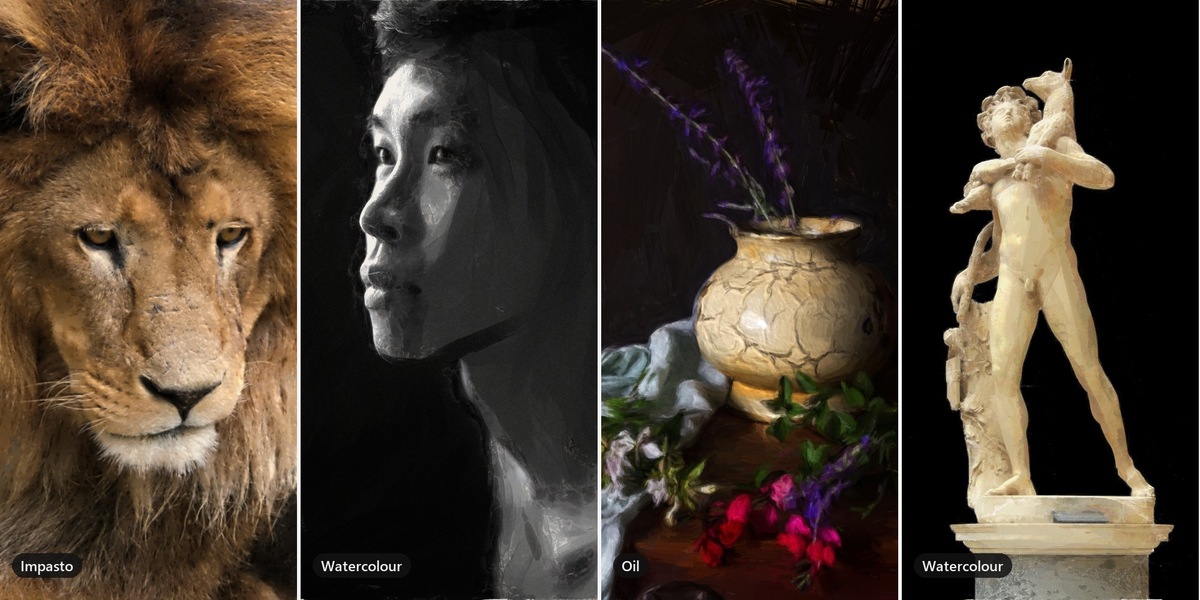
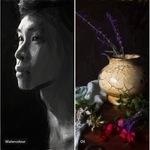
Every look ships painted onto the same image, so you can compare them honestly instead of guessing from a name. Some lay the paint thick enough to catch the light along the ridge of a stroke; others are a thin wash on rough paper. Pick one and you are painting in seconds.
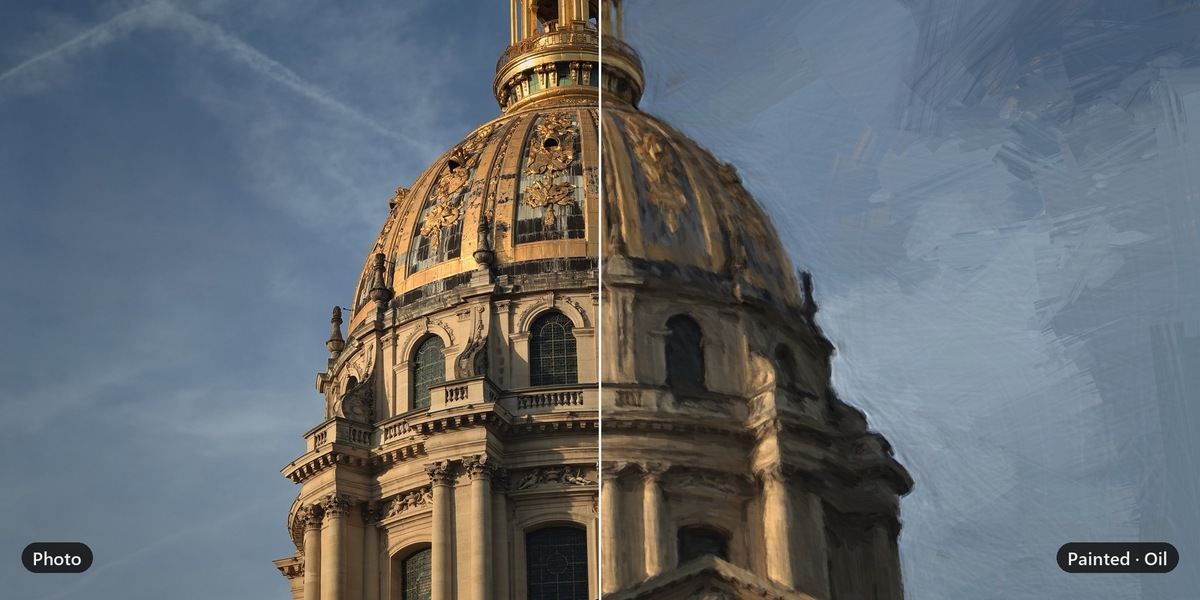
Oil — loaded ribbons of thick color that catch the light.
Oil 2 — the same thick paint, pulled into long blended strokes.
Impasto — paint troweled and sponged on, lit from a low angle.
Gouache — flat, opaque color laid down in clean shapes.
Gouache 2 — opaque color in many close shades, softly blended.
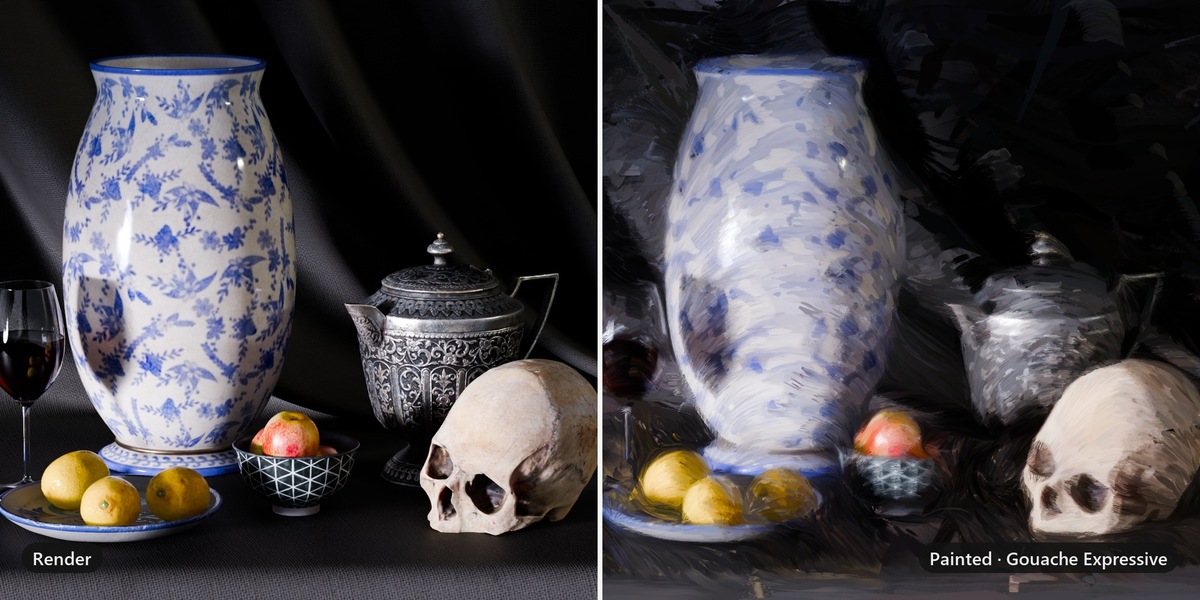
Gouache Expressive — loose calligraphic strokes with lively color.
Gouache Sketch — a rough study in a handful of flat colors.
Poster — bold blocks of color with the fuss stripped out.
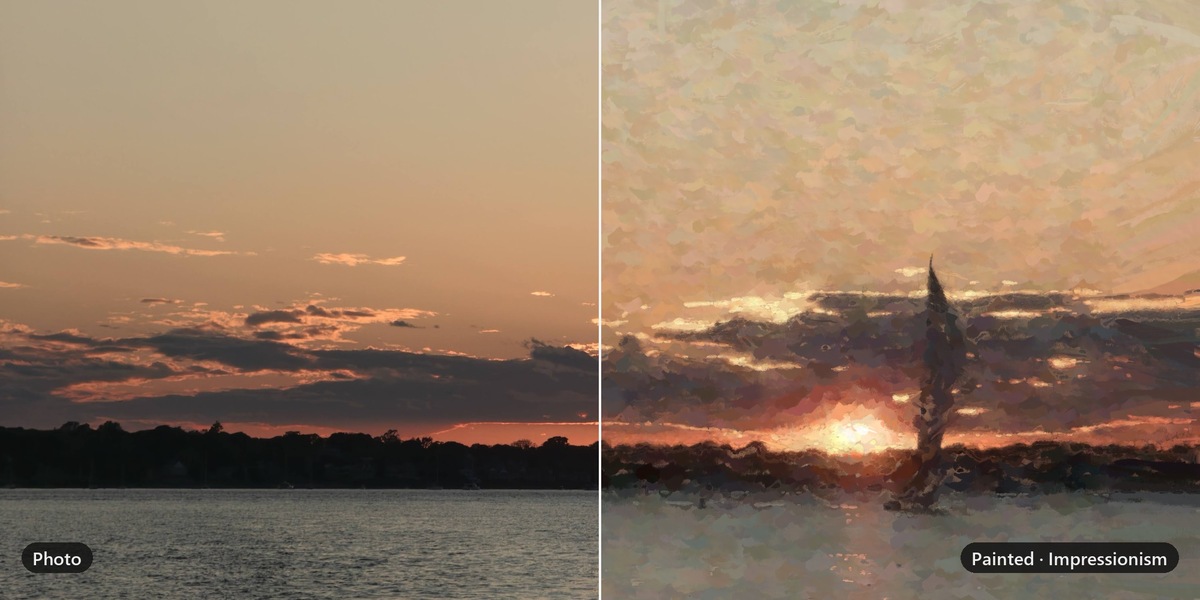
Impressionism — short broken dabs of color that mix in the eye.
Impressionism Sketch — a fast color study in loose, scratchy marks.
Digital Painting — crisp, clean brushwork that keeps the detail.
Paint Filter — a painted surface that stays close to the photo.
Dry Brush — a scratchy, half-loaded brush dragged over grain.
Stipple — tone built up from thousands of small marks.
Sketch — soft raked strokes that suggest the form.
Rough Sketch — a quick mixed-brush study that keeps the detail.
Scratchy Sketchy — long gestural strokes, fast and restless.
Calligraphy — long confident strokes that taper at both ends.
Ink — hard edges, dense darks, nothing hesitant.
Watercolor — transparent washes, the paper left bare for the lights.
Paint one part differently
A painter does not treat a face like the wall behind it.
Regions let you say so: pick a part of the picture and decide what the paint does there — finer on the subject, looser in the background, sparser in the shadows.
Find a region by its brightness, saturation, detail or color, with nothing to paint and nothing to mask by hand
Or paint the mask straight over the picture, with Blender's own brushes, and watch the region light up under them
Detail carries on painting a region with finer brushes, or leaves it in broad strokes; density, stroke length and opacity change with it
In the Compositor, a region can be a render pass, the alpha or any node's output — the far end of the mist, one object's Cryptomatte matte — and it follows a shot frame by frame
In the Shader Editor, a region can be another map of the material: its ambient occlusion, its height, its mask
Show Region lights it on the picture before you paint, in all three editors
One painter, at three points in your work
It lives in the sidebar of three Blender editors, and each one is a different job. Use whichever suits the day — they keep their own settings, so a brush sized for a hero texture never disturbs the one you set for a render.
Image Editor — one image, every control
Open a photograph, a plate, a render or any image at all, and paint it while you watch. This is where you find a look: everything is on the table, nothing is decided for you.
Paints anything you can open: photography, renders, matte plates, hand-painted maps
See every setting at work: the strokes land over the image as they are laid
The full set of controls, named for what they do to the picture and with tool-tip to explain further
Bring your own brush shapes, and mix as many as you like in one painting
Save any look you land on as a preset — it paints a thumbnail of itself so you know it later
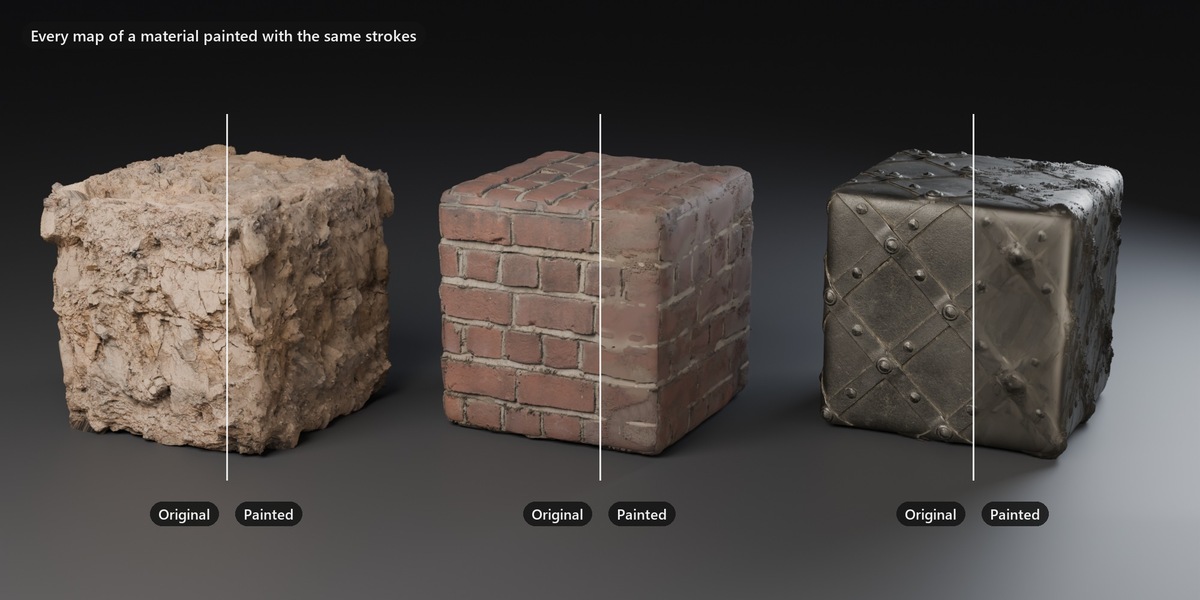
Shader Editor — whole assets, in one click
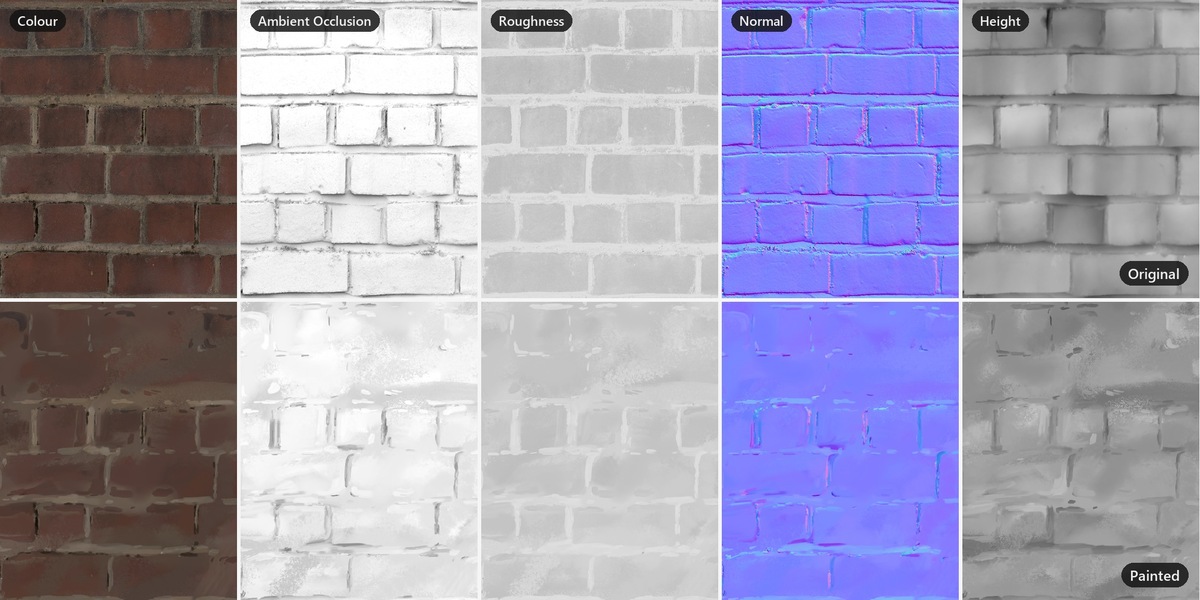
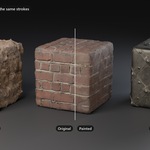
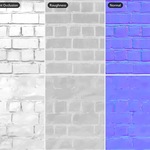
Point it at a material and it paints the entire PBR set together — color, roughness, metallic, normal — recognizing what each texture is for and treating it accordingly, so nothing gets ruined by being painted like a picture when it isn't one.
A complete PBR set painted as a set, so the brushstrokes are coherent
One texture, one material, or every material on every object you selected
Strokes that follow the geometry, wrapping the form the way a painter would
Handles UV seams and UDIM tiles, and tileable textures repeat without a seam
Stylise a finished asset in minutes instead of repainting it by hand
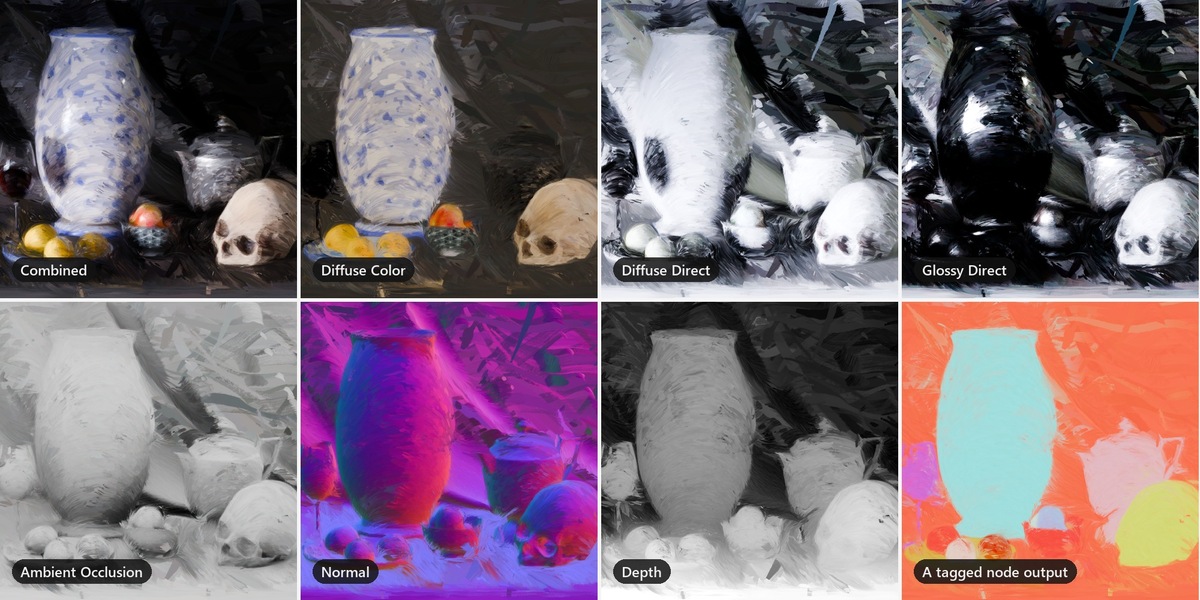
Compositor — your new painterly world.
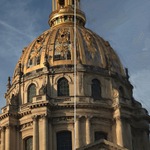
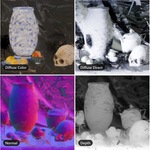
Paint the rendered frame itself as the final touch, with the shot's own depth and normals telling the brush where the volumes are — so strokes wrap the forms in the image rather than skating across a flat picture.
Strokes that follow the volumes in the shot, not just the colors
Your exposure and grade survive intact — it paints with them, not against them
Transparent renders keep a painted edge instead of a giveaway CG silhouette
Paints renders automatically as they finish, including ones another add-on started
Stop a render's painting early and its passes still carry exactly the same strokes
The twenty presets are a starting point, not a limit
Every look is built from the same controls you have, so there is nothing special about the ones that ship. Change one until it is yours, save it, and it paints a small picture of itself — months later you recognize it at a glance instead of squinting at names you no longer remember writing. Preset files are plain and portable, so a look travels between your machines or to anyone you work with.
Behind the eight sliders sit around fifty settings. Tick Fine Tuning and they all come back, in the panels they have always been in. Each slider owns a family of them and writes them on change — so hand tuning survives everything except a second pull on the same lever.
What you get
The add-on, installed like any other Blender extension
Five bundled brush sets, and a preference to point at a folder of your own
Twenty presets, each with the thumbnail it painted of itself
Room to save as many of your own looks as you like
A GPU rasteriser, roughly ten times faster end to end, that falls back to the CPU on its own
Requires Blender 4.5 or newer. Works in the Image Editor, Shader Editor and Compositor. No network access and no extra dependencies — NumPy ships with Blender. Never overwrites a file you made, and saves every result beside your .blend so it is still there when you reopen it.
Licensed GPL-3.0-or-later. Sample image: sea turtle, public domain (CC0), from pxhere.
