Supa Painter
 Quentin Pointillart

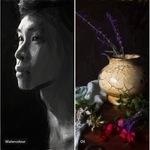
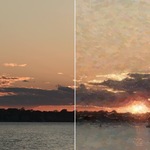
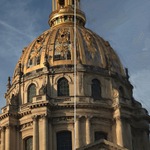
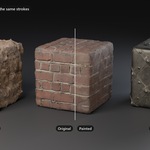
Online documentation:
https://quentinpointillart.notion.site/Supa-Painter-3f18064345ec8012b958dbb55adbecee
Discord Channel:
https://discord.gg/FCwfJCHnRP
Installation
Supa Painter is a Blender extension and installs like any other. It needs Blender 4.5 or newer.
- Download supa_painter-1.0.0.zip from your receipt. Do not unzip it.
- In Blender, open Edit → Preferences → Get Extensions.
- Click the dropdown at the top right and choose Install from Disk..., then pick the zip.
- The add-on enables itself. You are done.
You can also drag the zip straight from your receipt page into a Blender window, which does the same thing in one step.
To update, install the new zip the same way over the old one. Your presets and preferences are kept.
Where to find it
There is no separate window. Supa Painter adds a Supa Painter tab to the sidebar of three editors — press N to open the sidebar in any of them. The three keep separate settings, so a brush sized for a hero texture never disturbs the one you set for a render.
| Editor | What it does |
|---|---|
| Image Editor | Paints one image. Pick a Source image, press Paint,
and the result lands in a new image called Supa_,
saved in a painted_textures folder beside your .blend.
This is where you tune a look. |
| Shader Editor | Paints a whole material's texture set at once, finding the textures from your selection. |
| Compositor | Paints the rendered frame, using the shot's own depth and normals to guide the strokes. |
Your first painting
- Open an image in the Image Editor.
- Press N and go to the Supa Painter tab.
- Set Source to that image.
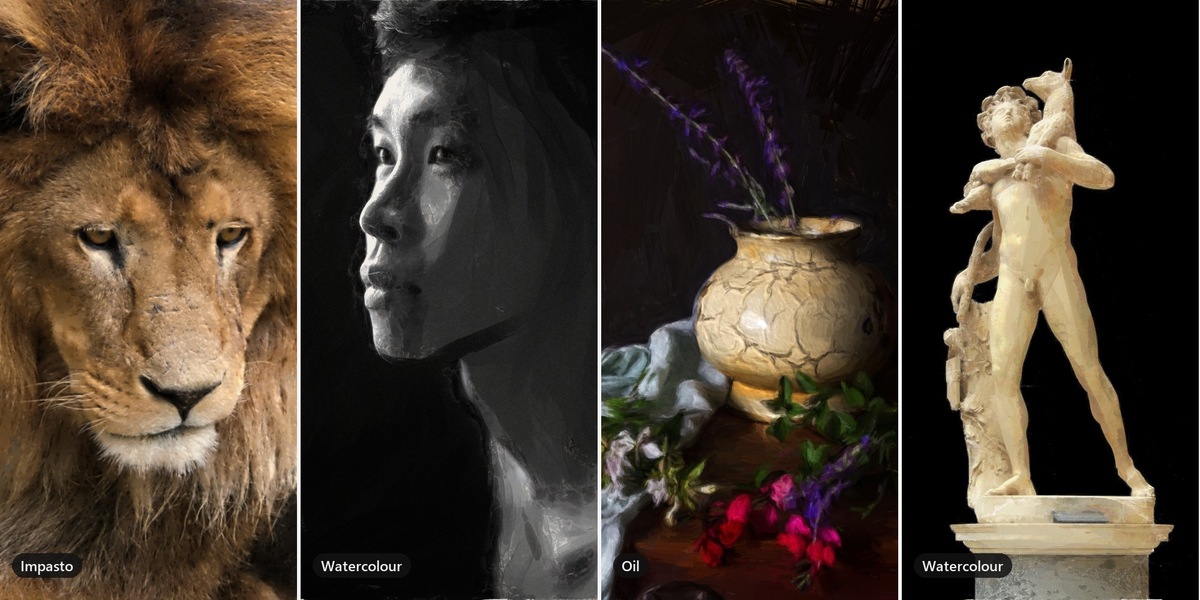
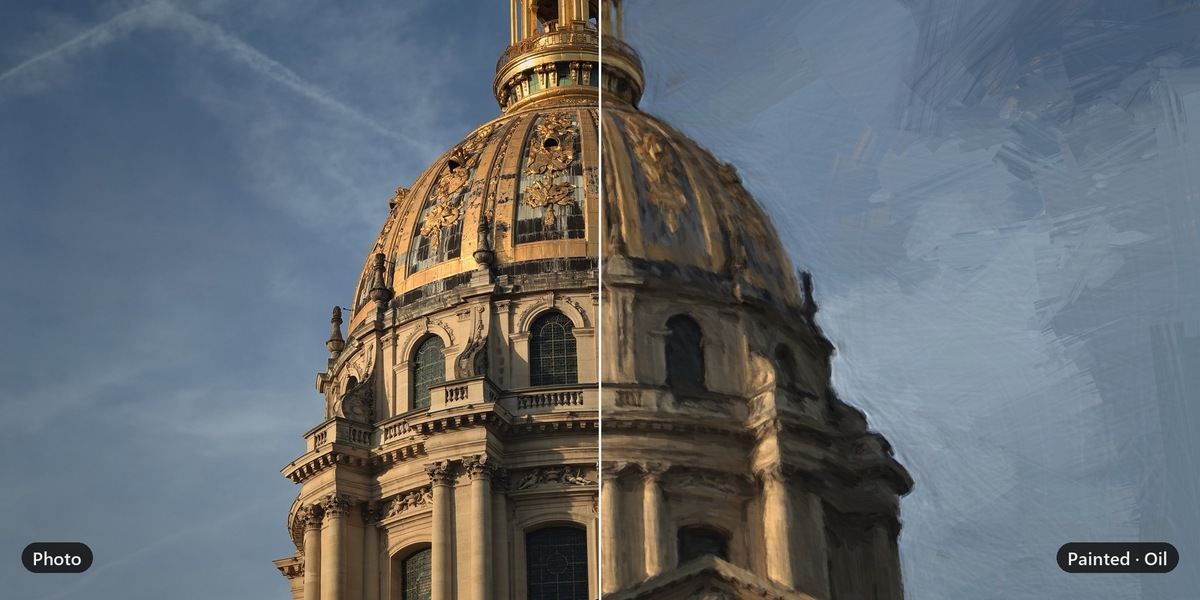
- Pick a Preset — Oil is a good first one.
- Press Paint.
The strokes appear over your image as they are laid. When it looks right, press
Enter to stop and keep it as it stands; Esc throws it away. Left
alone, it paints to the end. The result appears as
Supa_. Your original is never modified._painted
If it is slower than you want, drop Stroke Length — it is the dominant cost. At 0 you get one dab per seed and no growth at all, which is the quickest way to preview a look before committing to it.
Watching it paint
All three editors paint live. The picture builds up in the editor you started from — over the image itself in the Image Editor, and in a framed preview in the corner of the Shader Editor and the Compositor — with a progress bar, the layer being painted, and whether it is running on the GPU or the CPU. Blender stays usable throughout.
| Key | What it does |
|---|---|
| Enter or Space | Stop here and keep the painting as it stands. The finishing pass — base coat, impasto, canvas weave — still runs on it. Anything replayed from its strokes, a render's passes or a material's other maps, carries exactly what was painted. |
| Esc | Discard it, as in any Blender tool. The previous result is left exactly as it was. |
In the Shader Editor, Enter keeps the map being painted, skips the rest and wires up what was painted; Esc stops the run and changes no material, keeping the maps already finished as files.
The preview is drawn, not saved: nothing in your file changes until the paint is done, so no material or compositing tree recalculates while you watch.
The Look panel
The painter has around fifty settings. The sidebar opens on eight sliders instead, each of which moves a whole family of them.
| Slider | Effect |
|---|---|
| Stroke Size | How broad the brush is, from a fine 8 px tip to a 320 px slab. Ramped geometrically, so the slider feels even along its whole length. |
| Stroke Length | How far a stroke runs before it stops. The dominant cost. 0 is the off switch: one dab per seed, no growth at all. |
| Simplicity | How much detail is thrown away, 1–15. Low keeps small features and paints many layers; high reduces the picture to its masses. The single biggest lever on the result. |
| Direction | How hard strokes follow structure — the image's own, and whatever Geometry Source blends into it — rather than lying however they were seeded. |
| Expression | Looseness of the hand: rotation, scatter, color drift and paint dragging rise together. At 0 every stamp aligns exactly and the result looks mechanical. |
| Coverage | How completely the paint fills the canvas. Low leaves the base coat showing between strokes. |
| Relief | How far the paint stands off the canvas and catches the light. 0 skips the surface pass entirely. |
| Palette | Mix this many colors from the image and paint only those. 0 paints the full range. Whether strokes follow the masses those colors make is Follow Masses, under Fine Tuning. |
Beside them are four things no single number stands for:
| Setting | Effect |
|---|---|
| Preset | A saved look. Applying one changes the painting settings and nothing else. Save stores the current look as your own preset; saving under a shipped preset's name replaces it in the list without touching the original. The button beside Save deletes a preset you saved, or reverts your version of a shipped preset to the original. Shipped presets themselves cannot be deleted. |
| Stamp Set | Which folder of stamps to choose from, with Stamps beneath it — a disclosure triangle over the list where they are ticked individually. |
| Render Mode | Spray stamps dabs along the path; Ribbon stretches one stamp over the whole stroke. |
| Canvas Weave | A woven surface showing through the paint. Tints the color and lifts the height it is lit from. |
Plus Seed, the dice roll, and the resolved cascade printed underneath
— Sizes: 120 / 66 / 36 / 20 / 11 px. Two sliders feed it, so it is the
quickest way to see what Stroke Size and Simplicity are doing together.
Source, Scale, Tileable and Geometry Source stay visible outside the Look panel. They describe the asset rather than the look, and a preset deliberately cannot touch them.
Tileable paints the texture as the repeating surface it is: a stroke leaving the right edge comes back in on the left, so a wall, floor or fabric repeats without a seam. It costs about a fifth more time on the GPU.
Fine tuning
Tick Fine Tuning at the bottom of the Look panel and the settings themselves come back, in the panels they have always been in: Brush, Strokes, Surface, Direction Detail and Control Maps. They are a live read-out of what the sliders wrote, and the place to override any single value.
The sliders tweak the look you have loaded. Each one owns a family of settings and moves them from wherever they are, so a preset keeps its character as you adjust it, and moving a slider back to where it was restores every value exactly. Changes made under Fine Tuning survive any slider move. To build a look from scratch, turn on Fine Tuning.
| Slider | Settings it writes |
|---|---|
| Stroke Size |
base_size, size_ratio
|
| Stroke Length |
max_steps, step_ratio, taper
|
| Simplicity |
finest_brush, reference_blur, error_threshold, detail_gamma, sigma_tensor
|
| Direction |
orientation_mix, orientation_smooth, sigma_orient
|
| Expression |
angle_jitter, jitter, color_jitter, pickup, stroke_tolerance, stroke_min_error
|
| Coverage |
spacing, opacity, canvas_blur
|
| Relief |
impasto, thickness, relief_scale, relief_smooth
|
| Palette |
quantize_levels, quantize_smooth
|
Everything not listed — curvature, dab spacing, base coat, placement, the light angles, the control maps — is genuinely orthogonal to the eight and keeps whatever you set it to. A few worth knowing:
| Setting | Effect |
|---|---|
| Curvature | How hard a stroke turns toward the local structure. Near 1 it hugs every wiggle; near 0.2 it sweeps in long arcs. |
| Base Coat | What shows through where paint does not cover: Blurred Source, Black, or Underpainting (a warm earth ground). Composited under the strokes at the end, so it never changes where strokes go. |
| Ground Warmth | How far Underpainting is pushed onto its ground. 0 is exactly Blurred Source, so the slider runs from one mode to the other. |
| Blend | Cover lays each stroke's color over what is there, like oil or gouache. Glaze tints what is under it and can only darken, like watercolor; the whites are bare paper, and the base coat is replaced by the paper color. |
| White Point | Under Glaze, shown at the top of the Look panel: which part of the image is left as bare paper, the way a watercolorist decides where the whites are before painting. Auto makes the brightest part of the image the paper and lightens everything with it; Picked makes a color you pick the paper, and leaves anything lighter unpainted. A tinted pick also shifts every color the other way. Off keeps the image's own values, which is what a texture whose colors must stay accurate needs. |
| Reserve Whites | Under Glaze, how carefully a wash keeps off the lights it passes over. Higher keeps highlights clean; lower gives bolder, muddier washes. |
| Granulation | Under Glaze, how much pigment settles into the paper grain as the washes dry, the speckled texture of pigments like ultramarine. Heavy washes go grainier than pale ones. Paper Grain sets the size of the grain. |
| Placement | Jittered Grid scatters strokes organically; Cell (Hertzmann) snaps each to its cell's worst pixel — tighter on edges, but beads along them. |
| Brush Economy | What separates painted from filtered. Raise it and broad areas keep the few big strokes that already describe them, instead of being refined away everywhere. |
| Control Maps | Painted greyscale masks driving density, size, length, opacity, curvature, angle jitter and pickup. |
| GPU Rasteriser | Draw on the GPU. Roughly 10–12x faster end to end, for both Spray and Ribbon. Falls back to CPU automatically. |
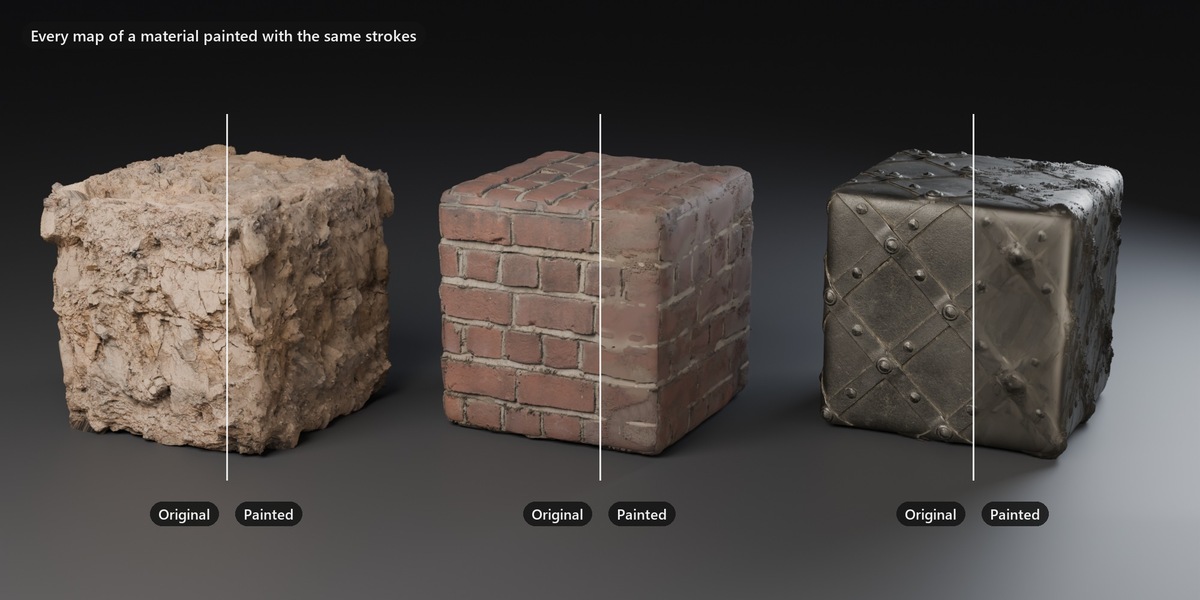
Painting a whole material
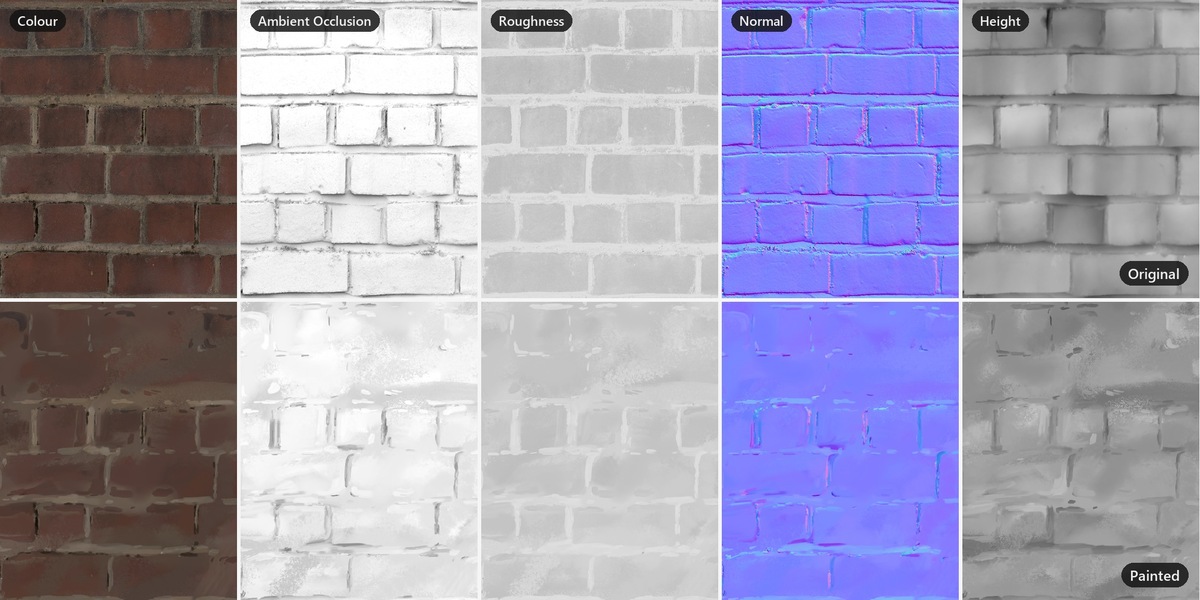
In the Shader Editor, the same panel paints an entire PBR set instead of one image.
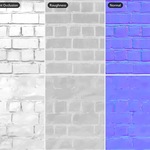
- It works out what each texture is — color, roughness, metallic, normal — and treats each accordingly, so a roughness map is not ruined by being painted like a photograph.
- One set of strokes is shared across the maps, so a daub of paint is one daub in every channel and the set still agrees with itself.
- Scope is yours: one texture, one material, or every material on every object you selected.
- UV seams and the area outside the islands are handled, so strokes do not tear at a seam or stop dead at an island edge.
- UDIM tile sets are supported, and painting one again refreshes the materials already using it.
- Tick Tileable for a repeating material: every map of the set repeats without a seam, sharing the same strokes.
- Set Geometry Source to have strokes follow the model's form rather than only the texture's own features.
Before it touches anything it audits every material it would modify and shows you the list. Nothing is changed until you accept it, and it can put everything back.
Every result is saved as a file in a painted_textures
folder beside your .blend, in the same format as the texture it came from, so it is
still there when you reopen the file. Your original texture files are never written
to, even with Overwrite Originals.
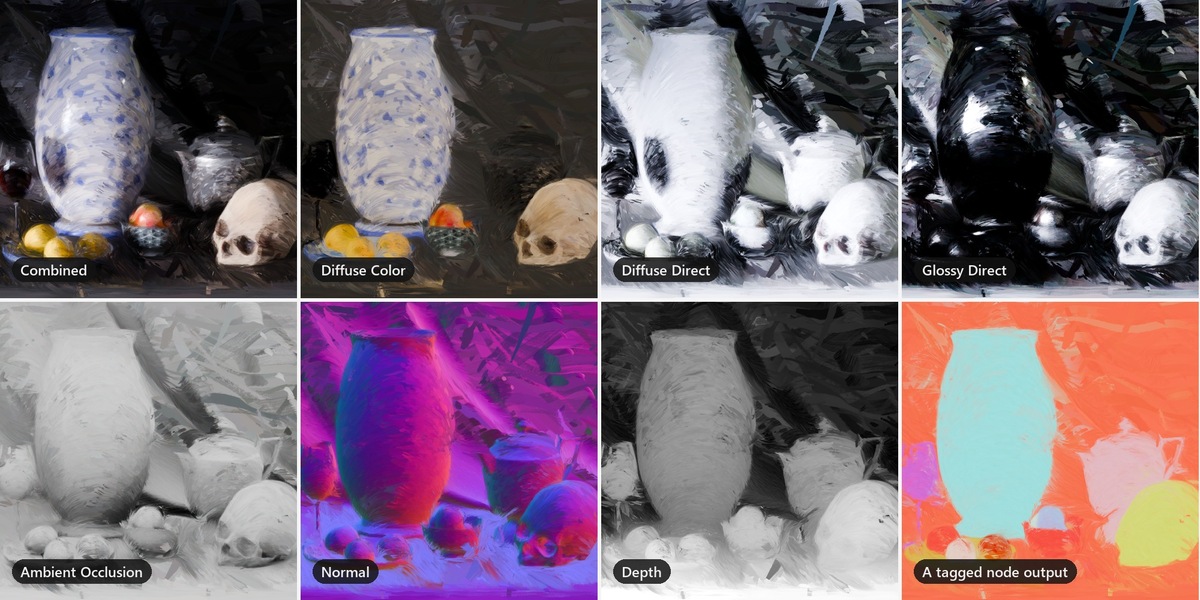
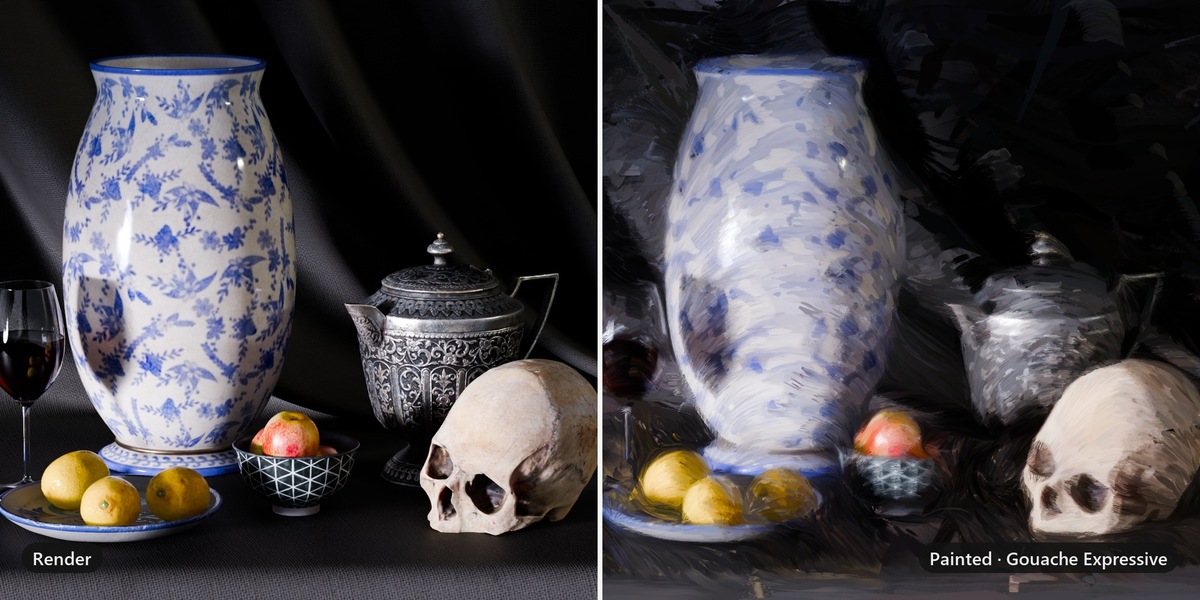
Painting a render
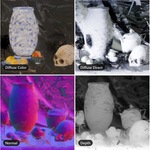
In the Compositor, Supa Painter paints the rendered frame as a finishing pass. It reads the shot's own depth and normal passes, so strokes wrap the volumes in the image instead of skating across a flat picture. Your exposure and grade are preserved — it paints with them, not against them — and transparent renders keep a painted edge rather than a hard CG silhouette.
Paint Frame paints live in the corner of the node editor, and Enter keeps a frame stopped partway; the alpha and the passes are then painted with exactly the strokes it has. It can also paint renders automatically as they finish, including ones started by another add-on.
Brushes
Stamps are RGBA PNGs whose alpha channel is the ink coverage; the
color channels are ignored, so white and black stamps behave the same. A PNG with no
transparency is read as ink on paper instead, so a black-on-white export works too. A
file that cannot be used is skipped and named beside the brush selector. A sibling file named _height.png
supplies the impasto relief channel — without one, relief falls back to coverage.
- Dab stamps are square, 256×256. Ribbon stamps are landscape, because their x axis is stretched along the stroke.
- Sets are folders. Loose files form the General set; every subfolder is a set named after itself. Making an Oil or an Ink set means making a folder and pressing reload — there is nothing to register.
- Within a set, stamps are ticked individually, and ticks are remembered per stamp. Ticking nothing means the whole set.
- Each stamp may space its own dabs. The spacing beside every tick multiplies the global Dab Spacing rather than replacing it: 1 follows it exactly, 3 scatters that stamp into separate marks, 0.5 fuses its dabs into a continuous ribbon. Spacing costs less time, not more.
Each stamp is averaged down to the size it is drawn at, the way a mipmap is, so a fine stamp — hatching, chalk, a scratch — stays clean in the small strokes instead of shimmering.
To add your own, point Preferences → Brush Library at a folder. It is scanned after the bundled folder, so reusing a bundled filename overrides it, and its subfolders merge with the bundled sets by name.
Presets
A preset stores the painting settings — never the slider positions. Applying one writes real values and the sliders are read back from them, so a preset keeps working across versions and there is only ever one truth in the file.
Save any look you land on and it paints a thumbnail of itself, so you recognise it later at a glance. Preset files are plain and portable: copy one between your machines, or send it to someone you work with.
Presets deliberately cannot change Source, Scale, Tileable or Geometry Source, because those describe the asset and not the look.
Preferences
| Preference | Default | What it does |
|---|---|---|
| Brush Library | empty | An extra folder of stamps. |
| Show Analysis and Debug Panels | Off | Structure-tensor tuning and the direction visualisation. Worth reaching for when a look will not come right; noise the rest of the time. |
| Write Analysis Maps | Off | Lets the debug operators create image datablocks for the analysis stages. Eight or more images per texture, so it is opt-in. |
| Verbose Logging | Off | Per-stage timings and array statistics to the system console. |
Support
Use the Ask a Question button on this product page and I will get back to you. If you are reporting a problem, it helps enormously to include your Blender version, your operating system, which editor you were painting from, and the console output with Verbose Logging turned on.
-
$29.25 $39
For solo users, personal and commercial use
-
$58.50 $78
-
$175.50 $234
Have questions about this product?
Login to message
