Surface Chipping — Procedural Shader Mask
 P2_limit_sadge
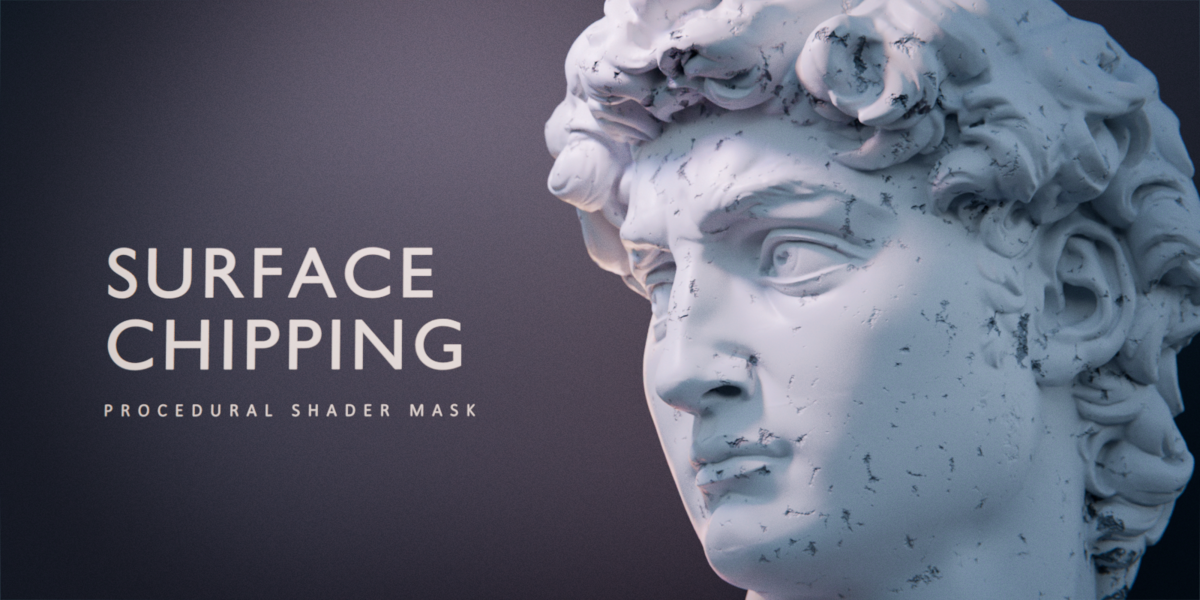
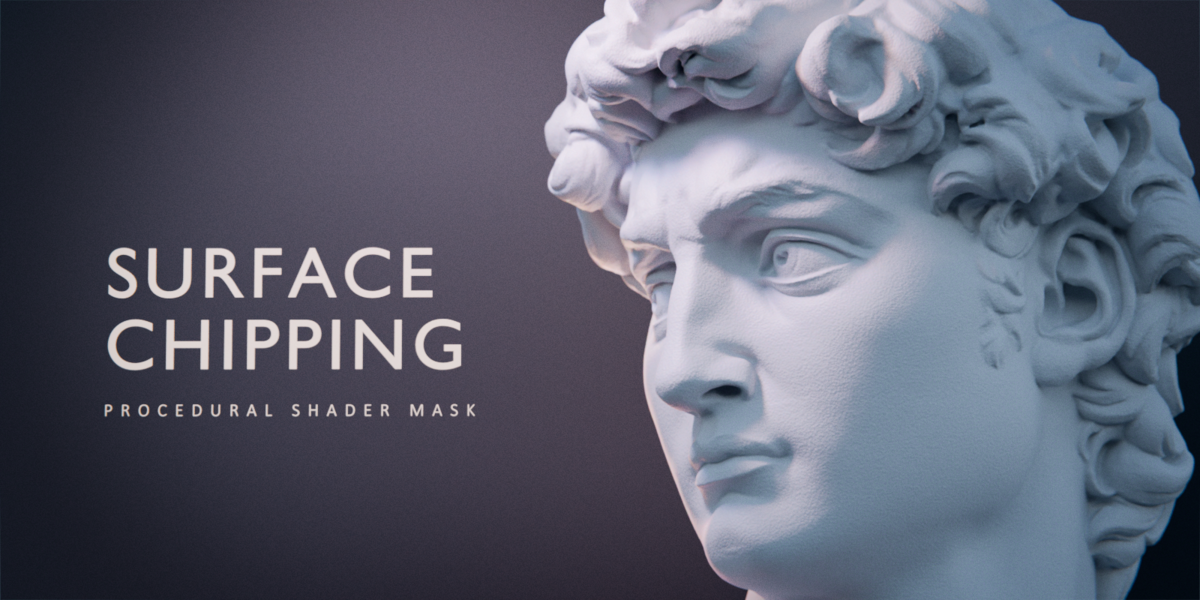
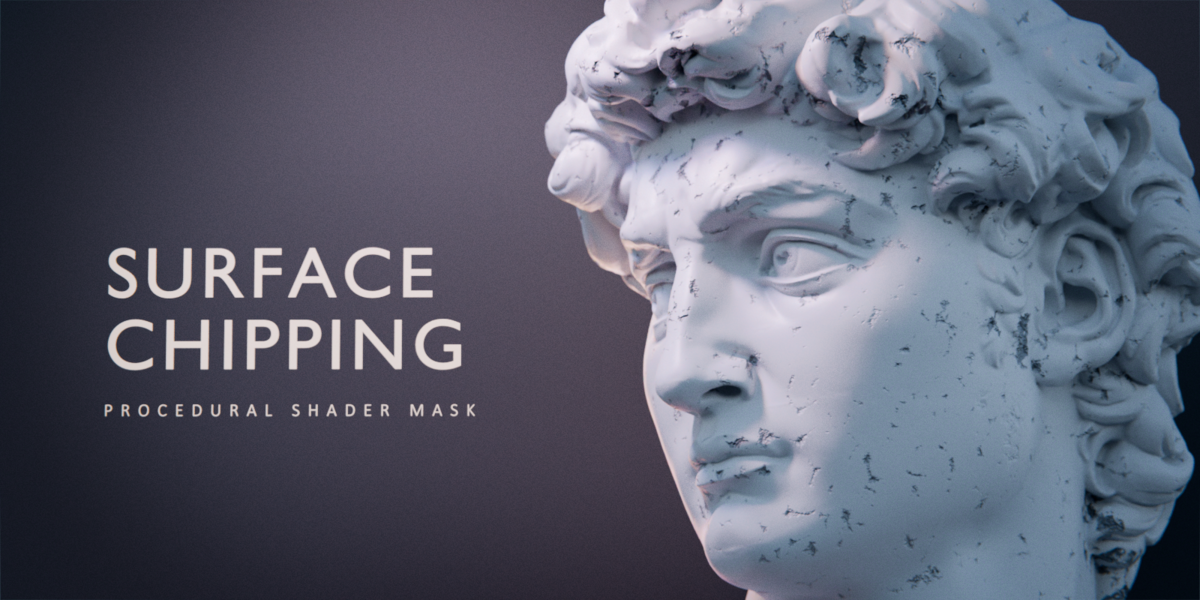
SURFACE CHIPPING · DOCUMENTATION
Getting started
Requires Blender 5.0 or newer. Extract the ZIP before use. No add-on installation, UV map, or image textures are required for this mask.
Open the included example
1. Open Surface_Chipping.blend and select Suzanne.
2. Switch the viewport to Material Preview.
3. Open the Shader Editor to inspect the assigned Surface Chipping Example material and adjust the mask.
The example has no render camera or lights. Add your own camera and lighting if you want to render with F12. The David sculpture and marketing scenes are not included.
Use it in another project
Choose File > Append, browse into Surface_Chipping.blend, then select NodeTree > Surface Chipping. In your object's material, add the imported group from Add > Group in the Shader Editor.
To import the connected example material instead, append Material > Surface Chipping Example and assign it to your object.
For Asset Browser access, register the folder containing the .blend in Preferences. Blender 5.0/5.1: File Paths > Asset Libraries. Blender 5.2: Asset Libraries. Select your library and drag Surface Chipping into the material's Shader Editor using Append or Append (Reuse Data).
Connect the mask
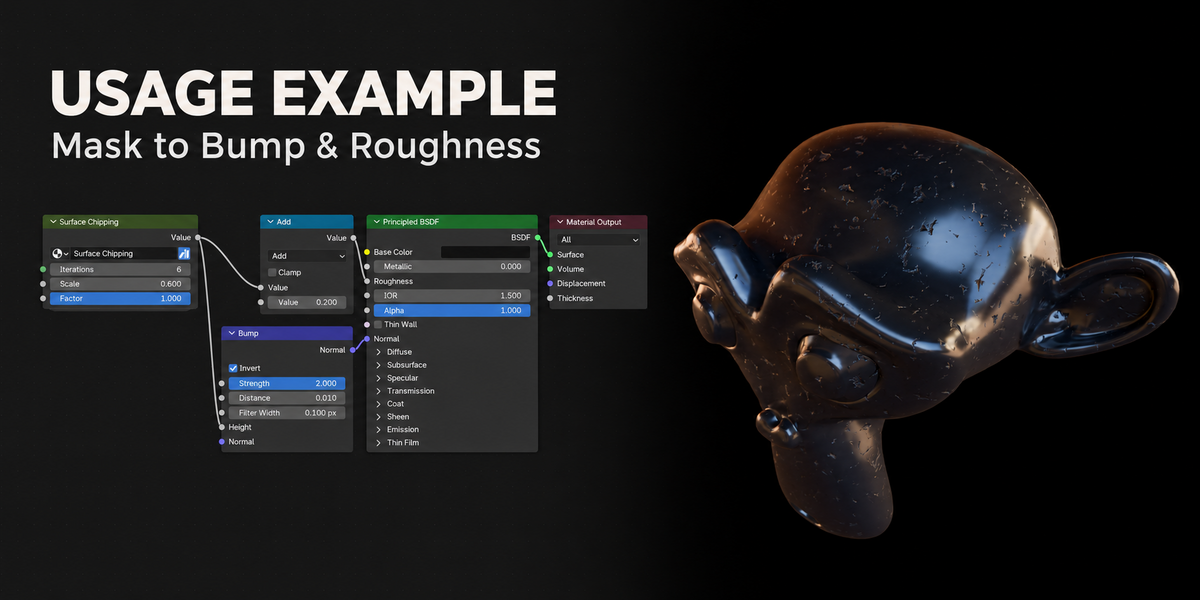
Value → Bump Height
Bump Normal → Principled BSDF Normal
Principled BSDF → Material Output Surface
Enable Bump Invert to match the example. Use Bump Strength and Distance to set the apparent depth.
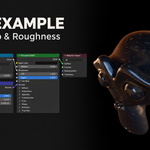
The example also connects Value through a Math Add node (+0.2) to Roughness. This branch is optional. Remap the mask with a Color Ramp or Map Range if needed.
Adjust the result
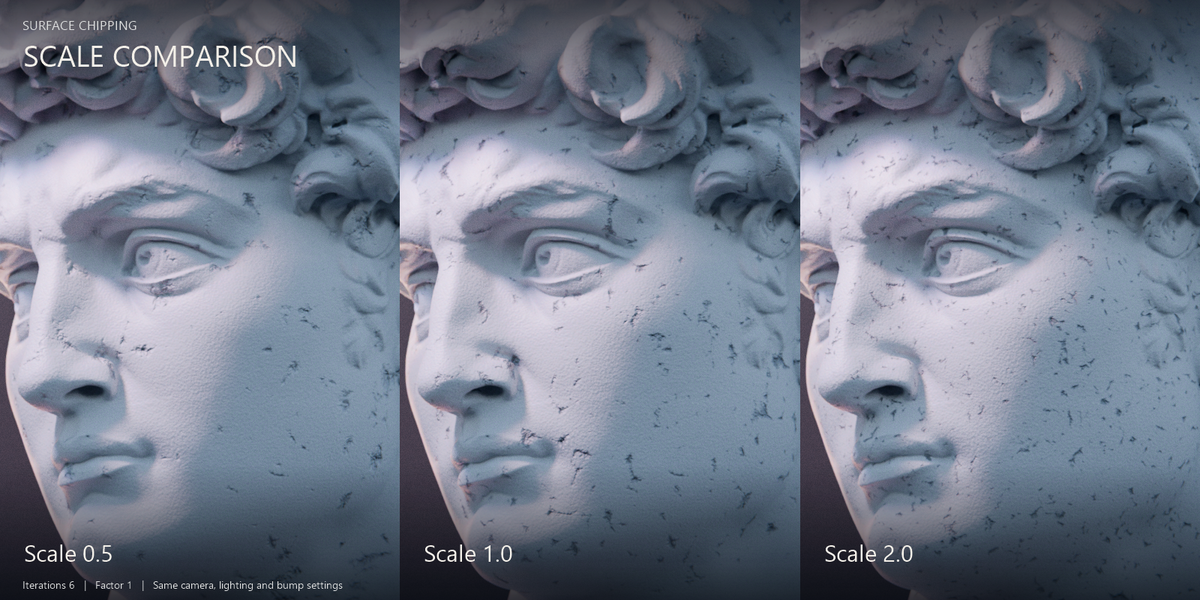
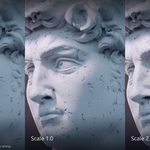
Scale — Higher positive values create finer patterns; lower positive values create larger patterns.
Iterations — Accumulates additional pattern passes. Higher values change the buildup and increase shader computation.
Factor — Multiplies the final mask. Zero outputs zero; one gives the full mask. Use the Bump node for depth adjustment.
Example settings: Iterations 6, Scale 0.6, Factor 1. Bump Invert enabled, Strength 2, Distance 0.01. Adjust for your object, material, lighting, and viewing distance.
Mapping and troubleshooting
The mask uses Generated coordinates from the undeformed mesh. It follows object transforms and normal fixed-topology deformations, including the tested shape-key, armature, and Bend setups. Scale is relative to the mesh's texture space. Remeshing or editing texture space can change the pattern.
If the effect is invisible, check the material assignment, use Material Preview or Rendered shading, check the Bump connections, and confirm Factor is above zero.
For a complete OFF comparison, bypass any mask-driven Roughness branch as well as the bump effect. In the example, Factor 0 still leaves Roughness at 0.2 because of the Add node.
The Bump setup changes surface shading. It does not cut holes, remove geometry, or change the silhouette.
 Included
Includes 12 months of
- Support from P2_limit_sadge
- Product updates
Extend this product’s Support Period +12 months: 25% of product price
Have questions before purchasing?
Login to message
| Published | 6 days ago |
| Blender Version | 5.0 - 5.2 |
| Render Engine Used | Cycles, Eevee |
| License | Royalty Free |
Discover more products like this
procedural roughness surface detail mask Material bump Shader chipping shader nodes surface wear