 3D Tudor


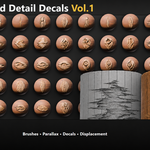
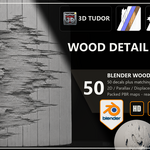
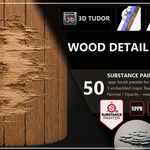
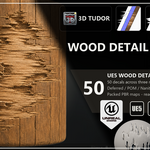
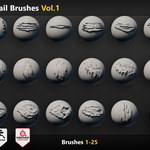
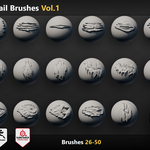
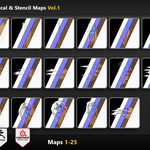
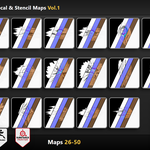
WoodDetail Decal Pack Vol.1 — Documentation
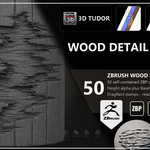
A short setup guide for getting your wood detail designs into Blender, Substance Painter, Unreal Engine 5, and ZBrush. The full 13-page PDF guide ships inside every paid tier under Free Gift — How To Use.
1. Quick start
- Pick the software lane that matches your project (Blender, Substance Painter, UE5, or ZBrush).
- Open the matching zip from your Superhive download list.
- For Blender: open the included
.blend, drag a wood detail asset out of the Asset Browser onto your mesh, and tune the colour tone on one decal. Copy those parameters to the other 49 and the whole set will sit in your scene together. - For other software: see the per-software section below.
- Use the included Brush Guide PDF + per-software HTML guides for the full workflow walkthrough.
2. What is in your download
Each paid tier zip contains the files for that software lane at that design count. The all-software bundle and Studio / Team License ship all four software zips together.
-
Blender Files: master
.blendwith 4 use-mode scenes (decal / parallax / displacement / sculpt brush), studio cyclorama + 3-sun lighting rig, asset-marked sculpt brushes, N-panel helpers. -
Substance Painter Files: per-design
.spprStencil tool presets with embedded thumbnails. -
UE5 EnvironmentPreset: full UE5.3+ project (
.uproject+ demo.umap+ deferred decal actors + colour-curve setup pre-wired). -
ZBrush Files: per-design
.zbpalpha brush presets. - Decal Textures: universal 2K PNG PBR maps — BaseColor, Normal (OpenGL), Roughness, Height, AmbientOcclusion, Opacity. Six maps per design.
- Free Gift: 13-page Brush Guide PDF + per-software HTML guides + the Superhive coupon.
3. PBR map reference
Every design is backed by six 2K PNG maps. Use these when you want to build your own shader outside the provided software files.
- BaseColor — sRGB. The diffuse colour of the wood detail.
- Normal — Non-Color, OpenGL convention. For DirectX workflows, flip the green channel where your tool requires it.
- Roughness — Non-Color. Surface roughness, 0 (mirror) to 1 (matte).
- Height — Non-Color. Displacement / parallax depth source. White = high, black = low.
- AmbientOcclusion — Non-Color. Cavity shadows. Multiply over BaseColor for the showcased look.
- Opacity — Non-Color. Alpha-cut mask. White = visible, black = transparent.
4. Blender setup
Open the included master .blend. Four use-mode scenes are already set up:
- Decal scene — flat planes with alpha-cut decal material. Drop onto any surface as a sticker.
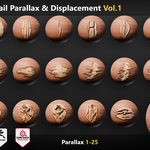
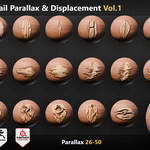
- Parallax scene — planes with fake-depth shader. Cheap; works in Cycles + EEVEE.
- Displacement scene — real geometry displacement. Needs Cycles. Use for hero close-ups where the silhouette matters.
- Sculpt brush scene — 50 brushes asset-marked in the Asset Browser under 3DT Wood Detail Pack → Sculpt. Drag any brush into your own sculpt session and stamp.
N-panel helpers (Decal Switcher / Displacement / Parallax / Shrink-decal) live in the 3D viewport sidebar. They let you swap decals on the preview spheres without touching the shader graphs. Enable Auto Run Python Scripts in Preferences for the panels to load.
5. Substance Painter setup
Each .sppr file is a Tool preset with an embedded square thumbnail. To import:
- Open Substance 3D Painter.
-
File → Import Resources→ select allDecal NN.spprfiles. - Destination: Add to new user shelf → name it
3DT_WoodDetail(or your preferred shelf name). - In the Assets panel, filter to Stencils. The wood detail presets will appear with their thumbnail previews.
- Pick a preset, add a paint layer, and stamp onto your prop.
If Painter shows a cached older preview after re-import, remove the resource and re-import to refresh the embedded thumbnail.
6. Unreal Engine 5 setup
The pack ships as a complete Environment Preset project for UE5.3+.
- Extract the
UE5 EnvironmentPresetzip anywhere on your drive. - Double-click the
.uprojectfile. Unreal will prompt to rebuild the project files — allow it. - Open the demo
.umap(in the Content Browser, under/Game/WoodDetailDecals/Levels/) to see the showcase scene. - Three master materials are provided:
M_CrackDecal_Deferred(Deferred Decal projector),M_CrackSurface_NaniteDisplacement(real displacement on Nanite mesh), andM_CrackSurface_POM(Parallax Occlusion Mapping). 150 MaterialInstances per pack (50 per master) are pre-built. - The colour-curve setup is wired on the master materials. Tune one MaterialInstance to your target wood tone, then copy the parameters across the others.
- To bring the decals into your own project: in the Content Browser, right-click the WoodDetailDecals folder → Migrate → pick your project's
Contentfolder.
7. ZBrush setup
Each .zbp file is an alpha-stamp brush preset built on the design's height map.
- Open ZBrush.
- Load your sculpt (or use the included canvas template).
-
Brush → Load Brush→ pick aDecal_NN.zbpfile. - Switch stroke type to DragRect (Stroke palette).
- Set Z-Intensity around 15-25 for a readable stamp without blowing out the surface.
- Drag-stamp the wood detail onto your sculpt.
Brushes are set to Zadd mode by default (raised wood detail). For sunken / carved-in effects, switch the brush to Zsub in the top shelf.
8. Cross-software workflow tips
- Pick the use-mode by camera distance. Background distance → flat decal. Mid-shot → parallax. Hero close-up → real displacement. Sculpted hero asset → sculpt brush.
-
Scale the design to the surface. A knot reads best at the size of a real knot, not stretched across half a plank. Use the parallax/displacement
--depthknob (Blender) or POM scale (UE5) to dial relief in. - Tune colour once, copy across. All 50 designs are set up at the same base wood tone. Adjust one decal to match your target wood (oak, pine, walnut), then copy the parameters across the other 49.
- Roughness tweak. Bump roughness slightly higher for weathered timber, slightly lower for polished wood. Add a colour ramp on the Height map to control the contrast of the displacement.
- Mixing use-modes is fine. Use flat decals in the background, parallax in mid-shot, real displacement on hero objects — the shape language stays consistent because they all come from the same source.
9. License and commercial use
Commercial use included: Commercial use is included in every paid tier for one creator. Choose the Studio / Team License only if multiple people inside a company or team need internal access to the files.
Permitted: The pack is for using the assets in your own artwork, games, films, client work, portfolio work, and commercial projects.
Prohibited: The source files may not be resold, redistributed, repackaged, uploaded publicly, or included as raw downloadable resources inside another template, tool, brush pack, decal pack, texture pack, or marketplace product.
10. Support and updates
Need help with setup, install, or workflow? Use the Q&A tab on this listing or message us via Superhive. Updates are pushed through your Superhive download history — you will always have access to the latest version of any tier you purchased.
Neil — 3D Tudor
About 3D Tudor
3D Tudor is a Blender and game art education studio founded by Neil I. Bettison in 2019. We teach over 250,000 students worldwide through project-based courses, books, asset packs, and tutorials for Blender, Unreal Engine 5, Geometry Nodes, environment art, and game-ready workflows. Our goal is to make high-quality 3D education approachable, affordable, and immediately useful for artists, students, hobbyists, and indie creators.
Neil I. Bettison is co-author of a #1 Amazon Best Seller in Blender, published by Packt.
-
$9.99
20-design Blender starter tier with the matching 20-design texture map ZIP, Blender half-pack file, documentation, previews, and Superhive customer free gift.
-
$19.99
Full 50-design Blender tier with the 50-design texture map ZIP, full Blender file, documentation, previews, and Superhive customer free gift.
-
$34.99
Full 50-design creator bundle for Blender, Substance 3D Painter, UE5, and ZBrush, including 2K maps, documentation, previews, and Superhive customer free gift.
-
$49.99
All-software 50-design package for a studio or team workflow, with internal access for up to 10 users inside one company or team.
Have questions about this product?
Login to message
| Dev Fund Contributor | |
| Published | 4 months ago |
| Blender Version | 5.1 - 5.2 |
| Render Engine Used | Cycles, Eevee |
| Misc Data | Normal-Mapped, Textured |
| License | Royalty Free |
Discover more products like this
sculpt brush environment art wood timber wood grain zbrush blender surface detail wood texture displacement stylized decal pack Substance painter wood decal PBR brush pack parallax alpha brush wood detail unreal-engine-5