Surfacestamp - Realistic Surface Details
 VertexModeler Inc.
SurfaceStamp Documentation
Version 0.3.4 | Blender 5.2 | VertexModeler
- Installation
Choose one texture edition:
Light: Retains the original fingerprint, handprint and scratch dimensions. Larger general-purpose textures are limited to a 2048-pixel longest edge.
Full Resolution: Retains the original dimensions of the adapted textures.
Both editions include the same tools and presets. Install only one edition.
Open Edit > Preferences > Get Extensions. Use the menu in the upper-right corner and select Install from Disk. Select the extension ZIP without extracting it, then enable SurfaceStamp.
Use the installer ZIP, not the outer delivery bundle or example-project ZIP. Restart Blender after updating an existing installation.
Included textures are bundled with the extension and do not require a separate download.
- Getting Started
Select a mesh object in Object Mode.
Open the sidebar in the 3D View with N, then select the SurfaceStamp tab.
Use a material containing a top-level Principled BSDF node. Materials whose shaders are entirely inside node groups may require manual preparation.
Choose a category and a preset thumbnail.
For a local mark, click Place Local Stamp.
For broader coverage, click Cover Selected Object.
SurfaceStamp creates working material copies and stores references to the original materials for restoration.
- Local Placement
Choose a Surface Fit mode, then click Place Local Stamp.
Move the pointer over the selected model. The preview shows the stamp’s position and footprint. Floating hints display the current size, angle, fitting mode and shortcuts.
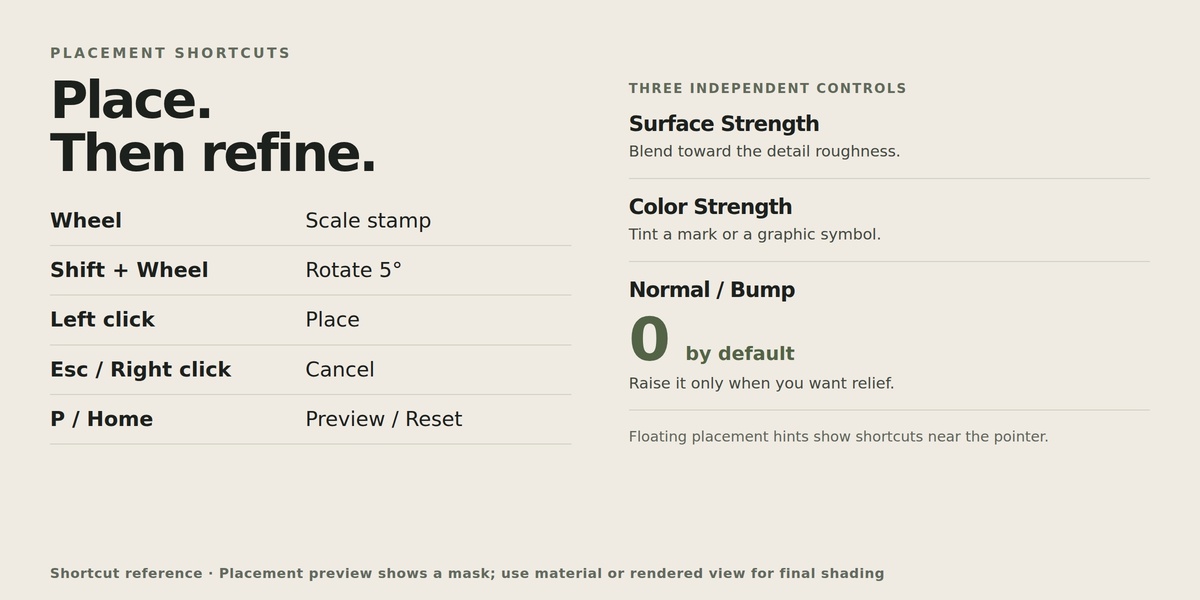
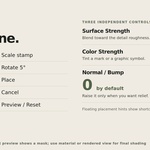
Mouse wheel: Scale the stamp by approximately 10% per step.
Shift + mouse wheel: Rotate the stamp by 5 degrees per step.
Left click: Place the stamp.
Esc or right click: Cancel placement.
Middle mouse button: Orbit the view.
Shift + middle mouse button: Pan the view.
Ctrl + mouse wheel: Zoom the view.
P: Toggle the texture preview.
Home: Reset placement size and angle for the current preset.
Click Place Local Stamp again to add another mark.
Preview Opacity controls the visibility of the placement preview. It does not change the final effect strength.
The placement preview is a positioning mask. Use Material Preview or Rendered mode to evaluate lighting, color and bump.
- Editing a Placed Stamp
Select the stamp in the effect layer list.
Adjust Size and Rotation to refine its placement. Use Select Handle to select the stamp’s control object and transform it.
The handle is an editing control and does not appear in the final render.
For fitted curved stamps, use Refit to Surface when the projection needs updating.
- Whole-Object Coverage
Cover Selected Object applies broader coverage using an eligible preset.
Adjust Size, Density and Seed where available to control the scale and distribution of the effect.
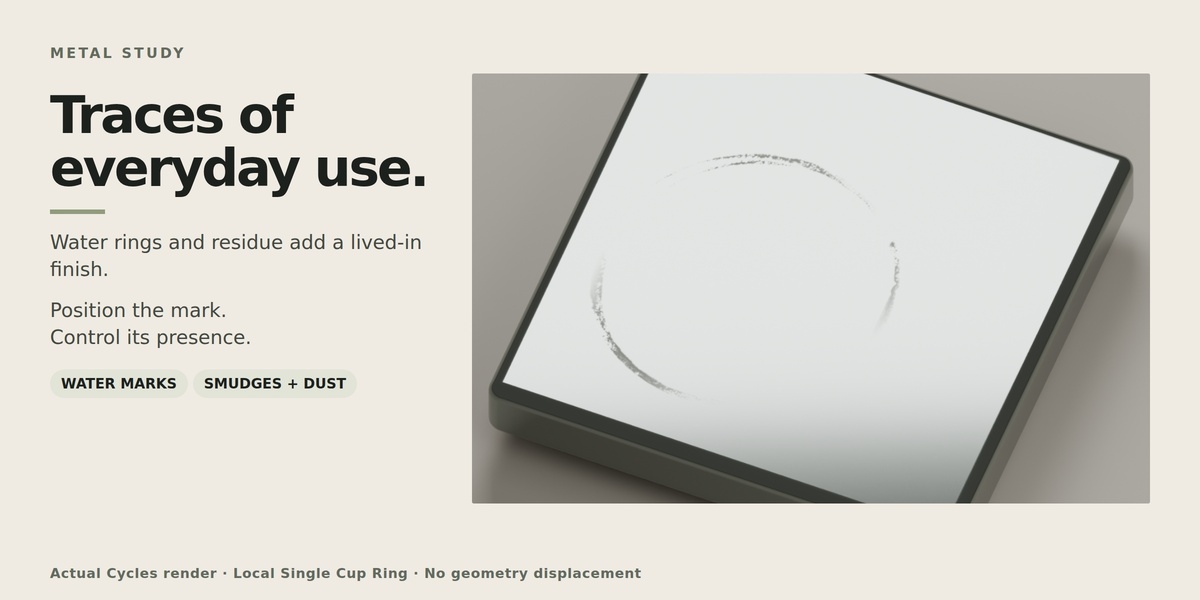
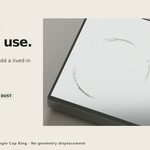
Isolated fingertip and single-ring presets are intended for local placement. Choose a full texture preset for whole-object coverage.
- Roughness, Color and Bump
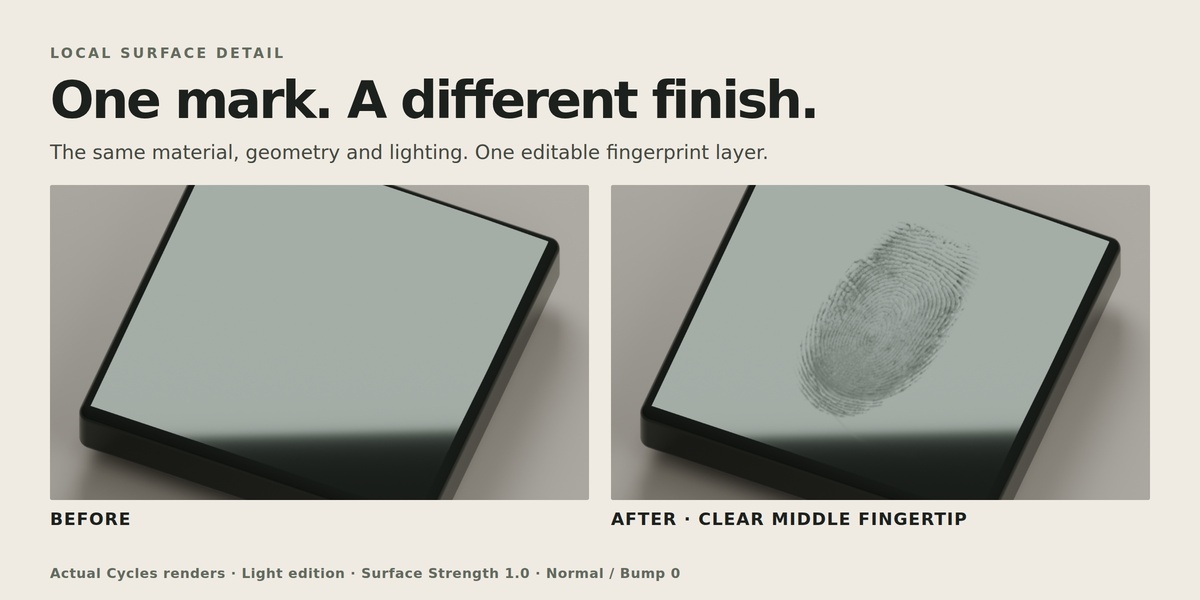
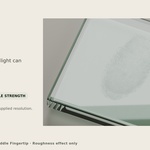
Surface Strength
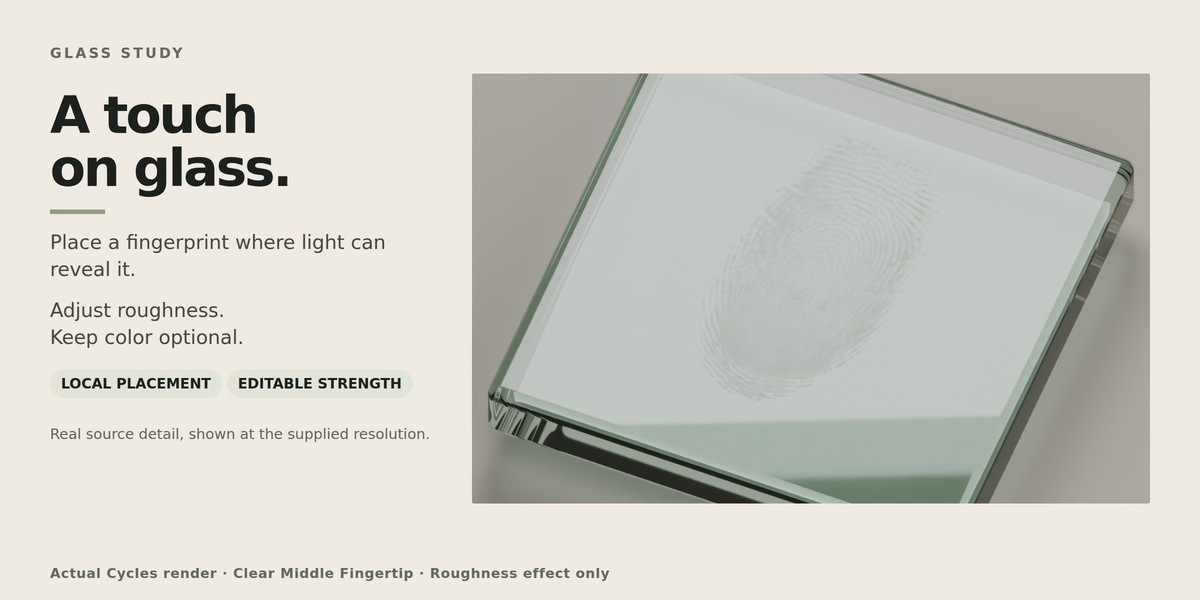
Controls how strongly the stamp blends the material toward Detail Roughness.
The difference between the original roughness and Detail Roughness determines how visible the mark becomes. Side lighting and reflected light strips are useful for revealing subtle fingerprints.
Colorize and Color Strength
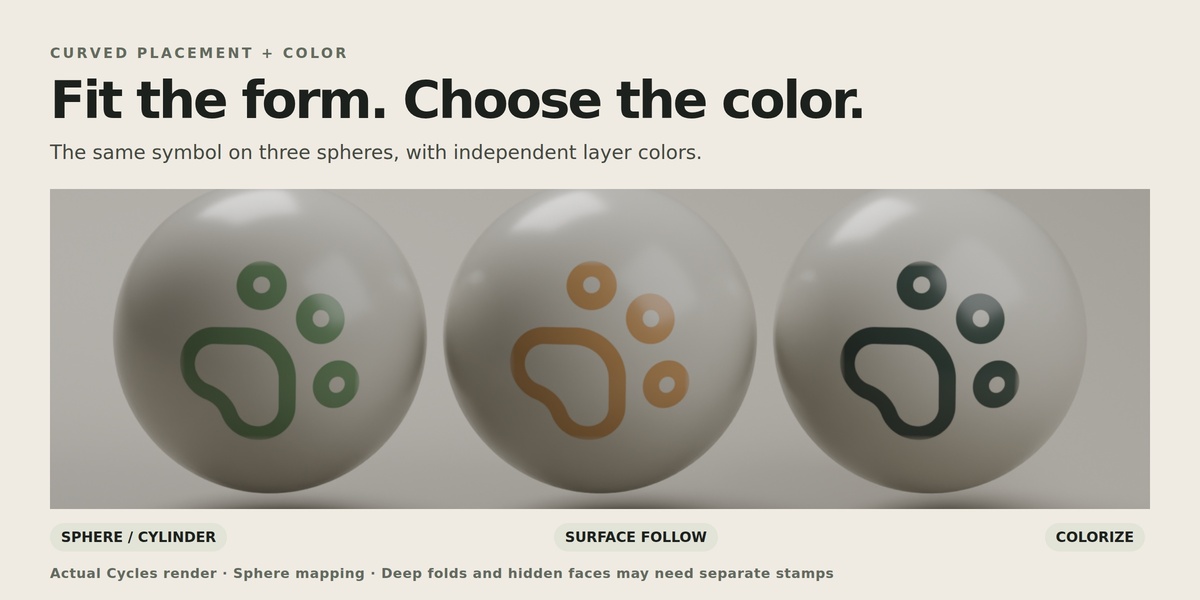
Enable Colorize to add a color contribution through the texture mask.
Color Strength is independent of Surface Strength. To add a colored symbol without changing roughness, set Surface Strength to 0.
Disable Colorize when you want the effect to appear primarily through roughness.
Original Texture Color
Rust Patches, Dirty Runoff and Asphalt Cracks include original-color maps.
Enable Original Texture Color to use these maps. A white tint preserves their source colors; other tint colors multiply them.
Disable Original Texture Color to use a flat tint through the mask.
Normal / Bump
New layers start with Normal / Bump set to 0.
Increase it to add the appearance of surface relief. Bump Depth (%) controls the relief depth relative to stamp size.
Scratch-family layers use the recessed direction.
Bump changes shading normals. It does not move mesh vertices or change the object’s silhouette. Existing material normal connections are retained in supported setups.
- Surface Fitting
Auto Surface
Automatically chooses a local fit for the target surface.
Planar
Uses a flat projection.
Sphere
Uses curved mapping suited to spherical forms.
Cylinder
Uses curved mapping suited to cylindrical forms.
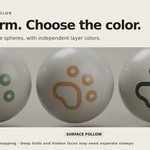
Surface Follow
Samples visible geometry along the placement direction to fit irregular surfaces.
To update an existing stamp, select its layer, choose a fitting mode and click Refit to Surface. For Surface Follow, view the model from the desired projection direction before refitting.
Deep folds, silhouettes and hidden faces can interrupt the projection. Use smaller stamps or change the placement direction in these areas.
SurfaceStamp does not provide continuous 360-degree wrapping around arbitrary geometry.
- Layers and Material Restoration
Each effect is stored as an editable layer.
Select a layer to change its parameters.
Toggle a layer to hide or show its contribution.
Reorder layers to change how effects combine.
Remove a layer to delete that effect.
Restore Original Materials returns the object’s material slots to their stored original materials.
Changes made only to the working material copies are not merged into the original backups during restoration.
Save your project to retain the layers and packed textures. Keep SurfaceStamp enabled when you need to continue editing its controls.
- Texture Library
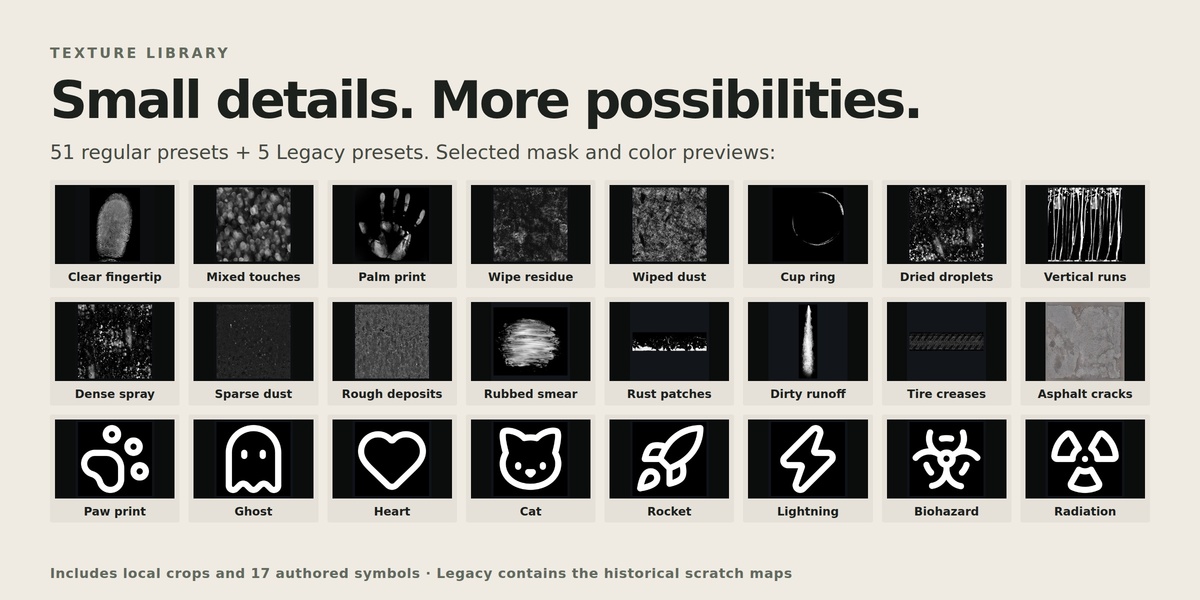
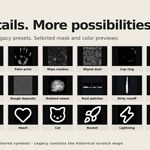
The library contains 56 presets: 51 regular presets and 5 Legacy presets.
This total includes local crops and 17 graphic symbols. Some presets share source images.
The Legacy category contains historical provider-procedural textures retained for compatibility, including the older scratch maps.
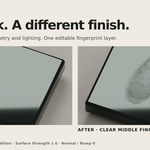
Clear fingertip presets are isolated regions of a larger handprint texture. Their effective source dimensions are approximately 320–430 × 395–500 pixels per finger, rather than individual native 4K scans.
Choose a suitable physical size for these marks. Increasing their display size does not add source detail.
- Troubleshooting
The stamp is difficult to see.
Check that the layer is enabled. Check Surface Strength, stamp size, placement direction and the difference between the base roughness and Detail Roughness. Use Material Preview or Rendered mode and try a broad side light.
The stamp looks like paint.
Disable Colorize or reduce Color Strength. Reduce Surface Strength and Normal / Bump for a subtler finish.
The stamp clips on a curved surface.
Try Auto Surface or Surface Follow, adjust the viewing direction and use Refit to Surface. Use a smaller stamp around deep folds. Try Cylinder for cylindrical forms.
The preview differs from the render.
The preview shows a placement mask. Final appearance depends on the material, lighting, color contribution and bump settings.
The material is unsupported.
Use a top-level Principled BSDF node. Arbitrary shader networks and shaders nested entirely inside node groups are outside this version’s supported scope.
Installation fails.
Confirm that you selected the extension installer ZIP. Record the full error message and your Blender version.
When reporting a problem, include the preset, fitting mode, reproduction steps and screenshots. A small example project is helpful.
Custom texture import, texture baking/export and automatic following of animated deformation are outside this version’s supported scope.
- Licenses and Credits
Extension code: GPL-3.0-or-later.
Downloaded texture sources: CC0, with source records included in the extension.
Lucide symbols: ISC, with inherited Feather MIT notices where applicable.
See SOURCES.json, THIRD_PARTY.md and the included license files for the full records.
 Included
Includes 12 months of
- Support from VertexModeler Inc.
- Product updates
Extend this product’s Support Period +12 months: 50% of product price
Have questions before purchasing?
Login to message
| Blender Extension Compatible | Yes |
| Published | 17 days ago |
| Blender Version | 4.0 - 5.2 |
| Extension Type | Add-on |
| Render Engine Used | Cycles, Eevee, Freestyle |
| License | GPL |
Discover more products like this
roughness decals realism product rendering fingerprints Material Layers dust scratches surface details dirt smudges bump