 blenderustad
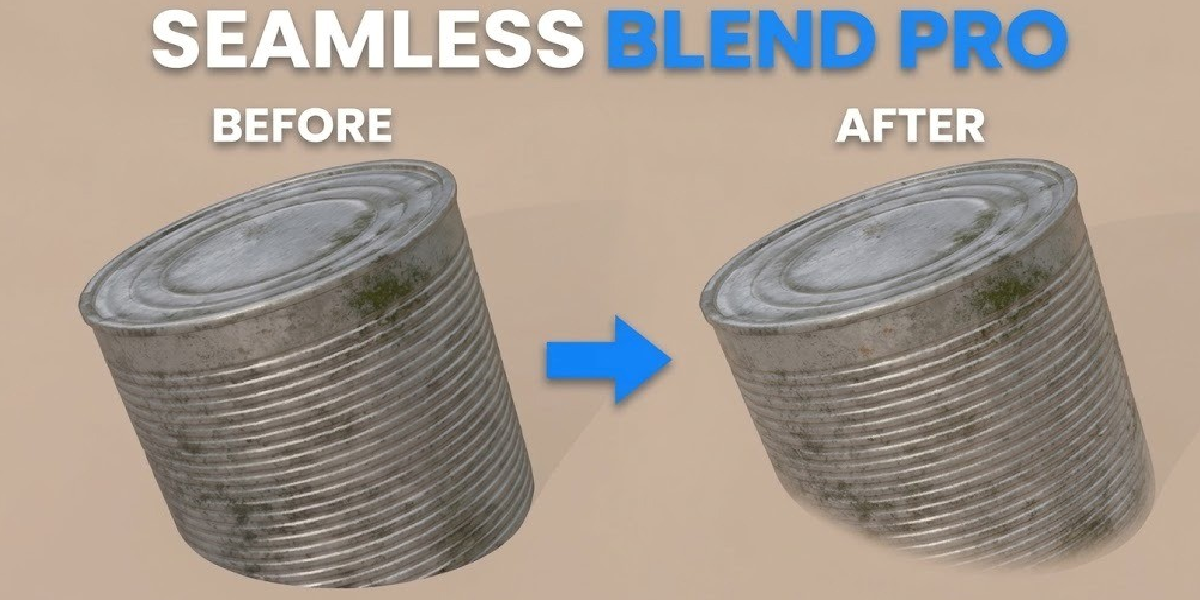
The problem
A rock sitting on grass, a crate on a warehouse floor, a creature standing on mud. if their materials don't know about each other, the contact line looks pasted on. Fixing it by hand means painting a mask, baking an AO pass, or hand-building a Mix Shader graph for every object pair, and redoing it every time something moves.
The solution
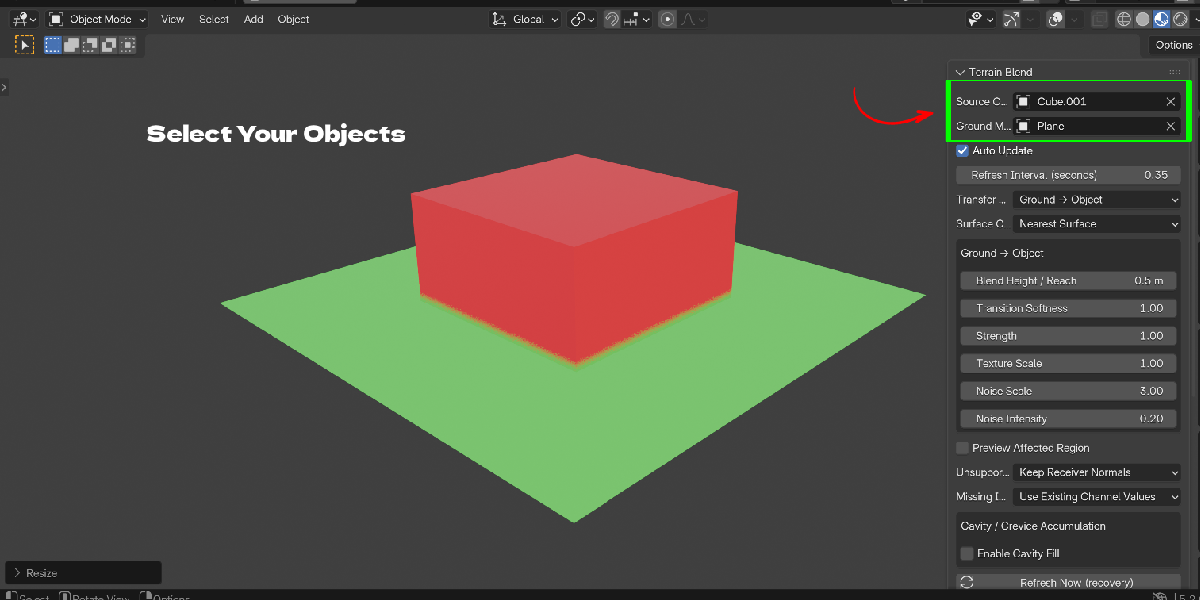
Terrain Seam Blend samples the ground's own material and transfers it onto the object near the contact zone, live — and can do the reverse at the same time, carrying the object's appearance onto the ground around it. Select a receiver and a ground/donor mesh, click Create Blend once, and the blend keeps itself in sync: move either object, tweak a slider, or edit a material, and it refreshes on its own. Nothing about the original meshes or materials is touched — Remove Blend restores both exactly as they were.
Two-way material transfer, your choice
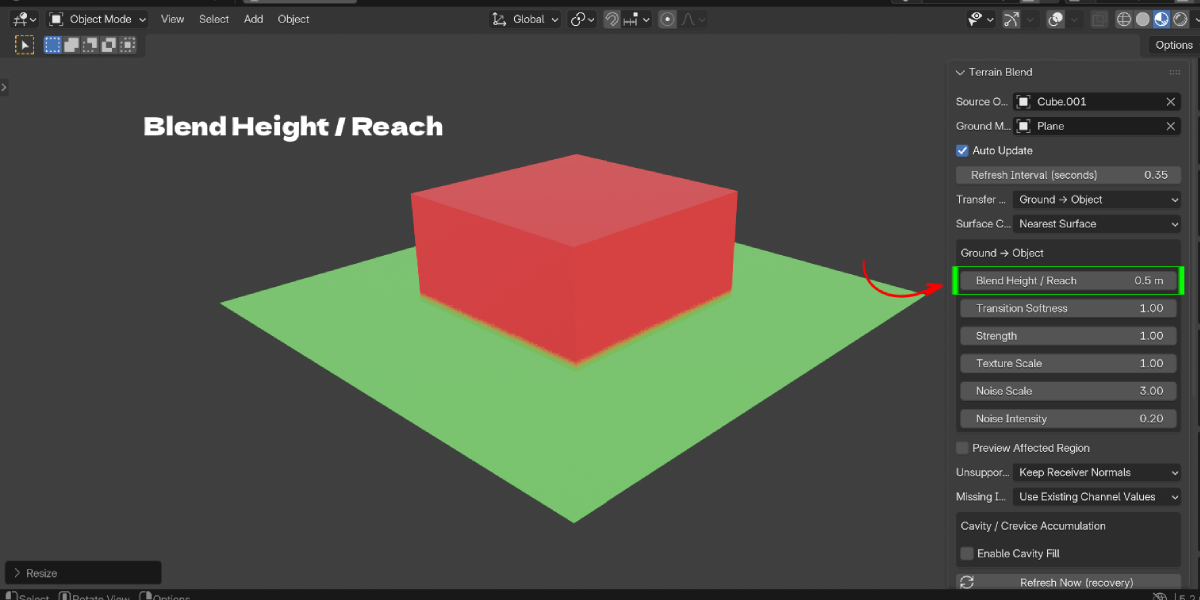
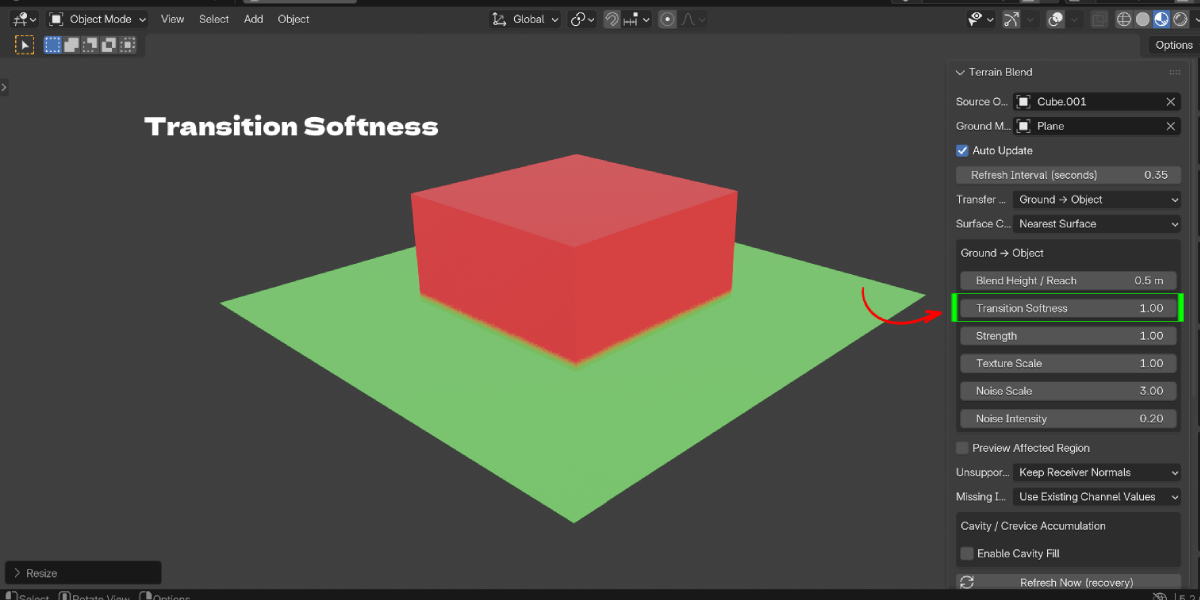
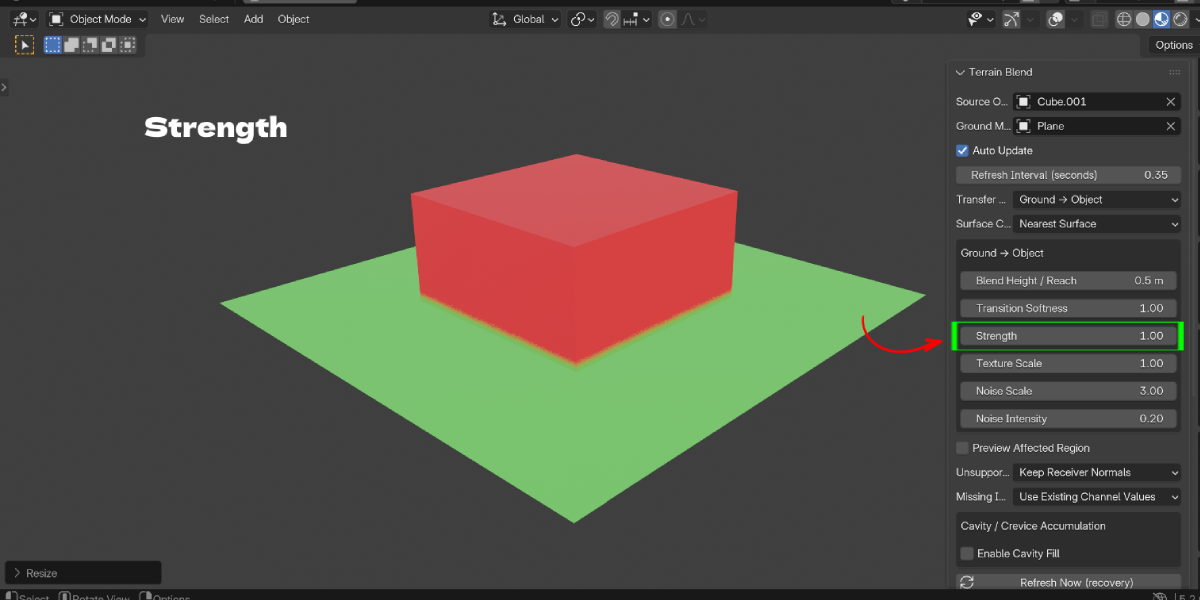
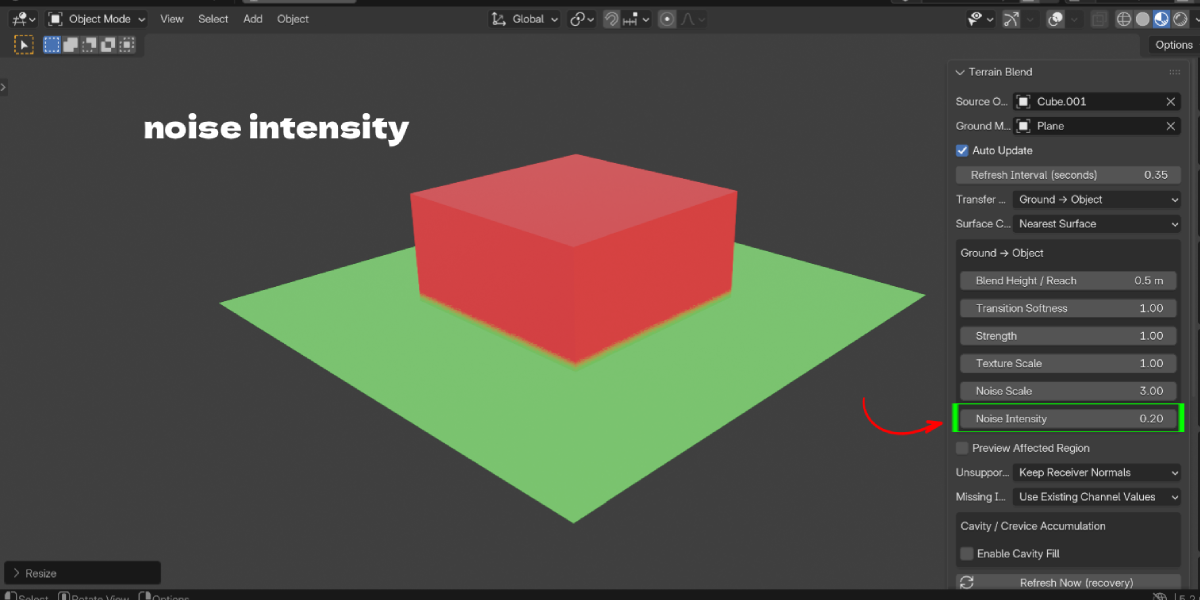
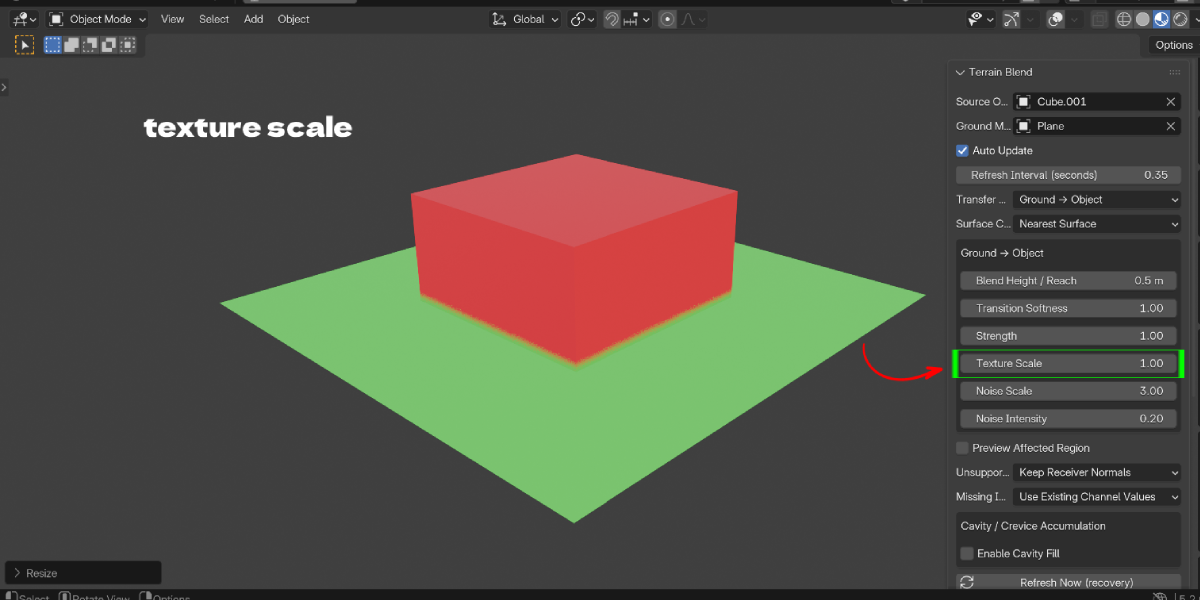
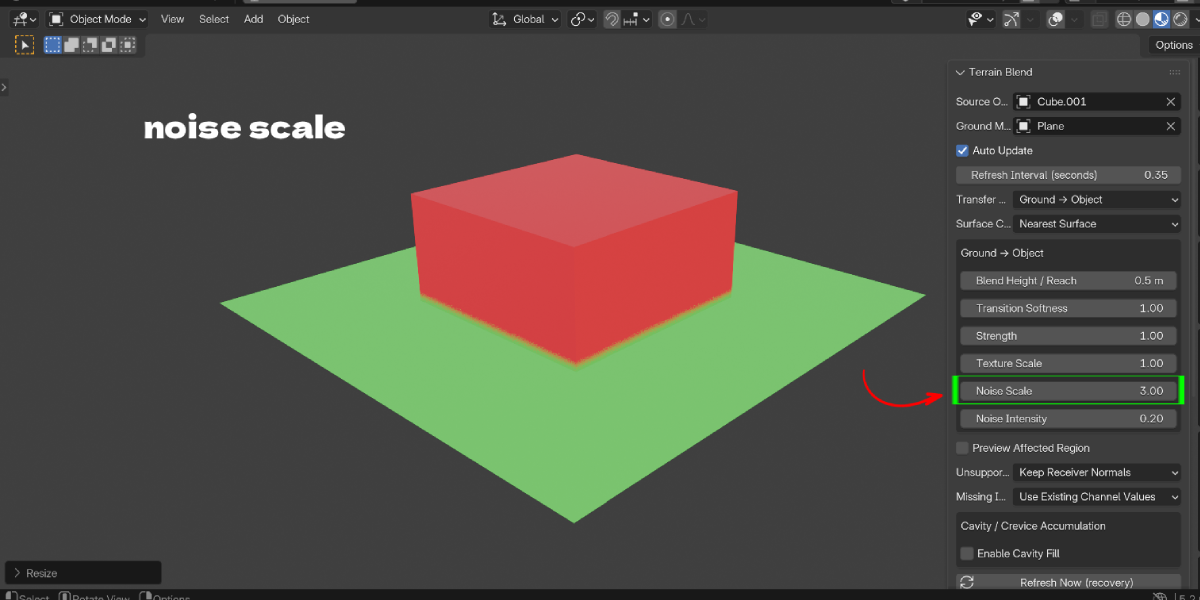
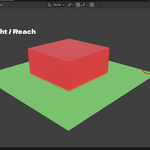
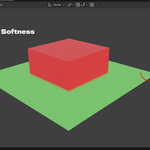
Pick Ground → Object to blend the ground's look onto the object, Object → Ground for the reverse, or Both Directions to run them together with strengths that auto-normalize so they never fight each other. Height/Reach, Transition Softness, Strength, Texture Scale, Noise Scale and Noise Intensity are all live per direction — drag a slider and watch the contact zone respond in the viewport.
Crevice and cavity dirt, without a bake
Enable Cavity / Crevice Accumulation to let the ground material gather in a rock's modeled recesses and folds — the kind of grime that collects where water and dust actually settle. Coverage, strength, detection scale, edge softness, noise breakup, Near Contact vs Whole Object scope, an upward-facing filter, and an optional painted vertex-group mask give you control without ever touching the Bake button.
Built on a documented material contract
Instead of silently guessing at unsupported shaders, Terrain Seam Blend works against a written contract of supported node setups (Principled BSDF, image/procedural textures, color ramps, mapping, Height Bump) and tells you explicitly when a donor material falls outside it — with a documented manual-bake workflow for those cases. No surprises mid-project.
Key Features with Benefits
- Create Blend, Refresh Now, Remove Blend: One click to start a blend on a selected receiver and ground mesh. Benefit: no setup ritual — select two meshes and go, and you can always undo back to the originals.
- Ground → Object / Object → Ground / Both Directions: Choose which way the material transfer runs, or run both at once with auto-normalized strength. Benefit: match the transfer to the shot instead of hand-building two Mix Shader graphs.
- Live Height/Reach, Softness, Strength, Texture Scale, Noise controls: Per-direction sliders that update the shader in real time, no rebuild needed. Benefit: tune the blend by eye instead of guessing values and re-baking.
- Procedural noise on the blend edge: Noise Scale and Noise Intensity break up the transition so it doesn't read as a straight line. Benefit: an organic-looking contact zone without painting a custom mask.
- Cavity / Crevice Accumulation: Optional geometric-concavity-based dirt fill with coverage, scope, softness, noise, upward filter and painted-mask refinement. Benefit: grime in cracks and recesses without an AO bake-and-mix workflow.
- Automatic refresh on transform, mesh, and material changes: A background timer (throttled by a configurable Refresh Interval) watches for relevant changes and refreshes the blend on its own. Benefit: animate or iterate layout without manually re-triggering the effect.
- Non-destructive by design: Original meshes and materials are never edited — the addon works on private duplicated copies. Benefit: Remove Blend always gets you back to exactly where you started.
- Ground Projection or Nearest Surface correspondence: Choose a directional ray cast or closest-point sampling for how donor appearance is mapped onto the receiver. Benefit: control for both flat-ground and uneven-terrain setups.
- Explicit missing-image and unsupported-normal policies: Choose to fall back safely with a warning, or stop with an error, instead of a silent wrong result. Benefit: predictable behavior on production files instead of mystery output.
- Documented material support contract: A written list of exactly which donor node setups are supported, plus a manual-bake fallback workflow for the rest. Benefit: you know before you start whether your material qualifies, and what to do if it doesn't.
- Status feedback in the panel: Pending / Updating / Up to date / Update failed, plus wrapped warning and error text. Benefit: you always know whether what's on screen is current.
Workflow Benefits
Before: drop a rock onto the terrain, notice the seam, switch to the Shading workspace, hand-build or copy a Mix Shader setup, bake or paint a mask, tweak it until it looks right, then redo all of it if you move the rock or change the ground material.
With Terrain Seam Blend: select the rock, pick the ground as donor, click Create Blend. Adjust Height/Reach and Softness in the N-panel while watching the viewport update. Move the rock to block out the shot — the blend follows automatically. Swap the ground material for a different biome — the blend recompiles on its own. If a shot calls for a different look, Remove Blend takes you back to the plain originals in one click, no manual cleanup.
Who It's For and Use Cases
- Environment and prop artists blending rocks, crates, furniture or debris into ground, floor or wall materials without hand-painting masks per asset.
- Archviz artists softening the contact line between furniture, columns or landscaping elements and the surfaces they sit on.
- Game-asset and marketplace creators who need their renders to read as grounded rather than composited, without extra bake passes slowing down iteration.
- Animators and previz artists who move objects across a scene and need the contact blend to stay correct without manual re-triggering.
- Anyone working with modeled crevices or rock surfaces who wants dirt/grime accumulation driven by actual geometry instead of a painted texture.
