 Skava
Skava

TexelMaster — Documentation
v1.2.1 · Blender 4.2 LTS and later · Windows / macOS / Linux
1. Install
- Download the zip and leave it zipped — install it through Add-ons preferences.
- Press N in the 3D Viewport → TexelMaster tab.
2. Quick start
- Select a mesh with at least one UV layer.
- In the TexelMaster main panel, pick a preset (e.g. PC Standard 1024).
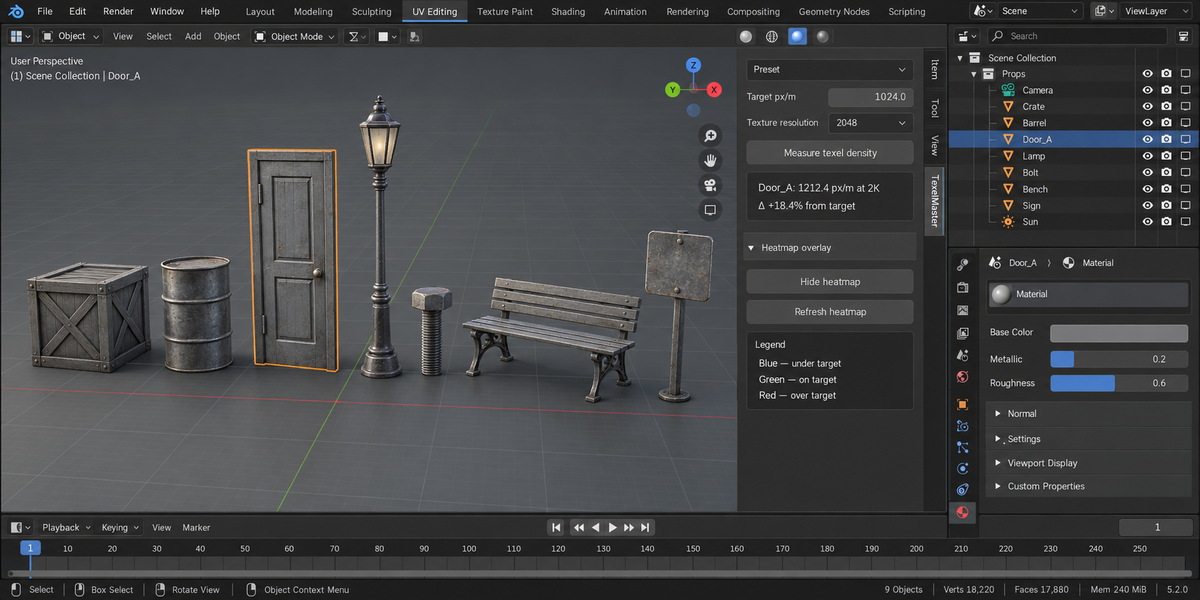
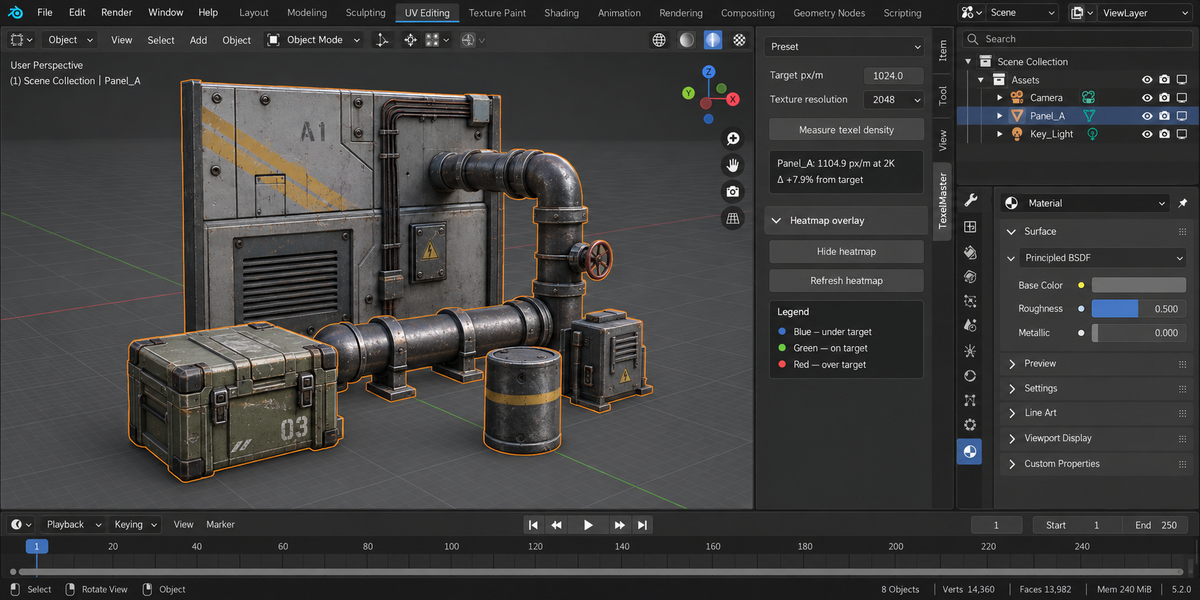
- Click Measure texel density — the panel shows current TD and deviation from target.
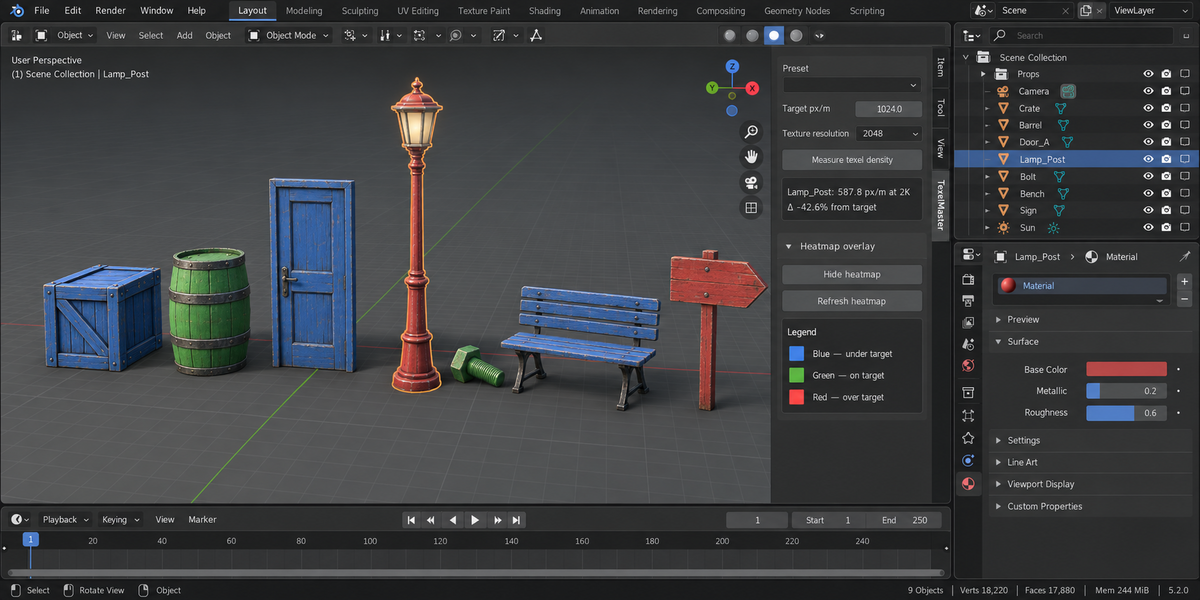
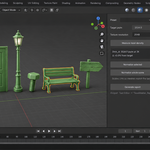
- Open the Heatmap panel → Show heatmap to colour-code every face.
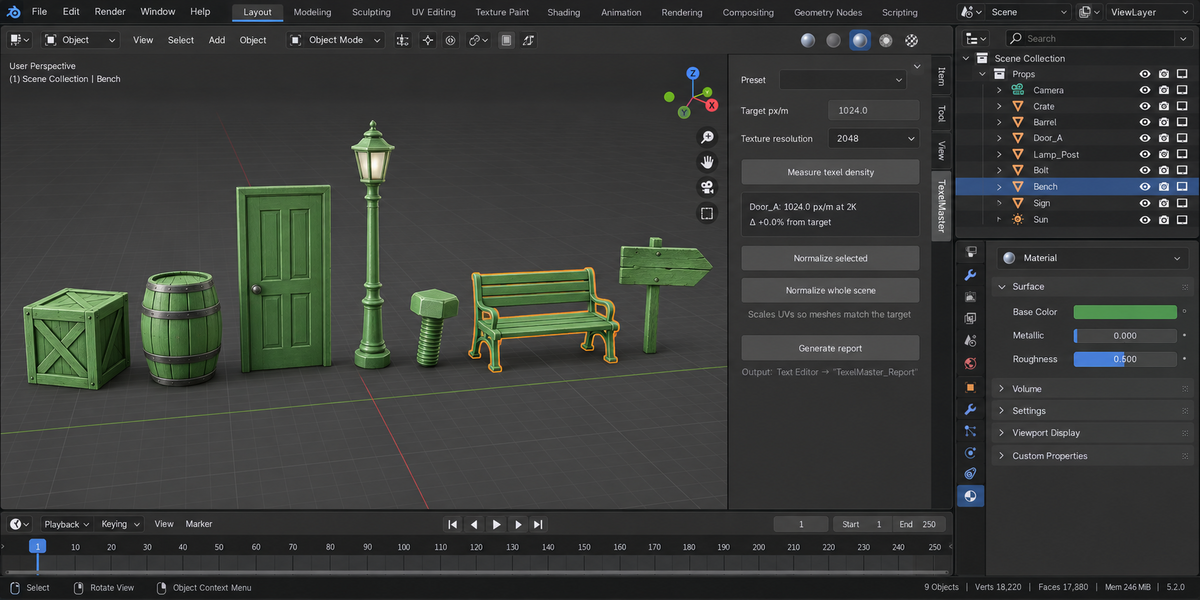
- To fix outliers: select the offending objects → Normalize panel → Normalize selected.
3. What is texel density?
Texel density (TD) is how many texture pixels cover one metre of world surface, measured in px/m. A 2048-pixel texture covering a 1 m × 1 m face has TD = 2048 px/m. If the same texture covers 2 m × 2 m, TD drops to 1024 px/m — the same asset looks half as crisp.
Real pipelines pick a target TD per platform (mobile = 256, PC standard = 1024, hero = 4096) and enforce it across every asset so things look consistent next to each other.
4. Heatmap legend
| Colour | Meaning |
|---|---|
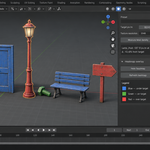
| Blue | Face TD is below target. Texture will look blurry / pixelated here. |
| Green | Face TD is within tolerance (±20% by default). |
| Red | Face TD is above target. Wasting texels — scale UVs down. |
The tolerance band is configurable in Preferences → Add-ons → TexelMaster.
5. Normalize
Per-object (default) computes an area-weighted TD per object and applies one uniform UV scale around the mesh's UV centroid. Best when an object is one cohesive island.
Per-island walks each UV island separately and scales it around its own centroid. Use when one object has several material zones at different intended densities (e.g. character body vs face).
The pivot is always the mesh's (or island's) UV centroid, so UDIM islands at non-(0,0) tiles stay put — you don't have to re-pack after normalising.
Normalize selected works on the selection. Normalize whole scene brings every mesh in the scene to the target density in one go and asks for confirmation first, naming how many objects it will touch — consistency across a level is the whole point of a texel-density tool, and selecting hundreds of props by hand is where it goes wrong.
6. Engine presets
Pick from the preset dropdown; the target value is filled in automatically. Switching presets does not re-bake or re-scale — you must explicitly run Normalize afterwards.
7. Validation report
Click Generate report → a text block called TexelMaster_Report appears in the Blender Text Editor (Window menu → Text Editor). Each row lists the object's name, measured TD, percent deviation, and verdict (OK / UNDER / OVER). The bottom row summarises counts.
8. Texture resolution setting
The Texture resolution field tells TexelMaster which texture size to assume when computing TD. By default 2048. If your asset will ship with a 1K texture, set it to 1024 — the math scales linearly.
9. Troubleshooting
"Heatmap shows nothing" — make sure you have a mesh selected and it has a UV layer (Properties → Object Data → UV Maps). Empty UV layer = nothing to colour.
"Heatmap doesn't refresh when I edit UVs" — Blender doesn't notify draw handlers of UV edits in real time. Click Refresh heatmap after UV changes. Measurement and the heatmap both read live Edit-Mode data, so a Refresh reflects your in-progress UV edits immediately.
"Normalize moved my UVs outside [0,1]" — normal behaviour if the original UVs were tightly packed and you raised the target TD. Re-pack or re-unwrap if you need to stay in the unit square.
"Reports show 0 px/m for some objects" — those have either no UV layer or zero world-area (degenerate geometry).
10. Limitations
- Heatmap is computed at toggle time and refresh — not real-time on UV edits.
- Normalize assumes you're scaling around the mesh / island centroid; absolute UV placement isn't preserved.
- UDIM is supported transparently (the math doesn't care about tile location) but the report and heatmap don't show per-tile breakdowns.
11. Support & License
Through marketplace messaging. GPL-3.0.
Have questions about this product?
Login to message
| Published | 5 days ago |
| Blender Version | 4.2 - 5.2 |
| Extension Type | N/A |
| Render Engine Used | Cycles |
| License | GPL |
Discover more products like this
asset mobile pipeline optimization texel density uv validation report normalize heatmap Game density