 blenderustad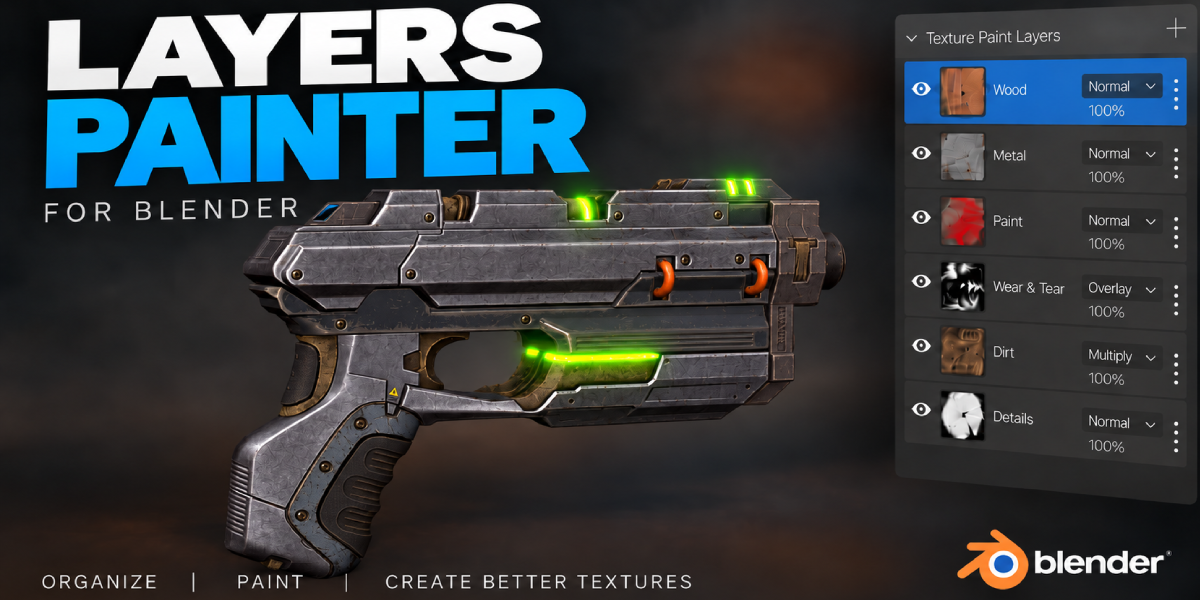
The problem with Blender's native Texture Paint
Blender's built-in Texture Paint mode paints straight onto one image. There is no layer stack, no mask you can toggle later, and no way to try a scratch pass or a grime pass without committing to it forever. If you want to change your mind about a rust layer after painting on top of it, your only real options are undo (which runs out), painting over it by hand, or leaving Blender for Substance Painter or Photoshop and re-importing a baked texture.
That round trip is the actual cost: every time you leave the 3D viewport to fix a layer, you lose the direct feedback loop of painting on the model itself.
At a glance: native Texture Paint vs. Texture Paint Layers
Capability |
Blender's native Texture Paint |
Texture Paint Layers |
|---|---|---|
Layer stack |
Single flat image, no layers |
Full stack: create, reorder, hide, duplicate, delete |
Undoing a bad pass |
Undo history, or repaint by hand |
Toggle or delete one layer, rest of the stack untouched |
Channels per layer |
Paint one channel/image at a time |
Color, Roughness, Metallic, Height, Normal per layer, one stroke |
Masking |
No built-in per-layer mask |
Paintable grayscale mask per layer, with an enable/bypass toggle |
Blend modes |
None (single image) |
9 modes: Normal, Multiply, Screen, Overlay, Add, Subtract, Difference, Darken, Lighten |
Roughness/Metallic control |
No dedicated value tied to the brush |
Independent 0-1 sliders that don't touch brush color |
Height/bump detail |
No dedicated painting tool |
Signed height painting per layer (bump shading, not displacement) |
Per-channel UV control |
Not applicable |
Independent scale, rotation, and offset per channel |
Flattening work |
Not applicable |
Merge Down bakes two layers into one baked image |
File portability |
One image per texture slot |
Layers, channels, and masks packed into the .blend on save |
What Texture Paint Layers adds
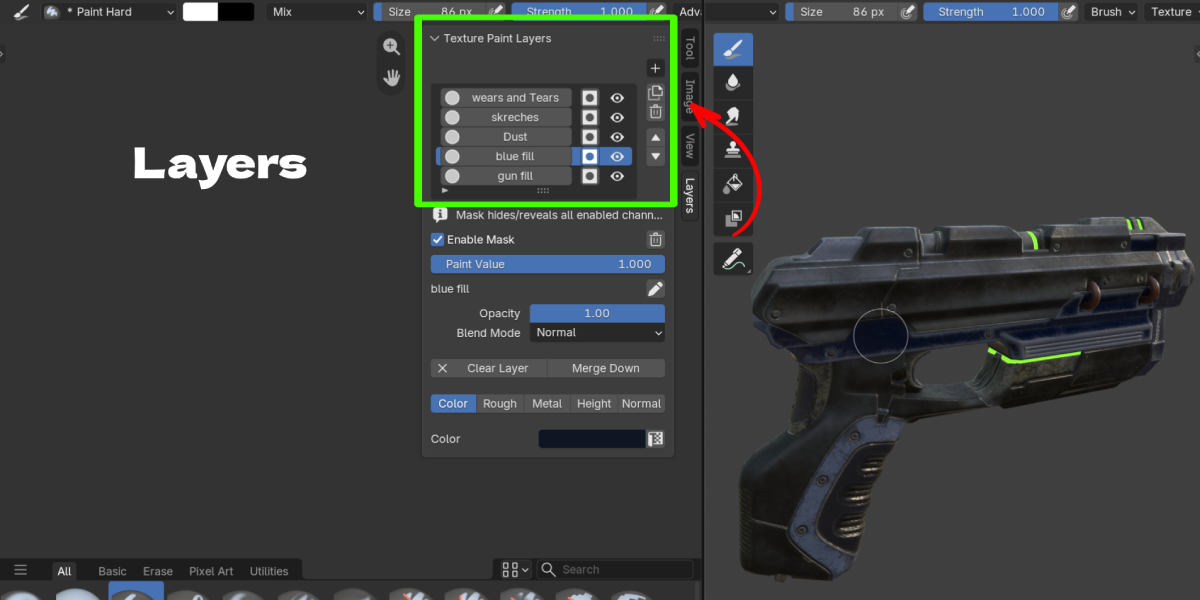
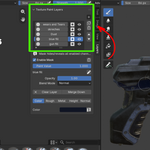
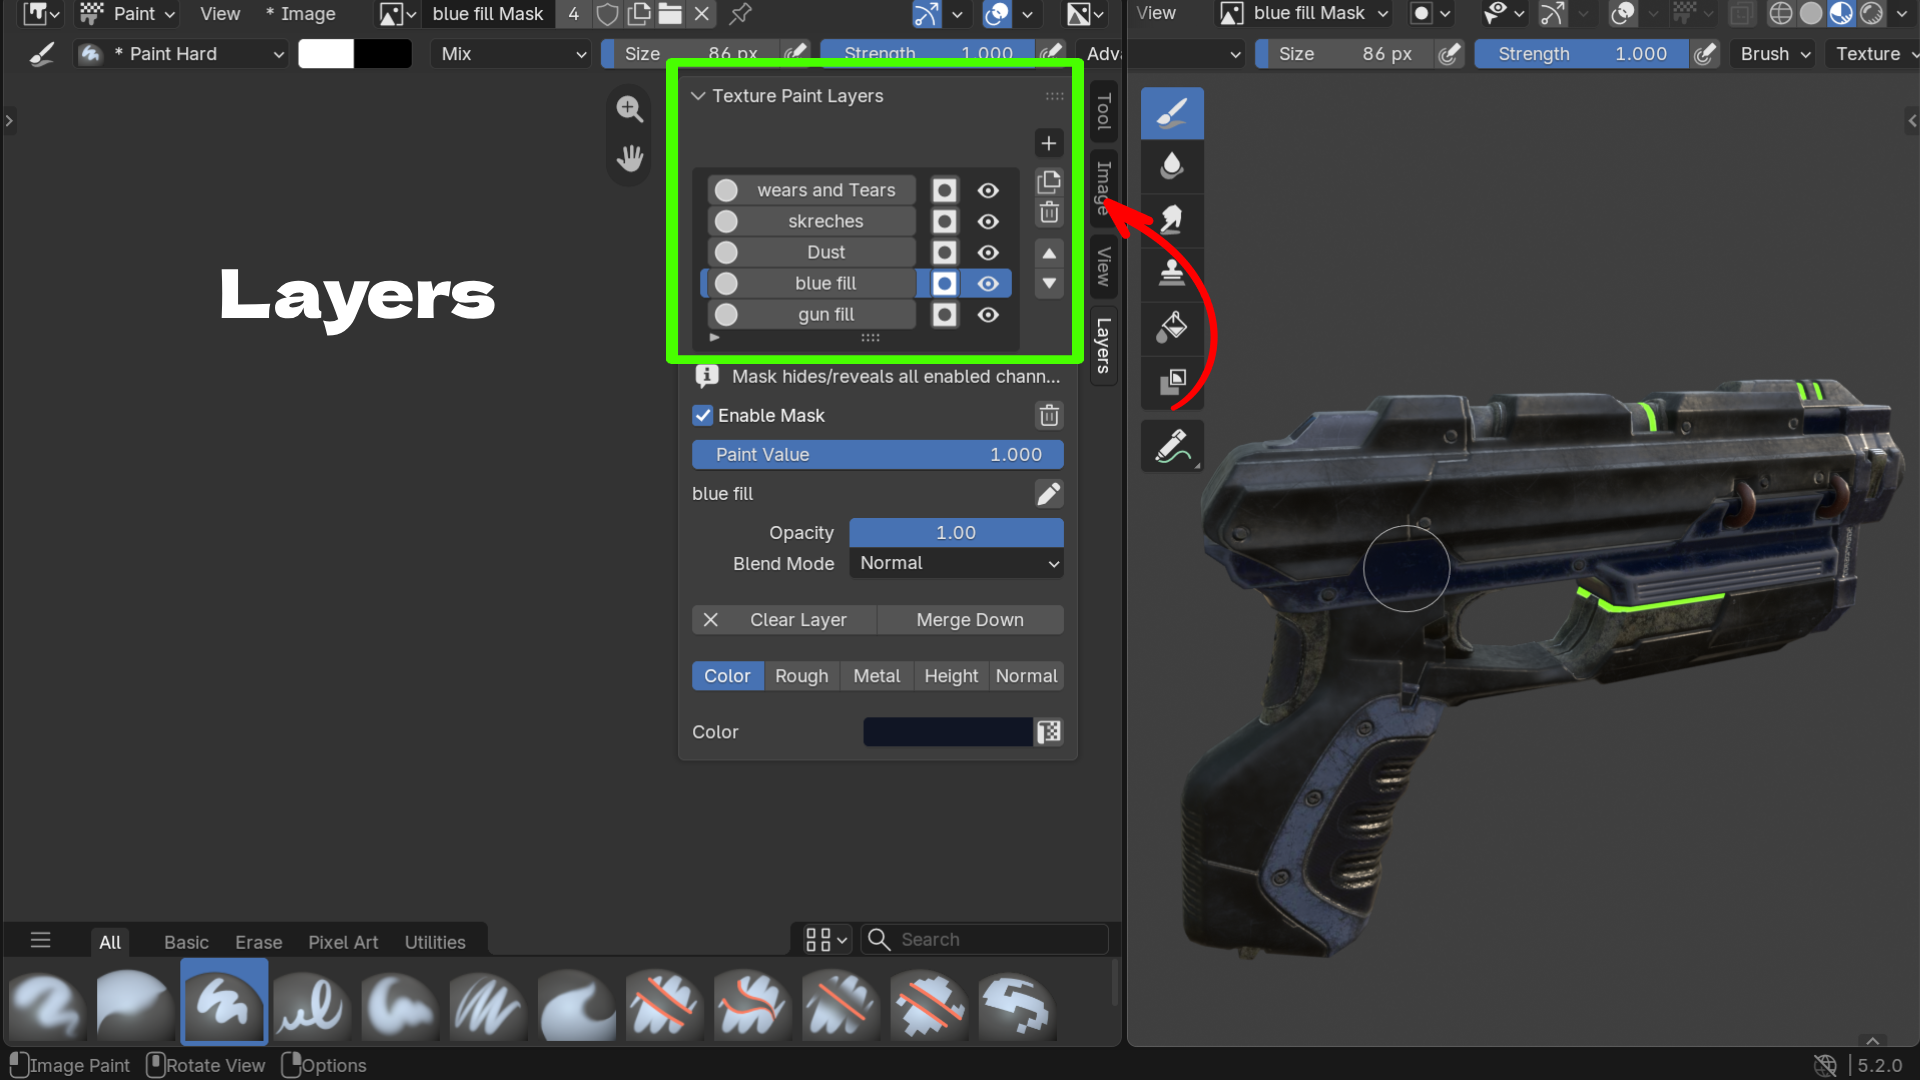
Texture Paint Layers brings a non-destructive, Photoshop-style layer stack directly into Blender's Texture Paint mode. You get a Layers panel in the Image Editor sidebar (N > Layers) and a matching Tool panel in the 3D View sidebar while a mesh is in Texture Paint mode. Layers can be created, renamed, duplicated, deleted, reordered, hidden, cleared, and merged, and the on-screen material updates live as you work.
Paint Layers and Fill Layers
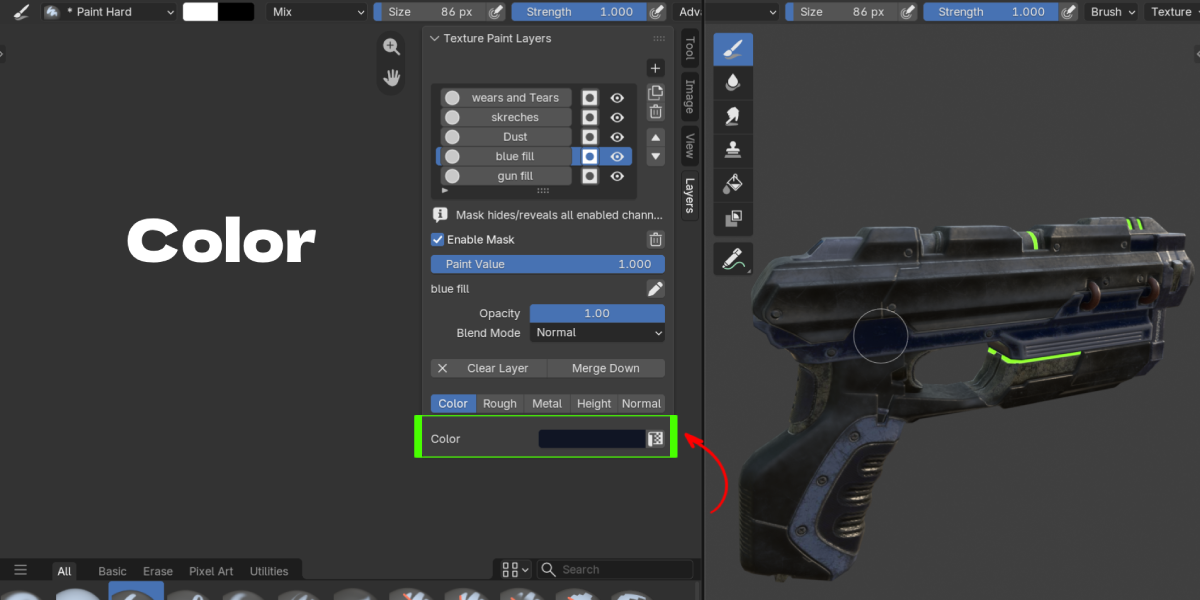
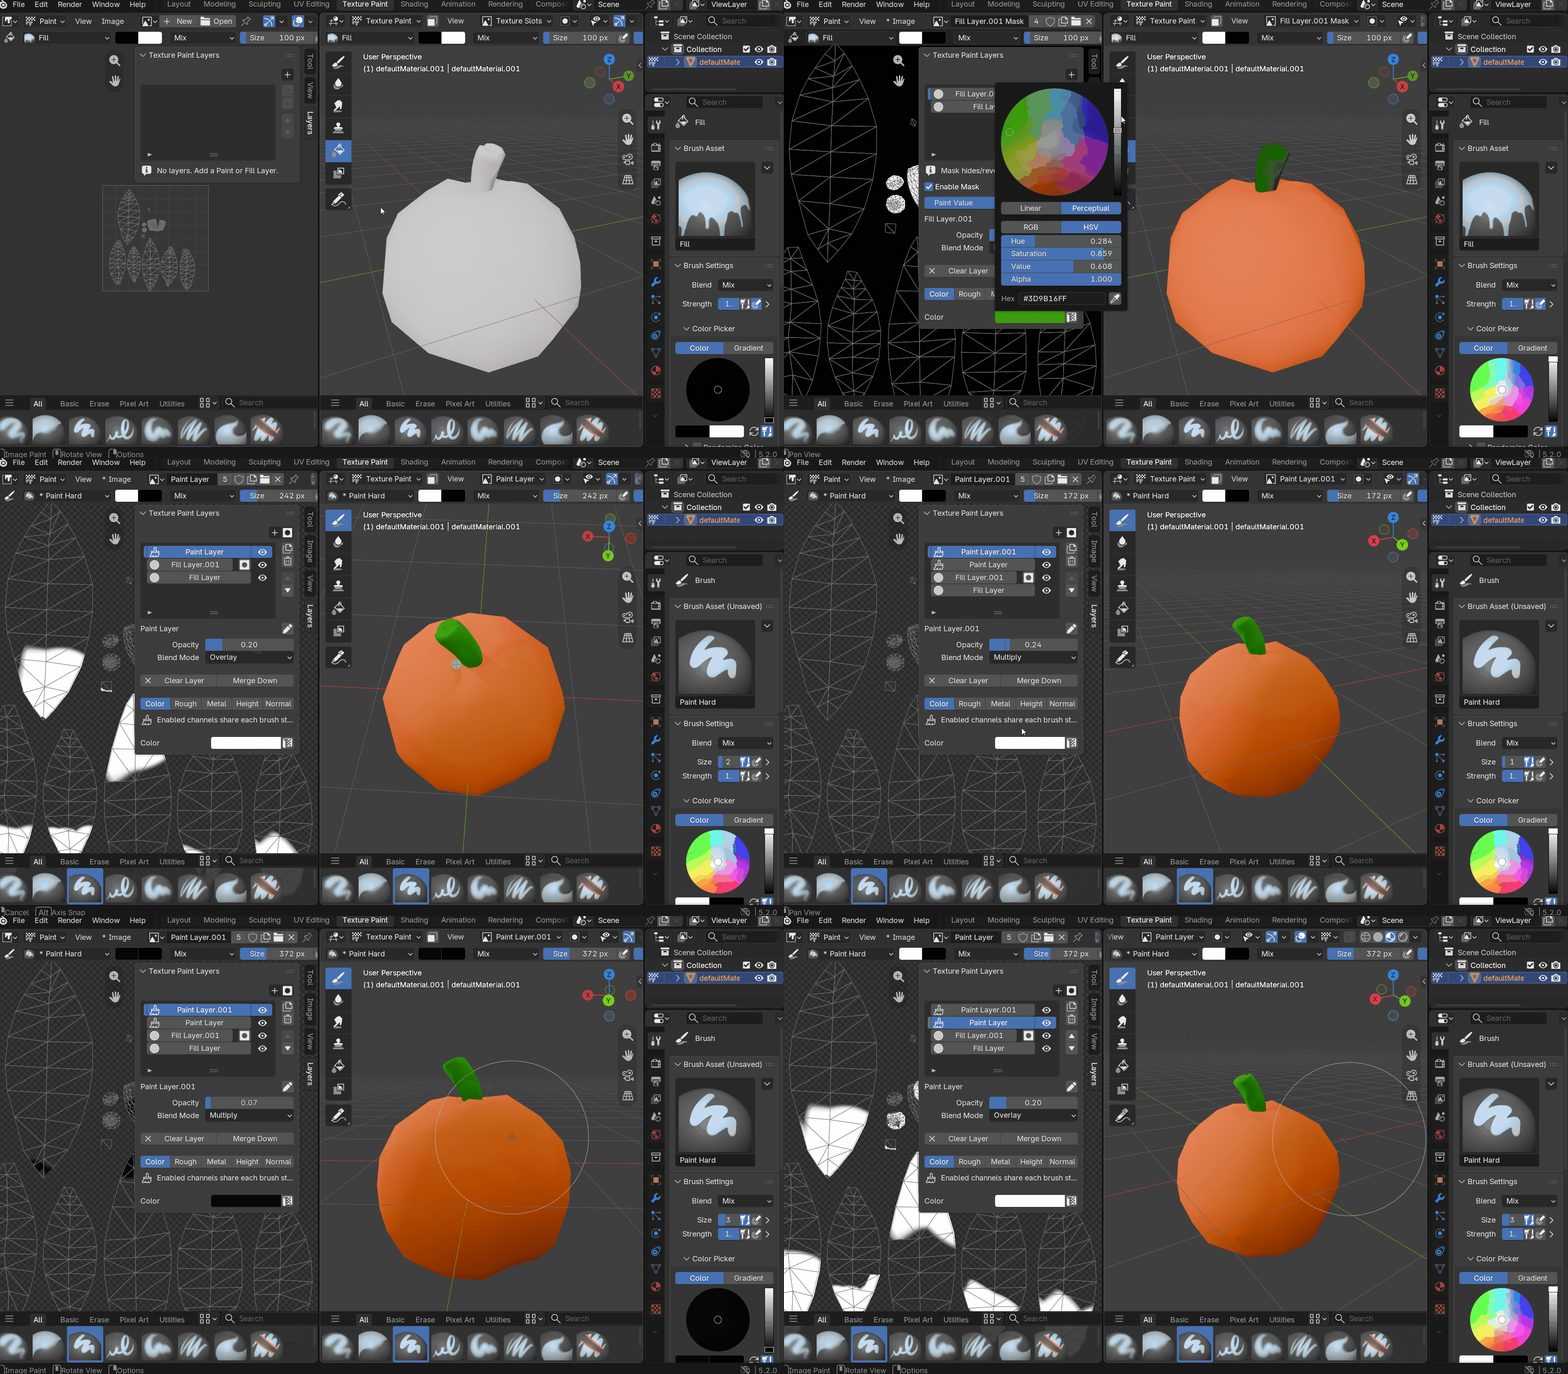
Each entry in the stack is one of two kinds. A Paint Layer starts fully transparent, so you paint scratches, grime, or detail exactly where you want it and nothing else changes. A Fill Layer starts as opaque white with a single copy-on-write color control, which makes it the right tool for a base tint or a flat color pass you'll paint into later. Both kinds sit in the same stack and both support masks, opacity, and blend modes.
Full PBR channels on every layer
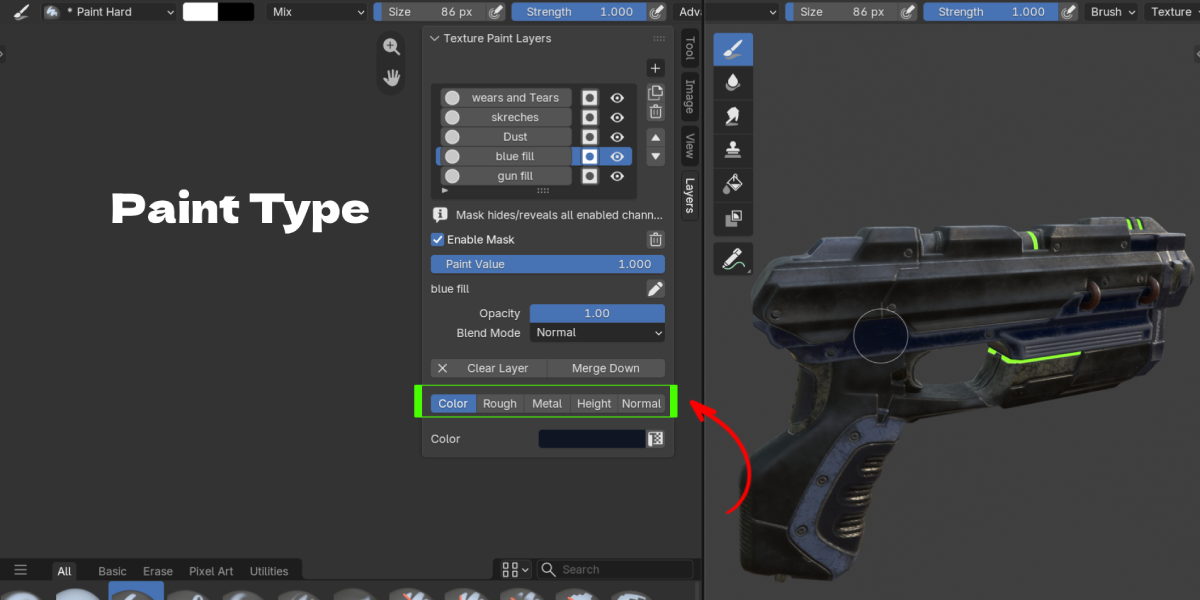
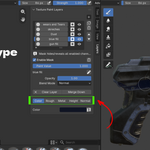
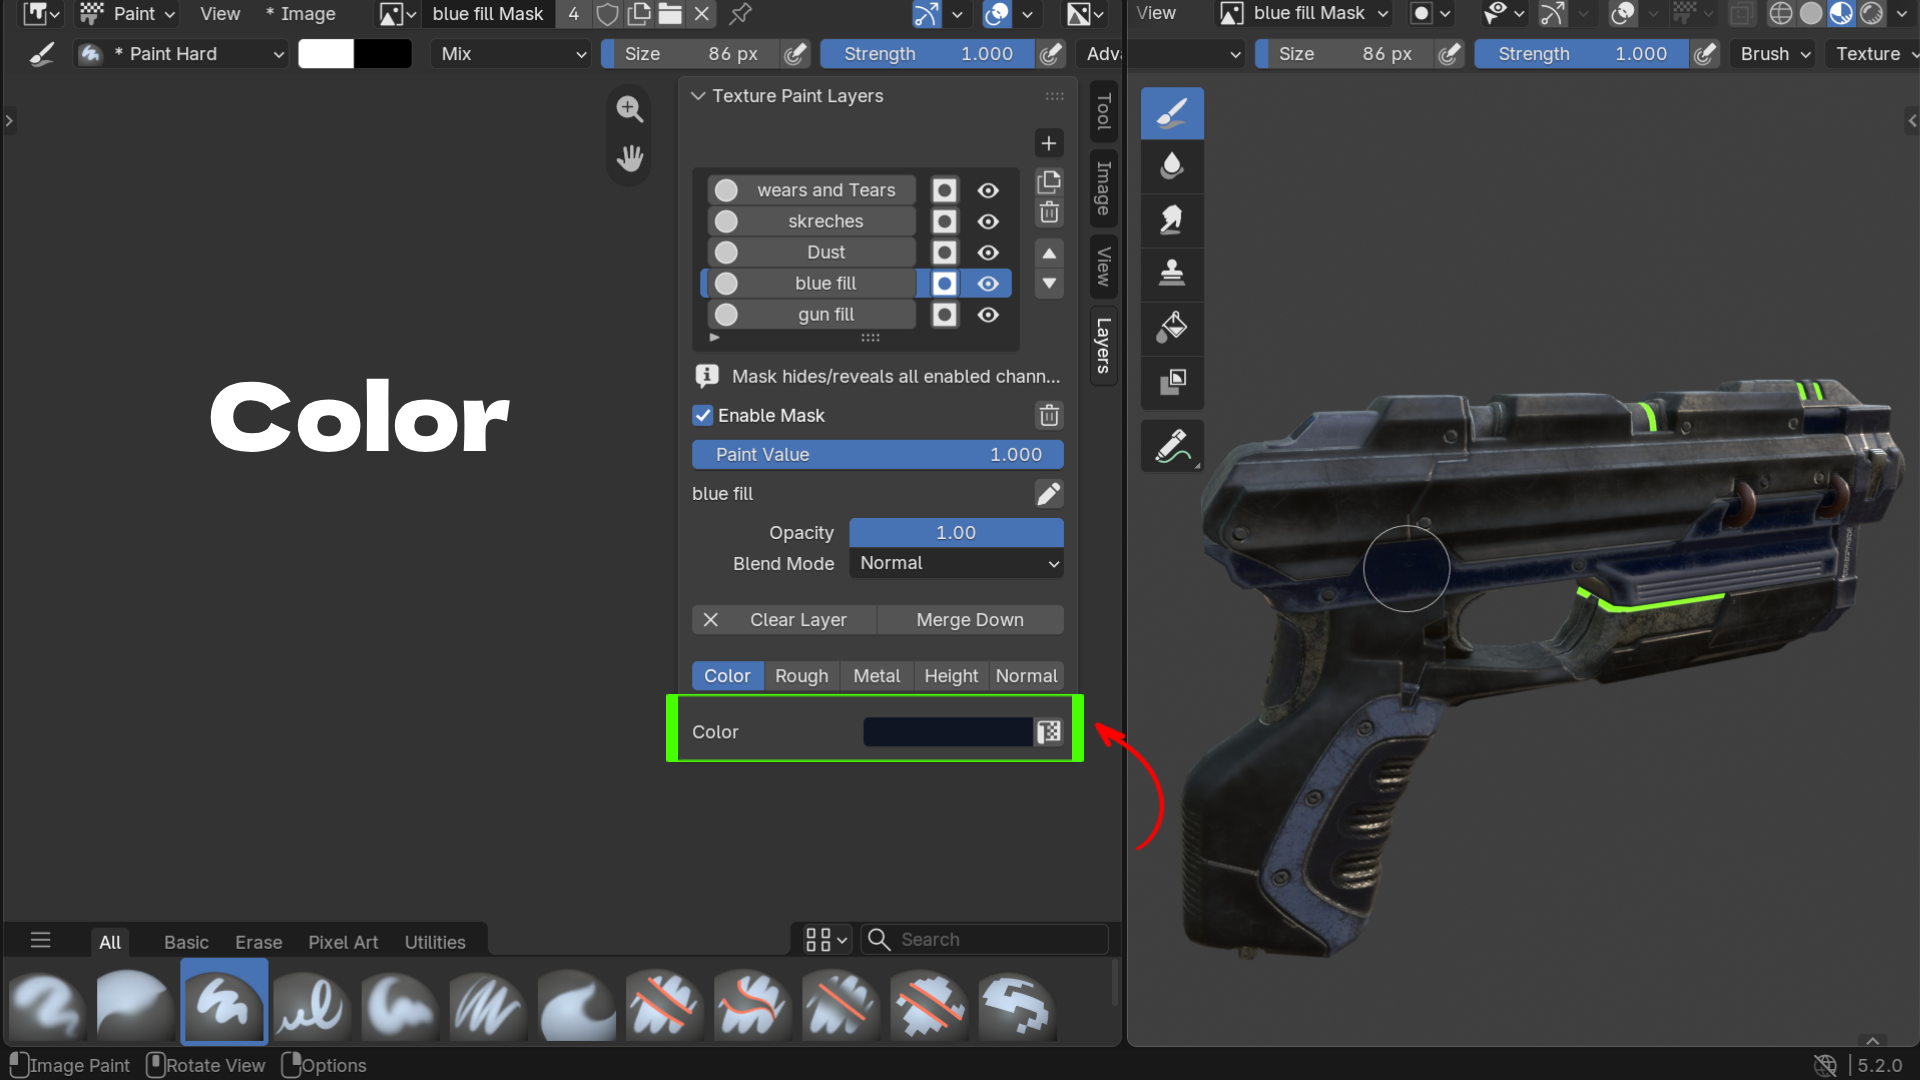
This is the part that separates it from a simple color-layer plugin: every layer carries five channels, not one. Color, Roughness, Metallic, Height, and Normal are each independent per layer, with compact toggle buttons so you can enable only what that layer needs. Color is on by default; Normal is off by default, since not every layer needs one.
Roughness and Metallic use their own 0 to 1 sliders that never touch Blender's brush color or your color palette, so switching between painting color and painting a roughness value doesn't scramble your brush setup. Height uses a signed target instead: -1 paints depth, 0 flattens relief back to neutral, and +1 paints a raised bump, with Fill Layers instead exposing a Depth scale. Height changes bump shading only; it does not displace the actual mesh geometry.
One stroke, every enabled channel
With Draw and solid Fill brushes, one stroke commits to every enabled channel on that layer at once, using the native brush footprint, pressure, and strength. Paint a scratch and its color, roughness bump, and height dent land together in a single pass, instead of four separate passes on four separate images. Disabled channels are left untouched by that stroke.
Masks and blend modes
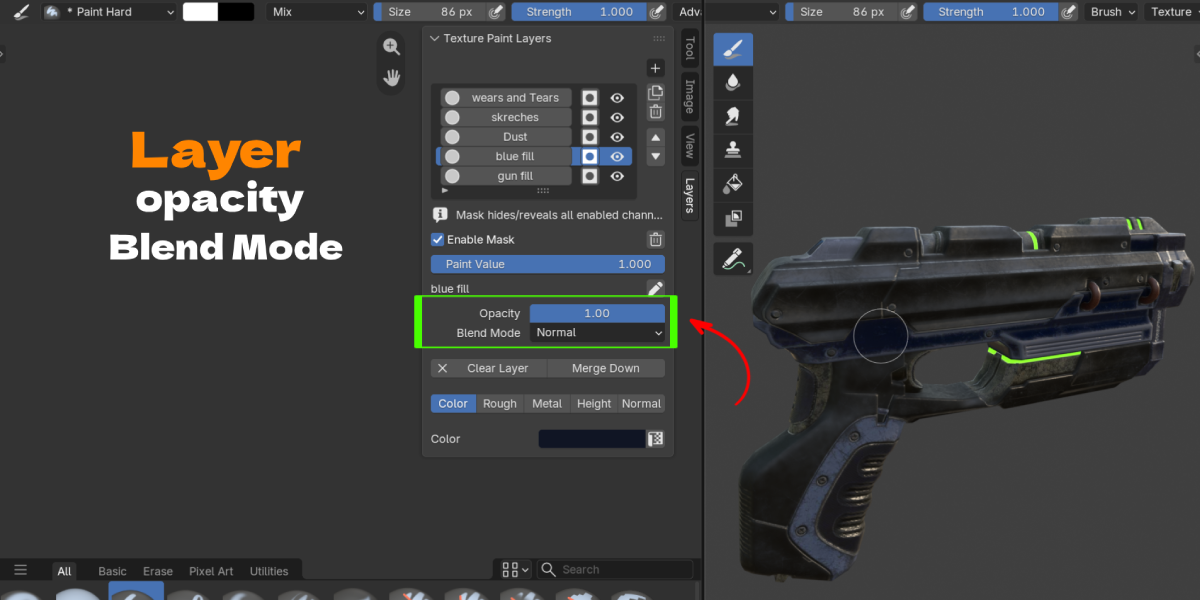
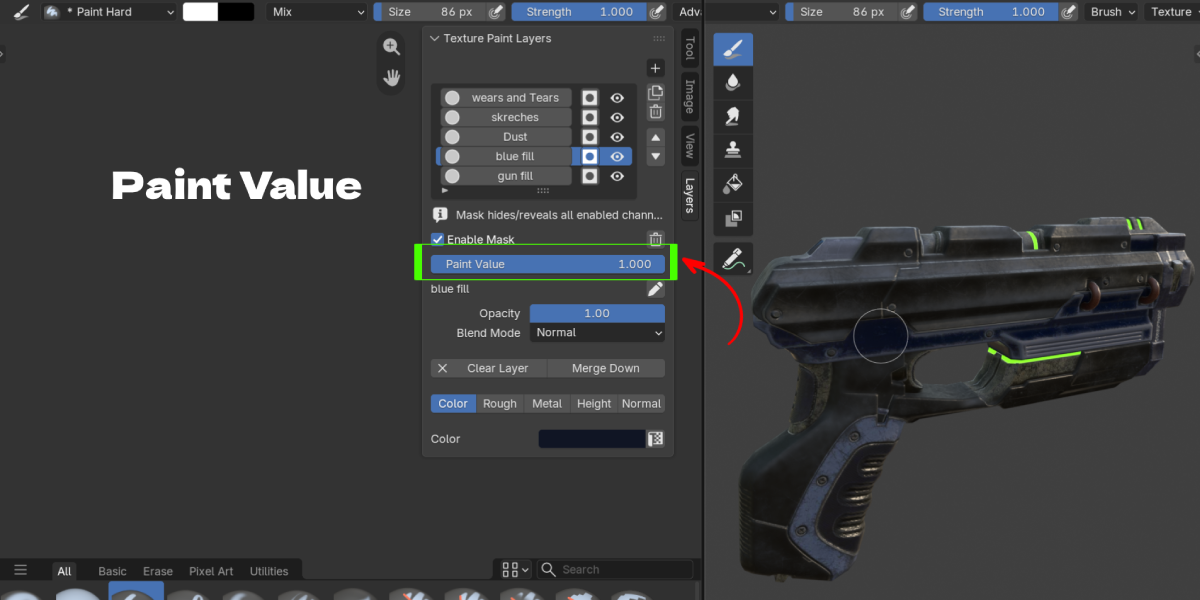
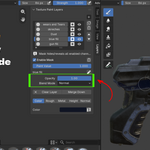
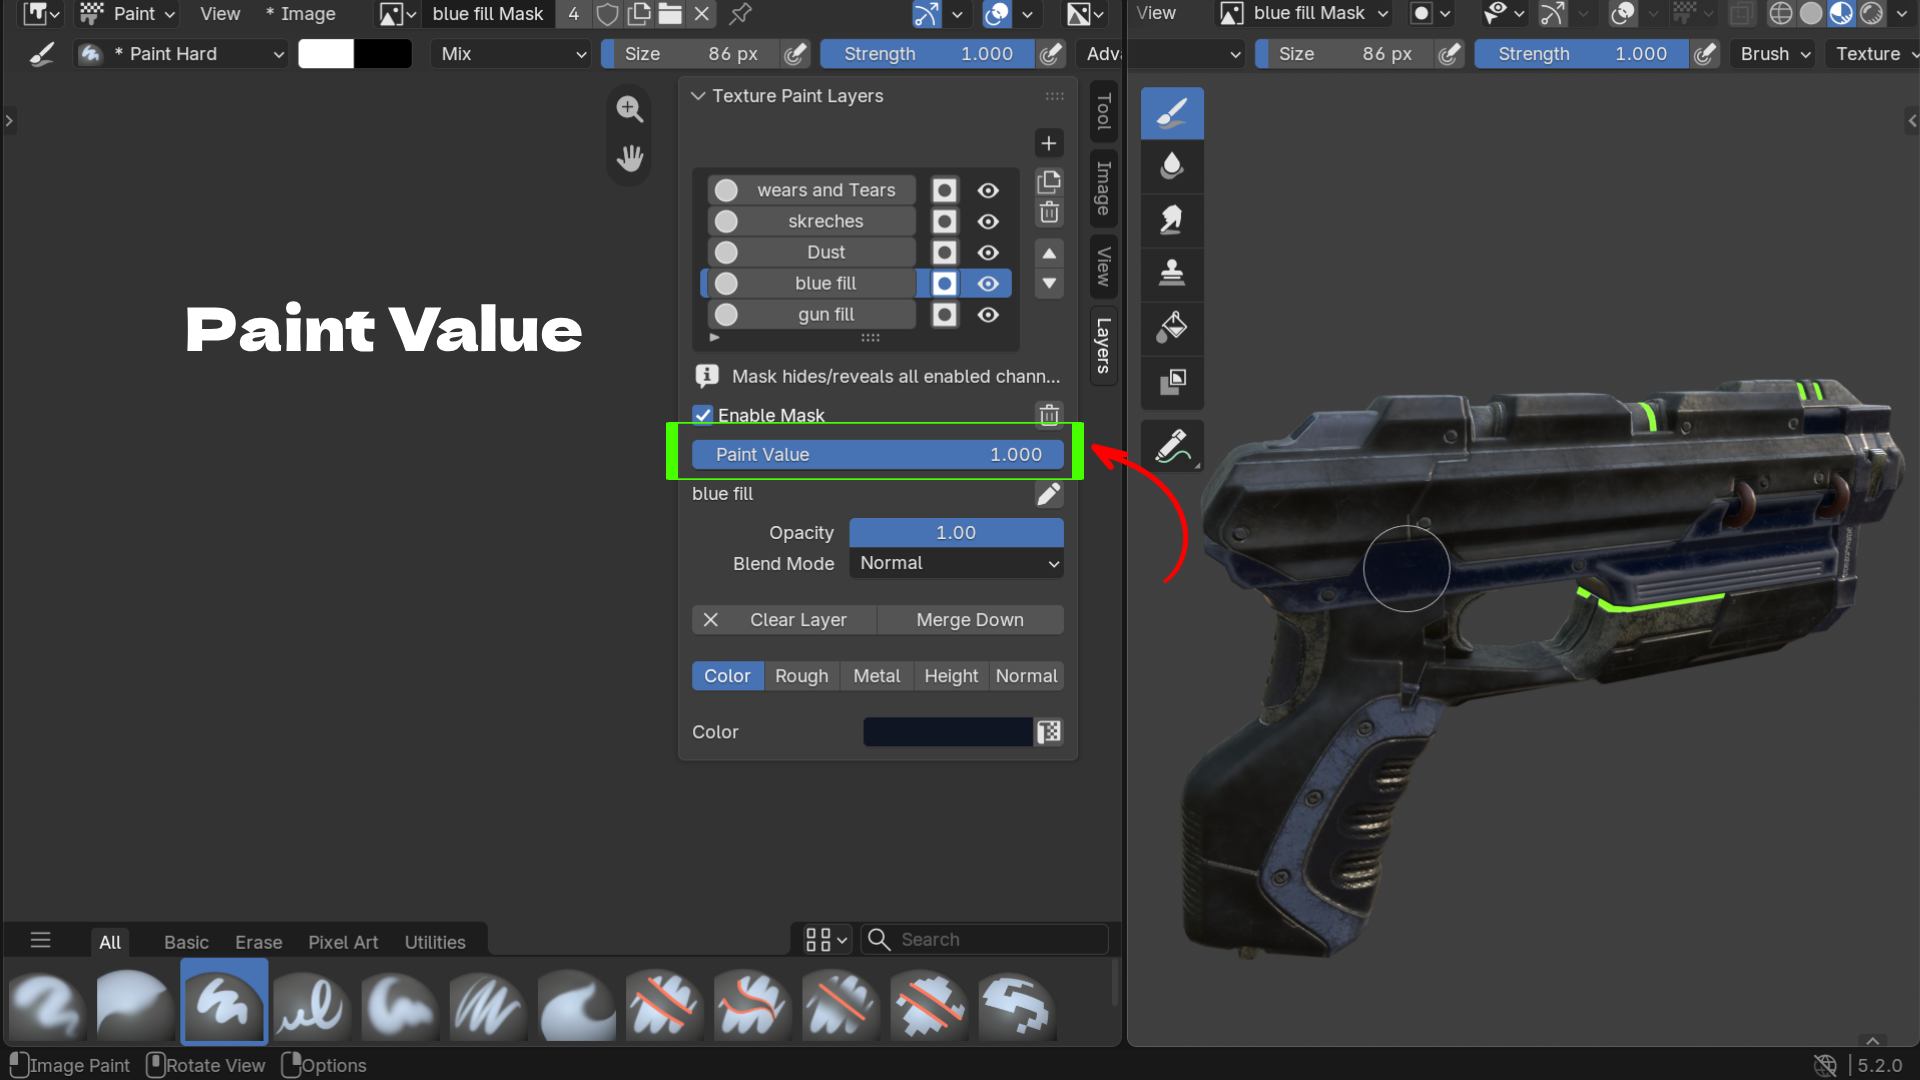
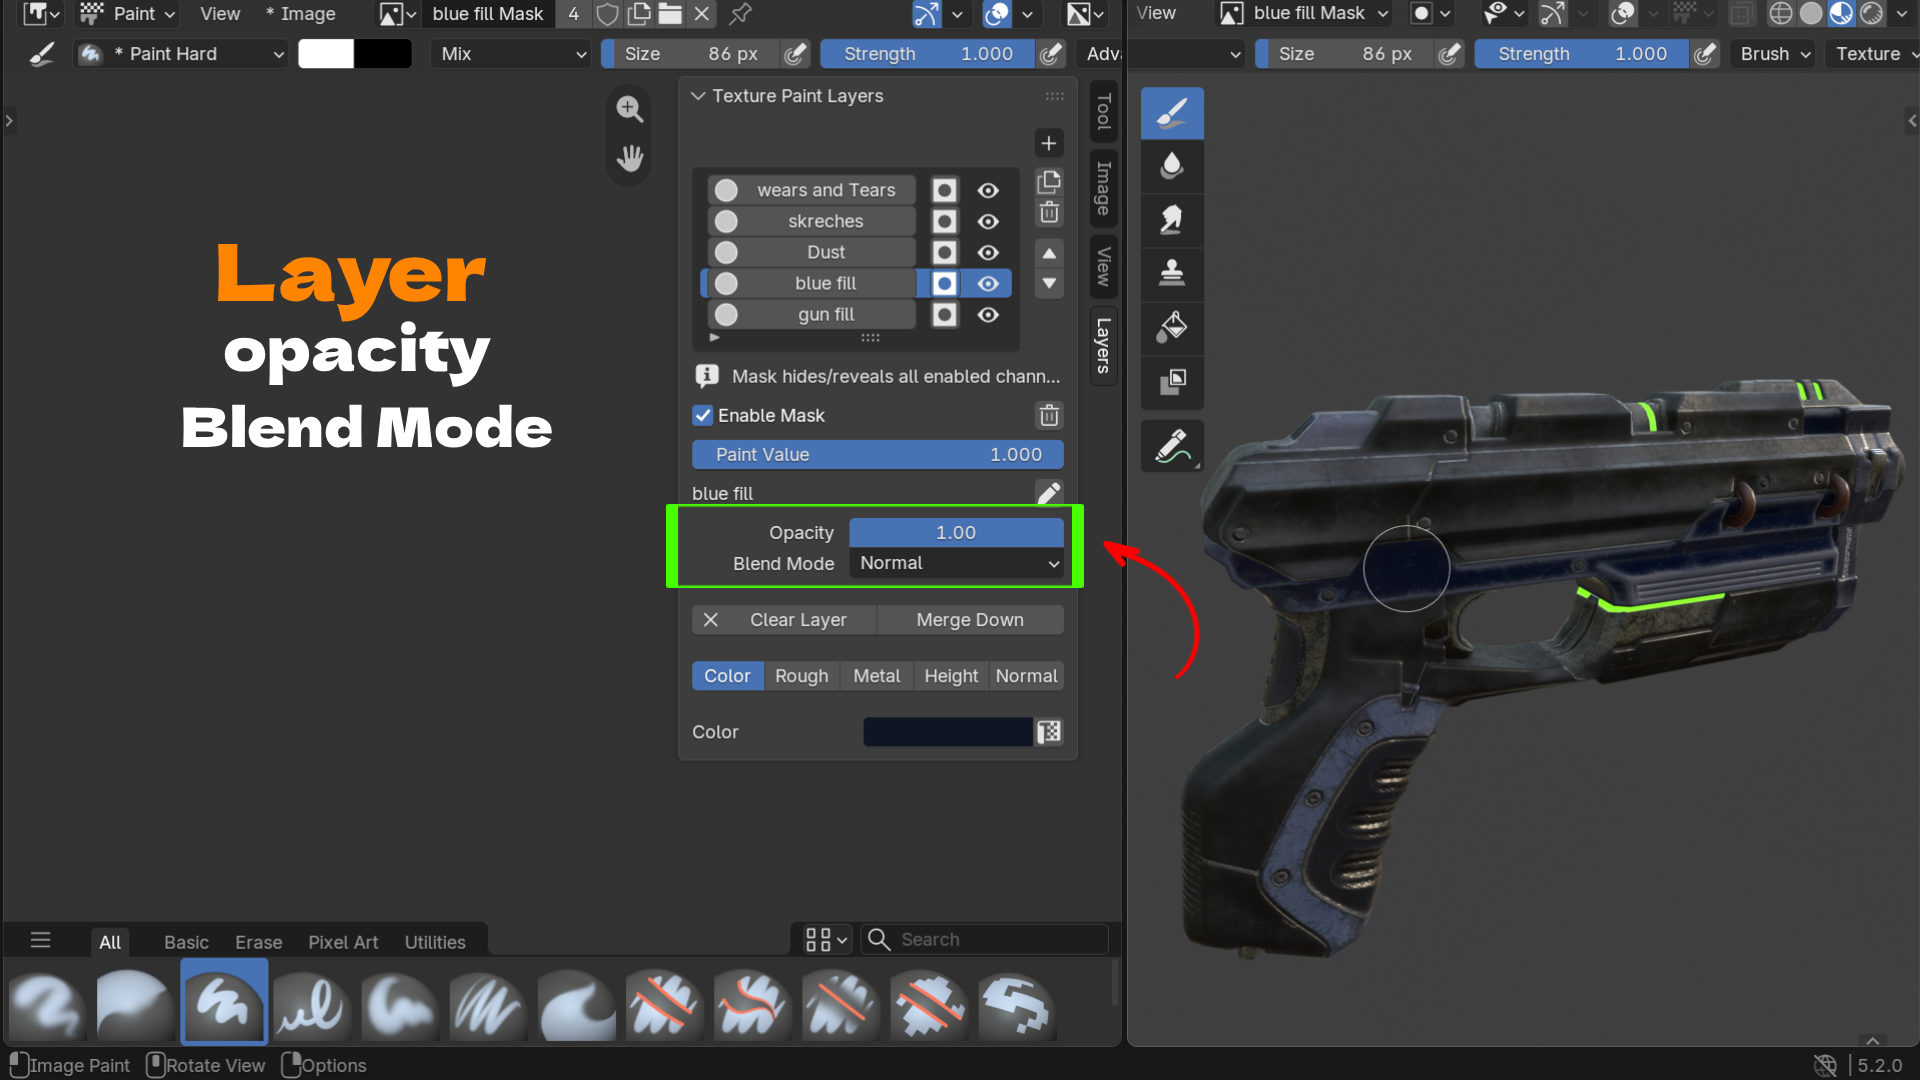
Every layer can carry one grayscale mask, either a white reveal mask or a black hide mask, with its own Paint Value slider and an Enable Mask toggle to bypass it without deleting it. Layers composite using image alpha, opacity, and a choice of nine blend modes: Normal, Multiply, Screen, Overlay, Add, Subtract, Difference, Darken, and Lighten. Source pixels are never altered by visibility, opacity, blending, or masking, only the final composite is.
UV transformations per channel
Color, Roughness, Metallic, Height, and Normal each have their own collapsible UV Transformations section: linked or independent Scale X/Y, Rotation in degrees, and Offset X/Y, with images tiling outside the 0 to 1 UV range. These settings save with the .blend and carry over when you duplicate a layer.
Merge Down when you're ready
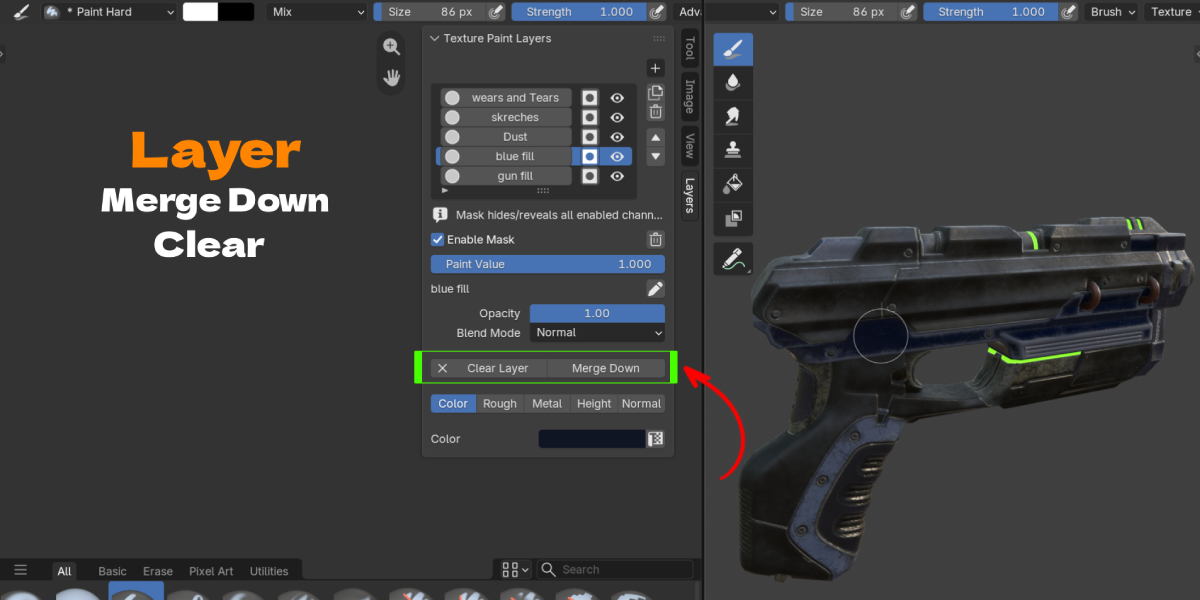
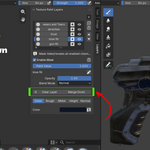
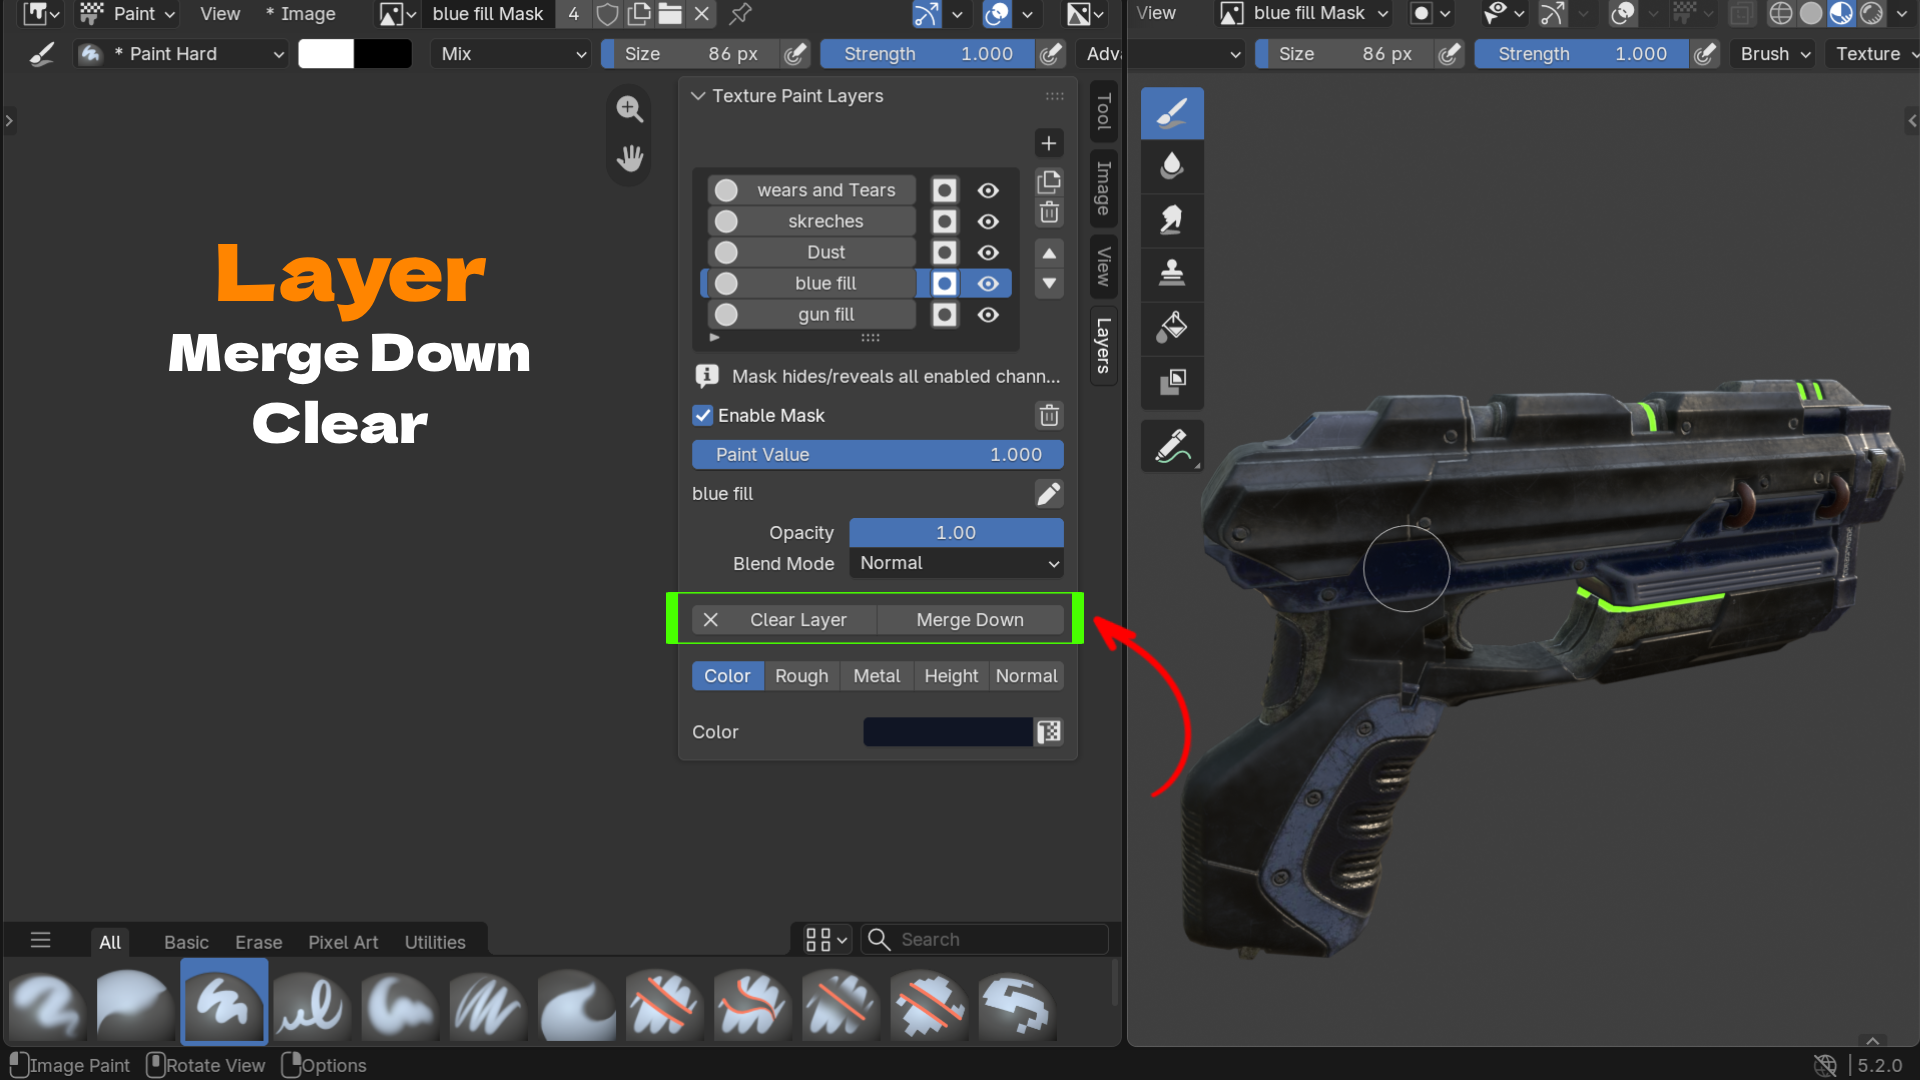
Merge Down bakes a layer and the one beneath it into a single new editable image, keeping the destination's name, resetting it to Normal blend mode at full opacity, and removing the source row. It's there for when a stack gets deep and you want to flatten part of it without flattening everything.
Built into Blender's own workflow, not bolted on
The add-on writes the layer composite straight into your material's node graph, feeding a Normal Map node and a Bump node automatically, and it keeps your existing Base Color as the foundation when the stack is empty. Layer, channel, and mask images are packed into the .blend file on save, so a single file carries everything. It supports Blender 4.2 and newer, including Blender 5's unified paint settings and linked asset brushes, and it automatically switches Solid or Wireframe viewport shading to Material Preview when you enter Texture Paint, so transparency in your layers is actually visible while you work.
What it doesn't do
It needs Eevee or Cycles with a top-level Principled BSDF; custom shader graphs aren't rewired automatically. Height paints bump shading, not geometry displacement. Normal blending uses standard RGB compositing rather than a specialized normal-blending algorithm. And merging two layers requires them to share the same image dimensions and a compatible color space.
Key Features With Benefits
Feature |
Benefit |
|---|---|
Non-destructive layer stack (create, rename, duplicate, delete, reorder, hide, clear) |
Try a scratch pass, a grime pass, or a color variant and undo the whole layer later, instead of painting over a mistake and hoping it looked fine underneath |
Paint Layers and Fill Layers |
Start transparent for detail work or opaque for a flat base tint, using the right layer type instead of forcing every pass through the same blank canvas |
5 independent channels per layer: Color, Roughness, Metallic, Height, Normal |
Build a full PBR material one layer at a time, instead of juggling four separate flat images that fall out of sync |
Roughness and Metallic on their own 0-1 sliders |
Dial in a value without disturbing your brush color or palette, so switching between a color pass and a roughness pass doesn't reset your setup |
Signed Height painting (-1 depth, 0 neutral, +1 bump) with a Depth scale for Fill Layers |
Add believable bump detail like scratches, rivets, or dents directly with a brush, without displacing the mesh or leaving the viewport |
One stroke drives every enabled channel at once |
Paint a scratch and get its color, roughness break, and height dent in a single pass instead of four separate ones |
Per-layer grayscale mask with Enable Mask bypass |
Hide or reveal a layer's contribution without touching its pixels, and switch it back on exactly as it was |
9 blend modes (Normal, Multiply, Screen, Overlay, Add, Subtract, Difference, Darken, Lighten) |
Get the exact compositing behavior a layer needs, the same vocabulary painters already use in Photoshop or Substance Painter |
Per-channel UV Transformations (scale, rotation, offset, tiling) |
Reposition or re-tile a texture on one channel without re-painting or re-unwrapping anything |
Merge Down to a new baked image |
Flatten part of a stack that's grown deep, on your own schedule, without collapsing layers you still want to edit |
Automatic material node wiring (Normal Map, Bump, Base Color foundation) |
Get a working PBR shader graph without hand-wiring nodes every time you add a channel |
Images packed into the .blend on save |
Hand off or back up a single file and know every layer, channel, and mask travels with it |
Workflow Benefits
Without layers, texturing a hard-surface asset in Blender usually means committing to a paint order: base color first, then wear, then grime, all on the same flat image, with no way back except undo or a manual repaint. Any change to an earlier decision means repainting everything that sits on top of it by hand.
With Texture Paint Layers, that order stops mattering as much. A weapon texture can carry a base metal Fill Layer, a "blue fill" color pass, separate "Dust", "scratches", and "wear and tear" Paint Layers stacked above it, each with its own mask and blend mode, each toggleable on or off while you judge the read in the viewport. Turn the dust layer off to check if the wear reads well on its own. Turn it back on. Nothing below it was touched.
Because Color, Roughness, Metallic, Height, and Normal live on the same layer and take the same brush stroke, a single grime pass can lower roughness in the grooves and add a touch of height at the same time, instead of requiring three separate images kept in sync by hand. And because the whole stack lives inside Blender's own Texture Paint mode, you never leave the 3D viewport to fix a layer. Everything from the first block-in to the final wear pass happens in one file, in one program, with a normal Blender undo history.
Use Cases
- Hard-surface and weapon texturing. Stack a base metal fill, a color tint, and separate dust, scratch, and wear layers, each with its own mask, so you can judge and adjust each pass independently instead of baking them together too early.
- Game-ready prop and asset texturing. Paint Color, Roughness, Metallic, Height, and Normal per layer directly on the model, then merge the stack down to flat images for export once the look is locked.
- Character skin and surface detail. Layer freckles, scars, dirt, or grime over a base skin tone using masks and blend modes, without ever repainting the base layer underneath.
- Environment and hard-surface kitbashing. Reuse the same layered approach across variations of a modular asset, adjusting or hiding individual layers per variant instead of maintaining separate flat textures.
- Iterative art direction and client revisions. Toggle a layer's visibility to show "before and after" a requested change, or drop a layer entirely, without redoing the layers around it.
- Learning PBR texturing inside Blender. Painting each channel on its own toggle, with immediate viewport feedback, makes it easier to understand how Color, Roughness, Metallic, Height, and Normal each affect the final material.
- Staying inside Blender instead of round-tripping to Substance Painter. For artists who want a native, non-destructive layer workflow without exporting a mesh, texturing externally, and re-importing baked maps.
