 Kaan S.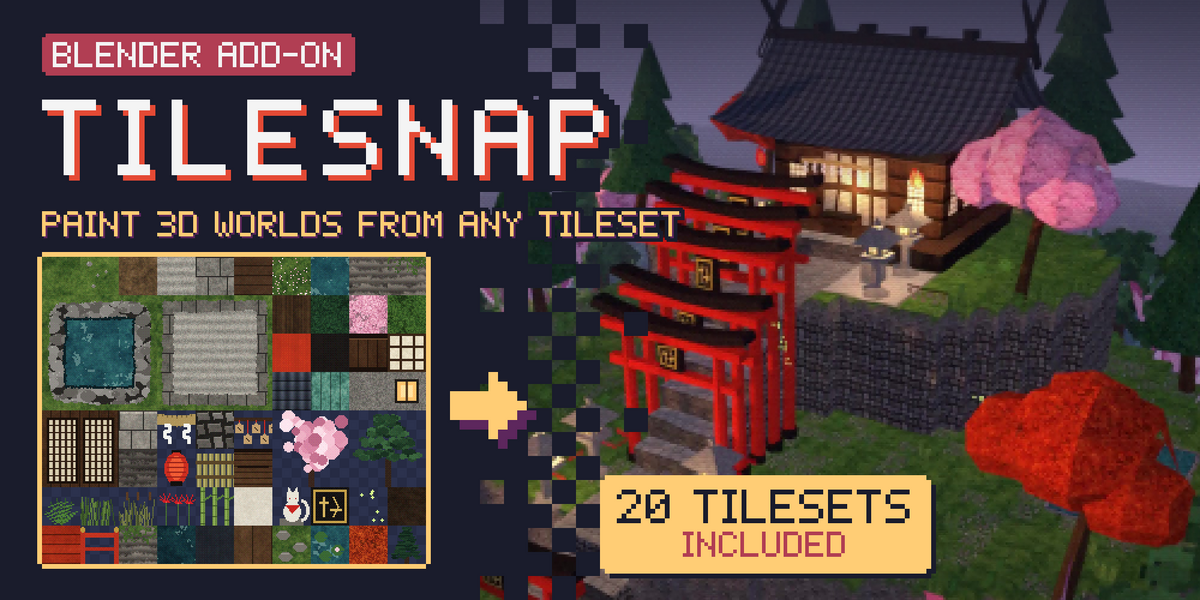
1. What's in the download
- tilesnap-0.1.0.zip: the Blender add-on. This is all you need to start.
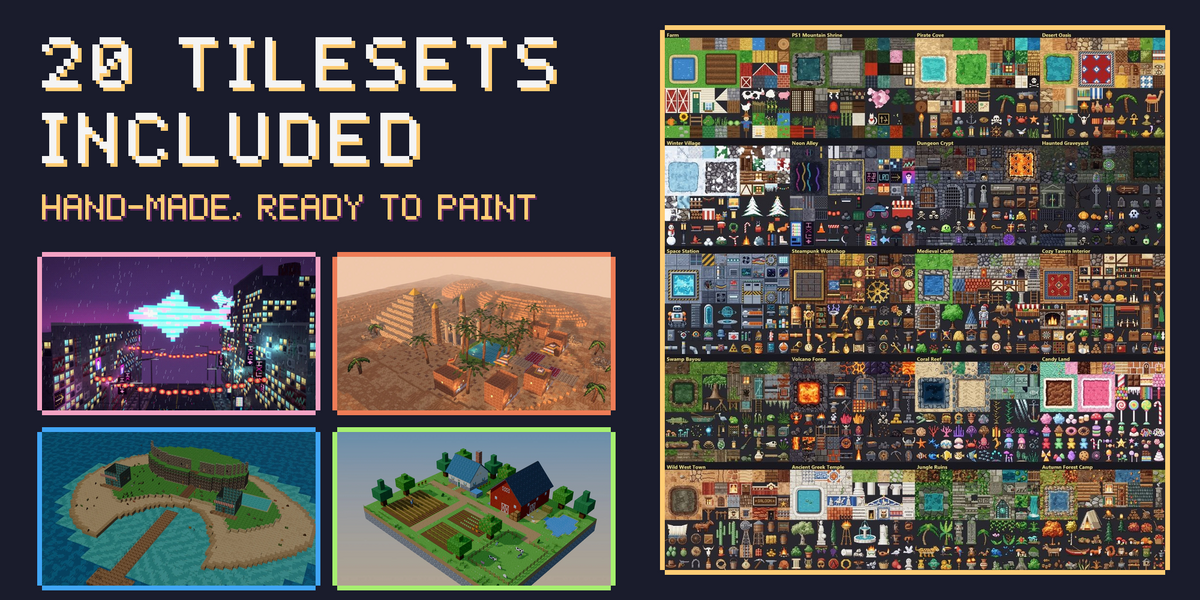
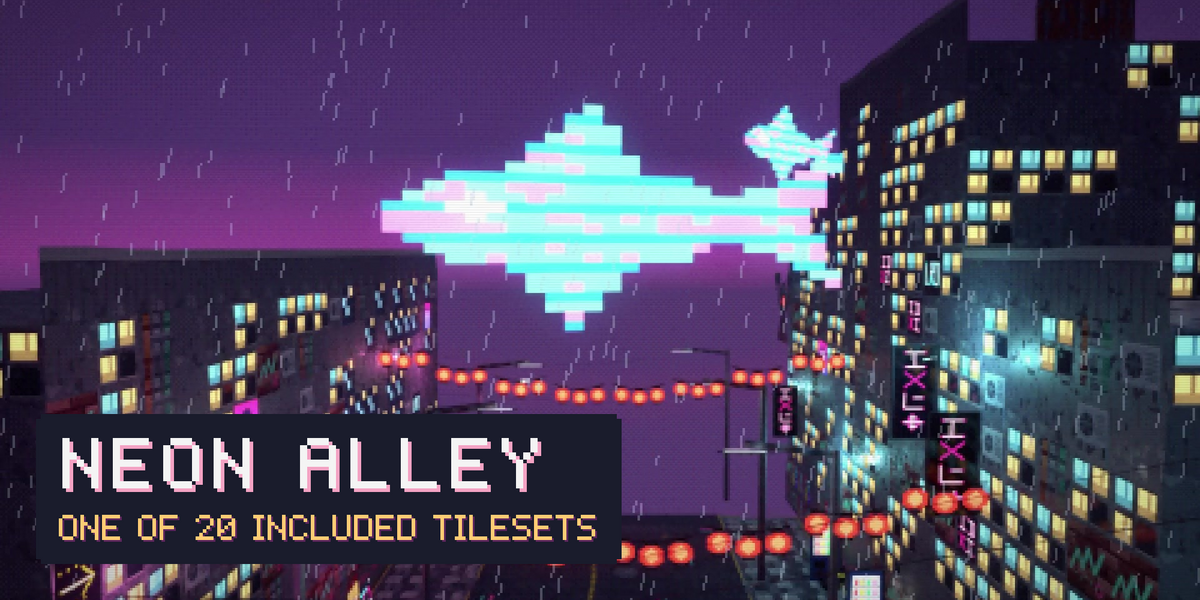
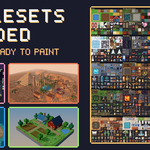
- Tilesets zip: 20 hand-made 32 px pixel-art tilesets (PNG).
- tilesnap_mcp-0.1.0.zip: optional connector for AI assistants (section 10).
Requires Blender 4.2 LTS or newer on Windows, macOS or Linux.
2. Installing
- Keep the add-on zip zipped.
- In Blender open Edit > Preferences > Get Extensions, click the small arrow at the top right and choose Install from Disk. Select tilesnap-0.1.0.zip. You can also drag the zip into the Blender window.
- In the 3D viewport press N and open the Tileset tab.
To update, install the new zip the same way; your settings and presets are kept.
3. Your first scene
- Unzip the tilesets anywhere, for example in your Documents folder.
- In the Tileset tab click Start. The tileset viewer appears in the viewport.
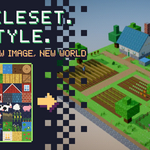
- Click Import to Slot A and choose a tileset.
- Switch on Edit, open Tileset Settings and set Columns 10, Rows 8, Cell Width 32, Cell Height 32. For your own tilesets use their size; Offset and Padding handle margins and gaps.
- Switch back to Build, click a tile in the viewer, then click in the viewport. Hold the button to keep painting.
- Press Z and choose Material Preview to see the textures.
- Press Esc or click Stop when you are done.
Tiles go into one object called TilesetMesh. Ctrl+Z and Ctrl+Shift+Z work while TileSnap is running.
4. The included tilesets
All 20 use the same layout: 10 x 8 cells of 32 px. The top rows are ground tiles, the two 3x3 blocks at the top left are ready for Autotiling, the middle rows hold walls, roofs, doors and windows, and the bottom rows hold props with a transparent background. You can use them in personal and commercial projects. Tip: save the grid as a preset (section 9) so the next tileset loads with one click.
5. The tileset viewer
- Select: click a cell, or drag over several cells to place them together.
- Move: drag the title bar. Resize: drag a corner. Lost it? Click Reset Viewer Position in Tileset Settings.
- Slots A-E: set Slots Count to open up to five tilesets and switch with the tabs above the viewer.
- Irregular sheets: with Edit on, drag the edges of single cells.
6. Build modes and brushes
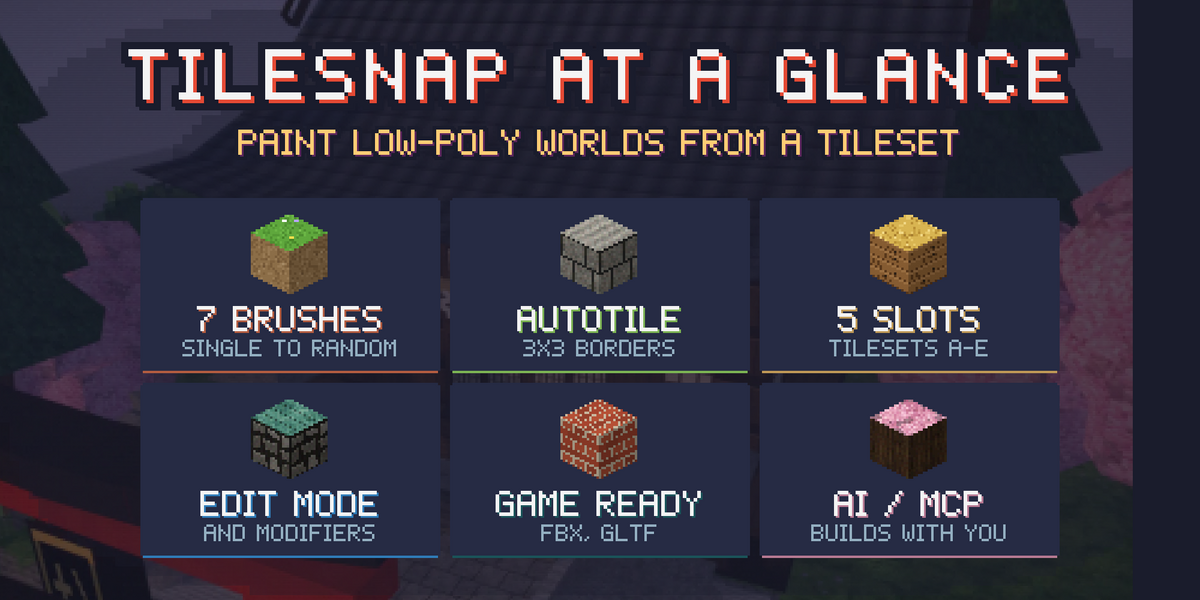
- Place adds tiles. Replace / Paint changes the texture of existing faces, also on your own meshes: Fit to Plane stretches the selection over the face, 3D Paint repaints every face pointing the same way. Delete removes tiles.
- On objects with modifiers, Replace and Delete change the object's own faces; faces created by modifiers (such as Mirror copies) can't be edited, and the status bar tells you so.
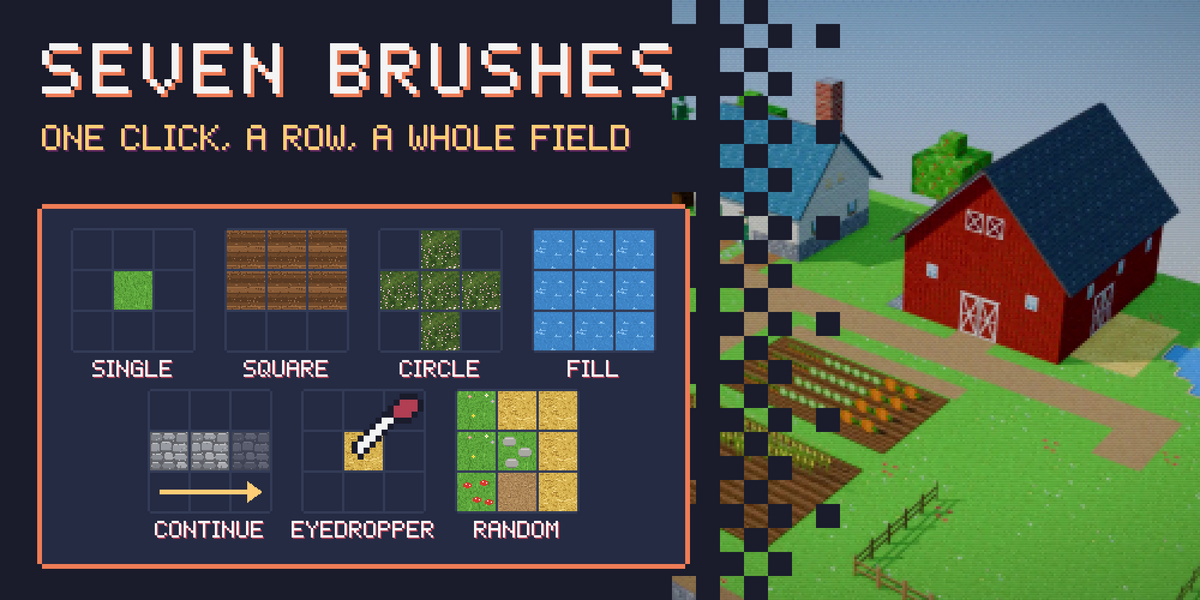
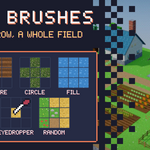
- Brushes: Single (hold to paint), Square and Circle (drag an area), Fill (fills the area under the cursor), Continue (extends a row of faces), Eyedropper (picks the cell of a placed tile) and Random (up to 10 slots, even from different tilesets: choose a slot number, then pick cells in the viewer).
7. Placement and rotation
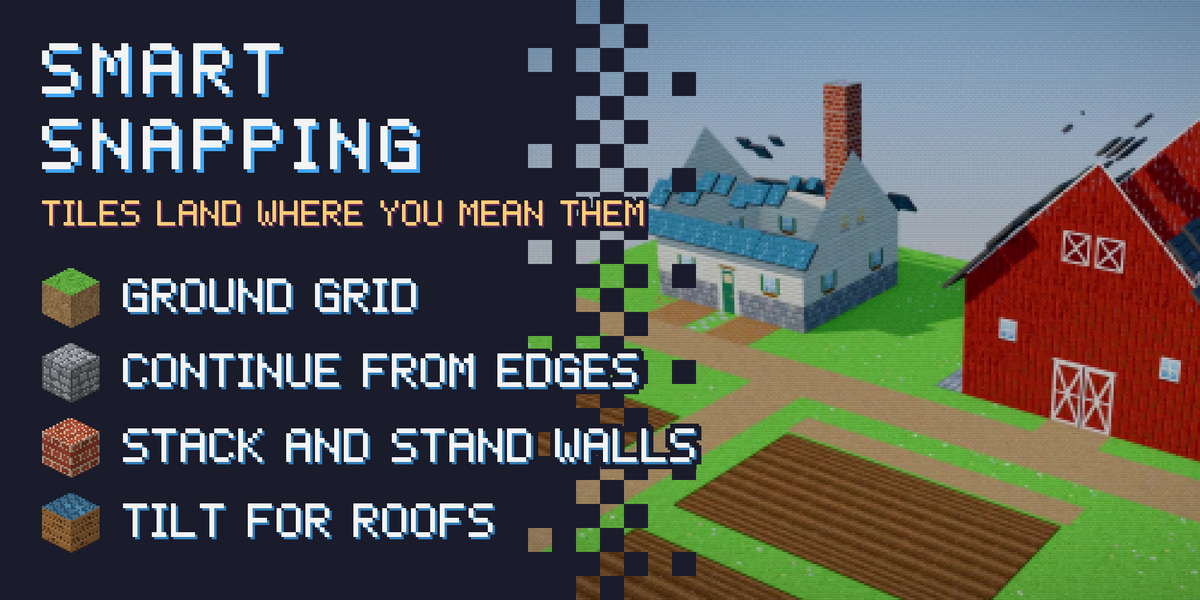
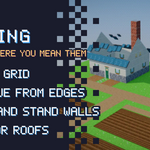
- Tiles snap to the ground grid, continue from the edge of the tile under the cursor, stack on top or stand up as walls. A preview shows where they land.
- Lock Rotation keeps the orientation; Lock Horizontal places floors only and Lock Vertical walls only; Target Only Geometry places only on existing geometry.
- Tile Scale sets the size of the tiles; Prevent Overlap stops tiles from being placed over existing ones.
- Shift + Alt + Mouse Wheel rotates the placement plane, Ctrl + Shift + Mouse Wheel rotates the texture, Shift + Mouse Wheel tilts a tile on an edge for roofs and slopes. Change the keys in the add-on preferences.
8. Autotiling
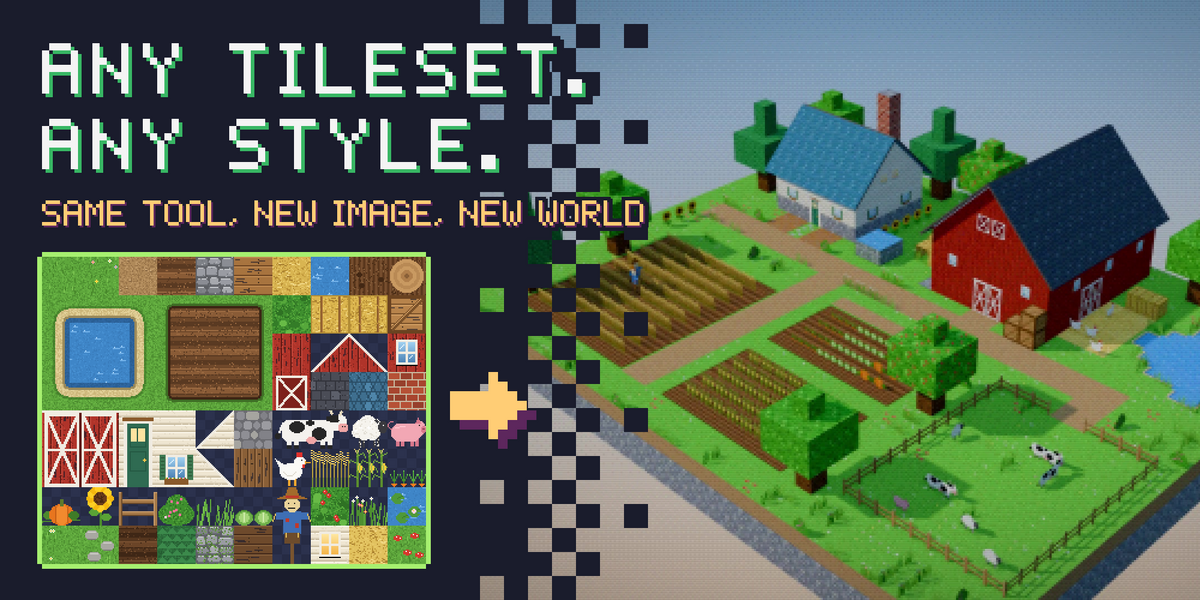
Select a 3x3 block (four corners, four borders, a center), enable Autotiling and paint. Every tile shows the border, corner or center cell that fits its neighbors, and neighbors update as the shape grows. Use it for paths, rivers, ponds, fields and plateaus.
9. Settings and presets
Save All Settings keeps the grid, cell edges and slots for next time. Under Tileset Presets click Save As and type a name to store a setup, then Load it in any project. Reset Settings restores the defaults.
10. AI assistants (optional)
Claude Desktop, Claude Code, Cursor or LM Studio can build scenes with TileSnap: the assistant sees your tileset with labeled cells, places floors, walls and rooms, and checks its work with renders.
- In the Tileset tab, under AI Bridge (MCP), click Start (or enable Start with Blender in the add-on preferences).
- Unzip tilesnap_mcp-0.1.0.zip and follow its README.md: it installs the connector with Python 3.10+ and shows the exact settings for each AI app.
- Ask the assistant to build something, for example a small barn with a fenced field.
The bridge is off until you start it, only accepts connections from your own computer, runs nothing but TileSnap's building commands, and every change can be undone.
11. Exporting
Select TilesetMesh and use File > Export > FBX or glTF 2.0. In Unity, Godot or Unreal set the texture filter to Point (Nearest) to keep pixels sharp.
12. Updates
When a new version is released, a notice appears at the top of the TileSnap panel with the release notes and a link to download it. Nothing is installed automatically. The check runs once a day only if Allow Online Access is on (Edit > Preferences > System > Network) and can be turned off in the add-on preferences.
13. Troubleshooting
- No Tileset tab: press N in the 3D viewport and check that TileSnap is enabled in Get Extensions.
- Gray tiles: switch the viewport to Material Preview.
- Tiles show parts of neighbors: check Columns, Rows, Cell Width/Height, Offset and Padding.
- Clicks do nothing: make sure Build is on, a cell is selected and the locks allow the spot under the cursor.
- AI bridge doesn't start: another program may use the port; pick another one in the add-on preferences.
Questions or bugs? Message me on Superhive with your Blender version, your operating system and, if possible, a screenshot.
Have questions about this product?
Login to message
| Blender Extension Compatible | Yes |
| Published | 1 day ago |
| Blender Version | 4.2 - 5.2 |
| Extension Type | Add-on |
| Render Engine Used | Blender-Internal, Blender-Game-Engine, Cycles, Eevee, Freestyle |
| License | GPL |
Discover more products like this
tilemap ps1 graphics game development world building environment Level Design low poly stylized game assets pixel art tileset modeling