 GZ Tools
Install
- Download topofit_1.0.zip. Do not unzip it.
- In Blender open Edit > Preferences > Get Extensions, click the drop-down arrow at the top right and choose Install from Disk..., then pick the zip. Dragging the zip into the Blender window works too.
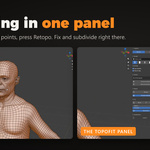
- In the 3D Viewport press N and open the TopoFit tab.
Works in Blender 4.5, 5.0, 5.1, 5.2 and 5.3. To update, install the new zip the same way; it replaces the old version.
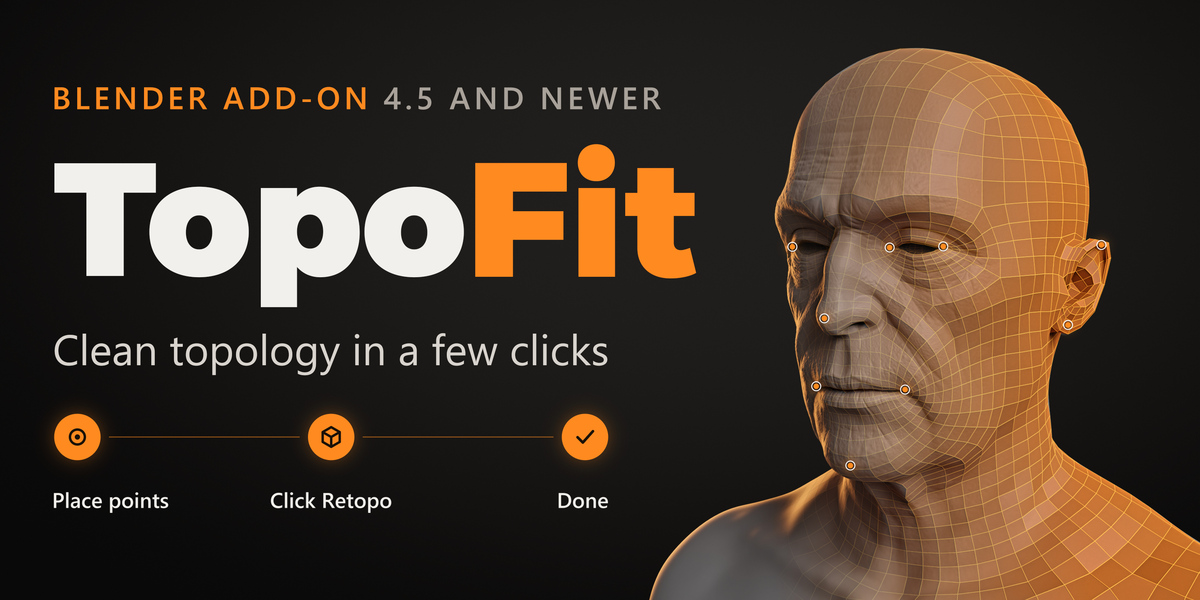
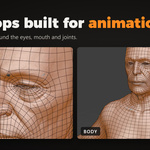
The panel has two tabs: Retopo puts TopoFit's own clean topology on your sculpt, and Wrap fits a base mesh you already have.
Retopo tab
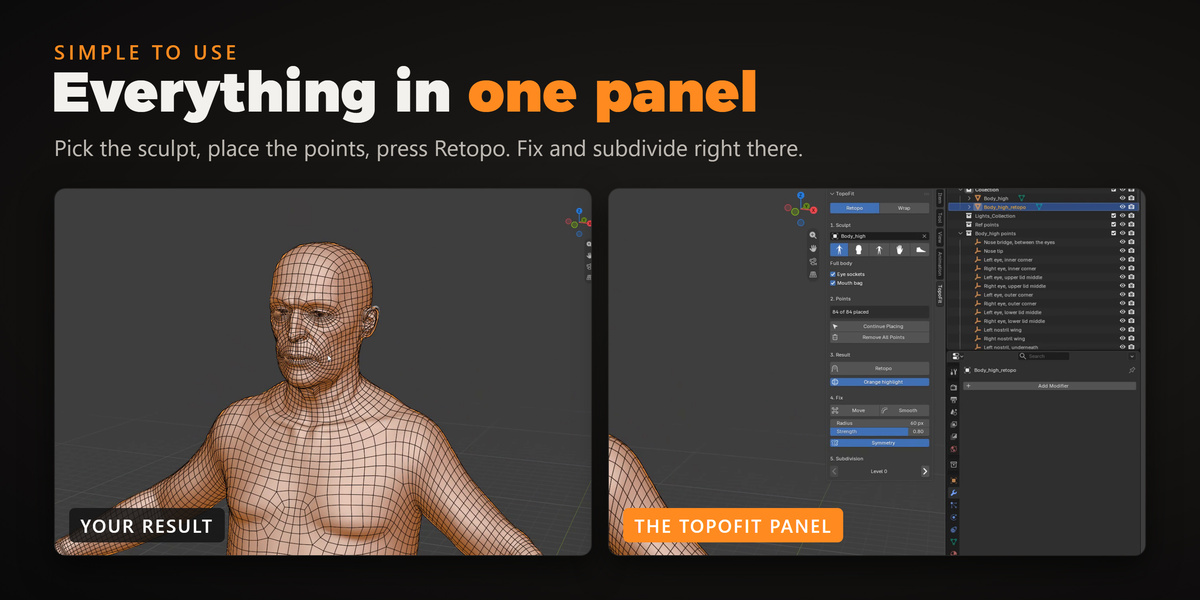
1. Sculpt
- Pick your sculpt in the field at the top.
- Choose what to retopologize with the buttons below it: Full body, Head, Body, Hands or Feet.
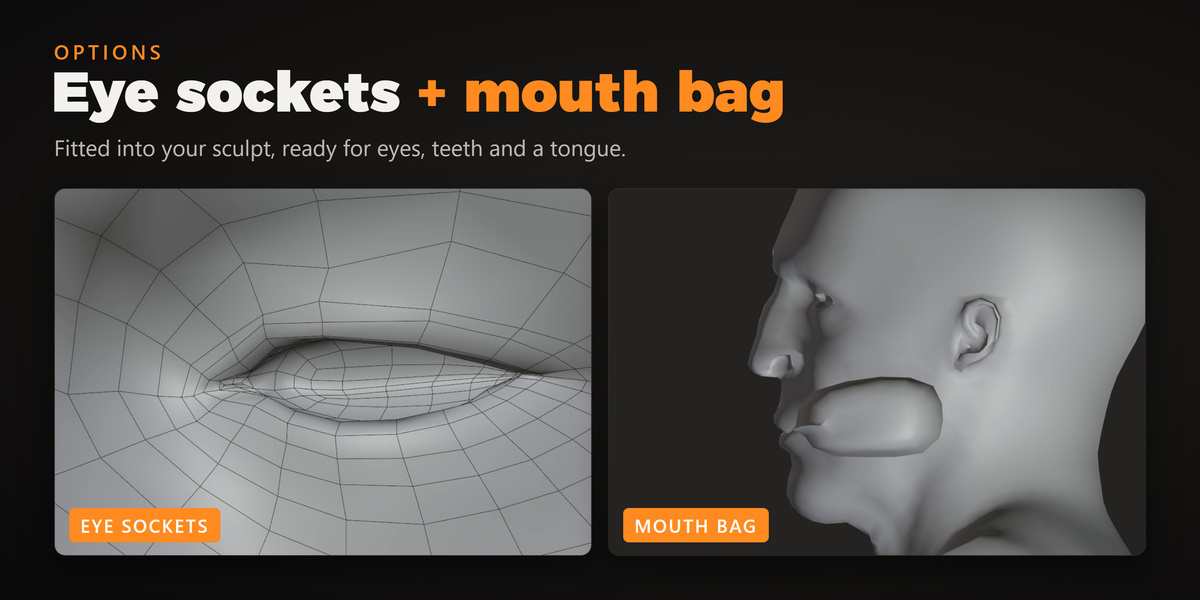
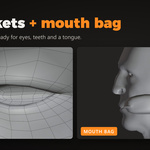
- Eye sockets and Mouth bag: ticked, the result gets eye sockets and a mouth bag fitted into your sculpt's, ready for eyeballs, teeth and a tongue. Unticked, the eyes stay open holes and the lips end at the inner lip loop.
2. Points
Press Place Points. A small figure, the point guide, opens on the left of the viewport and shows where each point goes. Orange points are still to do, green points are done, and the one with the white ring is next. Click the same spot on your sculpt and the guide moves on to the next point.
- In the guide: click a point to choose it, drag to turn the figure, scroll to zoom, right-drag to move it. The buttons at the top jump to the Body, Head, Hand and Foot views or turn the figure around. The arrows at the bottom go to the previous or next missing point.
- Symmetry (the switch at the top right of the guide): place points on one side only; the other side is mirrored for you.
- Move the guide by dragging its top bar (double-click the bar to dock it again). Resize it by dragging its edges.
- Keys: Backspace = undo the last point, S = skip to the next point.
- A point in the wrong place? Choose it in the guide and click the sculpt again, or move it like any object.
- Accept or Esc stops placing. Continue Placing carries on where you left off. Remove All Points starts over.
3. Result
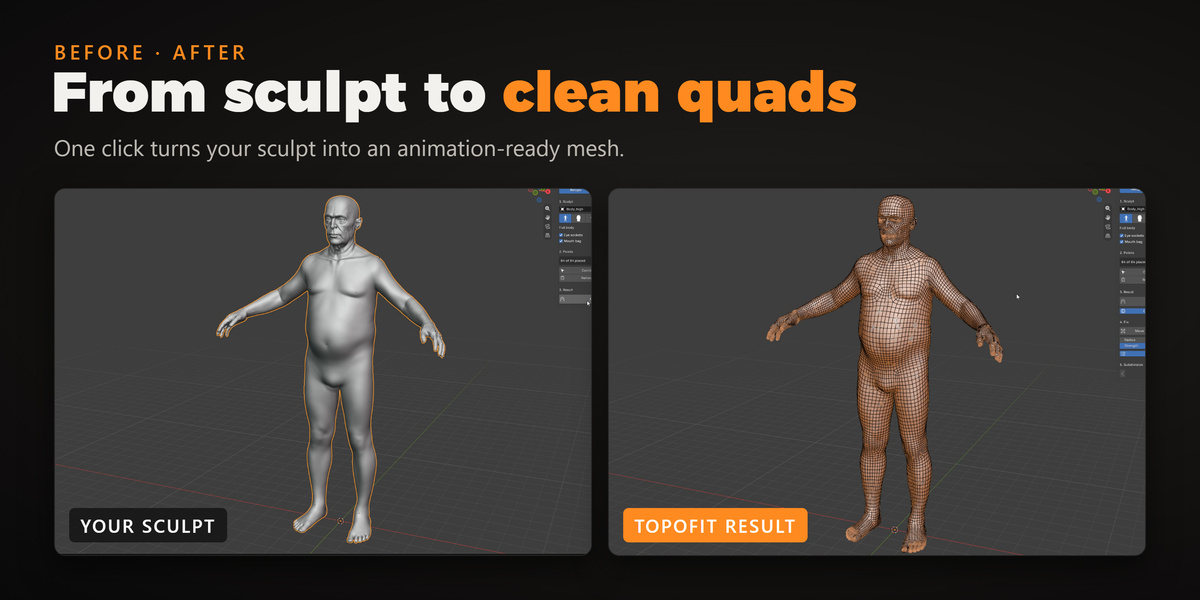
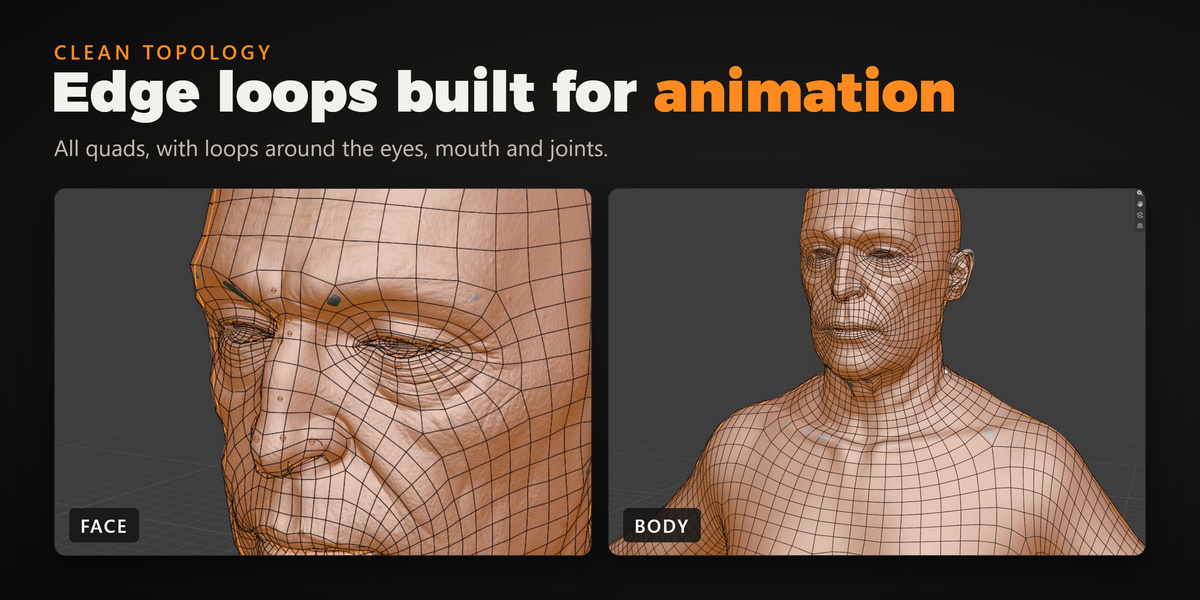
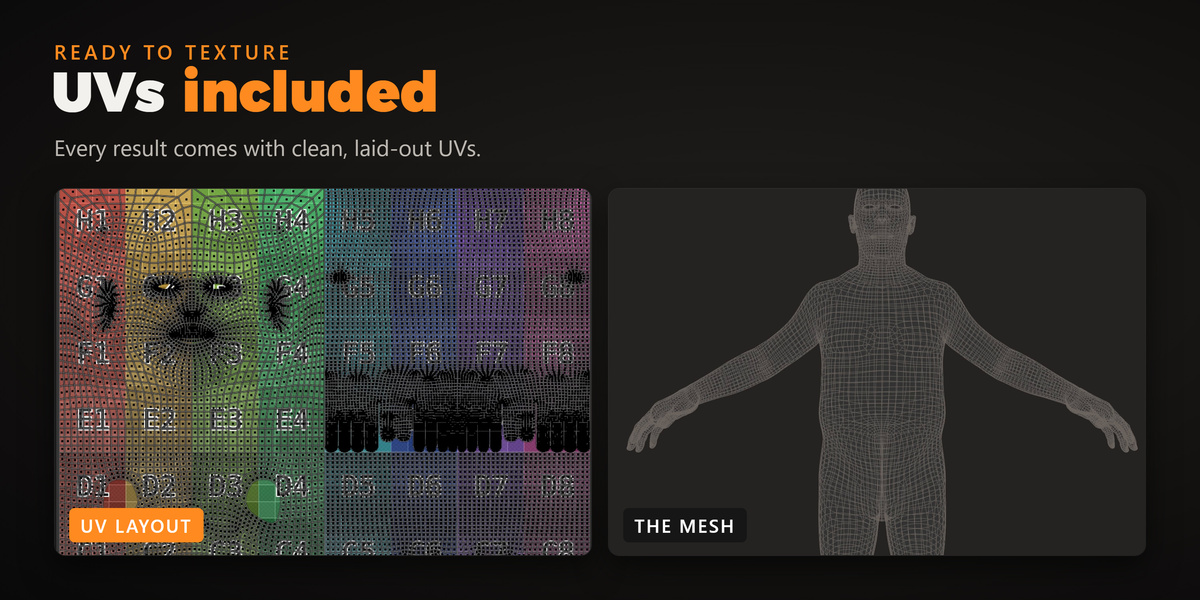
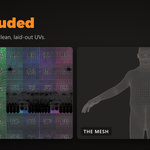
Press Retopo. It works from 4 points, but every point you skip makes the fit less close, so place them all for the best result. A few seconds later you get a new object called _retopo: all quads, with UVs and one Body material. Each press makes a new object, so you can try again and compare.
Orange highlight shows the result as see-through orange polygons over the sculpt, so you can check the fit and the sculpt's detail at the same time. It only draws in the viewport and does not change any mesh.
4. Fix
- Move pulls the mesh along the sculpt. Smooth evens it out (holding Shift while you drag with Move also smooths). Both keep the result on the sculpt's surface.
- Radius (or F while fixing) sets the brush size. Strength sets how much Smooth does per dab. Symmetry mirrors your strokes.
- Ctrl+Z undoes a stroke. Esc, Enter, right click or the pressed button finishes. Blender's undo afterwards takes back the whole fixing session.
5. Subdivision
Use the arrows to step between Level 0, 1 and 2. Each level has 4 times the polygons of the one before and is fitted onto the sculpt again. All levels are kept on the result, so you can go up and down at any time. A Fix stays on the level you made it on.
Wrap tab: use your own base mesh
- Meshes: pick your base mesh in the first field and the sculpt in the second.
-
Place Pairs: the viewport splits in two, with your mesh on the left and the sculpt on the right. Click a spot on your mesh, then the same spot on the sculpt. Points with the same number make a pair.
- Click a point to select it (its partner on the other side lights up too) and drag to move it. Ctrl+click a point deletes its pair.
- The bar at the top of each half has Symmetry (a click also places the mirror point on the other side of that mesh) and Sync cameras (L): turn or zoom one half and the other follows.
- Backspace = undo. Esc or Enter = done.
- Wrap: needs at least 3 pairs; more pairs give a closer fit. You get a new object called _fit with your mesh's topology and UVs kept exactly as they are.
Orange highlight, Fix and Subdivision work on Wrap results too.
Good to know
- Your sculpt and your base mesh are never changed. Every result is a new object.
- Sculpts don't have to be symmetrical.
- Points are saved in your .blend file (as empties in the points collection), so you can close Blender and continue later.
- Questions or problems? Message us here on Superhive.
Have questions about this product?
Login to message
| Blender Extension Compatible | Yes |
| Published | about 1 hour ago |
| Blender Version | 4.5 - 5.3 |
| Extension Type | Add-on |
| Render Engine Used | Cycles |
| License | GPL |
Discover more products like this
Sculpt edgeflow uv wrap game ready quad mesh retopology retopo base mesh character animation auto-retopology