UV RectiPack
 Dawid Gerula
Everything you need to use UV RectiPack 1.0.0. Videos for every feature: dawczens.github.io/uvrectipack.github.io/
Contents: Installation · Quick start · Straighten & Pack - the one-click workflow · Straighten islands · Pack at maximum texel density · Stack duplicates · Smart Priority · UV QC + Fix All · Texel density & stretch heatmap · Unwrap First · More tools · Shortcuts and menus · Limits and notes
Installation
- Download
uv_rectipack-1.0.0.zip. Do not unzip it. - In Blender open Edit → Preferences → Get Extensions, click the ▾ menu at the top right and choose Install from Disk…
- Select the zip. The add-on is enabled at once.
- To update, install the new zip the same way. To remove it, go to Preferences → Add-ons → UV RectiPack → ▾ → Uninstall.
Quick start
- Select a mesh and press Tab to enter Edit Mode, then A to select all faces.
- Press N in the UV Editor or the 3D Viewport and open the RectiPack tab. The pie menu is Shift+Alt+U.
- Pick a preset and a texture size, then click Straighten & Pack.
- Before export click Run UV Check. If it says FAIL, click Fix All.
⚡ Straighten & Pack - the one-click workflow
The main button does everything in order. It unwraps the mesh if it has no UVs, straightens grid islands, cuts over-long strips, stacks duplicates if enabled, and packs at the largest texel density that fits. A report then shows coverage and density before → after.
How to use
- Select one or more mesh objects and press Tab to enter Edit Mode.
- Press A to select all faces, or select only the part you want to process.
- Open the sidebar with N and go to the RectiPack tab, in the UV Editor or the 3D Viewport. Or press Shift+Alt+U for the pie menu.
- Choose a preset and the texture size, then click Straighten & Pack.
- Read the report box, e.g. Coverage 59% → 87% · TD 443 → 539 px/m (+22%). Change any option in Blender's Adjust Last Operation panel (F9) and the result updates live.
| Preset | Game · Desktop/Console, Game · Mobile, Film / Offline or Custom. Sets the margin and the island alignment for you. |
| Width × Height | Target texture size in pixels, 256-8192. Non-square sizes such as 2048×256 are supported. |
| Unwrap First | Auto unwraps only meshes without usable UVs. Smart UV always unwraps first. Seams by Angle marks sharp edges, then unwraps. Use Existing never unwraps. |
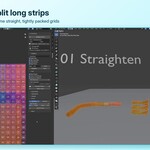
▦ Straighten islands
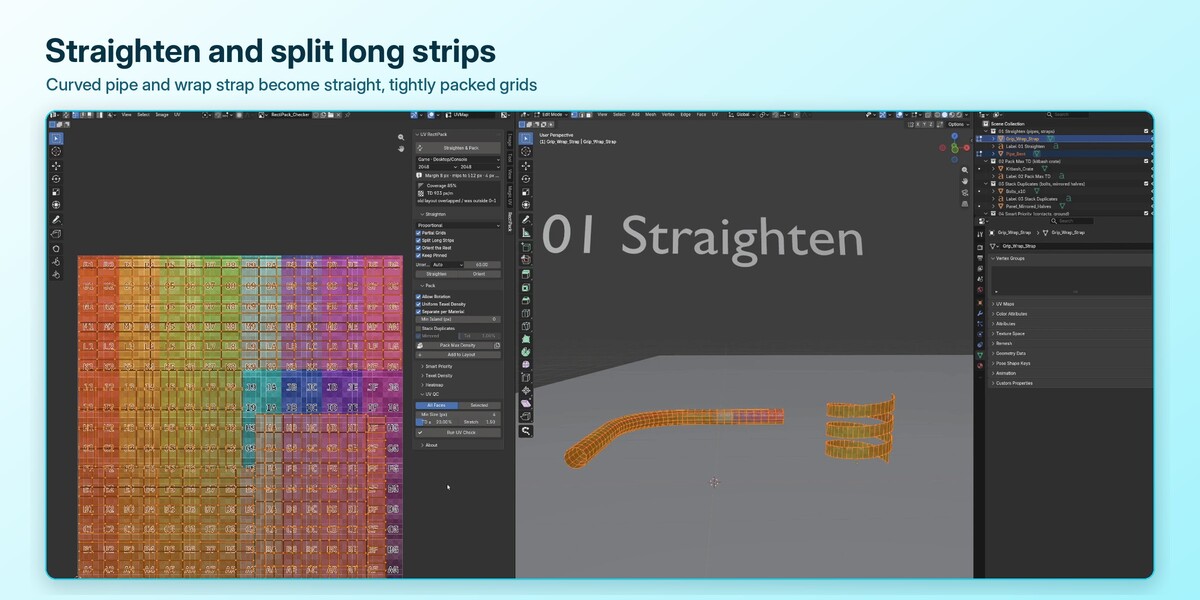
Quad islands become clean, axis-aligned grids, so textures, trims and tiling patterns run straight.
How to use
- Select the faces. To change the shape only, click Straighten in the Straighten panel; packing is a separate step.
- Pick a mode: Proportional keeps the real 3D edge lengths, Even Grid makes all columns and all rows equal, Square makes every quad the same square.
- Leave Partial Grids on. Islands with a few triangles, n-gons or poles get their quad region straightened and the rest relaxed around it.
- Leave Split Long Strips on for square textures. A strip longer than half the texture is cut along grid lines into equal segments.
- Click Orient to rotate any island to its tightest bounding box without reshaping it.
| Partial Grids | Straightens the quad part of mixed islands. If relaxing would flip a face, the original UVs are kept. |
| Split Long Strips | Square textures only. Cuts follow grid lines, so seams stay clean. |
| Orient the Rest | Islands that are not grids are rotated to their tightest box. |
| Keep Pinned | Islands with pinned UVs are left untouched. |
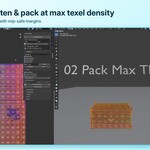
⬒ Pack at maximum texel density
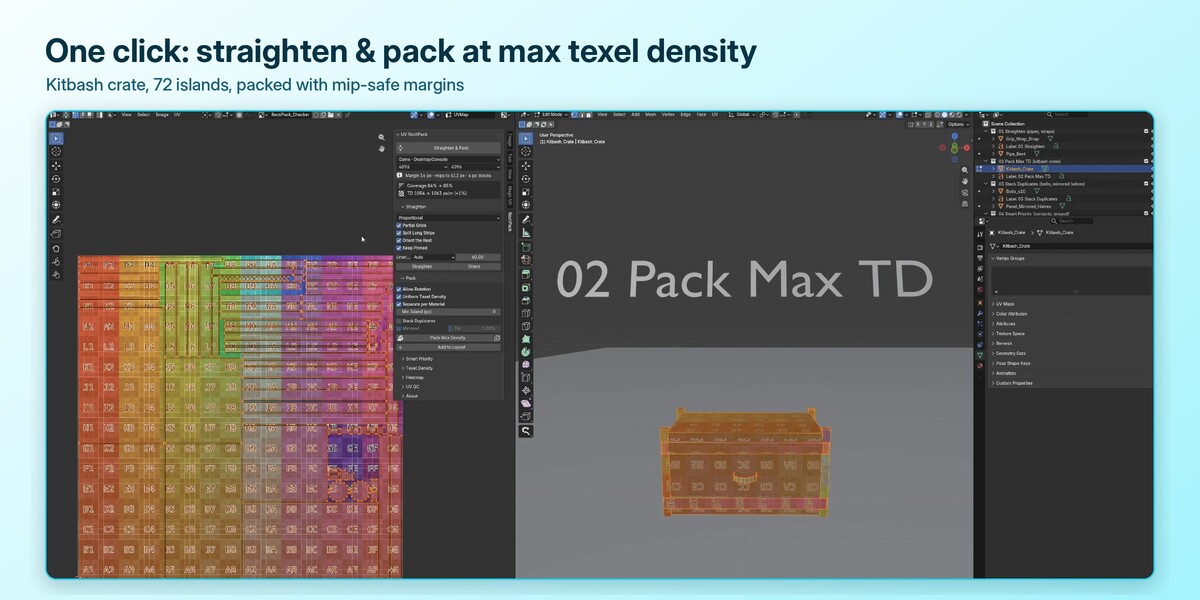
Islands are scaled to their true 3D size, so every island gets the same px/m. A multi-strategy rectangle packer then searches for the largest scale that fits. In our tests it gained 10-20% texel density over Blender's built-in packer at the same pixel margin.
How to use
- Select the islands and click Pack Max Density, or use Straighten & Pack.
- Pick a preset. The info line shows what it means, e.g. Margin 8 px · mips to 512 px · 4 px blocks.
- With Separate per Material on, each material gets its own 0-1 space, i.e. its own texture set.
- Use Min Island (px) to enlarge tiny islands that would otherwise vanish in the texture.
| Game · Desktop/Console | Margin stays separated down to the 512 px mip; islands snap to 4×4 px compression blocks. |
| Game · Mobile | Wider margin, safe down to the 256 px mip; 4×4 px blocks. |
| Film / Offline | Small margin, safe to 1024 px; islands snap to whole pixels. |
| Custom | Set Margin (px) and Align yourself: Off, Pixel, 4×4 block or 8 px. |
| Allow Rotation | Islands may be turned 90° for a tighter fit. |
| Uniform Texel Density | Rescales every island to its real 3D size before packing. |
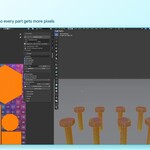
⧉ Stack duplicates
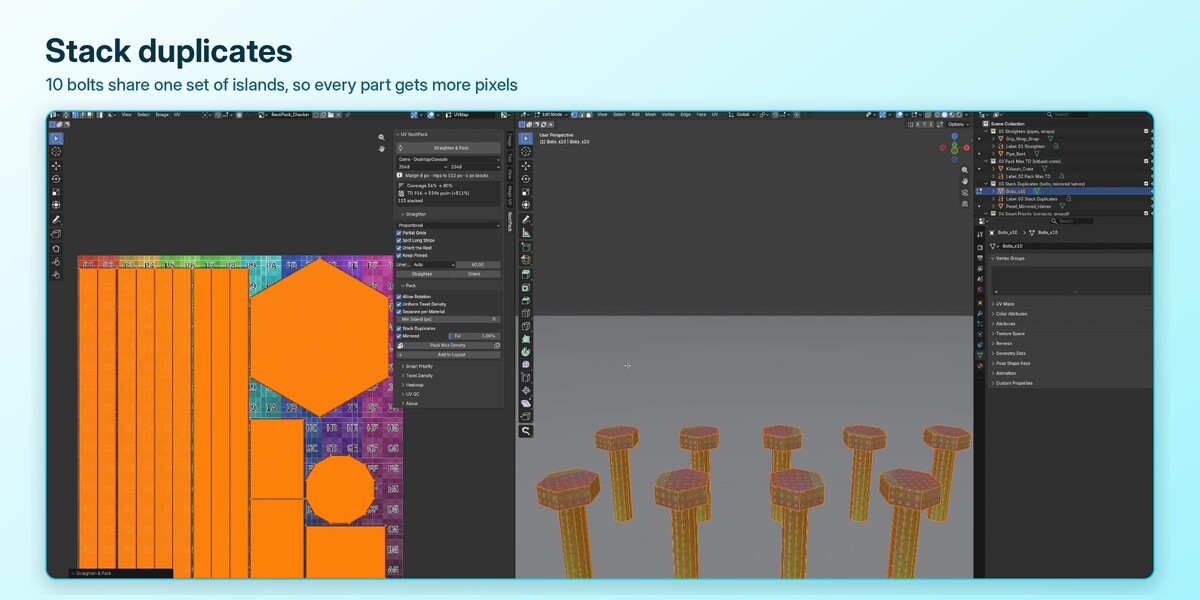
Identical islands, such as bolts, panels and symmetric halves, are packed once and laid exactly on top of each other. The space they free goes to everything else.
How to use
- In the Pack panel tick Stack Duplicates.
- Keep Mirrored on to also stack mirror-image copies. Turn it off for unique details such as text or decals.
- Click Straighten & Pack or Pack Max Density. The report shows how many islands were stacked.
- To stack without packing, click the stack icon next to Pack Max Density.
| Include Mirrored | Mirrored copies share UVs. This flips the tangent space, which is fine for most game normal maps. |
| Tolerance | How different two islands may be and still stack (default 1%). |
◐ Smart Priority
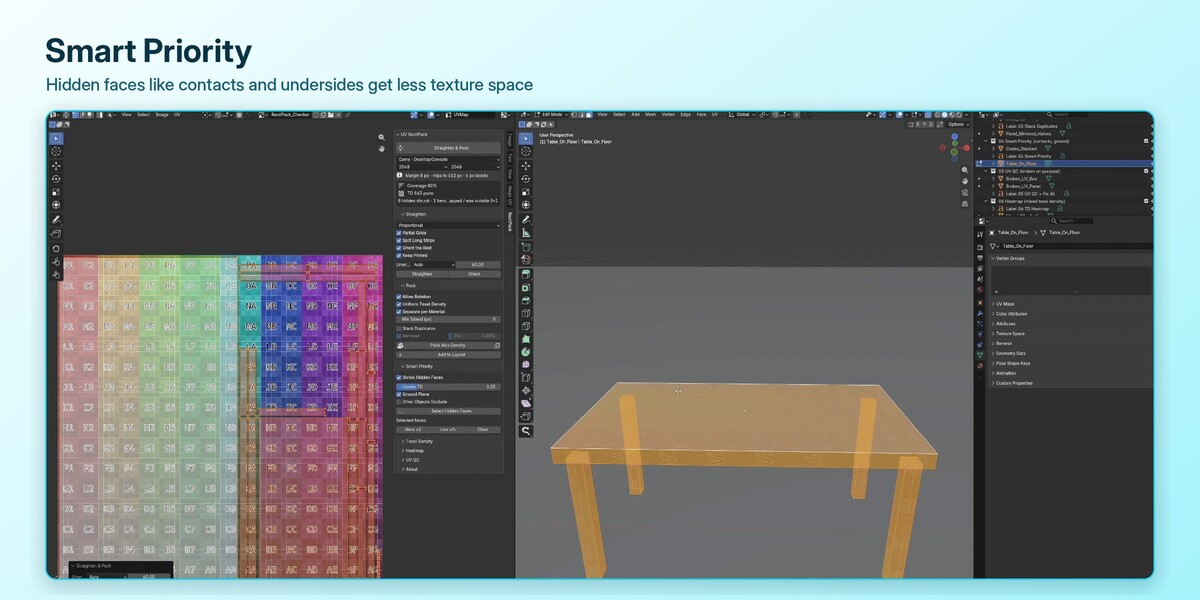
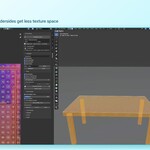
RectiPack casts rays from every face to find what nobody can see: contact areas, interiors and undersides resting on the ground. Those faces get a fraction of the density, and the visible ones get more.
How to use
- Open the Smart Priority panel and click Select Hidden Faces to preview. X-ray (Alt+Z) helps.
- Tick Shrink Hidden Faces and pack. Hidden faces get Hidden TD × the base density (default 0.25).
- Want more pixels somewhere? Select faces and click Hero ×2. For less, click Low ×½. Clear removes the marks.
- Tick Other Objects Occlude when other visible objects, such as a floor, should hide faces too.
| Hidden TD | Density factor for fully hidden faces, 0.05-1. |
| Ground Plane | Faces facing or touching the lowest point count as hidden. |
| Other Objects Occlude | Visible meshes outside Edit Mode also block the rays. |
✔ UV QC + Fix All
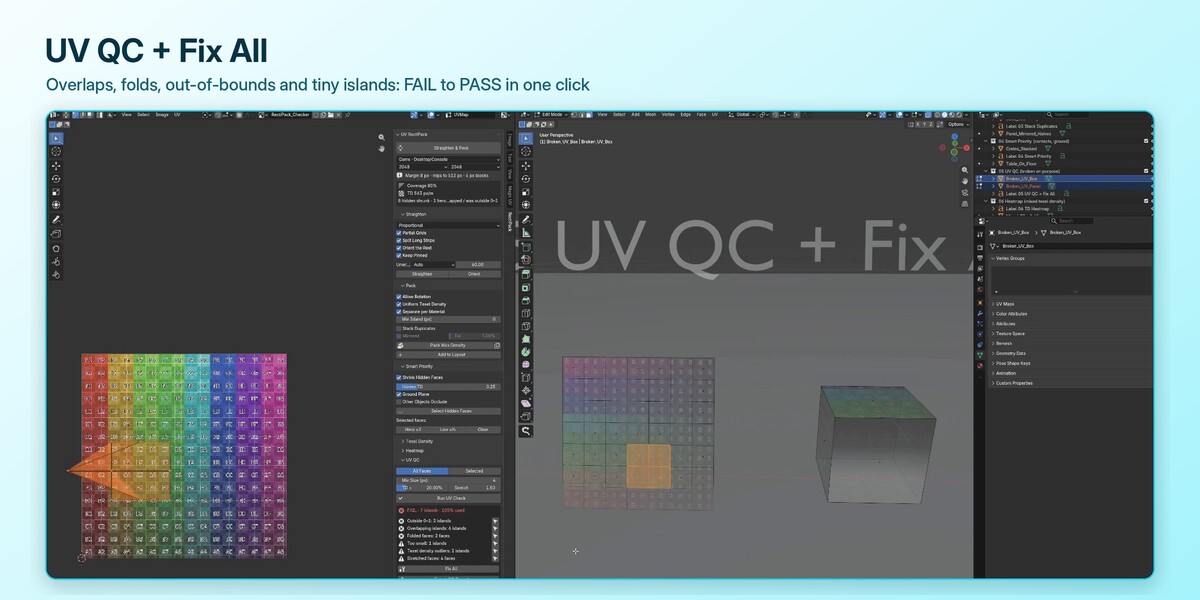
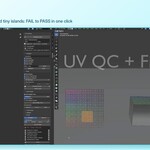
One click checks the whole layout and gives a PASS / WARN / FAIL verdict. You can select the faces behind every issue, fix them automatically and save a JSON report for your pipeline.
How to use
- Open the UV QC panel. Choose the scope: All Faces or Selected.
- Click Run UV Check. Each issue is listed with a count.
- Click the arrow next to an issue to select its faces in the 3D Viewport and the UV Editor.
- Click Fix All. RectiPack unwraps missing UVs, re-unwraps folded islands, then repacks and checks again. Intended stacks and priority factors are kept.
- Click Export QC Report to save a
.jsonnext to your .blend.
| Errors | No UV map, outside 0-1, overlapping islands, folded faces, zero-area faces. |
| Warnings | Closer than the margin, too small (Min Size px), texel density outliers (TD ±%), stretched faces (Max Stretch). |
| Info | Mirrored islands, listed but never counted as a problem. |
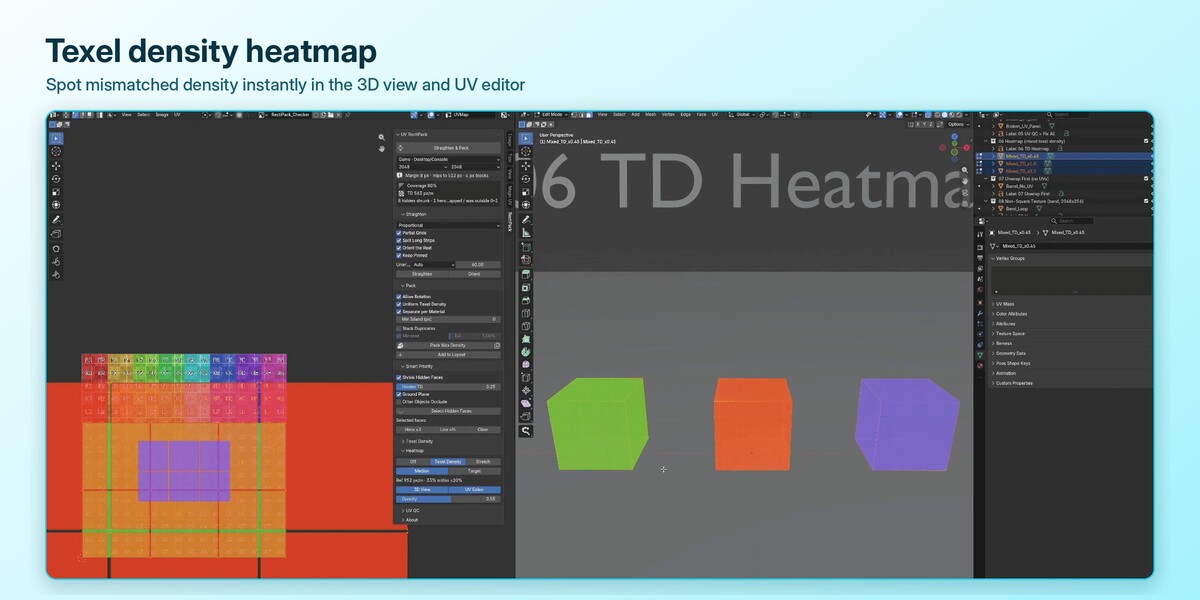
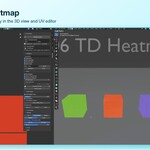
◑ Texel density & stretch heatmap
A live overlay in the 3D Viewport and the UV Editor shows where density is too low (blue) or too high (red). After packing, everything turns green.
How to use
- Open the Heatmap panel and pick Texel Density or Stretch.
- Reference Median compares against the area-weighted median; Target compares against your Target TD.
- The panel and the on-screen legend show the reference px/m and the share of surface within ±20%.
- Use the 3D View / UV Editor toggles and Opacity to frame it. Cycle Off → TD → Stretch from the pie menu.
| Blue → green → red | ½× → on target → 2× the reference density. |
| Priority aware | Faces shrunk or boosted on purpose by Smart Priority are compared with their intended density. |
⤢ Unwrap First
Meshes without UVs work too. RectiPack unwraps them before straightening and packing, still in one click.
How to use
- Select a mesh without UVs and keep Unwrap on Auto in the Straighten panel.
- Click Straighten & Pack. The report notes the unwrap.
- For boxy hard-surface parts, try Seams by Angle, which cuts only sharp edges.
More tools
| Add to Layout | Packs new islands into the free space of a finished atlas at the same texel density. Everything already packed stays put. Select both objects, select only the new part's faces and click Add to Layout. If the layout is full, only the new part shrinks, and the report says so. |
| Texel Density tools | The eyedropper measures the selection's px/m. Set TD on Selection scales islands to the target. Analyze Resolution shows the density at 512 to 8192 px and which size your target needs, e.g. 1024 px/m → 4096×4096. |
| Non-square textures | Set Width and Height independently, e.g. 2048×256 for trims. Straightening and packing work in pixel space, so texels stay square. Long strips are kept whole on non-square textures. |
| Several objects at once | Select any number of meshes in Edit Mode. With Separate per Material on, faces sharing a material share one 0-1 space. |
Shortcuts and menus
- Shift+Alt+U opens the pie menu in Edit Mode, in both the 3D Viewport and the UV Editor. Its slots are Straighten & Pack, Straighten, Pack, UV Check, Stack, Add to Layout, Orient and Heatmap. Remap it in Preferences → Add-ons → UV RectiPack.
- The main commands are also at the bottom of the UV menu (UV Editor) and the U menu (3D Viewport).
- After any RectiPack button, open Adjust Last Operation (F9) to change options and see the result update live. Every operation is a single Ctrl+Z.
Limits and notes
- Islands are packed as rectangles, which suits straightened and hard-surface UVs. Other islands are oriented to their tightest box first.
- UDIM tiles are not supported in 1.0. Each material packs into its own 0-1 space.
- Very large selections (800+ islands) take a few seconds, because the add-on is pure Python.
- Mirrored stacking flips the tangent space. Turn Include Mirrored off for unique details such as text or decals.
- QC reports stretch but does not fix it automatically, because only you can judge whether it is acceptable.
RectiPack_Test_Scenes.blend is included. It has one ready-made scene per feature: straighten, pack, stack, Smart Priority, broken UVs for QC, a heatmap scene, a mesh without UVs, a non-square band, Add to Layout and Partial Grids. Each scene is labelled in the viewport, and a README text block in the file explains what to click.
Version 1.0.0 · © 2026 Dawid Gerula · GPL-3.0-or-later
 Included
Includes 12 months of
- Support from Dawid Gerula
- Product updates
Extend this product’s Support Period +12 months: 25% of product price
Have questions before purchasing?
Login to message
| Blender Extension Compatible | Yes |
| Published | 3 days ago |
| Blender Version | 4.2 - 5.2 |
| Extension Type | Add-on |
| Render Engine Used | Cycles |
| License | GPL |
Discover more products like this
game assets pack islands UV Unwrap uv check texel density uv texel density heatmap uv packing uv stacking straighten uv uv editor uv islands