Variantkit – Product Variant Renderer
 Hatim Dahmouni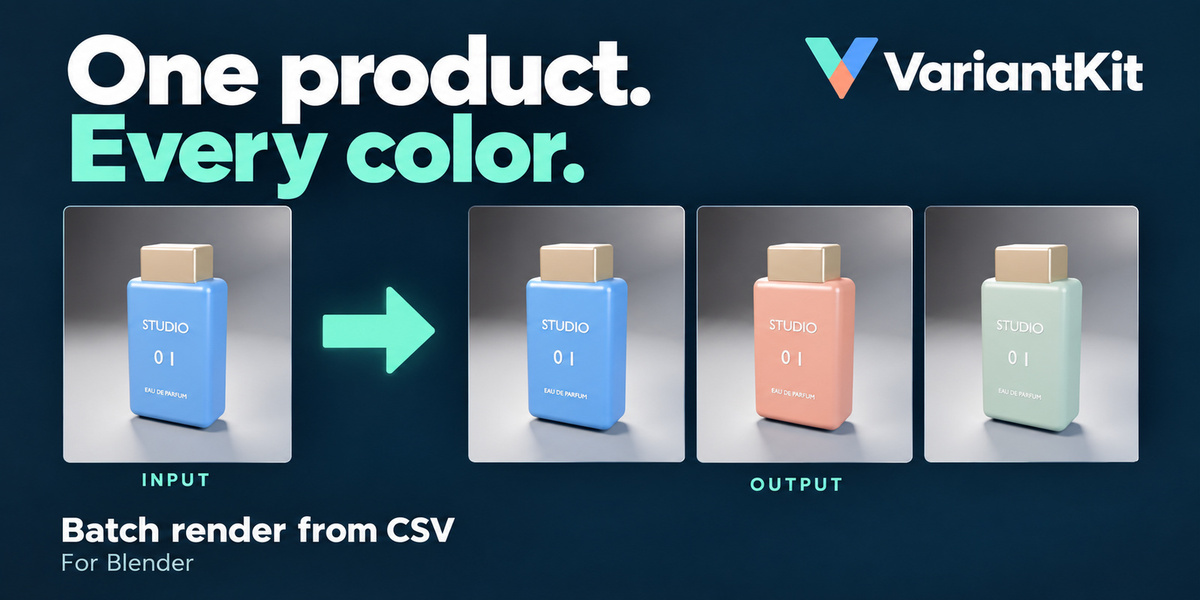
VariantKit 1.0 - Getting Started
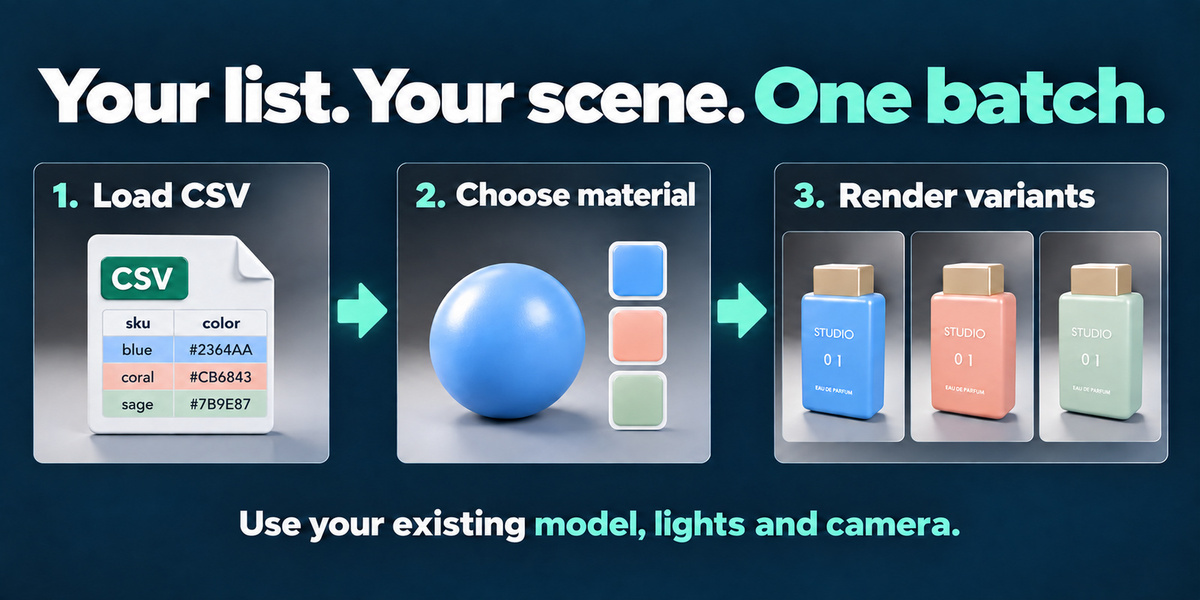
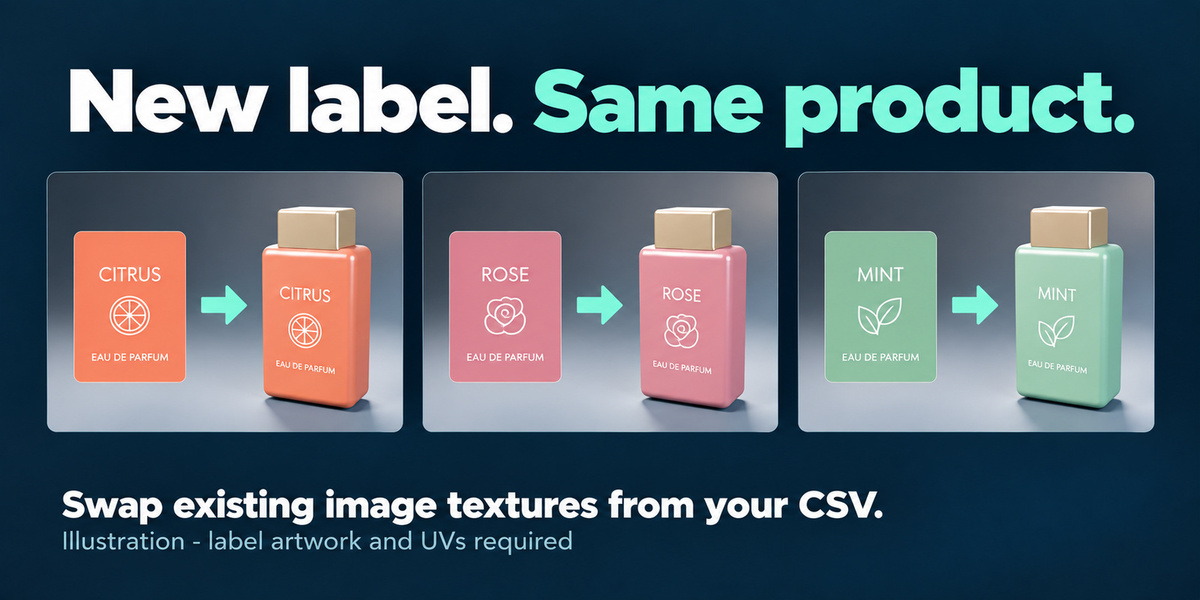
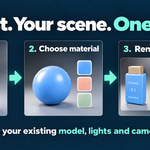
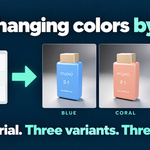
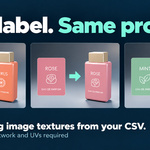
VariantKit batch-renders product colors and label variations from a CSV. It uses your existing model, materials, lighting, and cameras.
1. Install the add-on
- Download variantkit-1.0.0.zip. Do not extract it.
- In Blender, open Edit → Preferences → Add-ons.
- Open the menu in the upper-right corner and choose Install from Disk.
- Select the ZIP and enable VariantKit.
- Move your pointer over the 3D Viewport, press N, and open the VariantKit tab.
2. Try the included demo
The demo requires Blender 5.2.
Extract variantkit-demo-1.0.0.zip into a writable folder. Keep VariantKit-Demo.blend and colors.csv together, then open the Blender file.
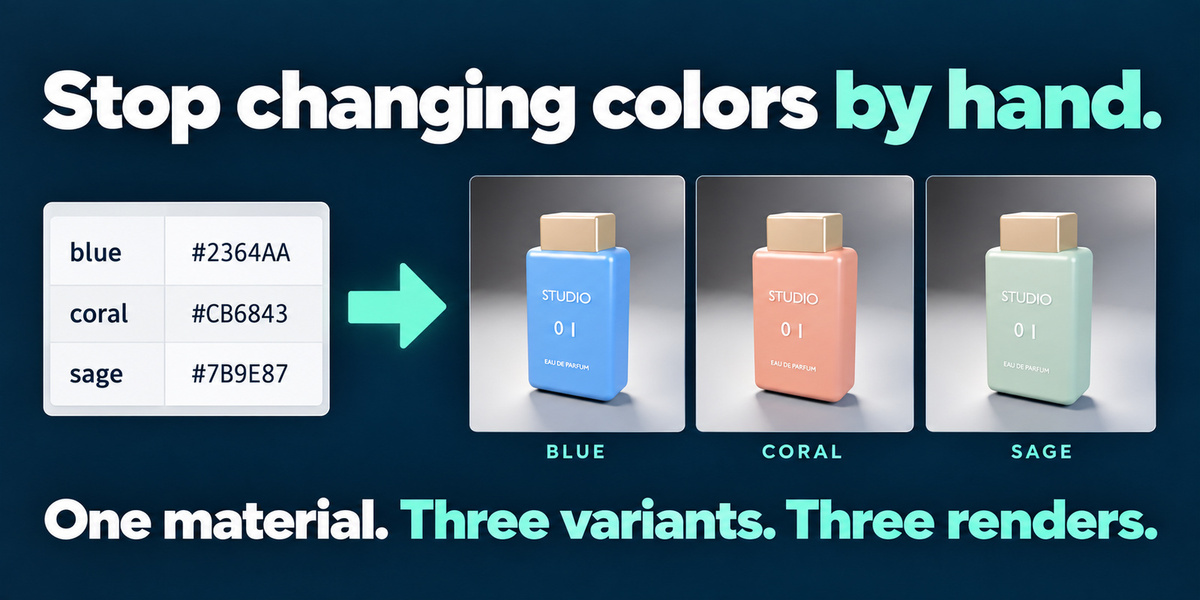
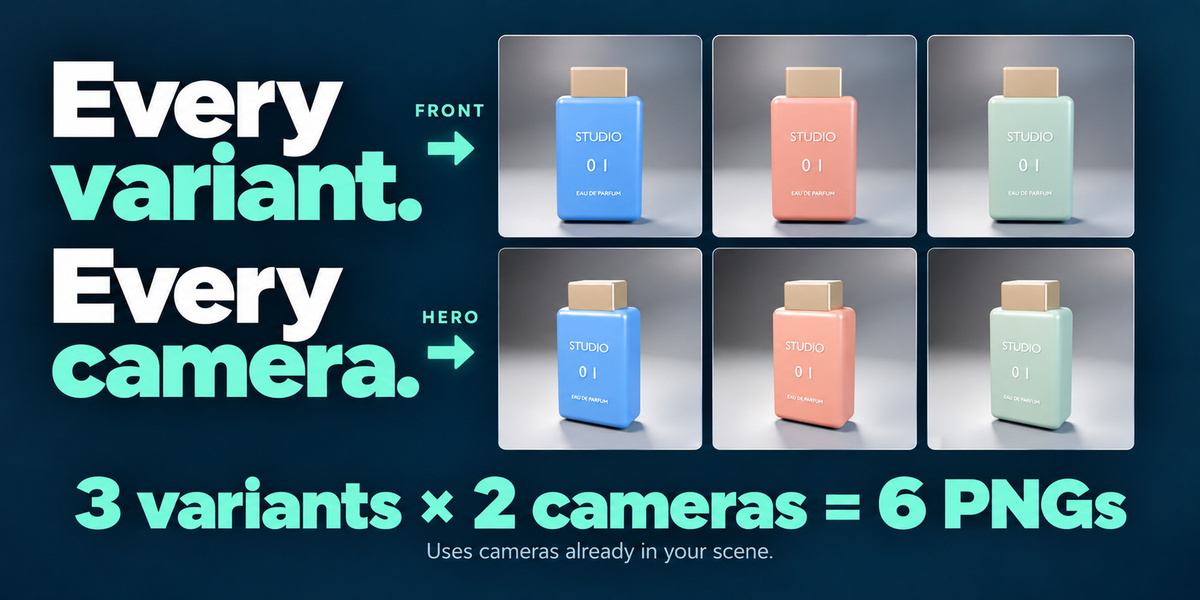
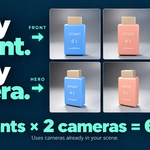
The scene already contains three color variants, a mapped material, and two cameras. Click Render Variant Batch to produce six PNGs.
Find the results in a new renders/variantkit-… folder beside the demo scene.
You can also access the bundled examples through the panel’s Examples button. Copy them into your own working folder before using them.
3. Prepare your own scene
Set up your product model, lighting, materials, and camera before using VariantKit.
For color variations, use a material with a Principled BSDF node whose Base Color input is not connected to another node.
For label variations, prepare an existing Image Texture node connected to the material, with suitable UV mapping. VariantKit replaces the image; it does not create artwork or UVs.
Save your original scene before starting a batch.
4. Create your CSV
Save your list as a UTF-8 CSV with these column names:
sku,color,label
blue,#2364AA,
coral,#CB6843,
custom-label,,labels/custom.png- sku: required, unique variant name used in output filenames.
- color: optional six-digit hex color, such as #2364AA.
- label: optional path to an existing image. Relative paths start from the CSV’s folder.
Each row must contain a color, a label, or both. A blank color or label field keeps its original value.
Column names are case-sensitive. Comma and semicolon delimiters are supported. Avoid names that differ only by capitalization or punctuation.
5. Load and map your variants
- Choose your CSV in the VariantKit panel.
- Click Load / Validate CSV.
- For color changes, select Color Material and its Principled BSDF node under Color Node.
- For label changes, select Label Material and the existing Image Texture node under Label Node.
Target nodes must be at the material’s top level, not inside a node group.
Changes affect every object using the selected material. Assign a separate material if only one product should change.
6. Preview a variation
Select a row and click Preview Selected Variant.
Use Material Preview or Rendered viewport shading to see the change. Click Restore Original Materials to undo the preview.
Saving, loading, or undoing also ends the preview.
7. Render and find your files
- Set an active scene camera, or enable All Scene Cameras.
- Choose a writable Output Folder.
- Check the variant and camera count.
- Click Render Variant Batch.
VariantKit renders still images at the current frame using your scene’s resolution, quality, and color-management settings. Output is 8-bit RGBA PNG.
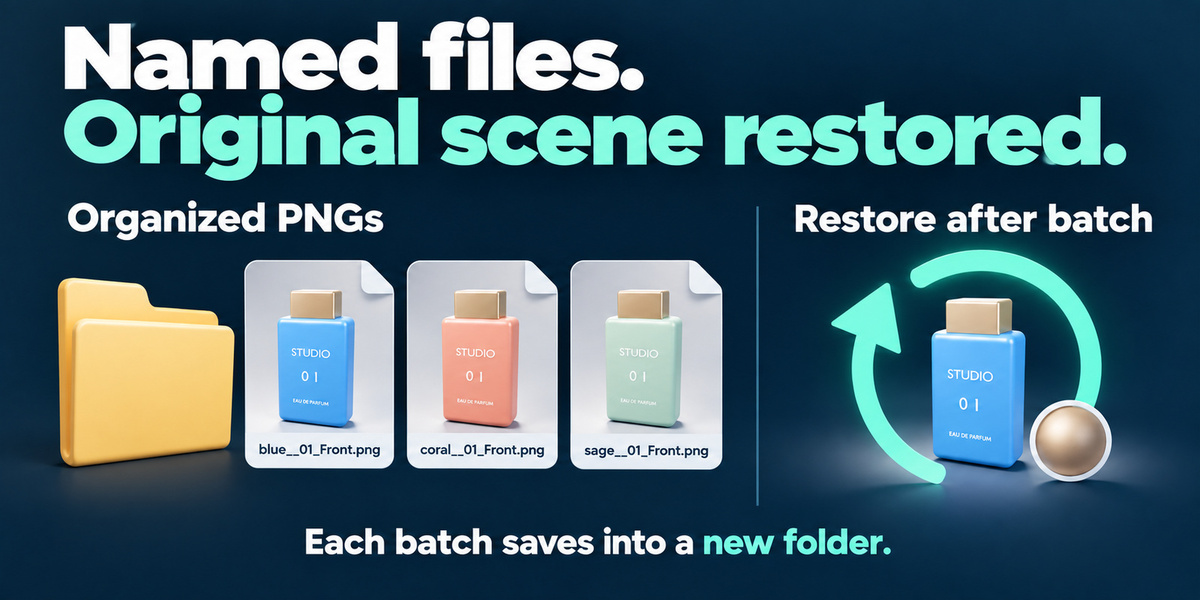
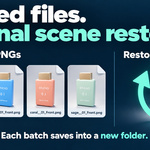
Each batch creates a new subfolder. Filenames follow this pattern:
blue__01_Front.png
blue__02_Hero.png
coral__01_Front.png
coral__02_Hero.png
Use Stop After Current Render to finish and save the current image, then stop the remaining queue. Starting another batch creates a new folder; it does not resume the previous batch.
When the batch ends, VariantKit restores the original material inputs, label image, active camera, and image-format settings. Completed PNGs remain saved.
Avoid editing the scene while a batch is running. An application crash cannot execute automatic restoration.
Compatibility and limitations
Tested on Windows with Blender 4.2, 5.0, and 5.2, using Cycles. The included demo requires Blender 5.2. macOS, Linux, and other render engines have not been verified.
Version 1.0 supports:
- One color target and one label-image target.
- Up to 1,000 CSV rows.
- The active camera or all scene cameras.
- Perspective and orthographic cameras.
- Still PNG output.
It does not include animation batches, geometry swaps, XLSX import, render-farm integration, or resumable jobs.
Unsupported configurations include linked or animated material node trees, connected Base Color inputs, movie/sequence/UDIM label sources, multiview rendering, active sequencer output, camera-bound timeline markers, and enabled compositor File Output nodes.
Troubleshooting
No active camera: Set a scene camera or enable All Scene Cameras.
Color does not change: Check the selected material and node. Base Color must be unlinked. Use Material Preview or Rendered shading.
Label is missing or misaligned: Check the image path, selected texture node, and UV mapping. Use artwork with consistent dimensions and layout.
CSV is rejected: Check the column names, unique SKUs, six-digit colors, and image paths. Click Load / Validate CSV again after editing.
Render is blocked: Read the displayed error and resolve the unsupported scene configuration before retrying.
Documentation and support
The User Guide button opens the included illustrated PDF.
For help, contact Hatim Dahmouni through Superhive messages. Include your Blender version, operating system, error message, and steps to reproduce the issue.
 Included
Includes 12 months of
- Support from Hatim Dahmouni
- Product updates
Extend this product’s Support Period +12 months: 25% of product price
Have questions before purchasing?
Login to message
| Blender Extension Compatible | Yes |
| Published | 1 day ago |
| Blender Version | 4.2 - 5.2 |
| Extension Type | Add-on |
| Render Engine Used | Cycles |
| License | GPL |
Discover more products like this
Render Automation product rendering product-visualization material variants csv Color Variants packaging product mockup batch render label swap ecommerce Workflow