Virtual Render - Render Simulator
 3DVision
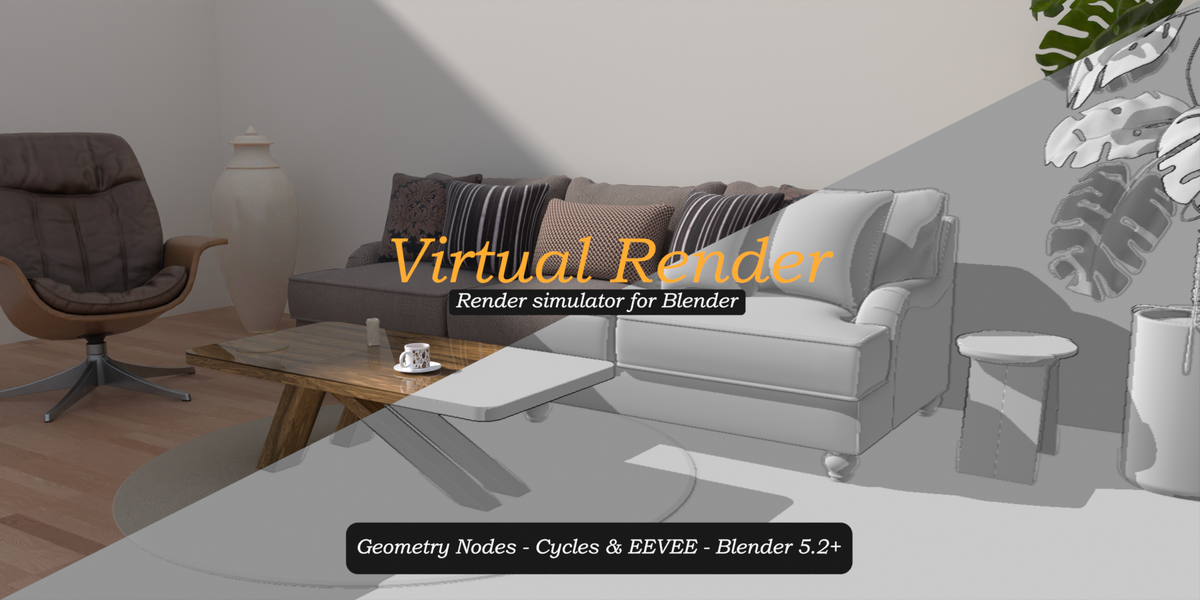
DOCUMENTATION
Virtual Render user guide
Installation, quick start and a complete reference of every setting in the modifier.
Installation
Virtual Render is delivered as an Asset Browser ready .blend file. No add-on installation is required.
1 |
Register the asset library In Blender 5.2 or newer, go to Edit > Preferences > File Paths > Asset Libraries and add the folder containing the Virtual Render .blend file, or copy the file into an existing asset library. |
2 |
Add V-Render to your scene Open the Asset Browser, select your library and drag V-Render into your scene. It aligns itself with the active camera automatically. |
3 |
Assign your scene In the Virtual Render modifier, open the Preview panel and select the collection containing your objects. Do not include the V-Render object itself in this collection. |
Quick start
1 |
Choose a mode In the General panel, select Render for a tile-by-tile simulation or Versus for a render vs viewport split screen. |
2 |
Animate Progress Keyframe Progress at 0 on the first frame and at 1 on the last frame of your shot. |
3 |
Preview and render Set the viewport to Rendered mode in camera view to preview the animation live, then render your animation with Cycles or EEVEE. |
Modifier reference
Every option is organized in collapsible panels. Hover any setting in Blender to display its tooltip.
Main
Visibility toggles for each element of the simulation.
| Elements | Progress Bar, Bar Background, Percentage, Title, Title Box, Tile Outline, Labels (Versus mode) and Preview. |
General
| Mode | Render (tile-by-tile simulation) or Versus (render vs viewport split screen). |
| Progress | Render progress from 0 to 1. This is the main value to animate. |
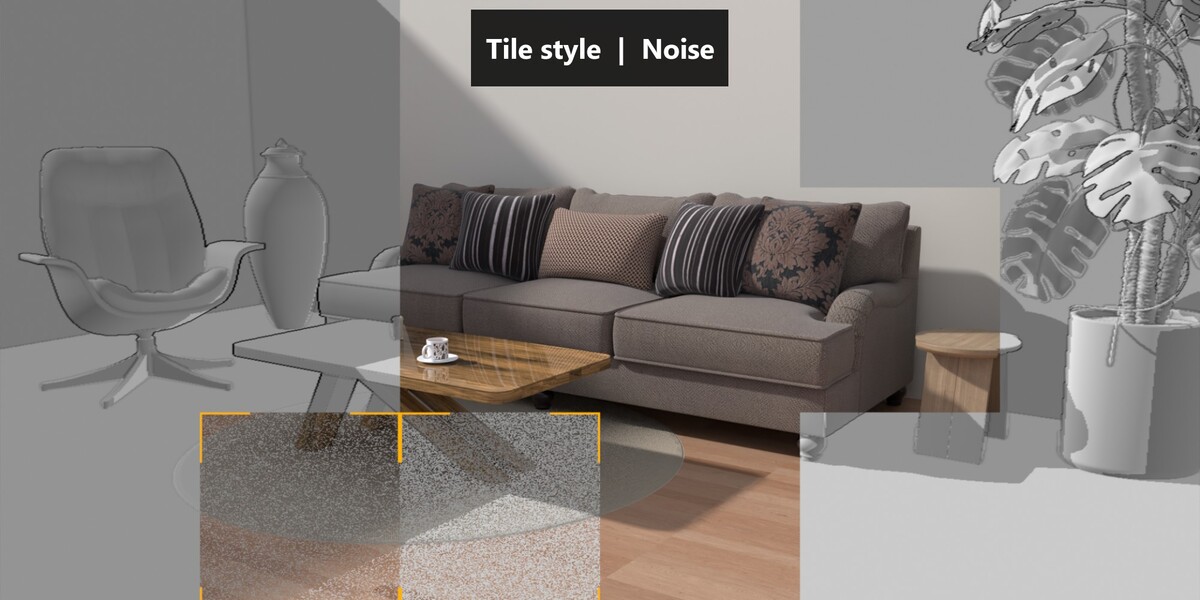
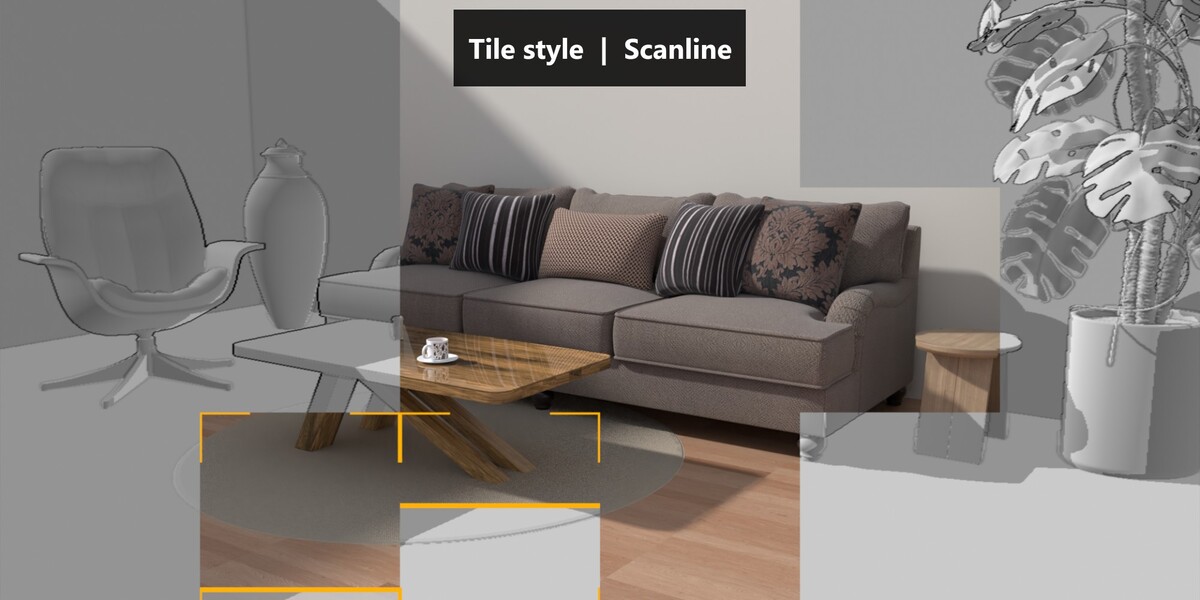
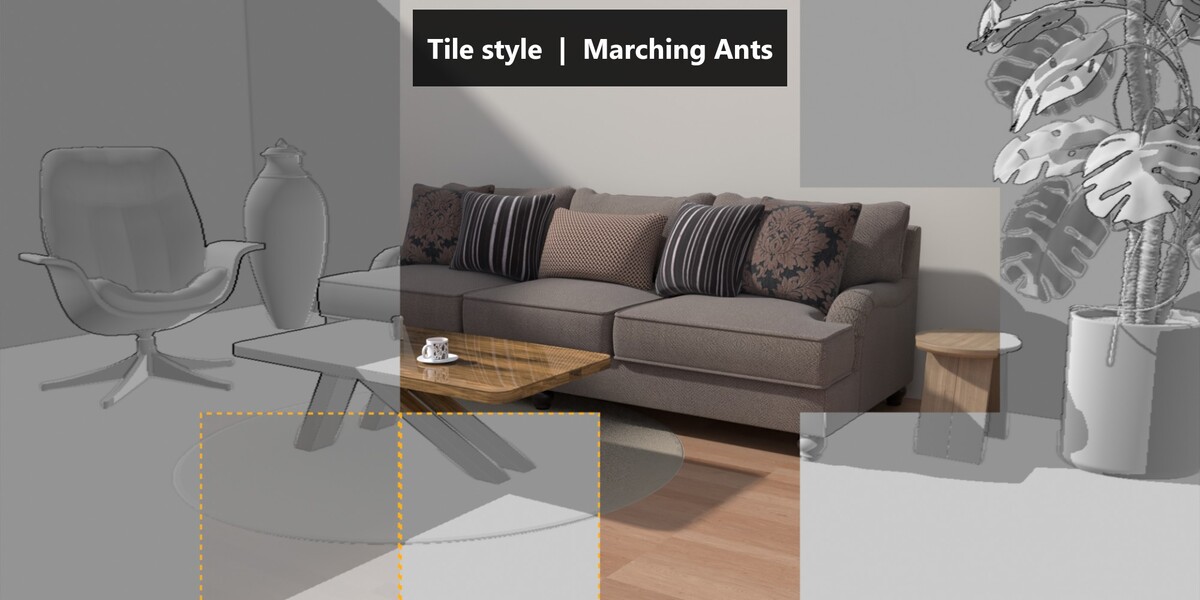
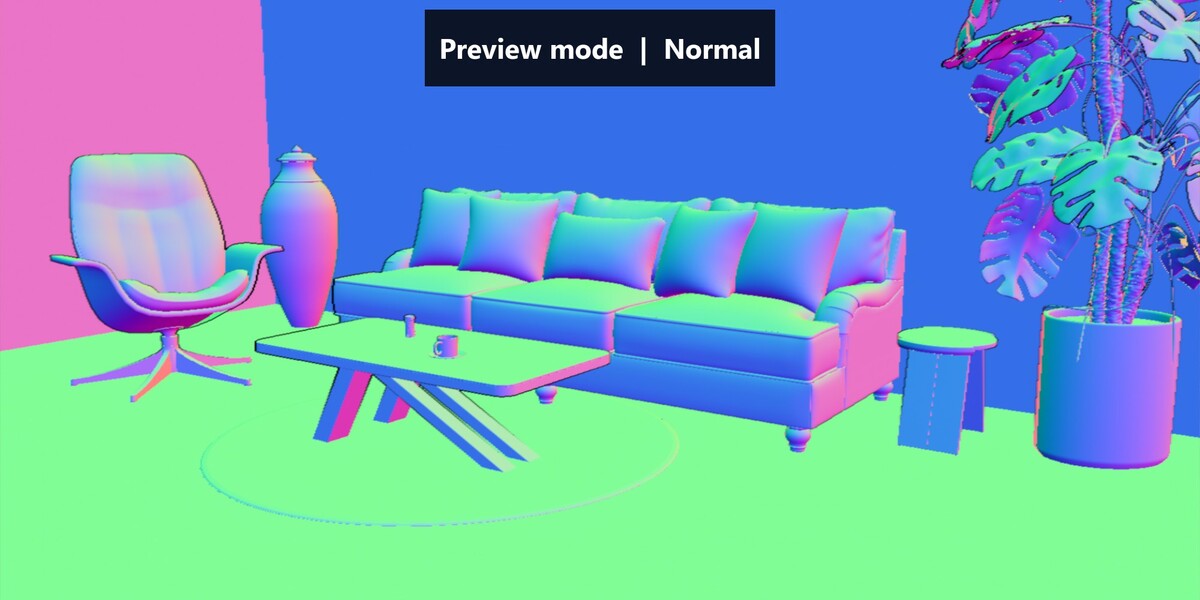
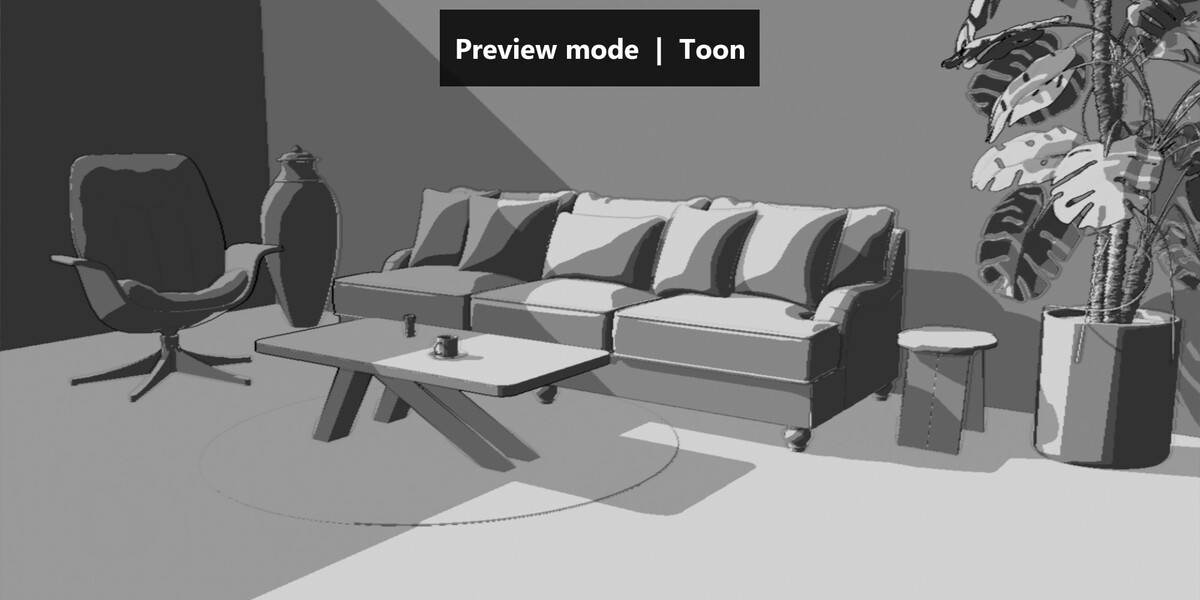
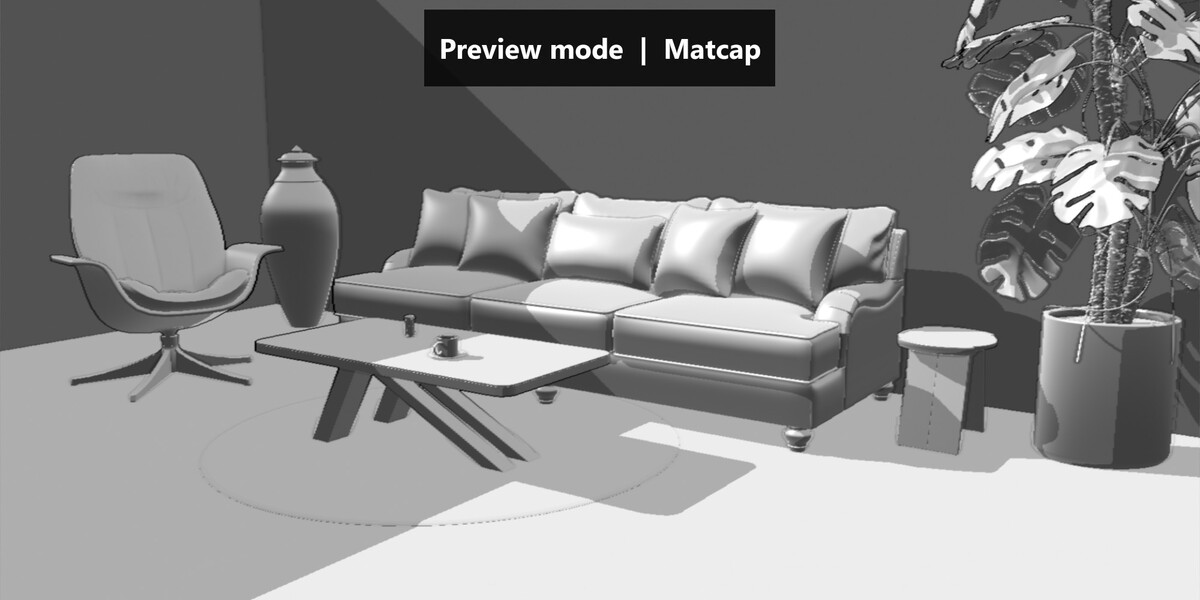
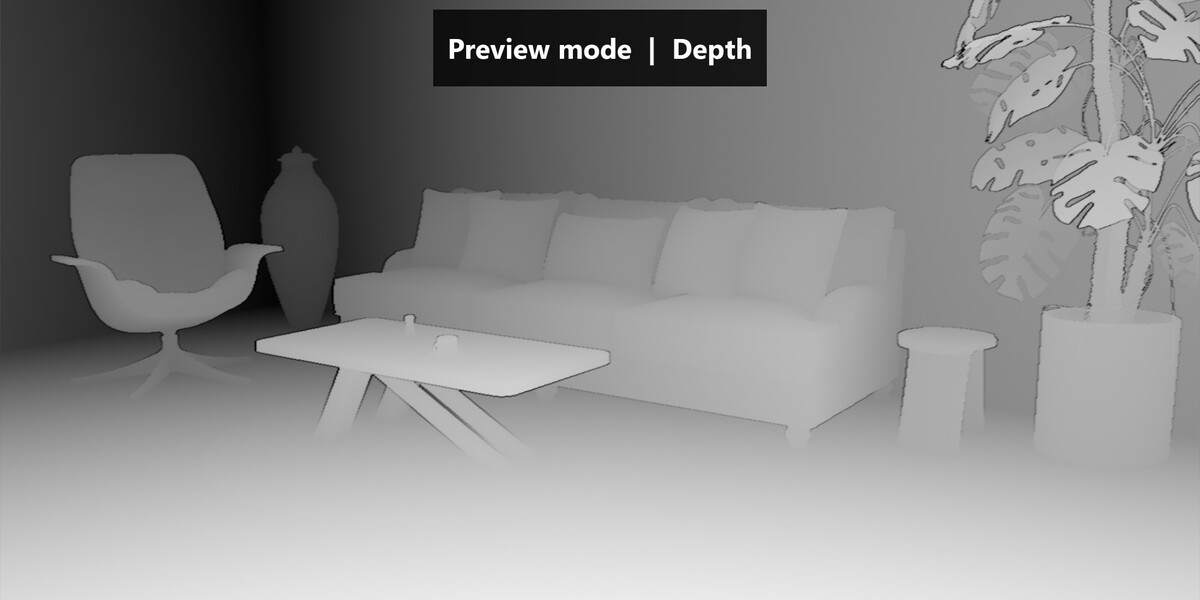
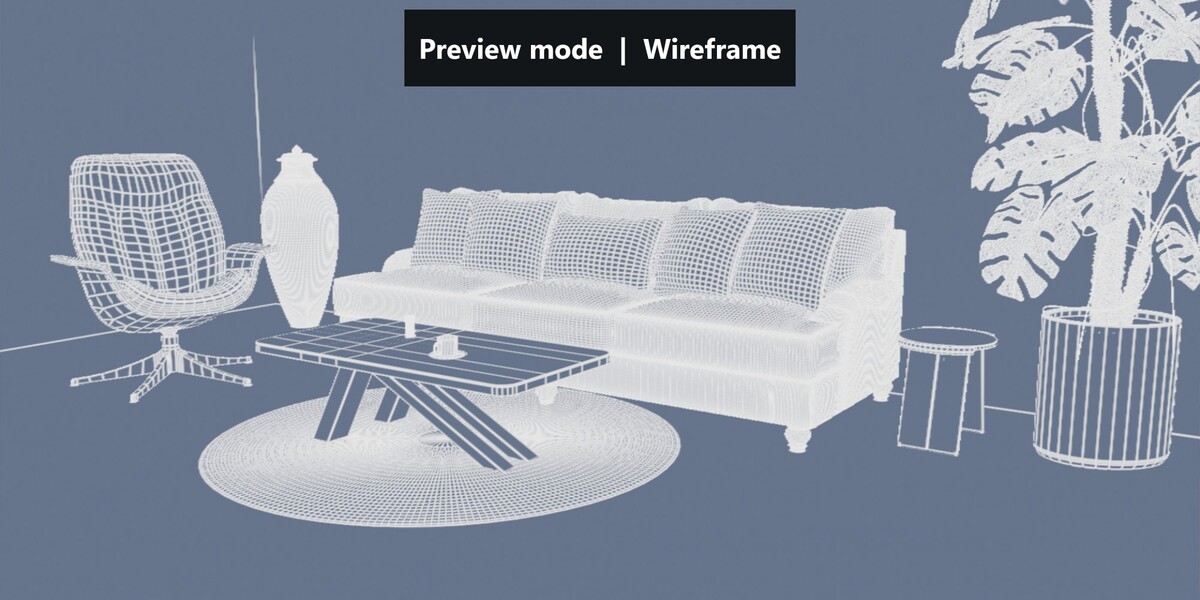
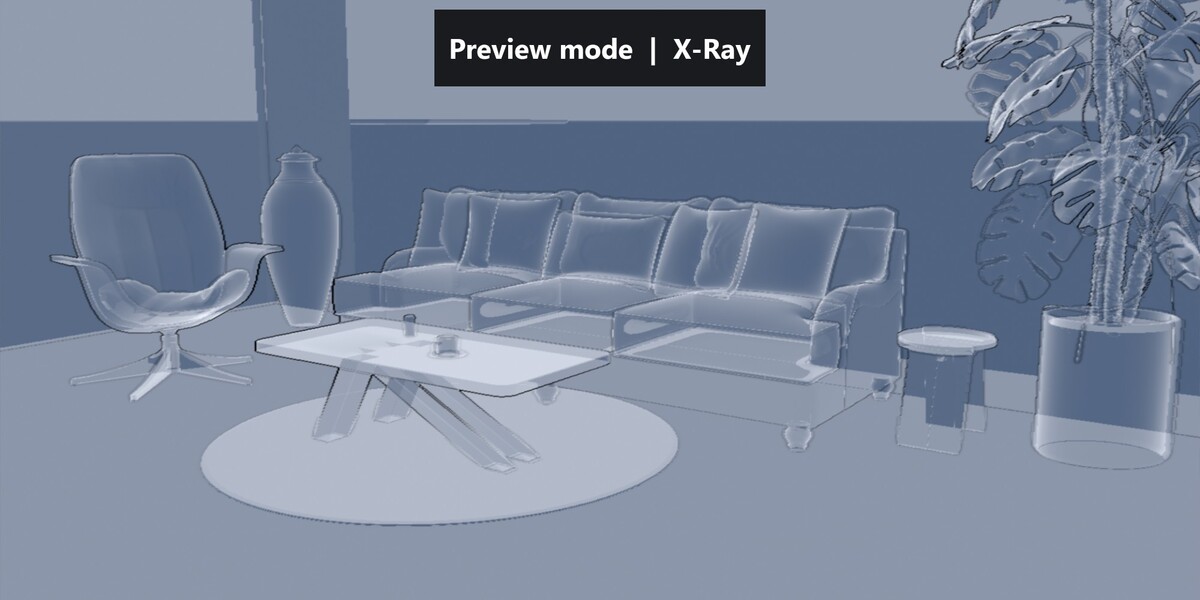
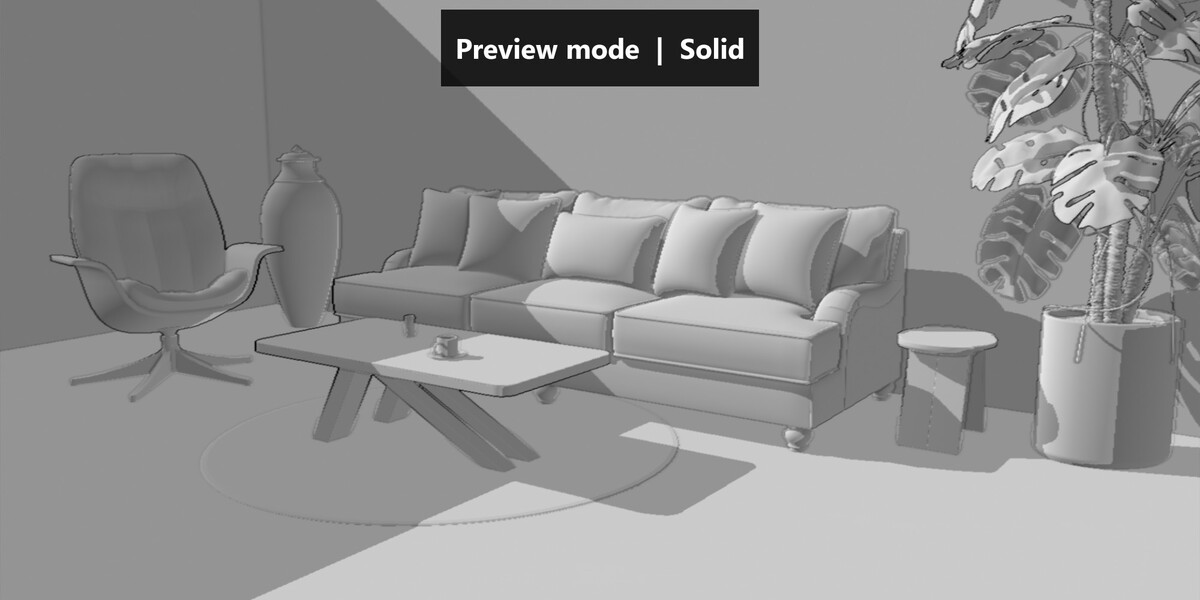
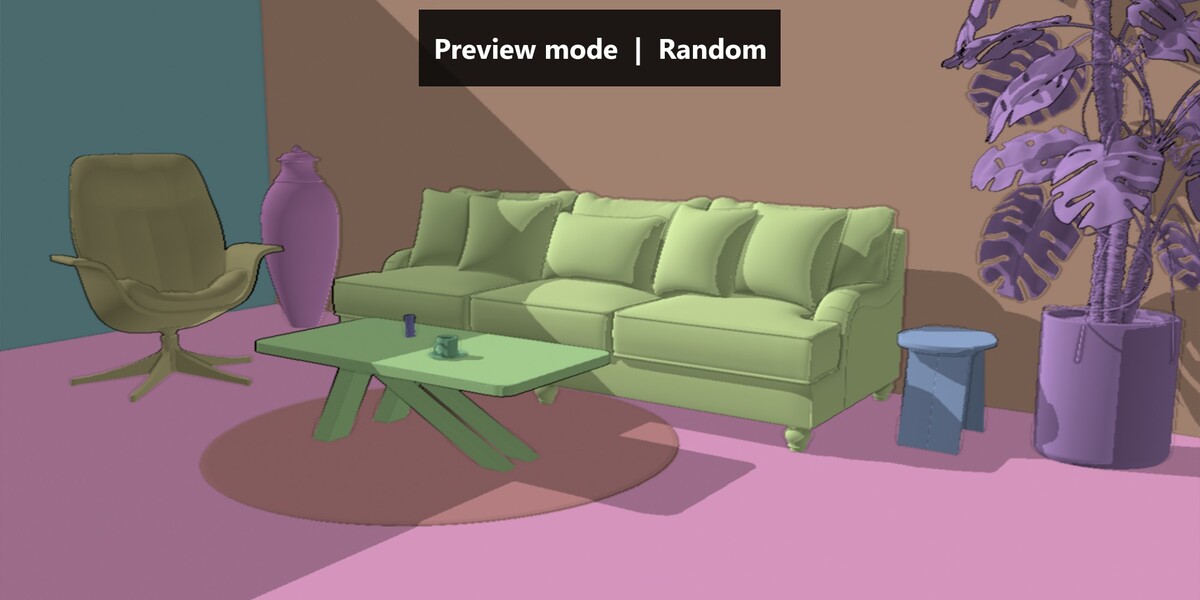
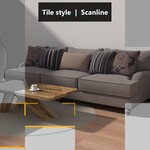
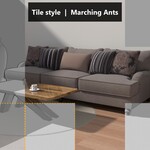
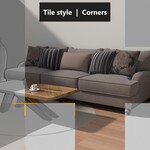
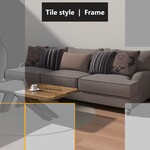
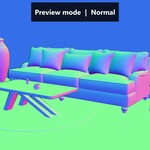
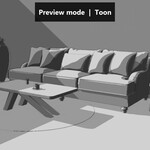
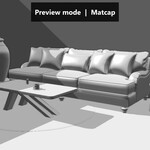
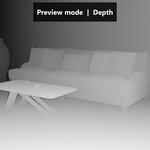
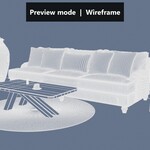
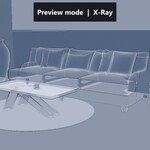
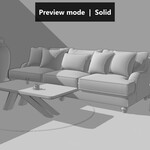
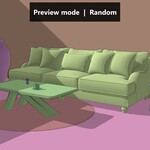
| Style | Preview Shading mode, Tile Style and Tile Order. |
| Options | Hide the bar at the end of the render, split line Angle and Blend for Versus mode, titles for each mode, and the level of detail used in the viewport (LOD Preview) and in the final render (LOD Render). |
Tile
| Grid | Number of tile columns and rows. |
| Timing | Threads (tiles rendered at the same time), Seed and Variation (difference in render time between tiles). |
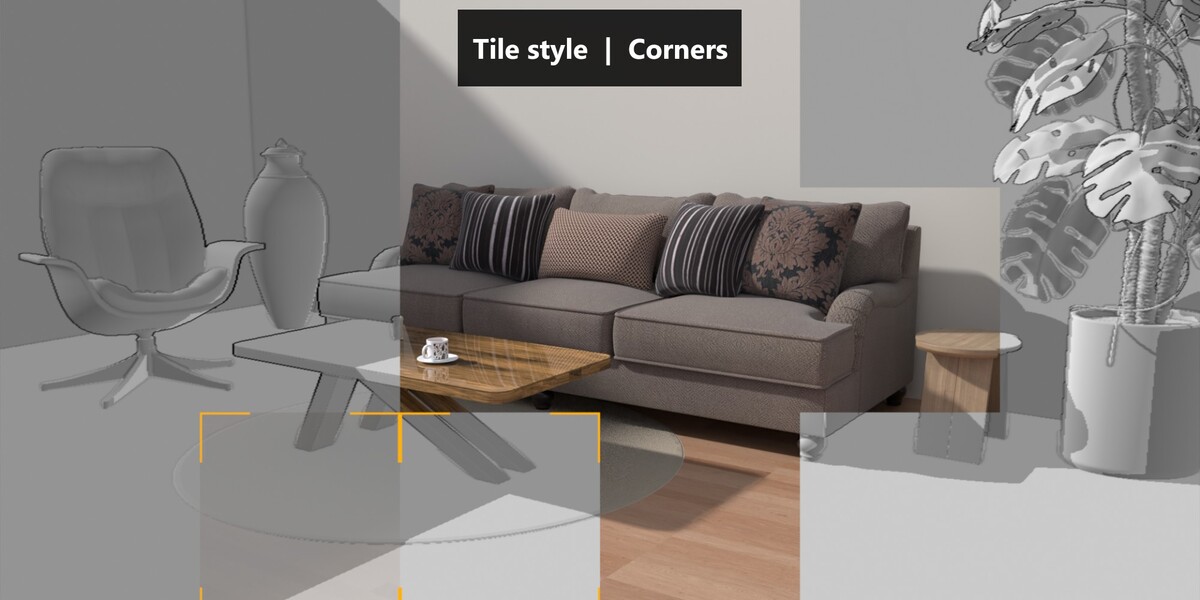
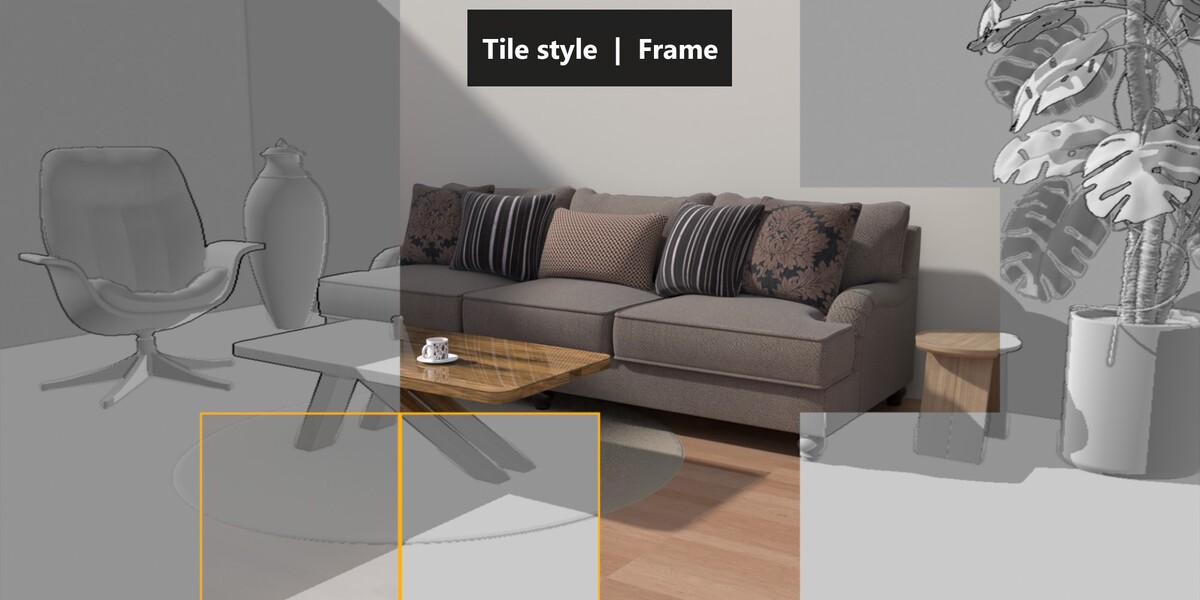
| Style | Outline Line Width, Color and Brightness, Fade duration of finished tiles and Flash intensity. |
Infos
| Bar | Length, rounding, thickness and resolution of the progress bar. Rounding also applies to the title and label boxes. |
| Text | Font, global layout (size, position, angle, snapping), title settings and percentage settings (alignment, units, decimals). |
| Shading | Colors and emission strength of the texts, boxes and bar. |
Preview
| Collection | The objects displayed in the preview. |
| Look | Brightness, base color, background color and gradient top color. |
| Details | Ambient occlusion, outline strength and outline color. |
Shadow
| Light | The light used to shade the preview and cast shadows. Any light type can be used. |
| Mode | Direction uses the light rotation (parallel shadows, like a Sun). Position uses the light location (shadows radiating from a point). |
| Color and Shadow | Shadow tint and strength. Set Shadow to 0 to disable shadows. |
Tips
Smooth navigation Use a low LOD Preview value for a fast pixel-style preview in the viewport and a higher LOD Render value for the final render. |
Consistent modes Render and Versus modes share the same preview grid, so switching between them keeps the exact same pixel layout. |
Depth of Field Camera Depth of Field is not supported. Disable it while using Virtual Render, otherwise the simulated screen is blurred. |
Modifier warning If a warning appears on the modifier, select a collection containing objects in the Preview panel. |
Need help?
Check the FAQ tab or send a message through the Questions tab. Every message is read and answered.
Have questions about this product?
Login to message
| Published | about 4 hours ago |
| Blender Version | 5.2 |
| Render Engine Used | Cycles, Eevee |
| License | Royalty Free |
Discover more products like this
eevee camera render vs viewport viewport render progress geometry nodes preview tile render render simulator youtube intro Cycles motion graphics