 MeshMind
VSE Audio Cleaner — Documentation
Installation
- Download the VSE Audio Cleaner
.zipfile - In Blender, go to Edit > Preferences > Get Extensions
- Click the dropdown arrow near the top right and choose Install from Disk
- Select the
.zipfile — it installs as "VSE Audio Cleaner" - Confirm the checkbox next to it is enabled
Requires Blender 4.2 or newer. No external dependencies, no internet connection needed.
Where to find it
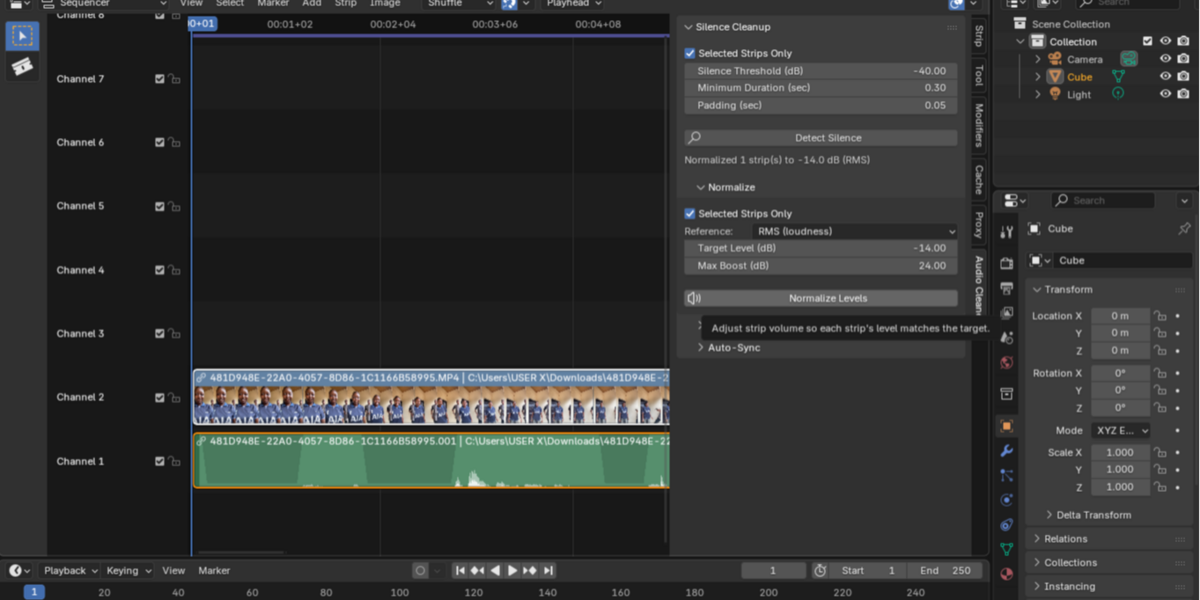
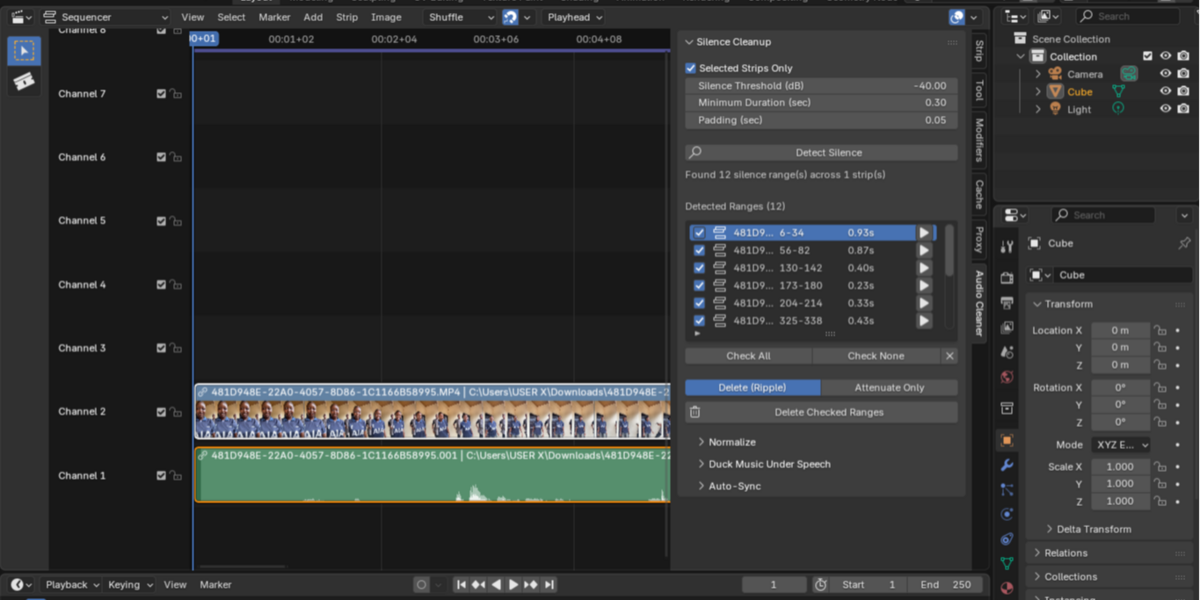
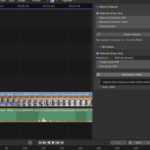
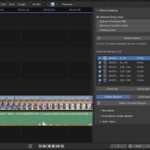
Open the Video Editing workspace, press N in the Sequencer to open the sidebar, and select the Audio Cleaner tab. You'll see the Silence Cleanup panel with three collapsible sections below it: Normalize, Duck Music Under Speech, and Auto-Sync.
A note before you start
All four tools work on sound strips only. If you added your video using Add → Movie with "Sound" enabled (the default), Blender already creates a separate sound strip for you automatically — you don't need to do anything extra. If your video strip has no matching sound strip, split the audio out first: Strip → Audio → Extract, or re-add the video via Add → Movie with Sound checked.
Feature: Silence Cleanup
What it does: Scans sound strips for silence and dead air, lists every range it finds, and lets you either delete or quiet each one.
Workflow:
- Select the sound strip(s) you want to scan (or disable "Selected Strips Only" to scan every sound strip in the project)
- Adjust settings if needed (defaults work well for typical spoken dialogue)
- Click Detect Silence
- Review the list — uncheck anything you don't want touched
- Choose an Action: Delete (Ripple) or Attenuate Only
- Click Process Checked Ranges
Settings explained:
- Silence Threshold (dB) — audio quieter than this counts as silence. More negative (e.g. -50) is stricter and only catches near-total silence. Less negative (e.g. -30) also catches quiet room tone.
- Minimum Duration (sec) — only flags gaps at least this long, so natural pauses between words aren't caught unless you want them to be.
- Padding (sec) — shrinks each detected range inward on both ends, so a cut never lands right on the edge of a word.
- Action → Delete (Ripple) — cuts the range out entirely and shifts everything after it left, shortening your timeline.
- Action → Attenuate Only — keeps every cut exactly where it is and just lowers the volume through the range. Use this for room tone or background noise you want quieter, not gone.
- Attenuate Amount (dB) / Fade Time (sec) — how much quieter, and how smooth the transition is (only shown in Attenuate mode).
Feature: Normalize
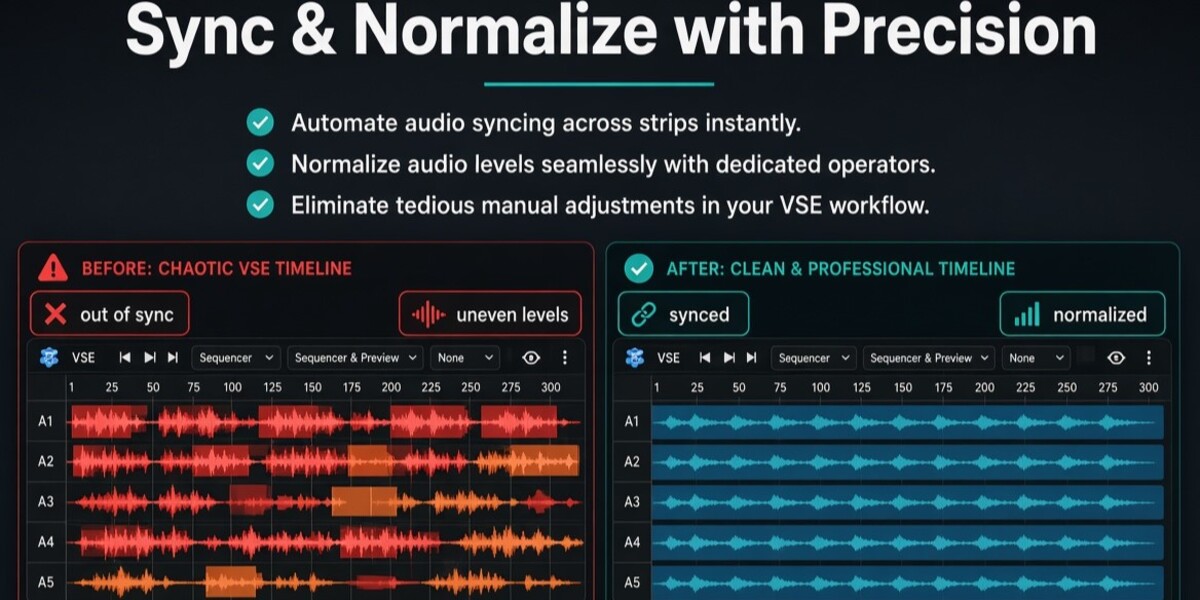
What it does: Measures each strip's level and adjusts its volume so it matches a target — useful when strips were recorded on different microphones or in different rooms.
Workflow:
- Select the strip(s) to normalize (or disable "Selected Strips Only")
- Choose a Reference mode and Target level
- Click Normalize Levels
Settings explained:
- Reference: Peak — normalizes so the single loudest sample in the file hits your target. Good for avoiding clipping.
- Reference: RMS (loudness) — normalizes overall perceived loudness. Usually the better choice for spoken dialogue.
- Target Level (dB) — the level you want strips to match. -14 dB RMS is a reasonable starting point for voice.
- Max Boost (dB) — caps how much a quiet file can be amplified, so a near-silent recording doesn't get boosted into audible hiss.
Feature: Duck Music Under Speech
What it does: Automatically lowers a music strip's volume wherever dialogue is active, and brings it back up in the gaps.
Workflow:
- In the Sequencer, select only the music strip(s) you want ducked
- Make sure every other sound strip is deselected — they're all treated as dialogue
- Open the Duck sub-panel, adjust settings if needed
- Click Duck Selected Music Under Dialogue
Settings explained:
- Voice Threshold (dB) — audio above this level on the dialogue strip(s) counts as active speech.
- Minimum Phrase (sec) — ignores very short speech blips shorter than this.
- Bridge Gaps Under (sec) — treats short pauses between words/sentences as still-speaking, so the music doesn't pop back up between every word. Increase this if the music flickers too much; decrease it if music recovers too slowly during real pauses.
- Duck Amount (dB) — how much quieter the music gets while speech is active.
- Fade Time (sec) — how long the volume ramp takes going down and coming back up.
Note: Running Duck and Attenuate on the same strip will replace the first one's volume automation, not combine with it. Use one or the other per strip.
Feature: Auto-Sync
What it does: Aligns two separately recorded audio strips (e.g. a camera mic and a separate recorder capturing the same moment) using waveform cross-correlation — no clapperboard required.
Workflow:
- Select exactly two sound strips
- Open the Auto-Sync sub-panel
- Click Auto-Sync Selected Strips
- The later strip moves automatically; the reported offset shows in the panel
Settings explained:
- Analysis Window (sec) — how much of the start of each strip is compared to find the match. If the two recordings don't share an obvious audio event (a clap, a door, matching room tone) within this window, widen it.
Note: Auto-Sync needs the two recordings to actually overlap somewhere in the analyzed window. It can't align two clips that share no common audio event.
Tips & Best Practices
- Tune your Silence Cleanup threshold once for your mic and recording space — it'll hold for future takes with the same setup.
- Run Silence Cleanup and Normalize before Duck, so the ducking analysis is working with already-cleaned dialogue.
- For Auto-Sync, a single clap or door slam at the very start of a recording session makes alignment fast and reliable — build that into your recording habit if you regularly record dual-source audio.
- Every action here is a single Ctrl+Z step, so don't hesitate to experiment with settings and undo if a result isn't what you wanted.
Have questions about this product?
Login to message
| Blender Extension Compatible | Yes |
| Published | 5 days ago |
| Blender Version | 4.2 - 5.2 |
| Extension Type | Add-on |
| Render Engine Used | Cycles, Eevee |
| License | GPL |

Discover more products like this
normalize vse sync video editing audio sequence silence detection ducking