WallCraft - Parametric Walls Pro
 ParametrStudio




Documentation
WallCraft is a Geometry Nodes asset. No scripting or coding knowledge is required to operate it: the whole design is driven from the modifier panel in Blender's standard UI.
Since 1.2.4 the download contains two files. The asset WallCraft_v1.2.4-Blender_5.2.0.blend holds the generators (Procedural, Graph, Legacy, Slicer) and the demo scene. The extension WallCraft_1.2.4.zip is optional and adds the fabrication panel. Blender 5.2 or newer is required for both.
1. Design: working with the asset
- Open the .blend, or append a wall object from it into your own scene (File > Append > Object).
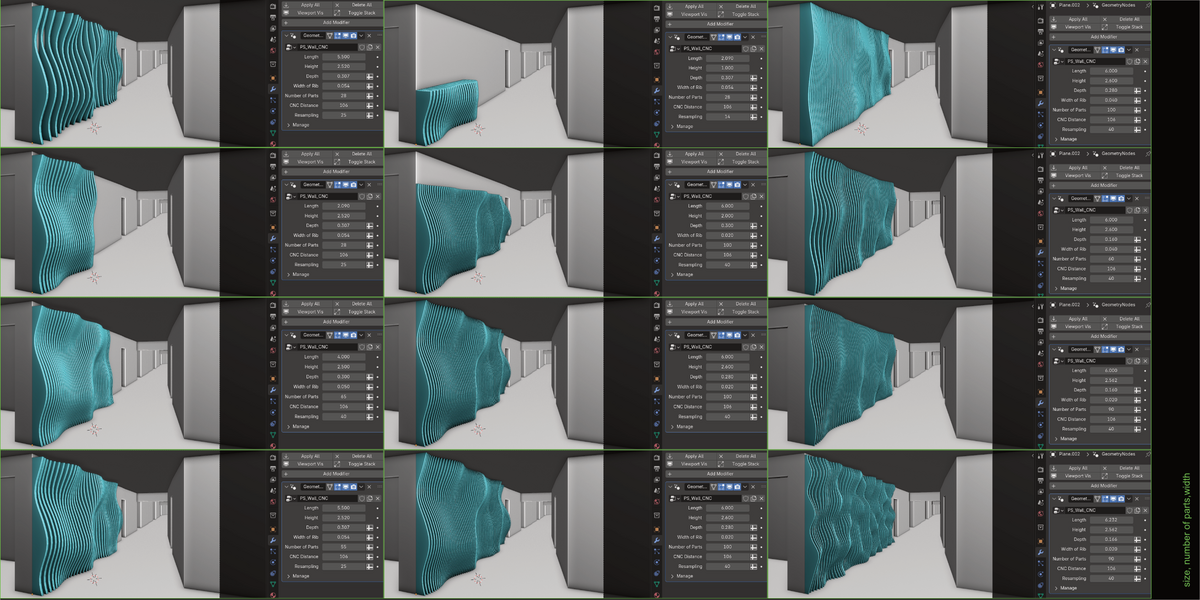
- Select the wall. In the Modifier panel you will find all parameters grouped by category: dimensions, rib count, depth, pattern variant, joints, labels.
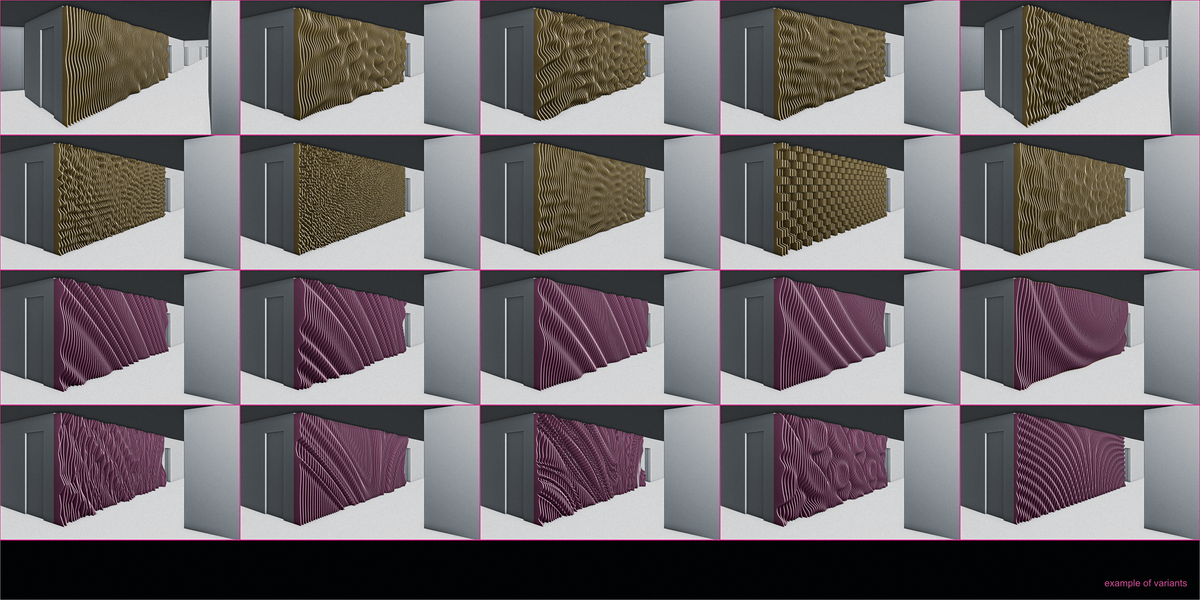
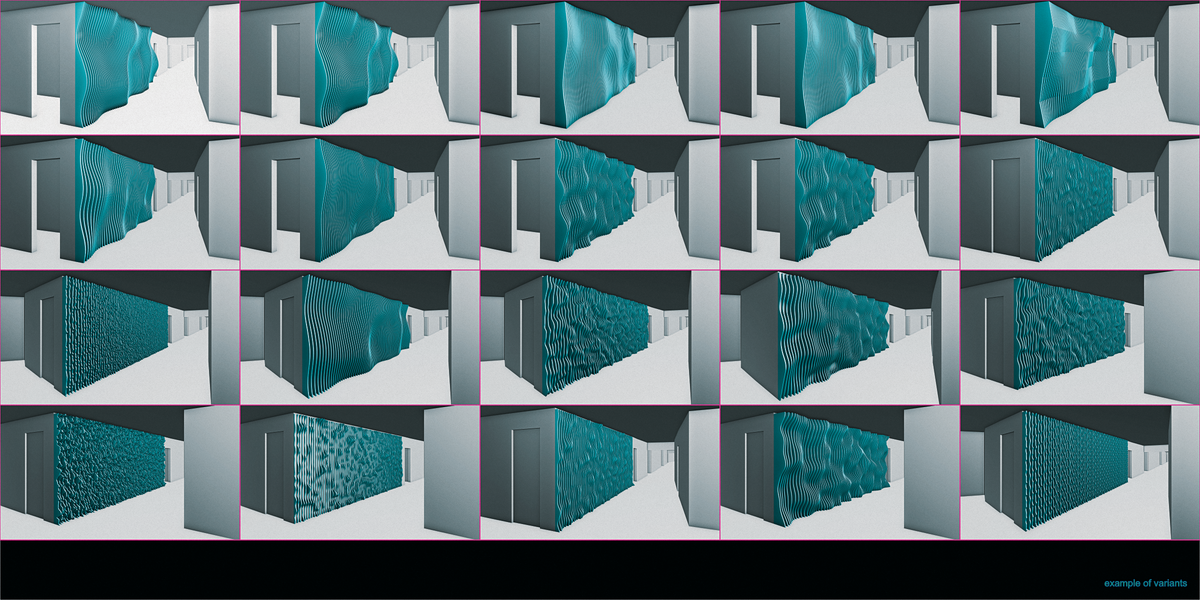
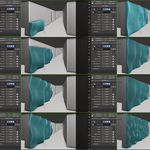
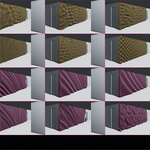
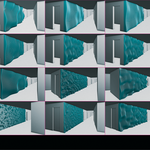
- Pick one of the 30 procedural variants or use the Graph generator and shape the profile with its curves.
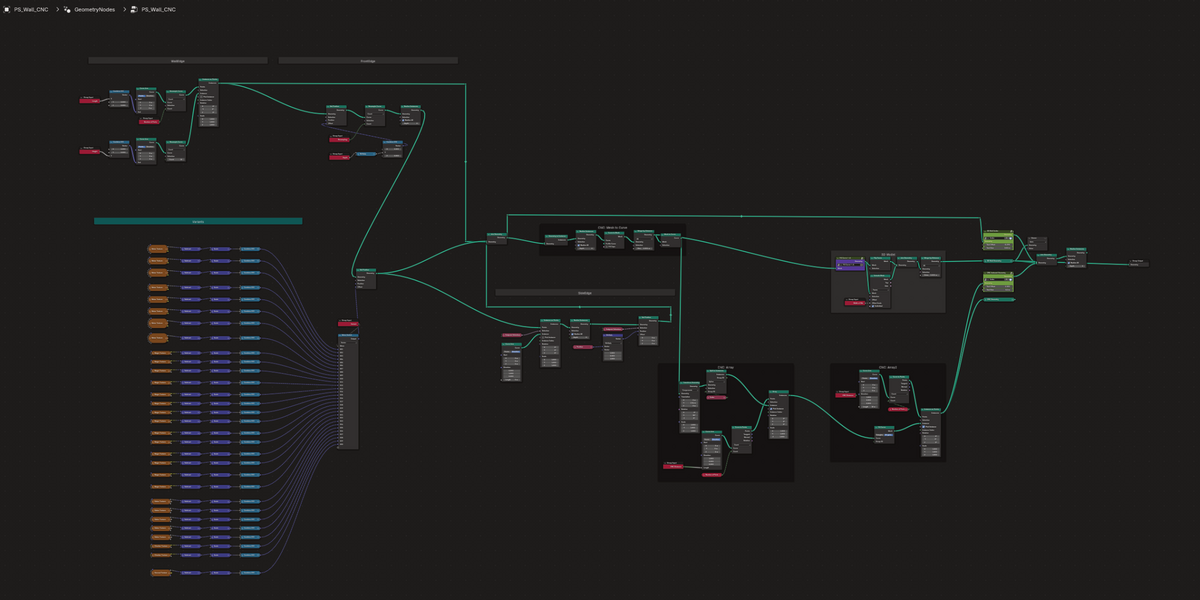
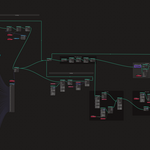
- For finer control, open the node tree, expand the minimized Noise Texture node of the selected variant and change 1 to 3 values.
How to edit the parameter values

Inputs are in Blender units. If your scene uses a different Unit Scale, the fabrication export converts it automatically; the modifier values themselves stay in Blender units.
2. Fabrication: nesting, DXF and cut list
The extension reads the selected wall and produces production files. It never changes the wall or its node group.
Install
- Edit > Preferences > Get Extensions > menu in the top right corner > Install from Disk > select
WallCraft_1.2.4.zip. - Open or append the asset, select a wall, press N in the 3D viewport and open the WallCraft tab.
Panel
| Header | Name and kind of the active wall (Procedural, Graph, Legacy, Slicer). With no wall selected the panel is disabled. |
| Sheet (mm) | Sheet width and height, part gap, sheet margin, 90 degree rotation, label text height (0 = auto). |
| Material | Density preset (MDF, plywood, OSB, chipboard, acrylic, HPL, aluminium) or custom value for the mass estimate. Thickness is read from the wall's Rib Width. |
| Output | SVG and CSV toggles, inner contours on a separate HOLES layer, CNC plane (Auto). |
Workflow
- Check parts and nesting: validates every contour (closed loops, self-intersections, split parts, parts larger than the sheet) and nests the parts. Writes nothing; the result and any warning appear in the panel.
- Preview nesting in scene: creates a wire object with the sheets and part numbers next to the wall, in scene units. Running it again replaces the previous preview.
- Export fabrication files: choose a file name. You get a DXF R12 in millimetres (layers CUT, HOLES, ENGRAVE, SHEET; sheets side by side in one file) and, if enabled, an SVG with the same layout and a cut list CSV with one row per part and a material summary.
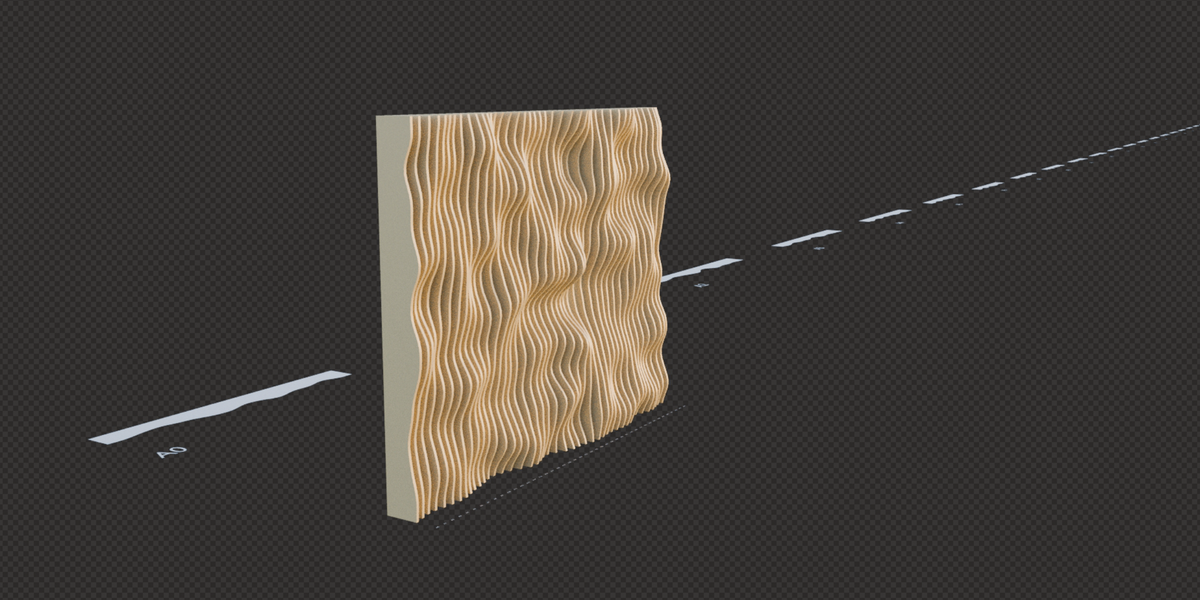
- CAD / CAM: import the DXF into Rhinoceros, your CAM software or send the SVG to a laser or plotter. Part numbers on the ENGRAVE layer match the numbers in the 3D model and in the CSV.
Always check the output before production. The extension is experimental and written with the help of agentic AI. Outlines are polylines without arcs, nesting is bounding-box based (typically 35 to 55 % sheet utilisation), there is no kerf compensation, no toolpaths and no G-code; mass is an estimate for quoting only. Output is independent of the wall's location and rotation, but object scale must be 1.
3. Legacy workflow: curves and SVG from the asset (1.0.5 to 1.1.2)
Versions before 1.2.4 exported 2D curves with Python scripts bundled in the .blend. The scripts still work in the 1.2.4 asset, but the fabrication extension replaces them.
- Selection: select the object with the Geometry Nodes modifier.
- Conversion: run the script Export_Curves from the Text Editor. It duplicates the object and converts the output to native curves without applying or destroying the original modifier stack. Since 1.1.2 the script also writes the SVG directly into the project folder.
- SVG export (1.0.5 to 1.1.0 only): select the generated curve object and export it via File > Export > Scalable Vector Graphics (.svg).
- CAD import: import the SVG into Rhinoceros or your preferred CAD software.
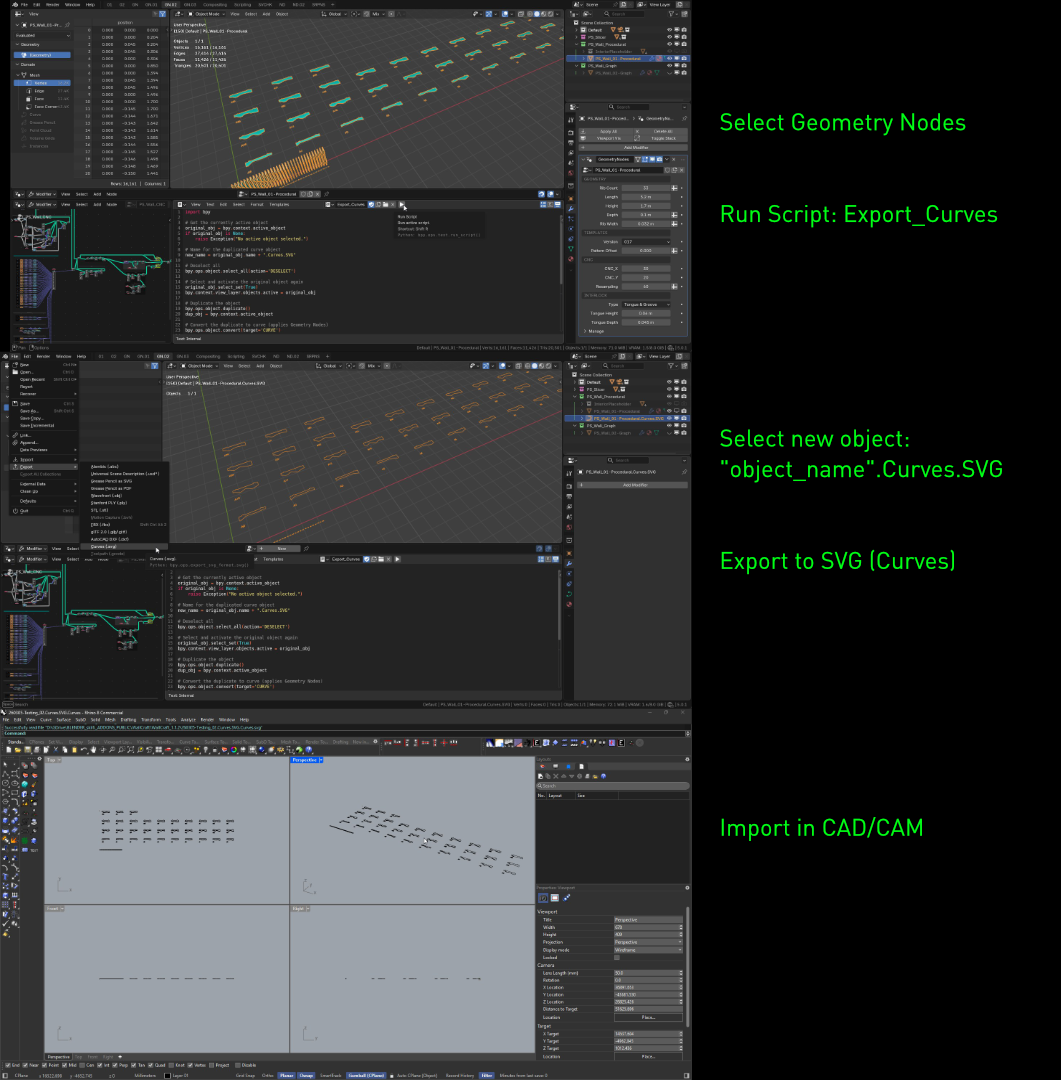
This hybrid approach keeps a live, parametric original while providing a clean curve duplicate for external interoperability. Part numbers are not nested onto sheets and there is no cut list; use the extension for that.
Have questions about this product?
Login to message
| Sales | 100+ |
| Rating | 4 ratings |
| Dev Fund Contributor | |
| Published | almost 2 years ago |
| Blender Version | 4.4 - 5.2 |
| License | Royalty Free |
Discover more products like this
CNC lamella fabrication slat partition parametric-wall parametric design wall design wallcraft generative wall parametric