Non-Destructive Weight Layer & Voxel Skinning Add-On For Blender (Alpha)
 pillarsofdynamicgames


1. Installation
Download the provided
voxel_engine.zipandweight_layer.zipfiles from your official download source.Open Blender.
Drag and drop both zip files directly into the Blender interface.
Once installed, the control panels will be accessible via the 3D Viewport Side Panel (N-panel) under two new dedicated tabs: "Weight Layer" and "Voxel Skin". If the panel is hidden, press the
Nkey to toggle its visibility.
2. Core Workflow & Controls
Getting Started
Select your mesh and your armature together in Object Mode (you can press the
Akey to select all objects in your scene).Navigate to the Weight Layer N-panel tab.
-
Under the Armature and Targets section, click Set Targets from Selection. This action binds the active geometry and bone structures into the non-destructive layer system database.
Hotkeys & Shortcuts (In Weight Painting)
Ctrl + Shift + Left Click— Select Bone: Instantly targets a specific bone within the viewport while in paint mode.Ctrl + Mouse Wheel Up/Down— Cycle Bones: Scrolls up and down through the bone hierarchy sequentially to swap your active painting target.Alt + F— Pie Menu: Calls the contextual radial operations menu (Quick access to paint brushes, selection modes, and target mesh swapping).Ctrl + Left Mouse Button— Erase Mask: Dynamically wipes away active masking areas when painting.-
Shift + Left Click— Smooth Mask: Blends and softens the edges of your paint masks for smoother transitions.Non-Destructive Weight Layering
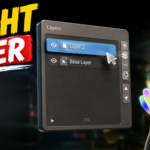
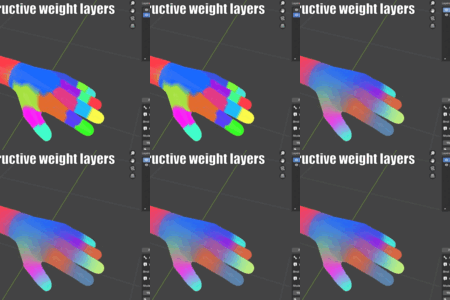
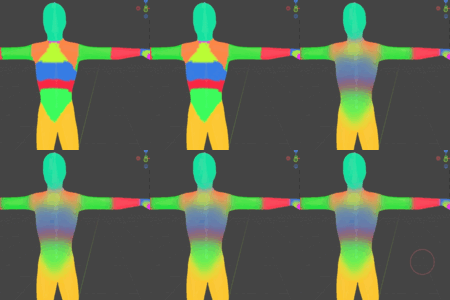
Think of this system like Photoshop layers, but for skin weights. It allows you to tweak specific regions safely without corrupting your base weights.
Create a new layer in the Weight Layer panel.
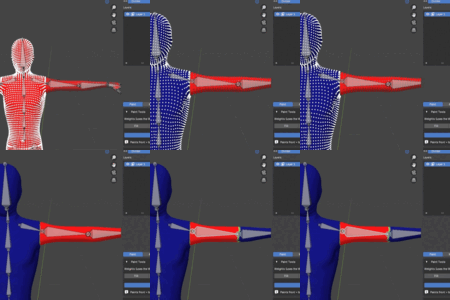
Select only the bones you want to affect in this layer (for example, just the finger bones) and click Add.
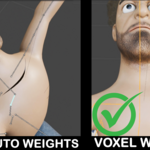
Go to Edit Weights and choose Blender Automatic Weights or Assign From Closest Joint to apply changes exclusively to those selected bones on that layer.
-
Toggle the visibility icon next to any layer to instantly compare or hide your adjustments.
Asymmetrical Live Mirroring
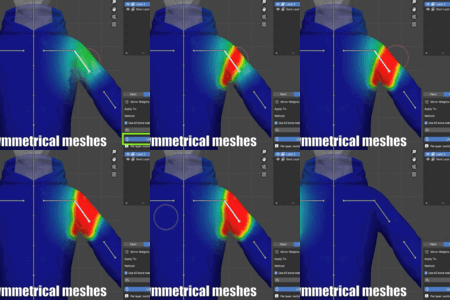
Blender's native tools fail to mirror weights if a mesh has uneven clothing or a single asymmetrical vertex. This toolset overcomes that limitation:
Open the mirror section in the panel and enable Live Mirror.
Anything painted on one side will instantly map to the corresponding bone on the other side, regardless of topological asymmetry.
-
Alternatively, click Force Mirror to instantly sweep and copy your layer weights directly to the opposite side of the character.
4. Posing, Finalizing, and Baking
Deform Testing
-
Use the Disable in Viewport icon (the eye toggle) next to target meshes in your list to temporarily hide outer garments like jackets or armor. This allows you to smoothly inspect underlying meshes and ensure deformations look clean in deep poses.
Once you are completely satisfied with your non-destructive layer stack and deformation tests:
Scroll to the bottom of the Weight Layer control panel.
Click Bake.
-
-
$35
1 seat
-
$150
up to 5 seats
Have questions about this product?
Login to message
| Published | 3 months ago |
| Blender Version | 4.5 |
| Extension Type | N/A |
| License | GPL |

Discover more products like this
Blender weight painting bone-weights blender weights blender addon weight paint characters automatic-weight