 Arthzuul
Requirements and compatibility
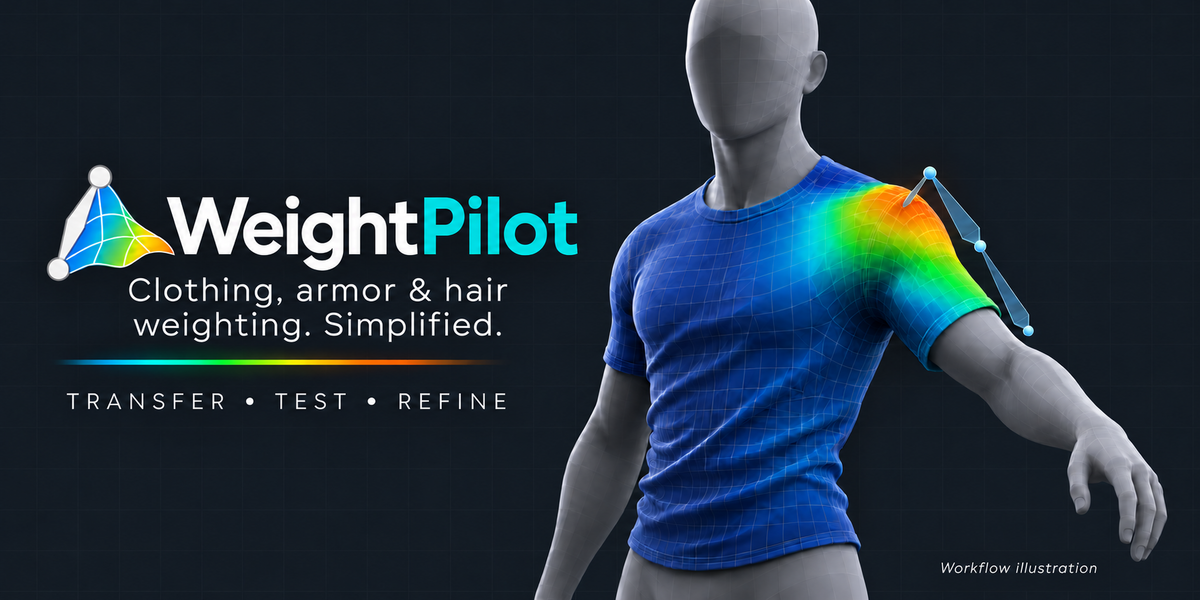
WeightPilot needs Blender 4.5 LTS or newer and a body mesh that is already rigged and weighted.
- Blender: 4.5 LTS – 5.2 LTS. Automated tests pass on 4.5.15, 5.1.2 and 5.2.3; 5.0 not tested.
- Platforms: Pure Python, no compiled parts. Tested on Linux; installed and run on Windows (Blender 5.2).
- You need: a body mesh weighted to an armature (it has an Armature modifier), and clothing, armor or hair meshes positioned on it.
- Works with: any bone names, any rig add-on, multiple garments at once, existing garment weights (Replace or Blend).
- Hair: hair meshes: cards, strips or modelled strands.
- Install type: Blender Extension (Extensions → Install from Disk, or Superhive's remote extension install).
- Network: none. Everything runs locally.
- License: GPL-3.0-or-later.
Not included: automatic weighting of an unweighted character, Blender's Curves and particle hair systems (they follow their surface mesh and have no vertex groups), and creating bones or physics.
Installation
Install the ZIP as an extension. Don't unzip it.
From the downloaded ZIP
- Download weightpilot-1.0.0.zip from your Superhive orders page.
- In Blender, open Edit → Preferences → Get Extensions.
- Click the dropdown arrow in the top-right corner and choose Install from Disk….
- Select the ZIP. WeightPilot is enabled automatically.
- In the 3D Viewport, press N and open the WeightPilot tab.
From Superhive inside Blender
Drag the product from your Superhive orders page into Blender, or install it from the Superhive repository in Get Extensions. The first time, Blender asks for your Superhive API token. Updates then arrive inside Blender.
Updating from a ZIP
- Edit → Preferences → Add-ons, click the dropdown next to WeightPilot and choose Remove.
- Restart Blender.
- Install the new ZIP as above.
Your weights, regions and checkpoints are saved in your .blend files, so updating doesn't lose them.
Tips: explanations are hidden by default. Press the ? button next to the step tabs to show them, or tick Show Tips under Add-ons → WeightPilot.
Quick start
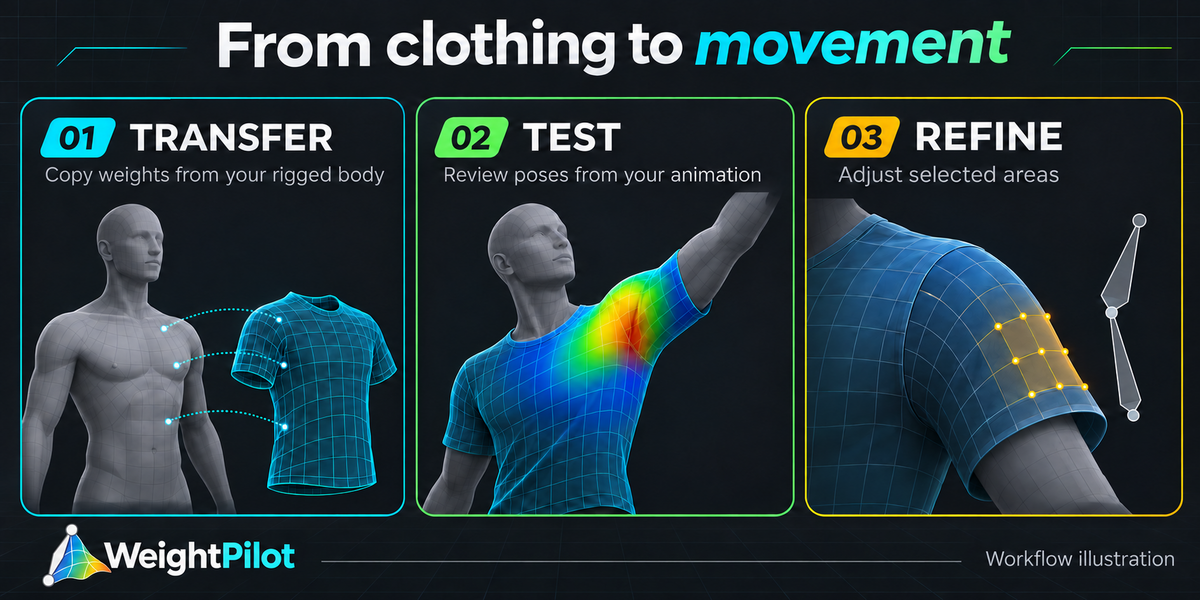
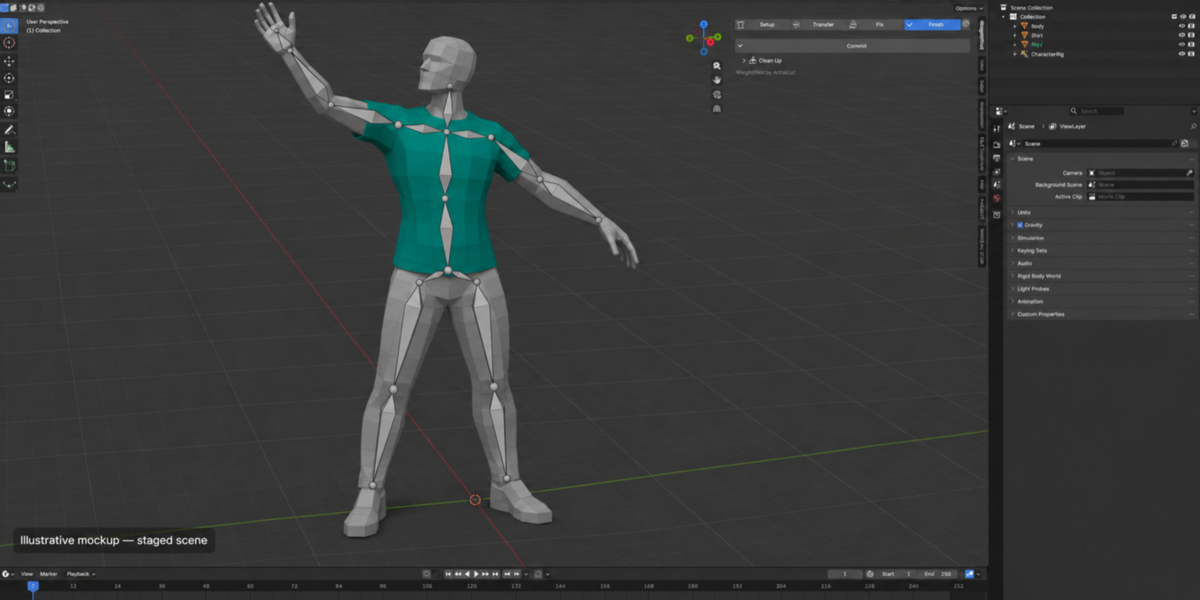
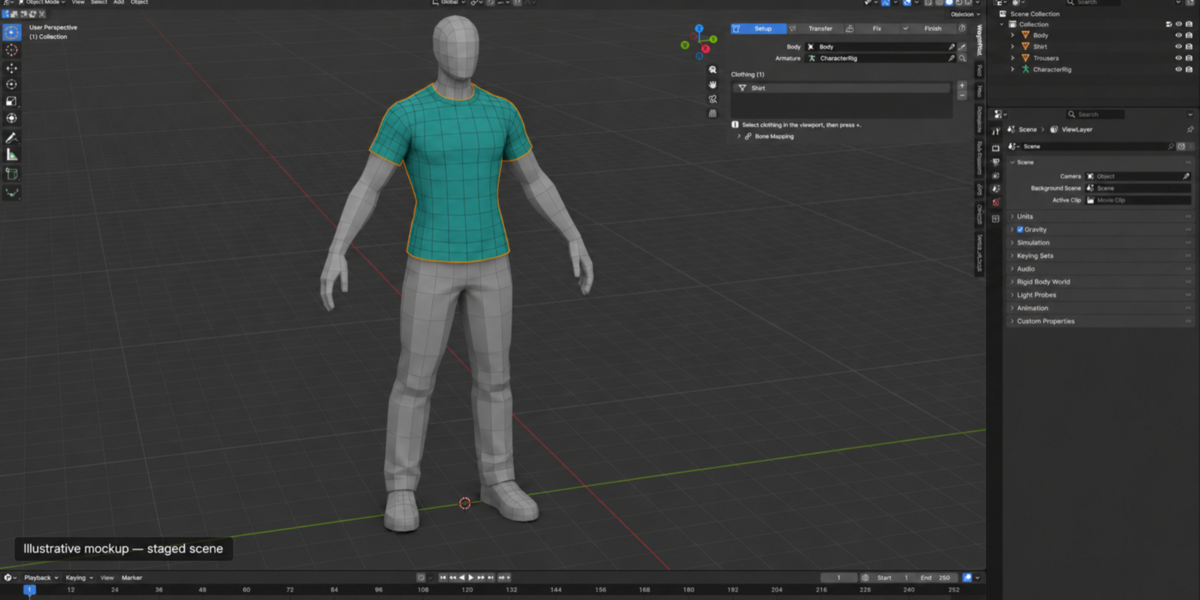
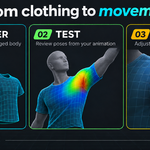
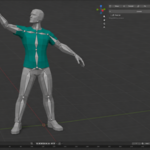
You can weight a shirt in about five minutes. Open weightpilot_demo.blend from the download, or use your own rigged character. The WeightPilot tab has four step tabs along the top (Setup, Transfer, Fix, Finish). A tab gets a tick when its step is done, and a Next button appears when the next step is waiting on another tab.
1 · Setup
- Body: pick the rigged body, or click it in the viewport and press the eyedropper.
- Armature: press the magnifier and WeightPilot finds it from the body's Armature modifier.
- Clothing: select your clothing in the viewport and press +.
- Highlight each item in the list and set its type: Clothing, Hard Armor or Hair. For hair, press Detect.
2 · Transfer
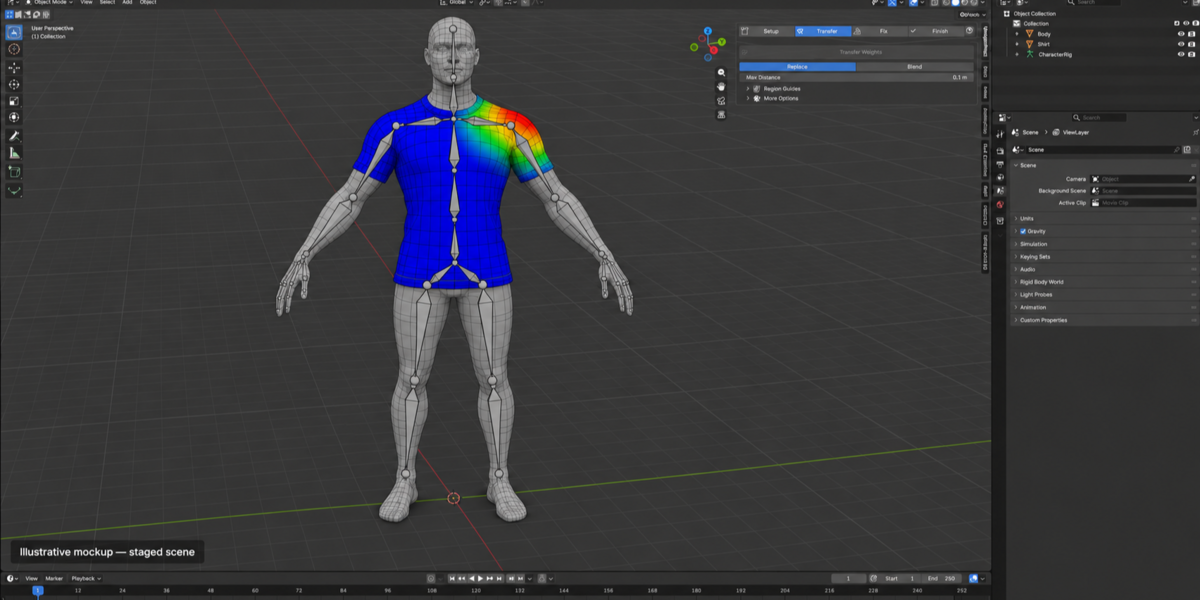
- Leave Replace selected and press Transfer. A clean transfer moves you on to the Fix tab by itself.
- If anything was too far from the body, press Select to see it.
3 · Fix
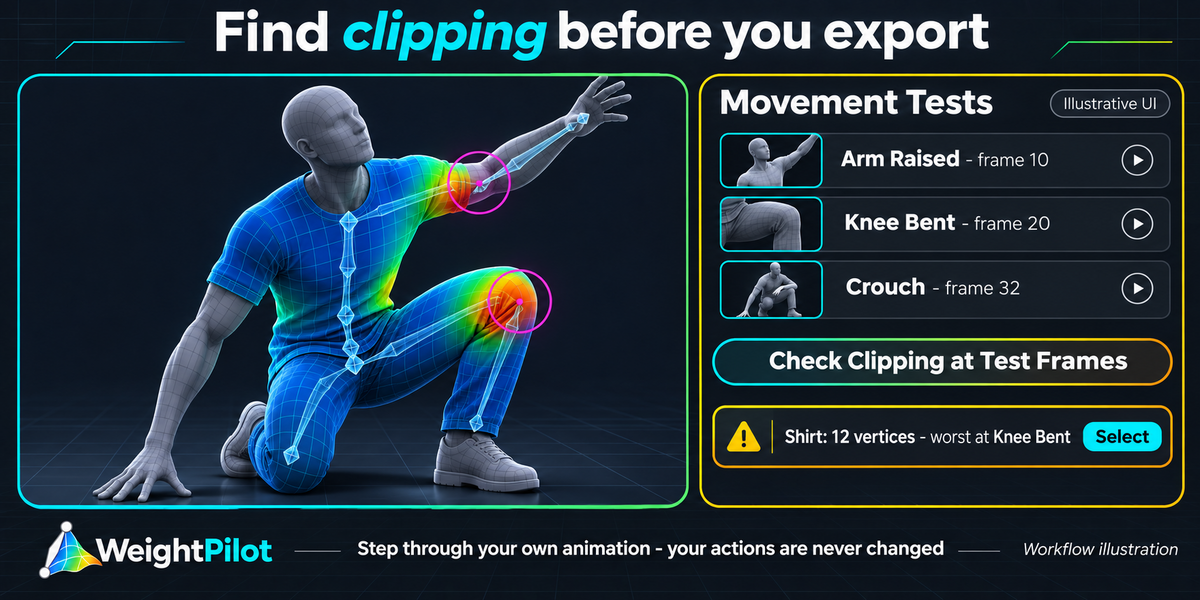
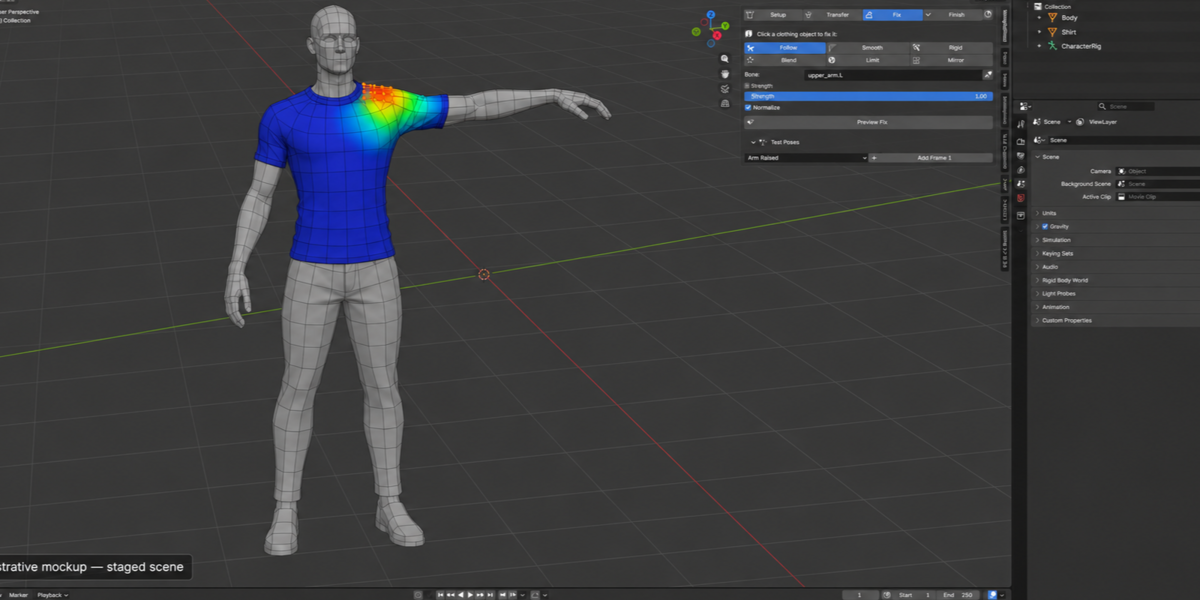
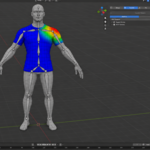
- Go to a frame that bends the clothing, such as an arm raise, and press Add Frame under Test Poses. Add two or three.
- Press Check Clipping.
- Select any problem vertices in Edit Mode, pick a tool from the grid, press Preview Fix, adjust, then Apply.
4 · Finish
- Press Commit. It runs a final check on every object and saves a checkpoint.
That's it. The sections below explain every option.
User guide
WeightPilot lives in 3D Viewport → Sidebar (N) → WeightPilot. Four tabs run along the top: Setup · Transfer · Fix · Finish. Only the current step is shown, and extras sit in collapsed sections you open by clicking their header. While a fix preview is open, its Apply and Cancel buttons stay pinned at the top, whichever tab you are on.
Setup
- Body: the rigged, weighted mesh. WeightPilot only reads it and never changes the body's weights.
- Armature: the rig the clothing will follow. The magnifier reads it from the body's Armature modifier and tells you if there are several.
- Clothing list: every object to weight. + adds the selected meshes; the Body is never added. − removes the highlighted one.
- Type (for the highlighted object): Clothing, Hard Armor or Hair. See Object types below.
- Problems show up as you go, with the fix written out: missing armature, non-mesh objects, linked or non-editable data, clothing already bound to a different armature, or a body with no deform weights.
- Bone Mapping (collapsed): only needed when the body's vertex groups are named differently from the bones of the armature the clothing will follow. List Unmatched Groups fills in the rows, so you only type the bone names. Check Setup also reads the body's weights.
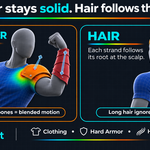
Object types
| Type | Use it for | How it's weighted | Settings |
| Clothing | Shirts, trousers, gloves, boots, cloth | Every vertex copies the body surface under it | — |
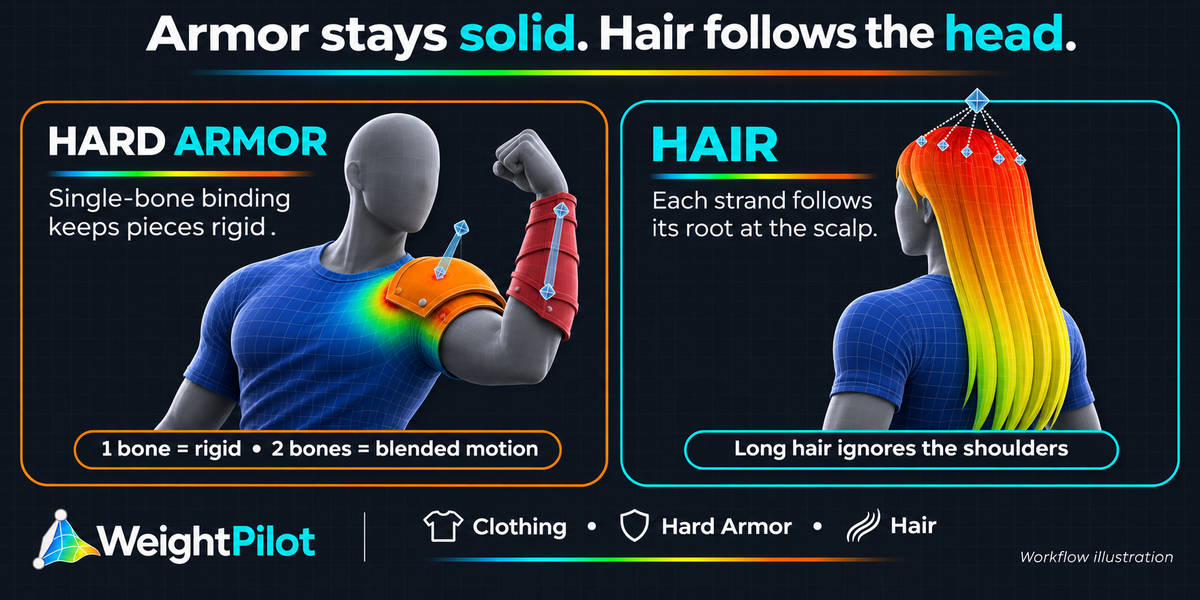
| Hard Armor | Pauldrons, plates, bracers, helmets, belts | Each connected part gets one set of weights (its average), so it never bends | Bones per Piece: 1 = fully rigid; 2–3 = solid but follows a mix |
| Hair | Hair cards, strips, modelled strands | Each strand uses the weights at its root on the scalp | Hair Follows (Detect), Tip Follows + Tip Amount |
For a shoulder pad that clips into the head when the arm rises, use Hard Armor with 2 bones. The pad stays solid but follows both the upper arm and the chest. For long hair resting on the back, set Tip Follows to an upper spine bone and Tip Amount to about 0.3, so the ends move with the back instead of passing through it.
Transfer
- Transfer button: copies the body's weights onto every clothing object. A backup checkpoint is saved first.
- Replace / Blend: Replace swaps in the body's weights; Blend mixes them with what's there. Hard Armor and Hair always replace, because blending would make pieces bend.
- Max Distance: clothing farther than this from the body gets no weights instead of weights from a distant body part. Those vertices are reported as too far and can be selected. For armor and hair, only one vertex per piece or strand needs to be in range.
- Results: lists any object with vertices that were too far, with a Select button for them.
- More Options (collapsed): Selected Vertices Only, Limit Influences (default 4), Remove Weights Below, Normalize, Add Armature Modifier If Missing (it never changes an existing modifier), Compare Shapes (Base Mesh or As Displayed), Outside Regions, and Include Non-Deform Groups.
Region Guides (optional, collapsed under Transfer)
Use region guides when clothing picks up the wrong body part, like a trouser leg moving with the other leg.
- Click the Body, select the left leg's faces in Edit Mode, pick the Left Leg label and press Save Selected as Region. Repeat for the other parts.
- Click the clothing and save matching regions the same way.
- Press Link Matching Labels, or set Sample From by hand.
- Transfer again.
A vertex in several linked regions samples all of their body regions. Vertices outside every linked region sample the whole body, or are skipped if Outside Regions is set to Don't Transfer. Labels are only for organizing; any bone names work.
Fix
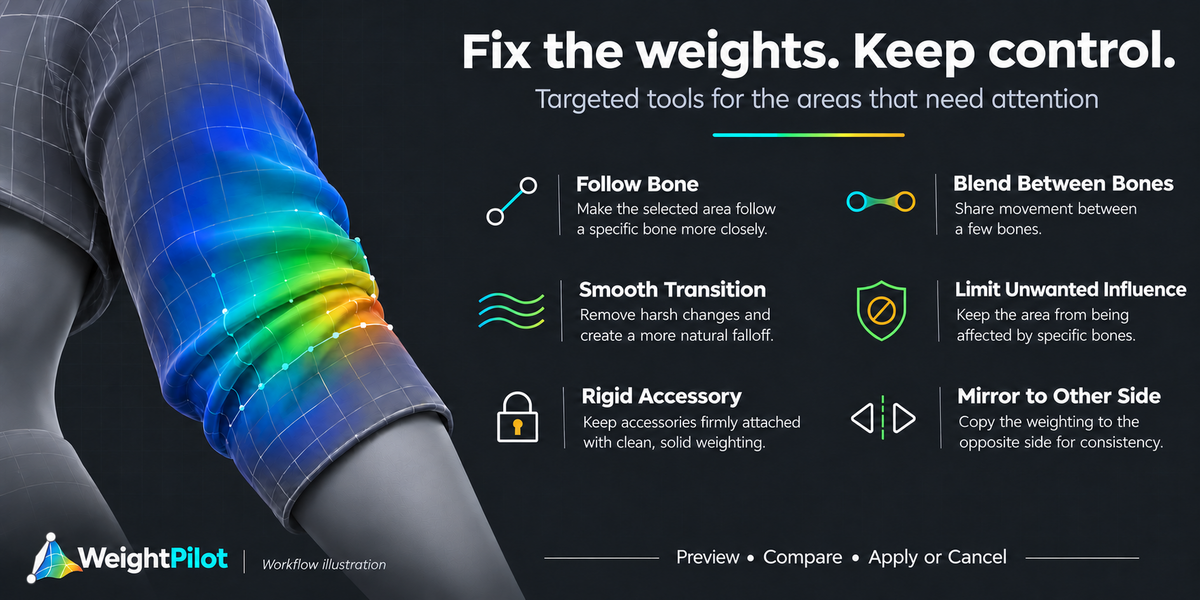
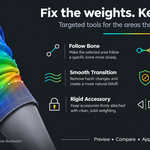
Fix tools. Pick a tool from the grid of six, select vertices in Edit Mode, press Preview Fix, adjust while you watch, then Apply or Cancel. Compare: Show Before flips back to the old weights.
| Tool | What it does | Key settings |
| Follow | Moves the area onto one bone | Bone, Strength, Rigid |
| Blend | Shares the area among a few bones, e.g. upper arm and forearm at an elbow | Bones, By Distance or Evenly, Take over other bones |
| Smooth | Softens hard edges between bones over connected vertices | Strength, Passes |
| Limit | Removes bones from the area and gives their weight to bones you allow | Reduce, Give weight to, Reduce By |
| Rigid | Makes buckles, buttons, plates or pads move as solid pieces | Choose Bone or Automatic (1–3 bones), Whole Object / Selected Parts / Selection as One Piece |
| Mirror | Copies weights across the character's centre, swapping left/right bone names | Selected to Other Side, Left → Right, Right → Left; Match Distance |
The eyedropper next to any bone field fills in the bones that already move your selection, so you don't need to know bone names. Settings stay live while previewing: every change is recalculated from the weights you started with, so nothing builds up. Fixes stay within your Max Influences limit.
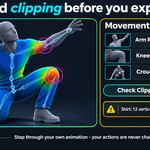
Test Poses. Go to a frame that bends the clothing, choose a label (Arm Raised, Knee Bent…) and press Add Frame. Previous / Next steps through them, and the arrow button returns you to your starting frame. Only the current frame changes; your Actions and NLA are never modified.
Check Clipping steps through every test pose and finds clothing that ends up inside the body. It shows a count per object and the worst frame, and each object has its own Select button. Only clothing that was outside the body on your starting frame is counted. Ignore Below skips tiny overlaps that shading hides.
Protect (collapsed) marks the selected vertices as finished. Transfer, cleanup and every fix tool leave protected vertices exactly as they are.
Check Weights (collapsed) measures unweighted vertices, too many influences, non-normalized weights, vertices outside the transfer distance, weighted groups with no matching bone, small stray influence patches, clipping from the last check, and bending pieces on Hard Armor objects. Each has a Select button, and Too many influences and Not normalized also have a one-click Fix. These are measurements; the test poses show whether it looks right.
Checkpoints (collapsed): Save stores the active object's weights under a name. Restore puts them back, Peek shows them temporarily, and Changed selects every vertex that differs. Restores are refused if the mesh's vertices or connectivity changed since the save. Automatic backups appear with a clock icon.
Finish
- Commit runs the final check on every clothing object and saves a Committed checkpoint. It doesn't change weights.
- Add Armature Modifiers appears if any clothing has none.
- Clean Up (collapsed) removes WeightPilot's own helper data: regions, protection and results. Vertex groups and weights are never touched.
Known limitations
WeightPilot gets you most of the way fast, but it can't promise perfect weights on every mesh. Check Weights and the test poses are how you judge the result.
- Weighted bodies only. It copies weights from a weighted body; it doesn't auto-weight an unweighted character.
- Very loose clothing (long coats, skirts, capes) and geometry far from the body still need judgement and the fix tools.
- Weights live on the base mesh. Compare Shapes: As Displayed only runs when modifiers keep the vertex count, and it includes the current pose, so transfer in the rest pose. Base Mesh ignores shape keys and modifiers.
- Region faces: a body region only uses faces whose corners are all in the region, so select whole faces.
- Ties: a clothing vertex exactly equidistant from two body parts may match either one.
- Hair works on hair meshes. Curves and particle hair have no vertex groups. Hair that needs its own dangly bones should be weighted to those bones. A hair mesh that is one connected shell moves as one rigid piece with the head.
- Detect (head bones) looks at the top 8% of the body's height. If the hands are above the head in the rest pose, set Hair Follows by hand.
- Hard Armor on 2–3 bones can shrink slightly at extreme rotations, a limit of standard linear blend skinning. Use 1 bone where the shape must stay exact.
- Clipping check: bodies built from separate overlapping parts can give a few false reports at the overlaps. Clothing with modifiers that change the vertex count (like Subdivision) can't be checked; disable those modifiers while checking.
- Mirror matches by position across the armature's centre; asymmetric areas are reported and left alone.
- Large meshes run in the foreground with a progress bar. As a guide, a 78,000-vertex garment on a 53,000-vertex body transfers in about 1 second (measured on Linux). Fixes on a selection are faster.
- Generated test poses aren't included yet. Test Poses use frames from your own animation.
Changelog
1.0.0 — First release. Guided Setup → Transfer → Fix → Finish workflow in a tabbed sidebar; surface weight transfer with Max Distance reporting; Clothing, Hard Armor and Hair object types; region guides; Follow, Blend, Smooth, Limit, Rigid (choose or automatic) and Mirror fix tools with live preview; protected areas; test poses; clipping check; weight checks with one-click fix for too many influences; automatic backups and checkpoints with topology-safe restore; Blender 4.5 LTS – 5.2 LTS.
Support and license
Support: message me through Superhive, or email [email protected]. To help me fix things fast, include your Blender version, what you clicked, and the message WeightPilot showed. A small .blend that shows the problem helps most.
License: WeightPilot is free software under the GNU General Public License v3.0 or later (GPL-3.0-or-later). The full source is included in the download. Your purchase supports continued development and updates.
Made by Nathan Tranter (Arthzuul) · arthzuul.com. Also by Arthzuul: NLA Batch FBX Exporter.
 Included
Includes 12 months of
- Support from Arthzuul
- Product updates
Extend this product’s Support Period +12 months: 50% of product price
Have questions before purchasing?
Login to message
| Blender Extension Compatible | Yes |
| Published | about 5 hours ago |
| Blender Version | 4.5 - 5.2 |
| Extension Type | Add-on |
| License | GPL |
Discover more products like this
skinning weights game assets clothing armor vertex groups hair rigging weight painting character