 ATDIGIT
Quick start
- Press N in the 3D Viewport, open the X-Spot 3D tab.
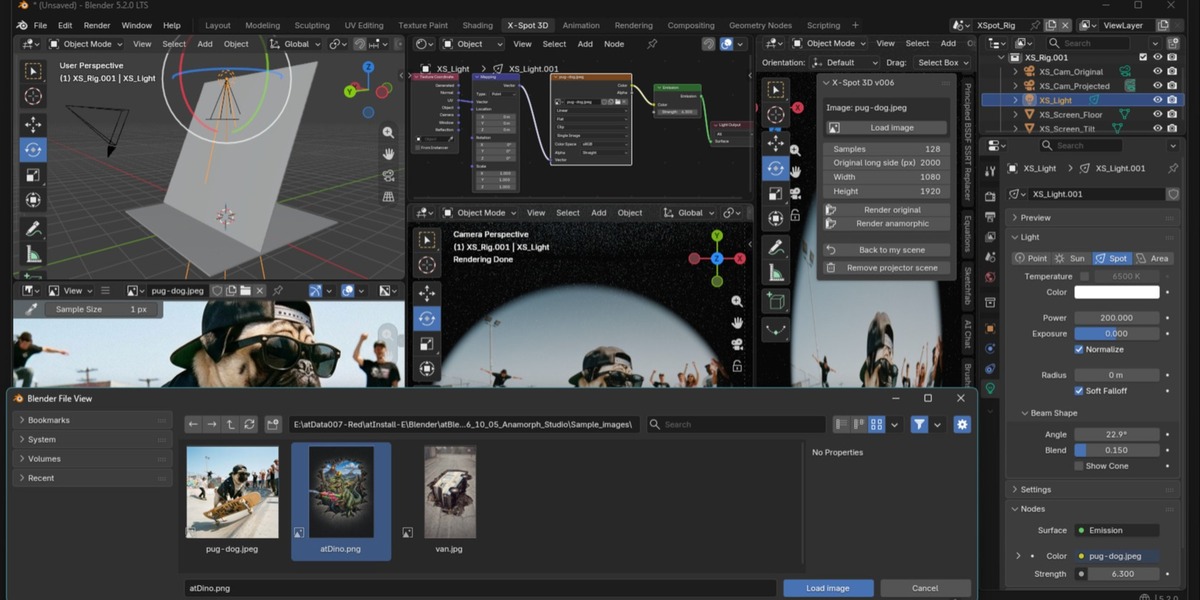
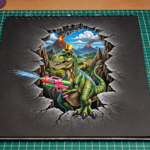
- Click Create projector scene. You land in the X-Spot 3D workspace with a sample picture.
- Click Load image and choose your picture.
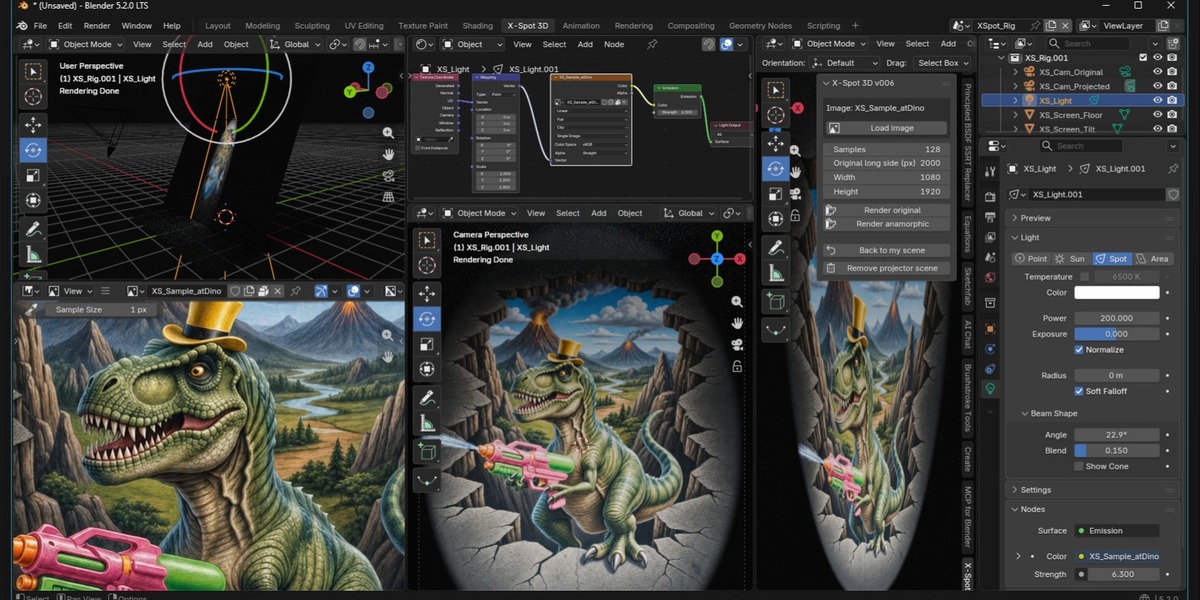
- Click Render original and Render anamorphic.
- Use Back to my scene to return to your own work.
How the rig works
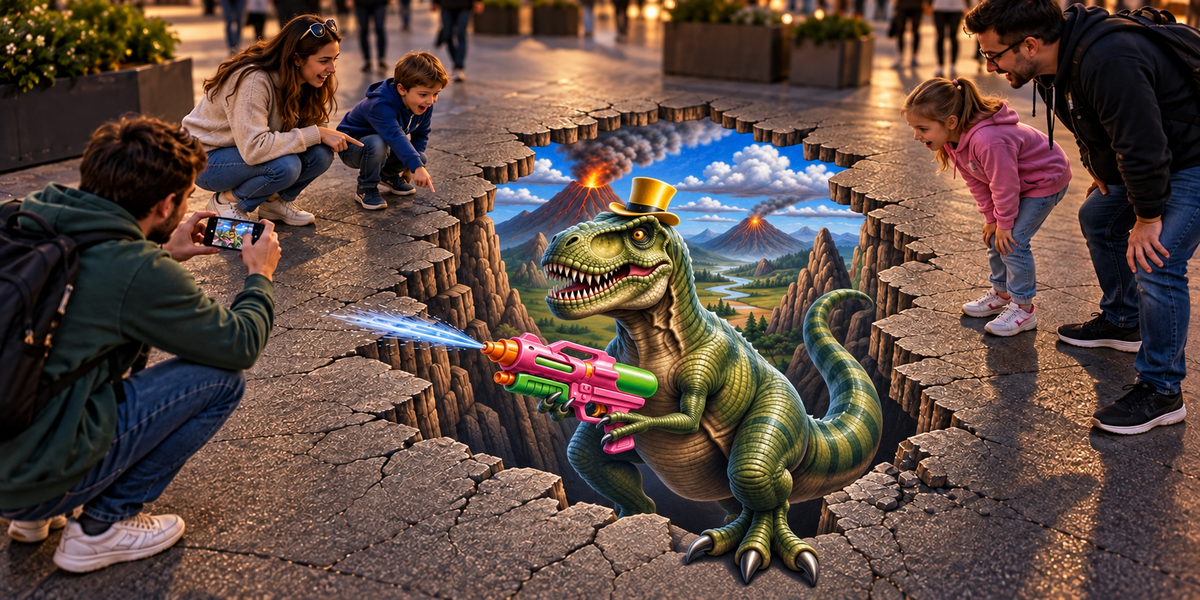
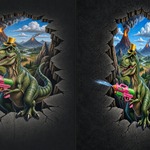
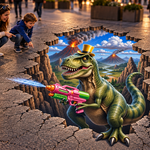
A spot light carries your image as its colour and projects it onto a flat screen. The Original camera sits at the light and sees the picture as the projector does. The Projected camera looks at the tilted screen from the viewing spot; its render is the stretched picture to trace or paint on the ground. Everything lives in the scene XSpot_Rig with its own Cycles, world and colour settings.
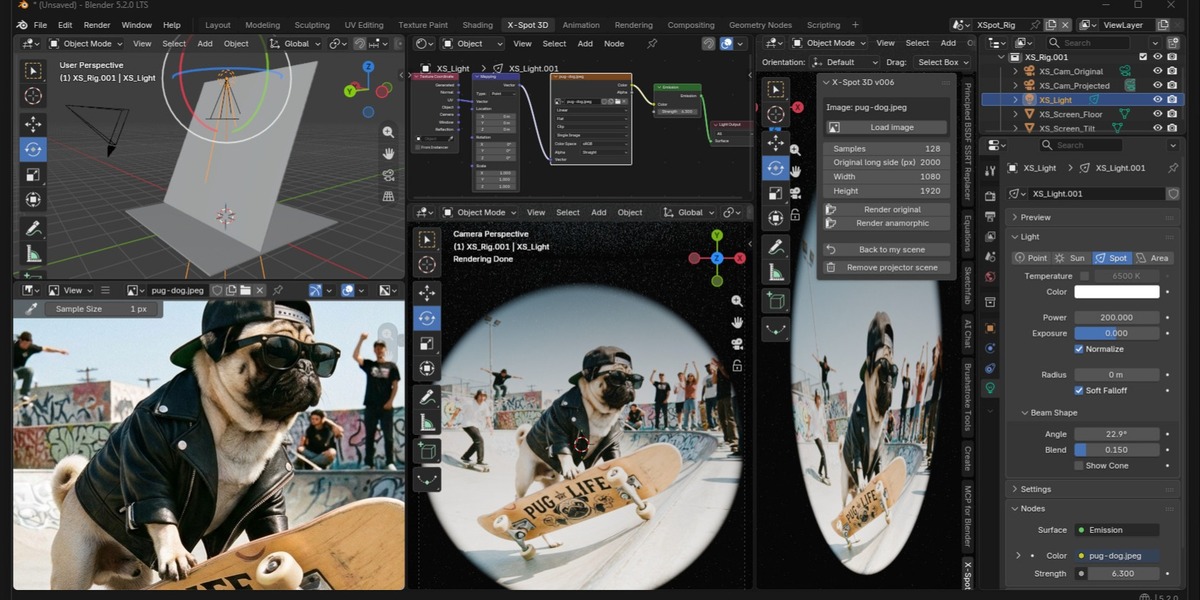
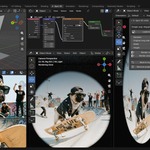
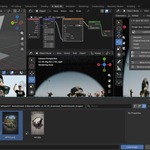
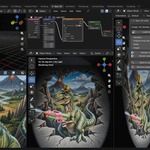
The X-Spot 3D workspace
- Image editor: your source picture.
- Original camera view: the picture as projected.
- Projected camera view: the stretched, anamorphic result.
- 3D view: the rig itself; move the screen or the cameras to explore.
- Shader editor: the image node of the light.
- Outliner and Properties: for fine control.
Panel reference
Inside the X-Spot 3D workspace the controls are at the top of the Scene tab in the Properties editor (right side) and in the X-Spot 3D tab of the sidebar of the top-left 3D view, which opens by itself. In your own workspaces the X-Spot 3D tab (sidebar, N) shows only Open and Remove.
- Create projector scene: appends the rig scene and the workspace. Available while no rig scene exists.
- Load image: chooses the picture and sets the light proportions (height divided by width).
- Samples: Cycles samples for both renders. Default 128 with denoising.
- Original long side (px): longer side of the original render, the other side follows your image.
- Width / Height: size of the anamorphic render, default 1080 x 1920.
- Render original / Render anamorphic: starts a normal Blender render (like F12): the render window opens, progress is visible and Blender stays responsive. The PNG is saved into an X-Spot 3D folder next to your .blend (temporary folder if the file is unsaved).
- Open X-Spot 3D workspace / Back to my scene: switches in and out; Back restores your scene and workspace.
- Remove projector scene: deletes the rig after confirmation.
Troubleshooting
- The X-Spot 3D tab is missing: Edit > Preferences > Get Extensions > Installed, tick X-Spot 3D, and enable Auto-Save Preferences.
- Renders are slow: lower Samples or choose a GPU in Preferences > System > Cycles Render Devices.
- Grey planes in a viewport: switch it to Rendered shading.
- Output file not found: save your .blend first, or use the path shown in the info message.
Changelog
- v006 (0.0.6) (2026-10-11): Render buttons start a normal Blender render: render window opens, interface stays responsive, progress visible
- v005 (0.0.5) (2026-10-11): Tab X-Spot 3D stays visible in the workspace (as in v003); panel also at the top of the Properties Scene tab; sidebar opens by itself
- v004 (0.0.4) (2026-10-11): Control panel opens by itself in the X-Spot 3D workspace; outside it only Open and Remove are shown
- v003 (0.0.3) (2026-10-10): Rename to X-Spot 3D (panel, workspace, manifest name, docs)
- v002 (0.0.2) (2026-10-10): X-Spot 3D workspace, sample picture, camera names Original and Projected, safer removal, any startup template
- v001 (0.0.1): First build
Support
Send your Blender version, OS, steps to reproduce and any error message.
Have questions about this product?
Login to message
| Blender Extension Compatible | Yes |
| Dev Fund Contributor | |
| Published | about 7 hours ago |
| Blender Version | 5.0 - 5.2 |
| Extension Type | Add-on |
| Render Engine Used | Cycles |
| License | GPL |
Discover more products like this
street-art Cycles anamorphosis 3d-pavement-art anamorphic projection sidewalk-art perspective 3d-street-art Illusion chalk-art optical-illusion