 ATDIGIT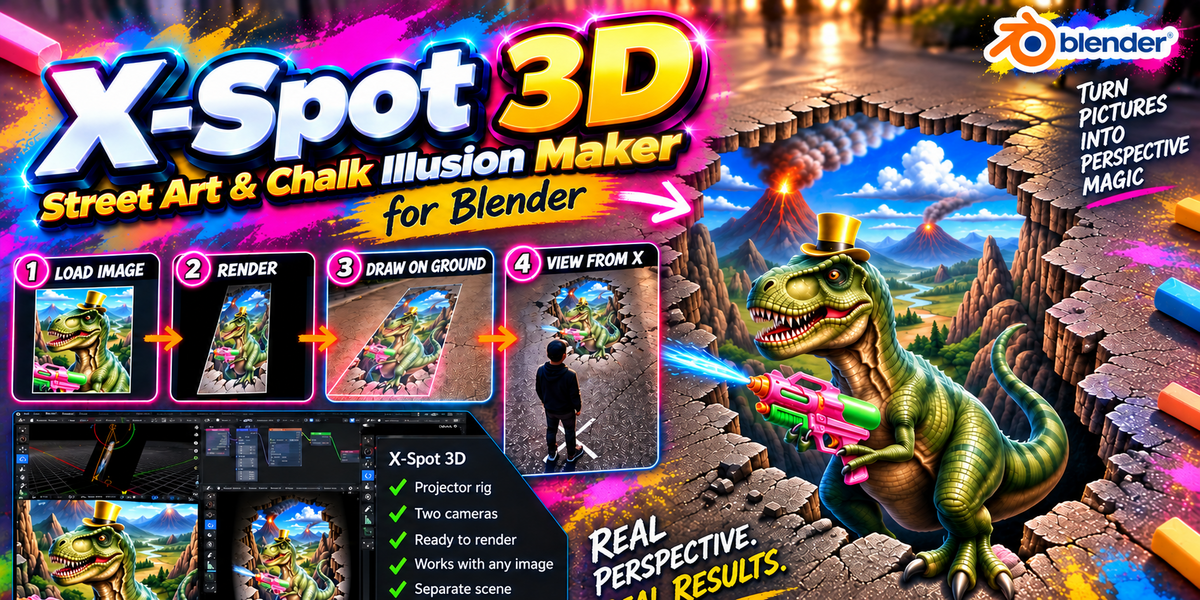
Overview
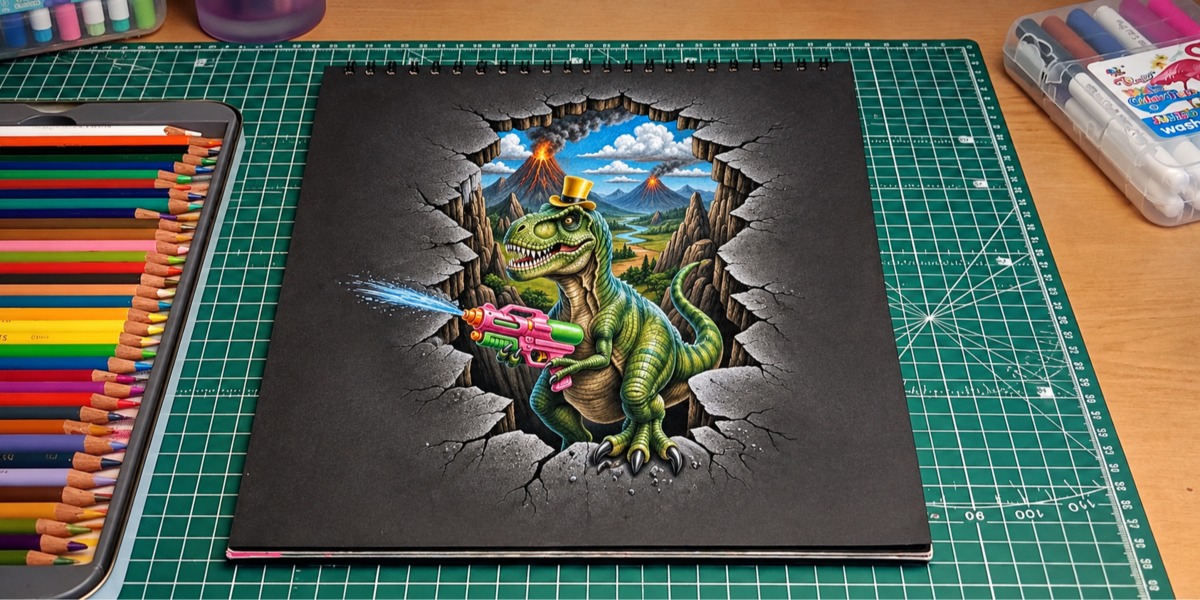
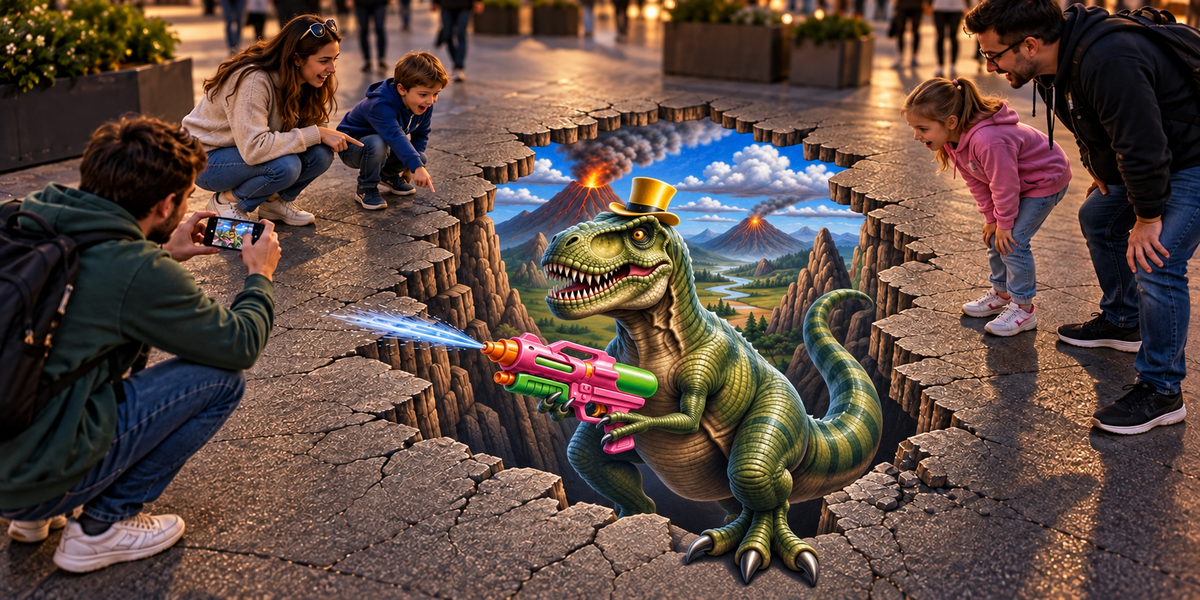
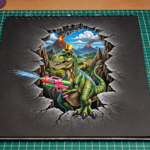
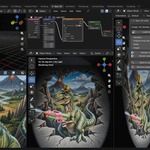
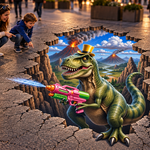
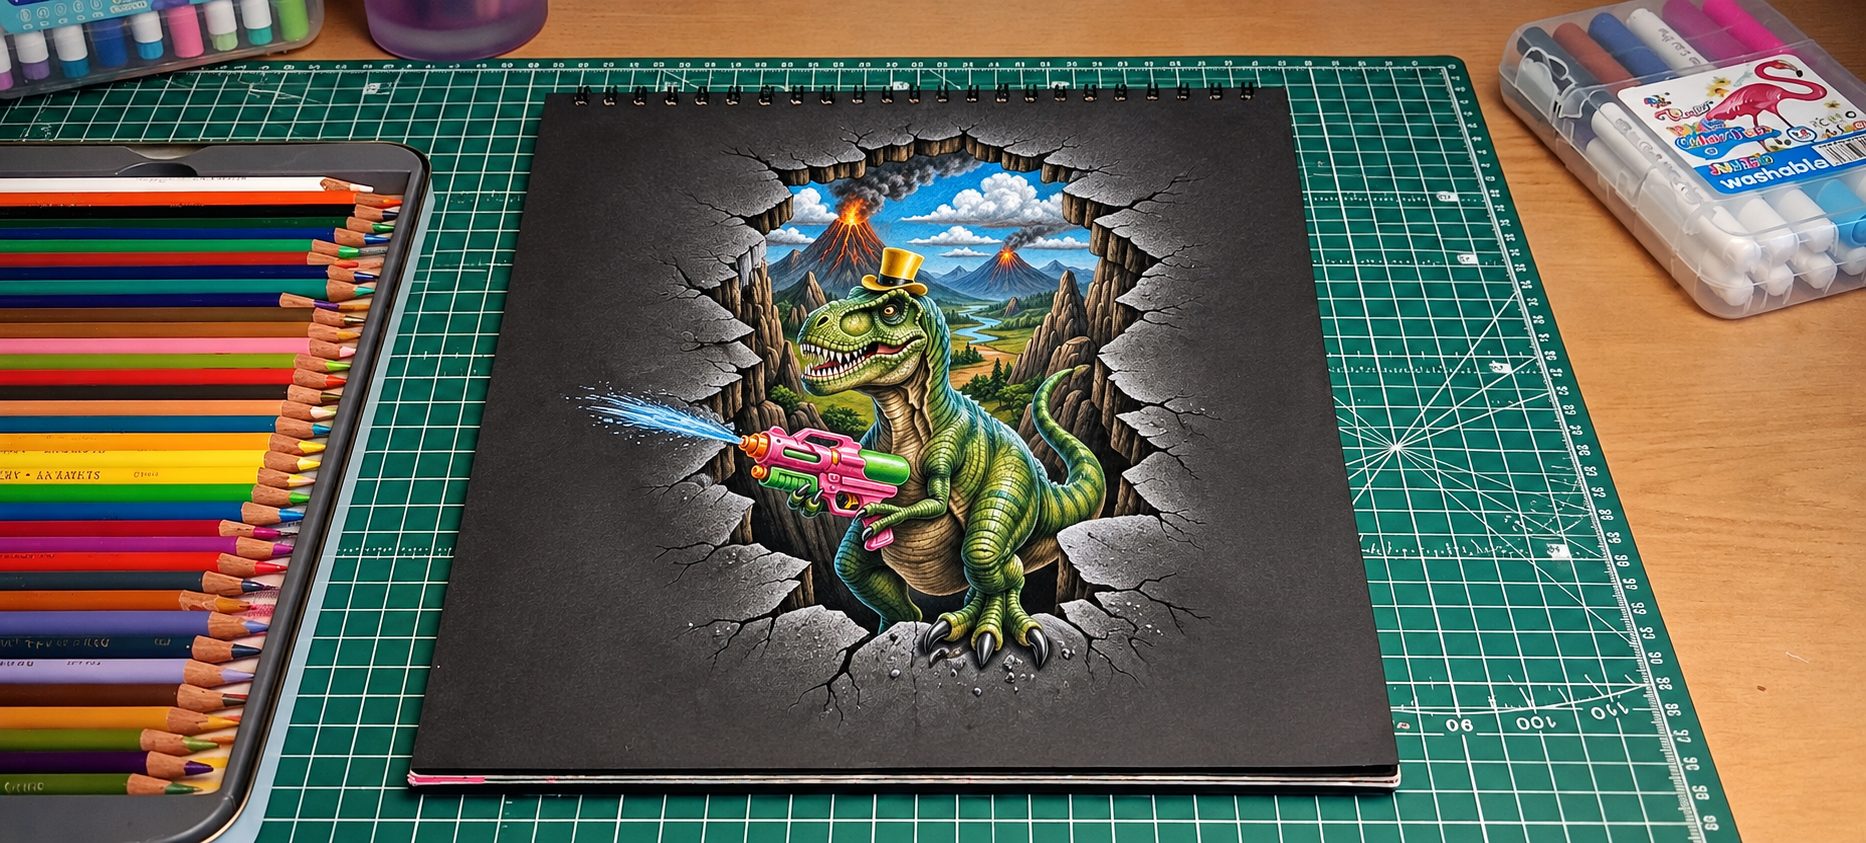
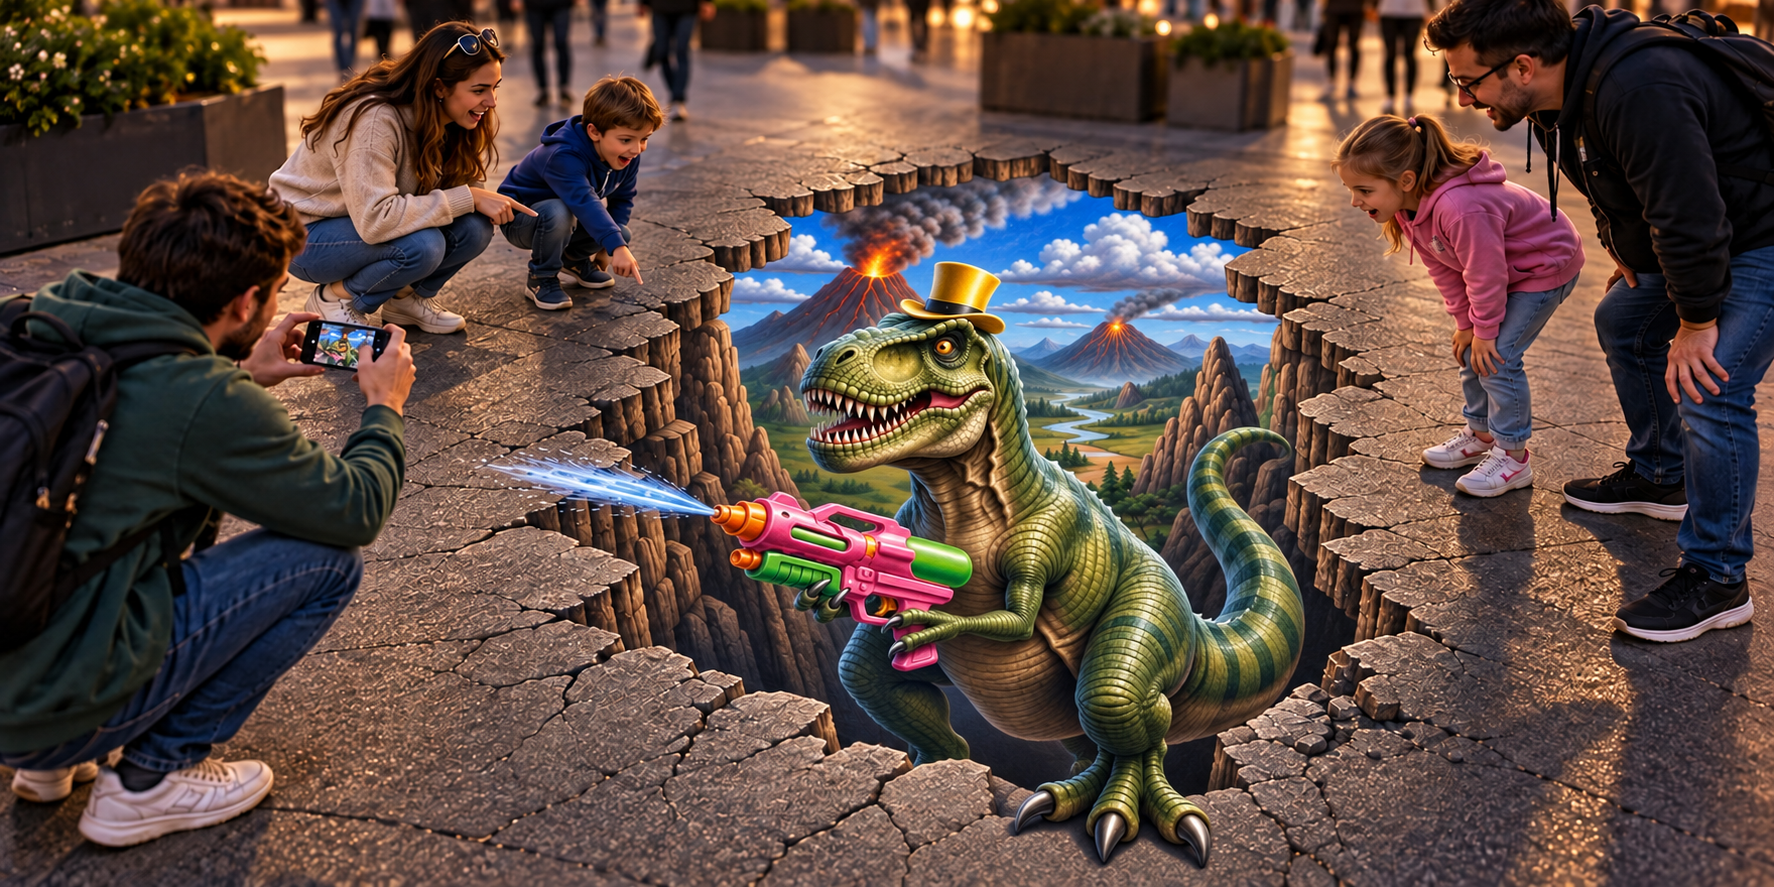
X-Spot 3D turns any picture into a 3D street art illusion. Load your image, and X-Spot 3D builds the whole anamorphic projection rig for you: a projector light, a screen, two cameras and a ready-made workspace. Render the stretched picture, trace or paint it on pavement, asphalt or paper, then stand on the X: the picture rises off the ground.
Why X-Spot 3D?
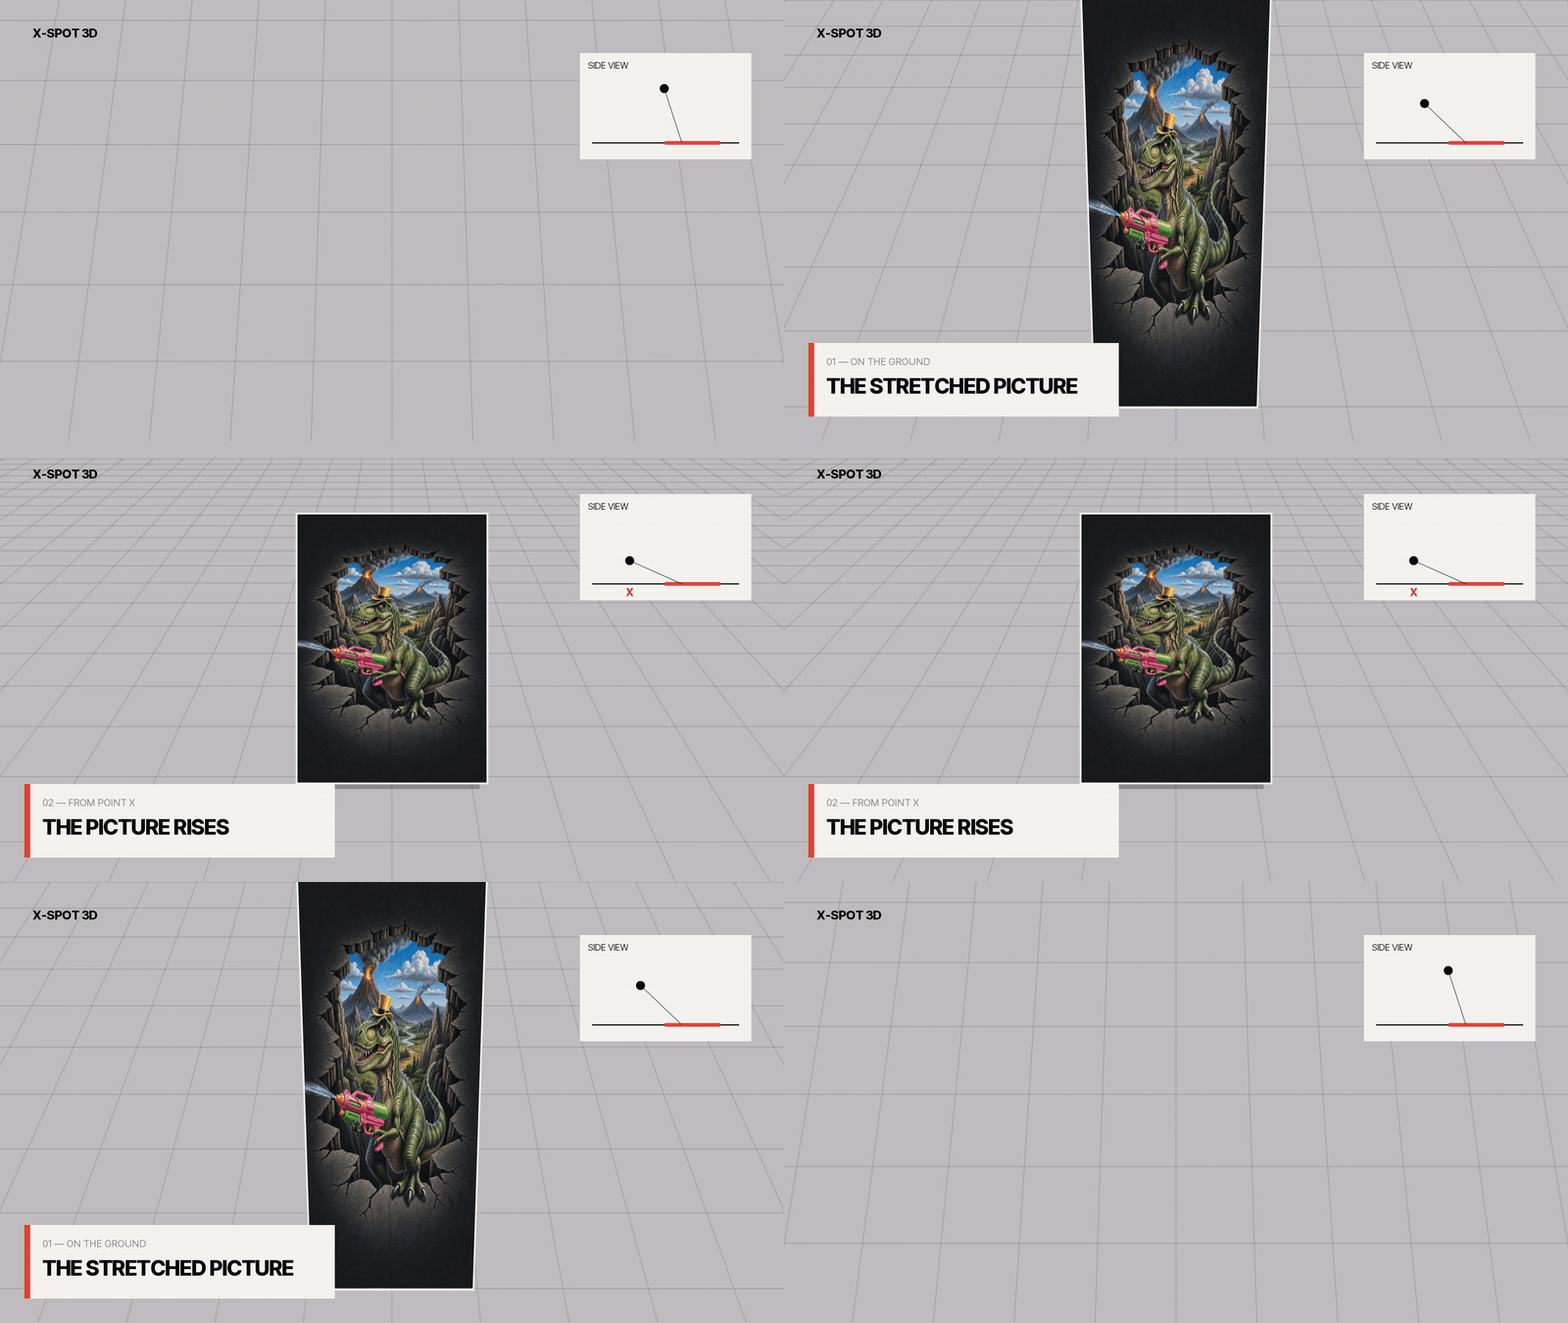
3D pavement art usually means perspective grids and hours of manual distortion in an image editor. In Blender the maths is already there: light and perspective do the stretching for you. X-Spot 3D packages that setup so you do not have to build, light or understand it. A sample picture is loaded from the first click, so you see the effect before you add your own. Your scenes and workspaces are never touched: the rig lives in its own scene and its own workspace.
How it works
- Create the projector scene: one click adds the rig and switches to the X-Spot 3D workspace.
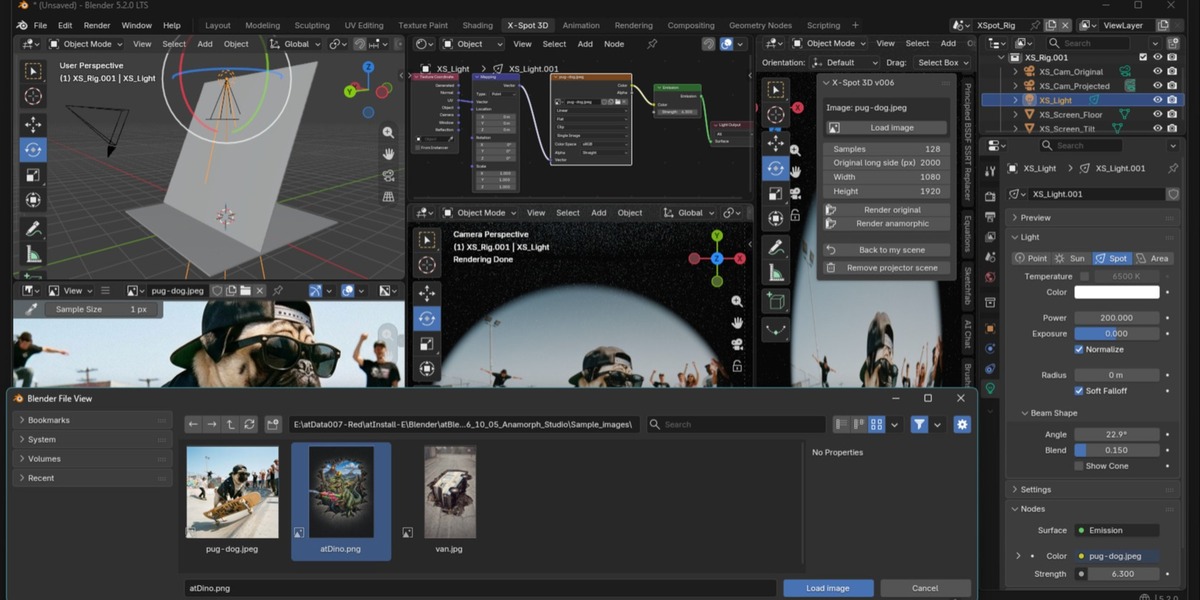
- Load your image: any proportions work, the light shape follows your picture automatically.
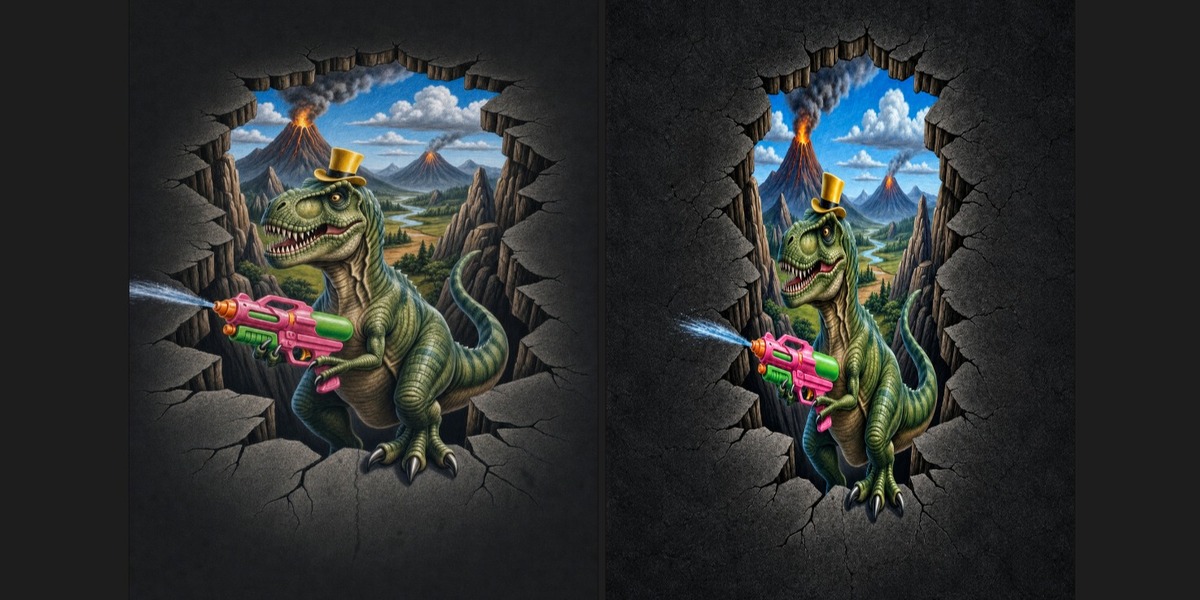
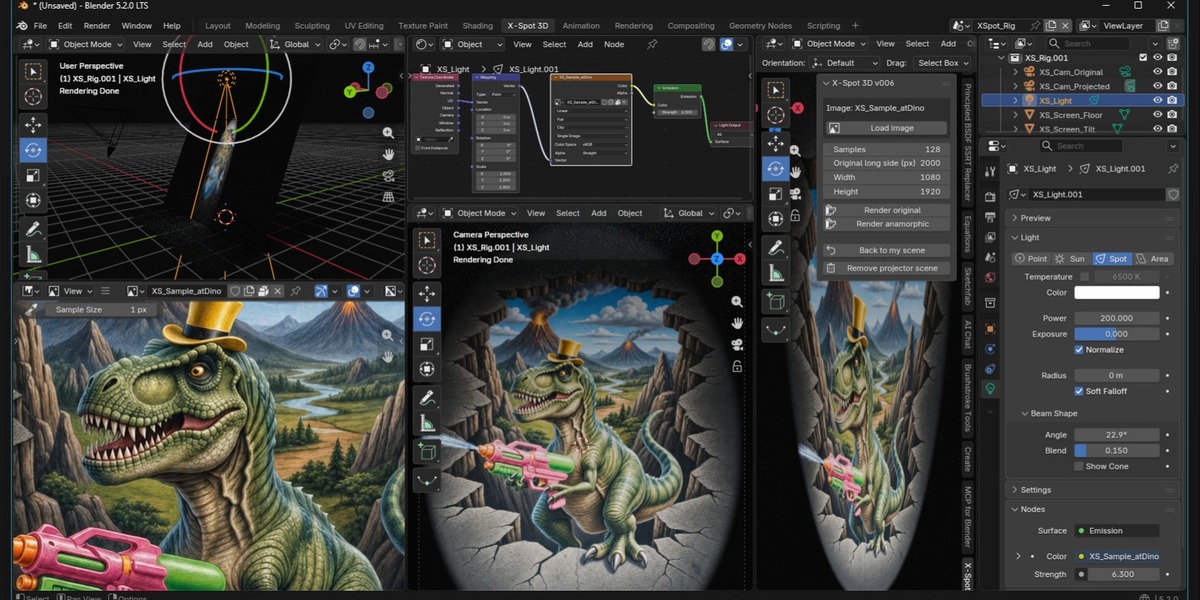
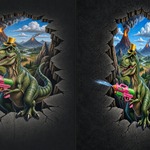
- Render: the original view, and the anamorphic view: the stretched picture to draw on the ground. Seen from the X it looks undistorted.
Key Features
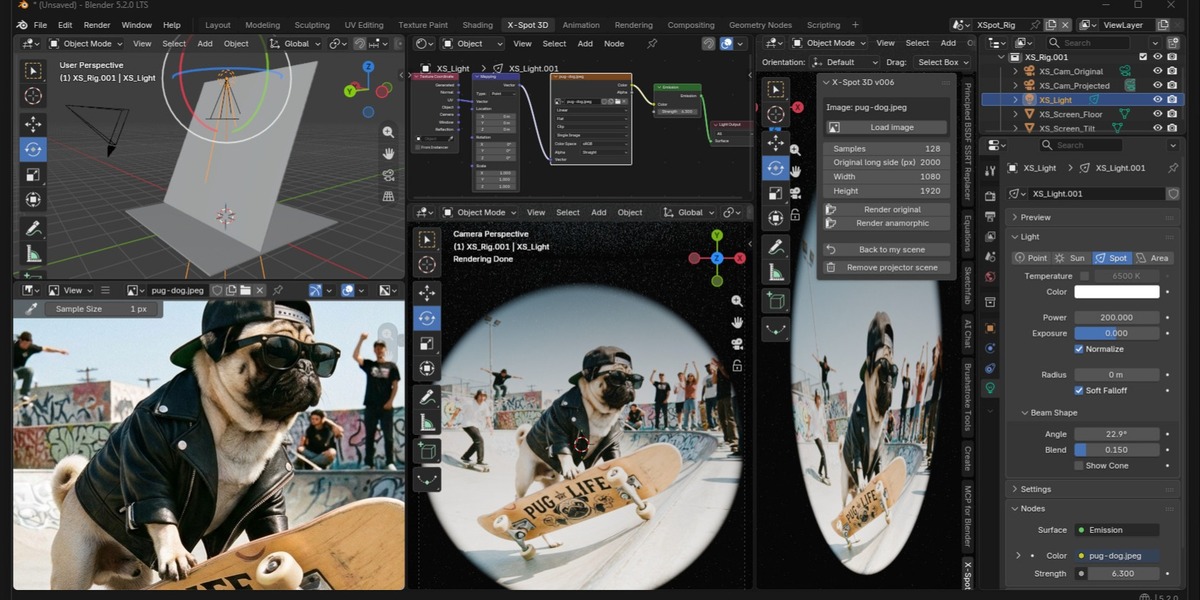
- One-click rig: light, screen and two cameras, ready to render in Cycles.
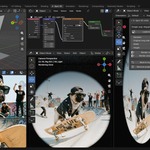
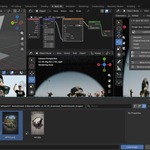
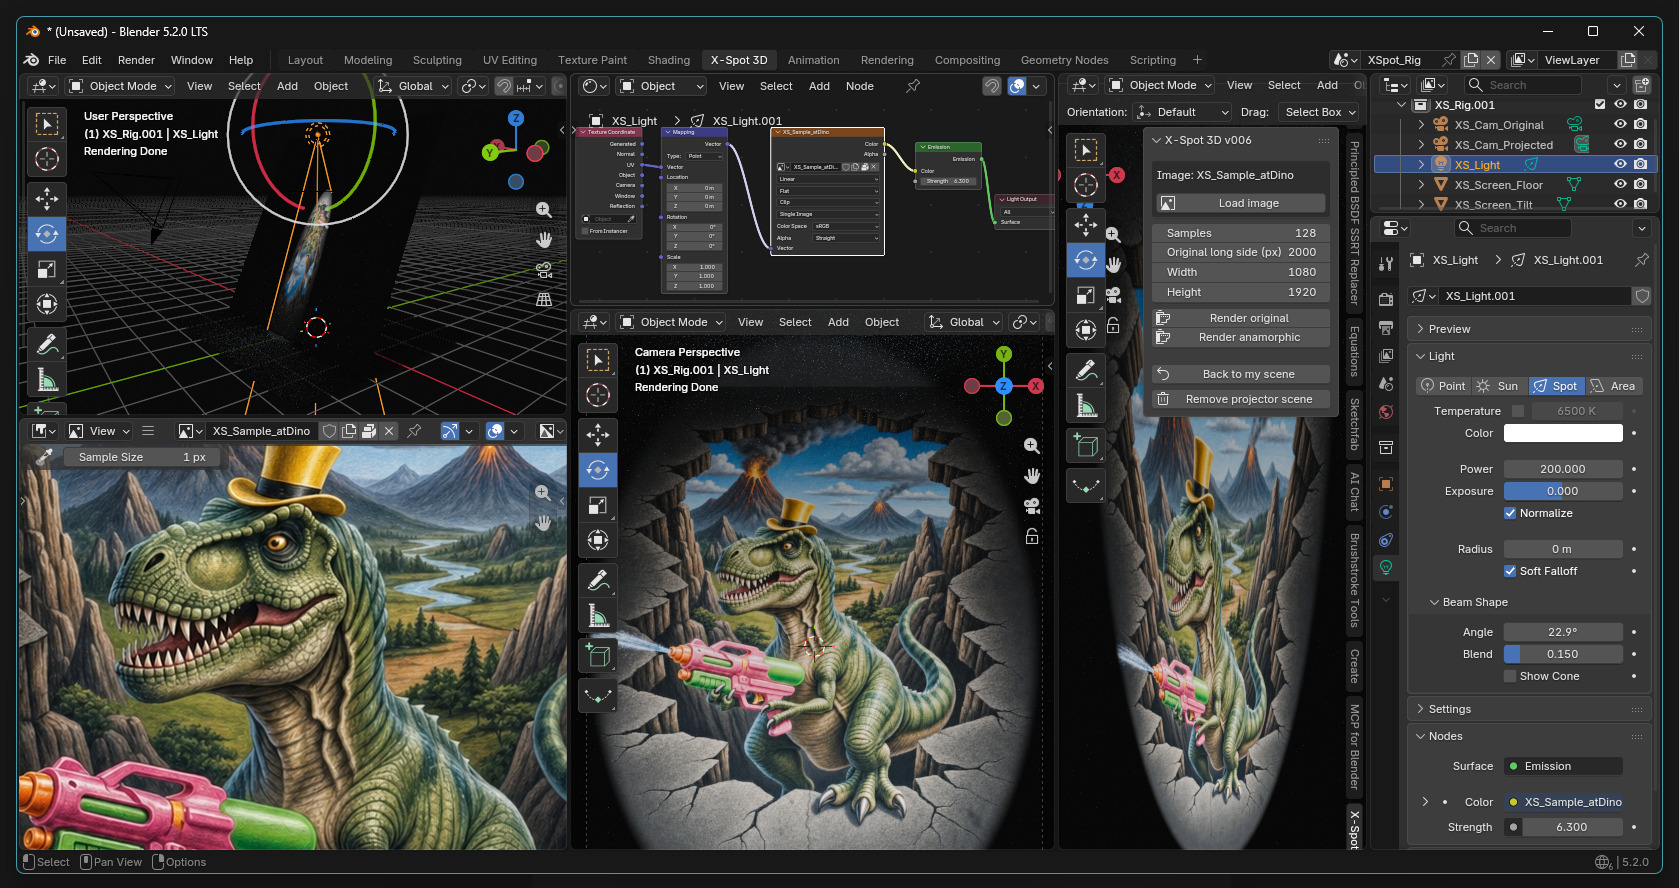
- X-Spot 3D workspace: source image, original view, anamorphic view, 3D view of the rig and the light node, all on one screen.
- Automatic proportions: height and width of your image set the projection shape.
- Controls always in sight: at the top of the Properties editor and in the X-Spot 3D sidebar tab, which opens by itself.
- Sample included: see a working result before you load anything.
- Separate scene and workspace: the rig has its own render settings and never changes yours.
- Works in any startup template: General, 2D Animation, Sculpting and others.
- Normal Blender render: the buttons start a regular render with the render window, visible progress and a responsive interface.
- Saved results: PNG files next to your .blend and images ready in Blender.
- Back and remove: return to your own scene with one click, delete the rig any time.
- Offline: no account, no API key, no network access.
Requirements
- Blender 5.0 or higher (tested on 5.0, 5.1 and 5.2)
- Cycles renderer (included with Blender)
Installation
- Drag and drop: download the ZIP and drag it into the Blender window.
- Via Preferences: Edit > Preferences > Get Extensions > arrow menu > Install from Disk, then pick the ZIP.
Check that X-Spot 3D is ticked in Get Extensions > Installed and Auto-Save Preferences is on. Then open the 3D Viewport, press N and find the X-Spot 3D tab.
Changelog
- v006 (0.0.6) (2026-10-11): Render buttons start a normal Blender render: render window opens, interface stays responsive, progress visible
- v005 (0.0.5) (2026-10-11): Tab X-Spot 3D stays visible in the workspace (as in v003); panel also at the top of the Properties Scene tab; sidebar opens by itself
- v004 (0.0.4) (2026-10-11): Control panel opens by itself in the X-Spot 3D workspace; outside it only Open and Remove are shown
- v003 (0.0.3) (2026-10-10): Rename to X-Spot 3D (panel, workspace, manifest name, docs)
- v002 (0.0.2) (2026-10-10): X-Spot 3D workspace with the five-window layout, sample picture by default, camera names Original and Projected, safer removal of the rig, works from any startup template
- v001 (0.0.1): First build: rig scene, image loader, two renders
Support
Send your Blender version, OS, steps to reproduce and any error message.