Blender's four extrudes, held open for editing. The result starts exactly where Blender's own extrude would put it, and then every corner of the outline becomes a handle you can push to its own depth, widen, or give more vertices — all before you confirm, and without a corner ever turning inside out.
It appears in Blender's add-on list as Tachyon Advanced Extrude, so it groups with the other Tachyon Studio tools there.
Advanced Extrude doesn't replace Blender's Extrude.
It's for the shapes where you want more control: rounded corners that keep their shape, and every corner adjustable on its own. Building corners like that is complex, so it can't handle every mesh, and on some tricky shapes it won't give you the result you want. When that happens, or when a plain extrude is all you need, use Blender's own. Every one of Blender's extrudes is on the same menu (
Shift + Alt + T), under
Vanilla Blender Extrude, and they're still on
E and
Alt + E.
Version: 1.1.1
Blender: 3.3 – 5.2, one package for all of them — a modern extension on 4.2+, a classic add-on on 3.3 – 4.1
Platform: Windows, macOS or Linux. No native code, nothing platform-specific
Network use: None
Licence: GPL-3.0-or-later
Getting started
1. Install it
Edit ▸ Preferences ▸ Add-ons ▸ Install from Disk, pick the zip, and enable Tachyon Advanced Extrude. The panel is in the 3D Viewport sidebar — press N, then the Unreal Tools tab, shared with the other Tachyon Studio add-ons when they are installed.
2. Extrude something
In Edit Mode, select faces and press Shift + Alt + E, use the Face menu, press one of the four buttons in the sidebar panel, or pick Extrude (Editable) from the toolbar — right after Blender's Bevel tool — and click-drag on the selection. The depth follows the mouse at first, like Blender's own.
3. Click once

The extrude stops following the mouse and becomes an editor (from the toolbar, releasing the mouse does the same). Every corner is now a dot you can pick, push, widen or give more vertices. Nothing is committed until you confirm, and Esc puts the mesh back exactly as it was.
4. Confirm
Enter, Space or a right-click commits the whole thing as one undo step.
The problem it solves
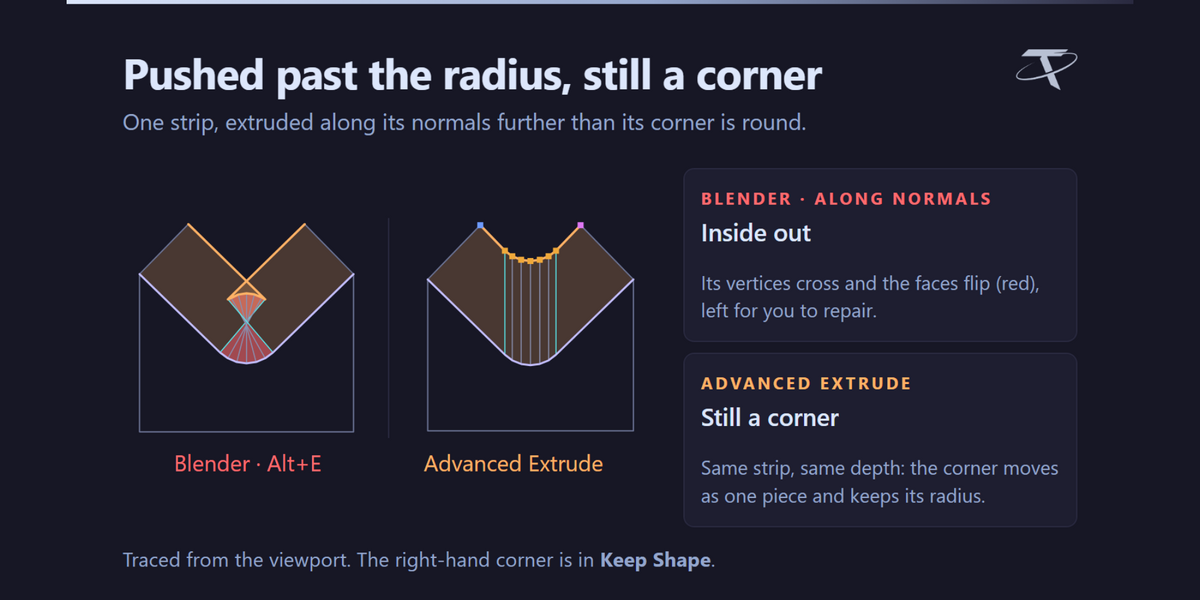
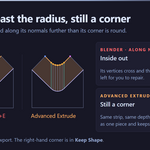
Blender's Extrude Along Normals (Alt + E) moves every vertex along its own normal. On a straight run that is exactly right. Around a rounded corner the normals are not parallel — they converge toward the corner's centre — so as the band is pushed inward the corner's own vertices close in on each other. Past the corner radius they cross, and the outline turns inside out. Blender does this without complaint and leaves the repair to you.
This add-on keeps Blender's extrude — the same topology, the same walls, the same attributes — and takes over only where the vertices go. Each boundary is read as an outline with corners, and each corner is placed as a corner.
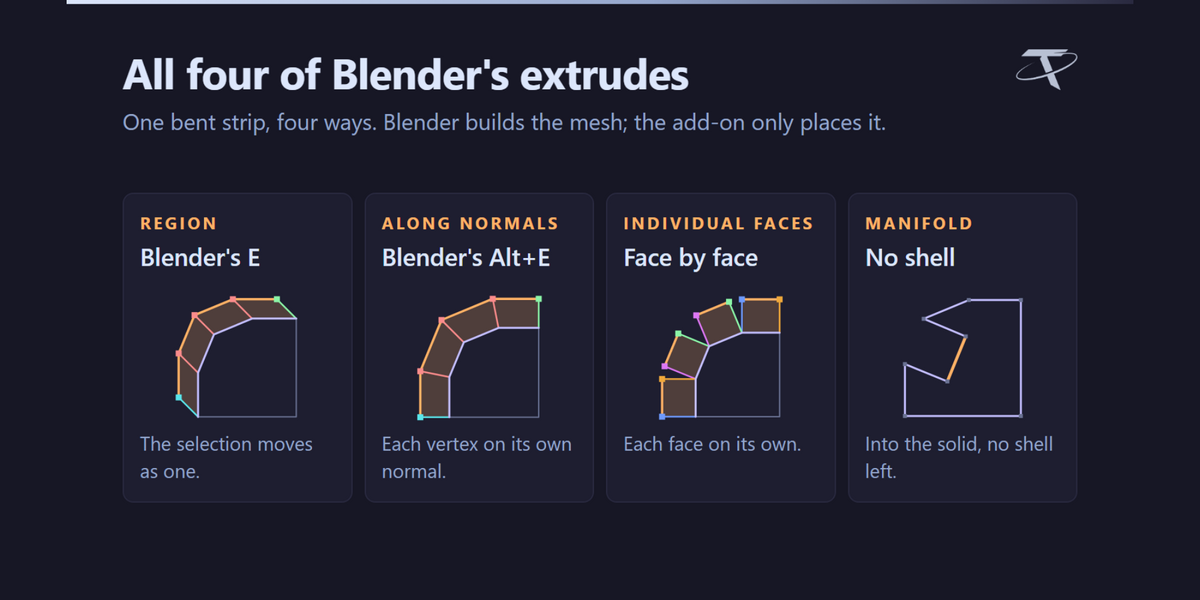
The four extrudes
| Kind |
What it does |
| Region |
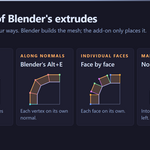
The whole selection travels together along its normal — Blender's E |
| Along Normals |
Every vertex travels along its own normal, so a band closes in on itself — Blender's Alt + E, without the corners overshooting |
| Individual Faces |
Every face extrudes on its own, along its own normal, with its own rim |
| Manifold |
Region, with the edges it slides along dissolved, so a wall that comes out flush with the face beside it leaves no shell |
All four open in the same editor, and the kind can be switched from its chip while the extrude is still open — the corners you have set are kept.
How it works
Blender's placement is the base
When the extrude is built, the add-on reads back where Blender itself put every vertex, as a direction per unit of depth. Everything after that is that direction times the depth, with the corner controls layered on top. That is why an untouched extrude is Blender's own, vertex for vertex, and why every control starts from a real extrude rather than an approximation of one.
Corners are found in each boundary's own plane

Each boundary of the selection is read in its own plane, not in some average of the whole region — a closed band's faces point every way round, and their average points nowhere. Runs of vertices that turn together are grouped into corners; a stretch that keeps turning is a corner in its own right, so the bevel strips between two sharp corners are handles too.
Columns

On a band, the top ring and the bottom ring carry the same corners — they are two views of one profile. The rings are joined vertex by vertex through the band before it is extruded, so each corner knows its partner. An edit reaches the whole column unless the Columns chip is switched off.
Shrink and Keep Shape
Every rounded corner is in one of two modes, and T swaps the picked ones:
-
Shrink — Blender's own per-vertex directions, which is what closes a corner up, stopped just short of the depth where the corner would cross itself. This is where the tool starts, so an untouched extrude is Blender's.
-
Keep Shape — the whole corner is given the one direction it travels in, so it moves as a single piece and keeps its radius however deep it goes.
Using the editor
| Action |
What happens |
|
Click a dot |
Picks that corner |
| Shift-click |
Adds to, or removes from, the picked set |
| Drag across empty space |
Box-selects |
|
A / Alt + A
|
Pick every corner / pick none |
| Press a picked corner and drag |
Widens or tightens it — see Spread |
| Shift + Wheel |
Depth of the picked corners |
| I |
A field for an exact depth |
A first press only ever picks. Press a corner you already hold to drag it. This is deliberate: a press meaning pick this must never also move it.
With nothing picked, every edit applies to every corner at once.
Dragging is the width, not the depth. Depth travels along the normal, so dragging for it would move the dot up and down the screen in whatever direction the normal happened to point; the wheel and the I field are the depth.
Depth
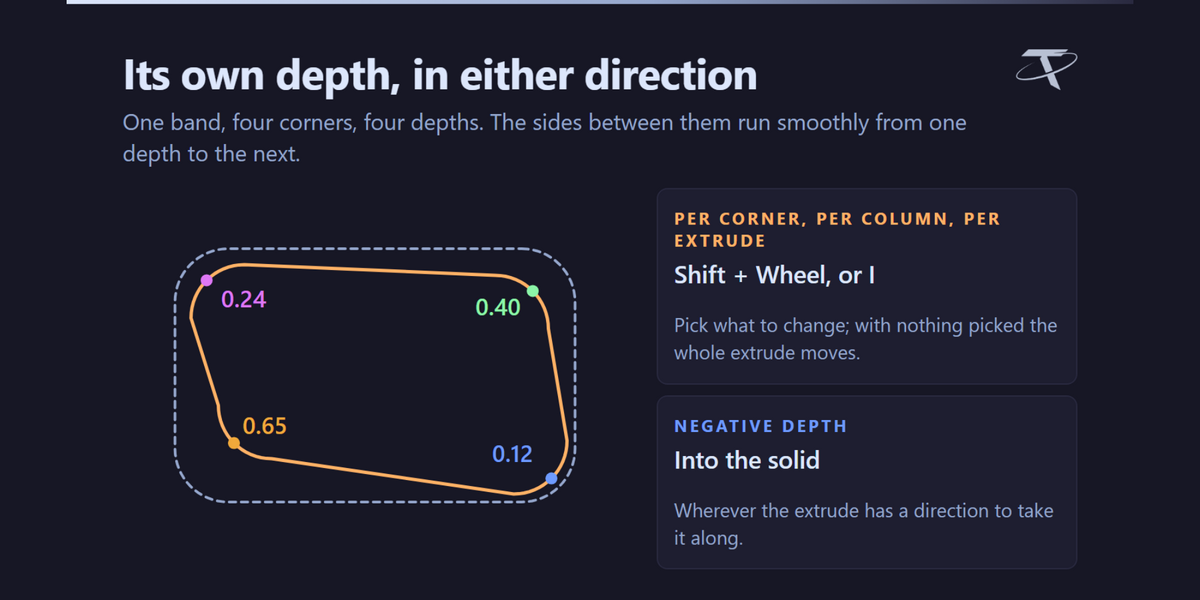
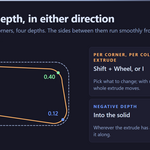
Each corner, each column and the whole extrude can carry its own depth, and the sides between two corners run smoothly from one depth to the other. Shift + Wheel steps it; hold Shift as well for the fine step. I sets it exactly.
A negative depth pushes into the solid instead of out of it, wherever the extrude has a direction to take it along.
Spread

Ctrl + Wheel, or dragging a picked corner, opens a corner out or tightens it.
-
The ends stay on their edges. A corner's first and last vertex are placed on the edges either side of it — that is what a radius means. Each end slides along its own edge, so this holds even where the two edges are skew and never meet, as they do where a boundary wraps a fold.
-
A corner spreads as one piece. The two ends rarely have the same room. Whichever runs out first stops both, at the same amount.
-
One end of a rounded run can stay put. Press the dot at the run's first or last vertex and that end pins, so the round grows into the straight on the side you pressed. Press any dot in between to open it both ways.
U switches spread between Relative — every picked corner by the same multiple of its own size — and Absolute — every picked corner to the same length. S puts the picked corners' spread back to 1.
The edges between corners

On a wide selection some edges in the middle belong to no corner. They move with the corners either side of them, and the Interpolate chip (shown whenever there are such edges) picks how:
| Interpolate |
What the middle does |
|
On (default) |
Eases from one corner to the next, so the face stays smooth while you spread or push the corners |
| Off |
Each edge moves with the nearest corner, so the loops between two merged corners stay straight lines while you spread the pair |
Reach. While you drag a corner, roll the mouse wheel to take the next loop behind it along with the drag, then the one after that. Each step hands the corner the next loop, and those vertices travel with it instead of easing off. The readout shows the reach once it is above 0. The copy stops before it would fold, so turning it up on a shape with many loops simply runs out. At any other moment the wheel still zooms.
Vertex count

Alt + Wheel doubles or halves a corner's vertices; Ctrl + Alt + Wheel steps them one at a time, for landing on an exact count. A sharp corner is a single vertex until it is given a count, and stepping it back down returns it to one.
The new vertices sweep round the corner's own arc, in its own plane, with even chords at every count — so the corner gets genuinely rounder rather than denser. Measured on a real corner, the sharpest turn along it falls 46° → 30.7° → 15.3° → 11.5° → 7.7° as the count rises.
It never leaves the mesh with more n-gons than it found, and none bigger than it found.
The two modifiers are Ctrl and Alt by default and can be swapped in preferences.
Merge and break

J merges the picked corners into one corner. Shift + J splits a merged corner again, or breaks any corner into its own vertices.
Both are structure only. Nothing on the mesh moves when you merge or break — you regroup the outline, then shape it.
Corner sensitivity
Which vertices count as one corner depends on how long an edge has to be to count as a cut between two corners. [ and ] step that threshold; Shift + [ and Shift + ] step it finely. With corners picked, the change applies only to the boundaries those corners are on and the rest keeps its reading.
Z puts the picked corners back to their reset point: where they were when the tool started, unless you have set a new one with Shift + Z or the Set Reset Point chip. With nothing picked, every corner.
Copy and paste

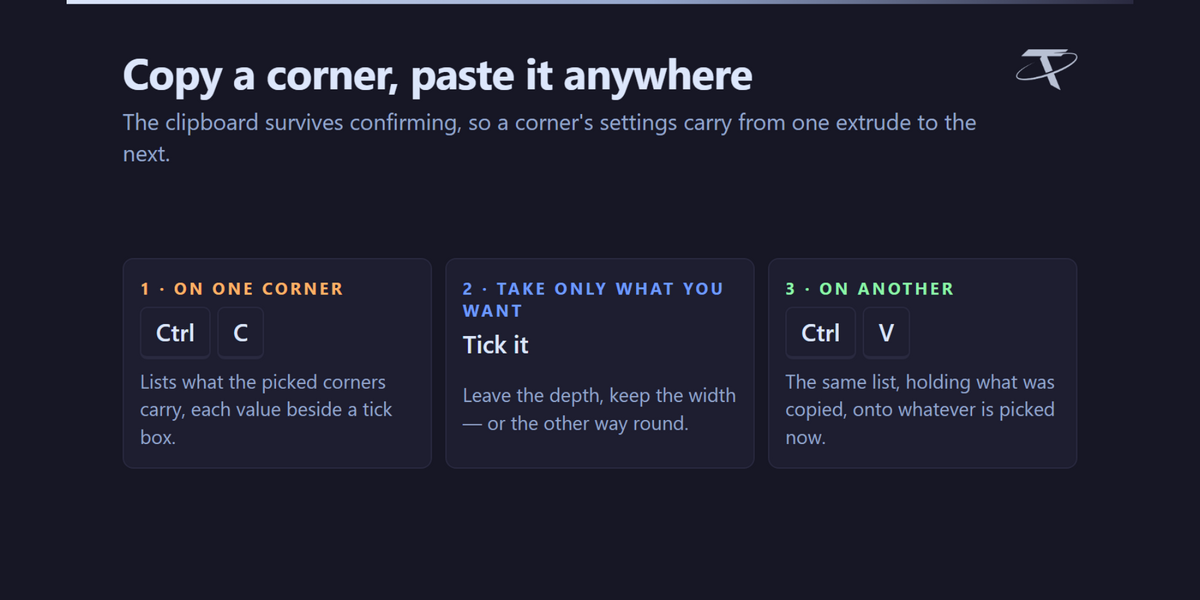
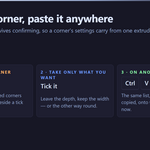
Ctrl + C lists what the picked corners carry, each value beside a tick box, so you copy only what you want. Ctrl + V is the same list holding what was copied, applied to whatever is picked now. The clipboard survives confirming, so a corner's settings carry from one extrude to the next.
-
Spread is copied as a length, so the same number is the same size on any corner.
-
The vertex count reads N vertices, and pastes onto any corner, including one that is still a single vertex.
The menu
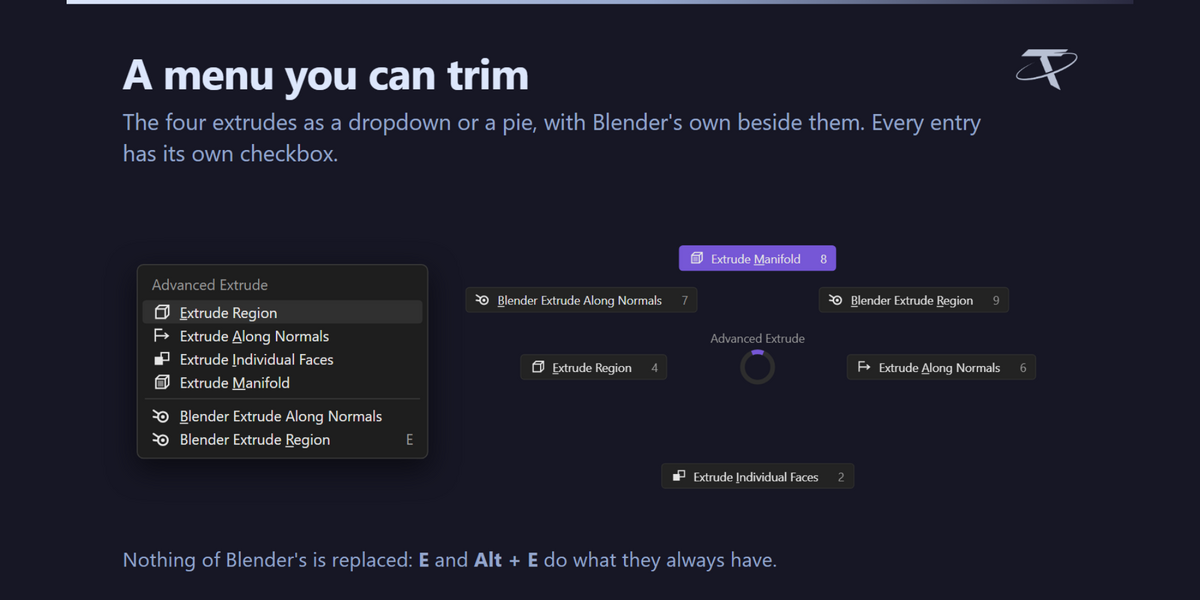
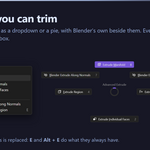
Shift + Alt + T in Edit Mode opens the add-on's menu, as a pie or a dropdown — your choice in preferences. It carries:
- Extrude Region, Extrude Along Normals, Extrude Individual Faces and Extrude Manifold — this add-on's four
-
Vanilla Blender Extrude: Blender's own extrudes, unchanged, under their own heading below this add-on's four. They are everything Blender's Extrude menu (Alt + E) offers for the selection: Extrude Faces, Extrude Faces Along Normals, Extrude Individual Faces and Extrude Manifold with faces selected; Extrude Edges and Extrude Vertices in edge and vertex select mode; and Extrude Repeat and Spin. On the pie they share one slot.
Each of the four has its own checkbox, and Blender's section has one, so the menu holds only what you use. Blender's own E and Alt + E are never replaced.
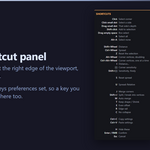
Every control
| Key |
In the editor |
|
Click / Shift-click
|
Pick a corner / add to the picked set |
| Drag empty space |
Box select |
|
A / Alt + A
|
Pick all / pick none |
| Drag a picked corner |
Spread |
| Shift + Wheel |
Depth |
| Ctrl + Wheel |
Spread |
| Alt + Wheel |
Vertex count, doubling |
| Ctrl + Alt + Wheel |
Vertex count, one at a time |
| I |
Exact depth |
| T |
Keep Shape / Shrink |
| S |
Reset spread |
| U |
Spread: Relative / Absolute |
|
J / Shift + J
|
Merge corners / split or break |
| Z |
Reset the picked corners to their reset point |
| Shift + Z |
Set the reset point |
|
Wheel, while dragging a corner |
Reach: take the next loop behind it along |
|
[ / ]
|
Corner sensitivity (Shift for finer) |
|
Ctrl + C / Ctrl + V
|
Copy / paste corner settings |
| H |
Show or hide the shortcut panel |
|
Enter, Space, Right-click
|
Confirm |
| Esc |
Cancel and restore the mesh |
|
Wheel alone |
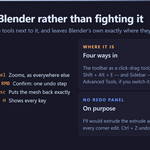
Zooms, as everywhere else in Blender |
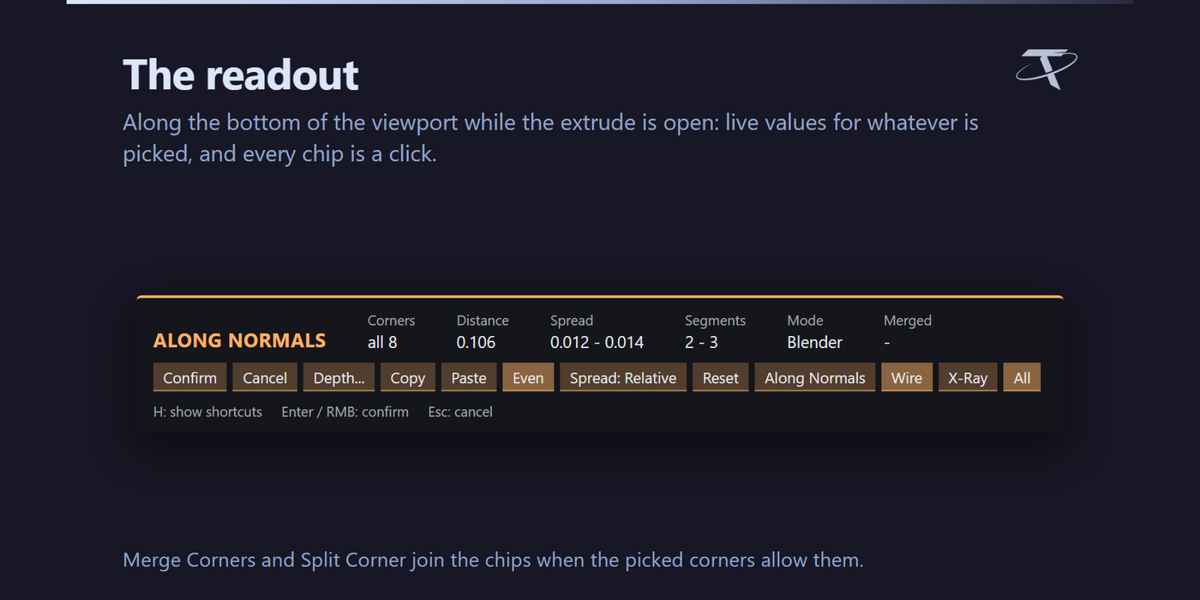
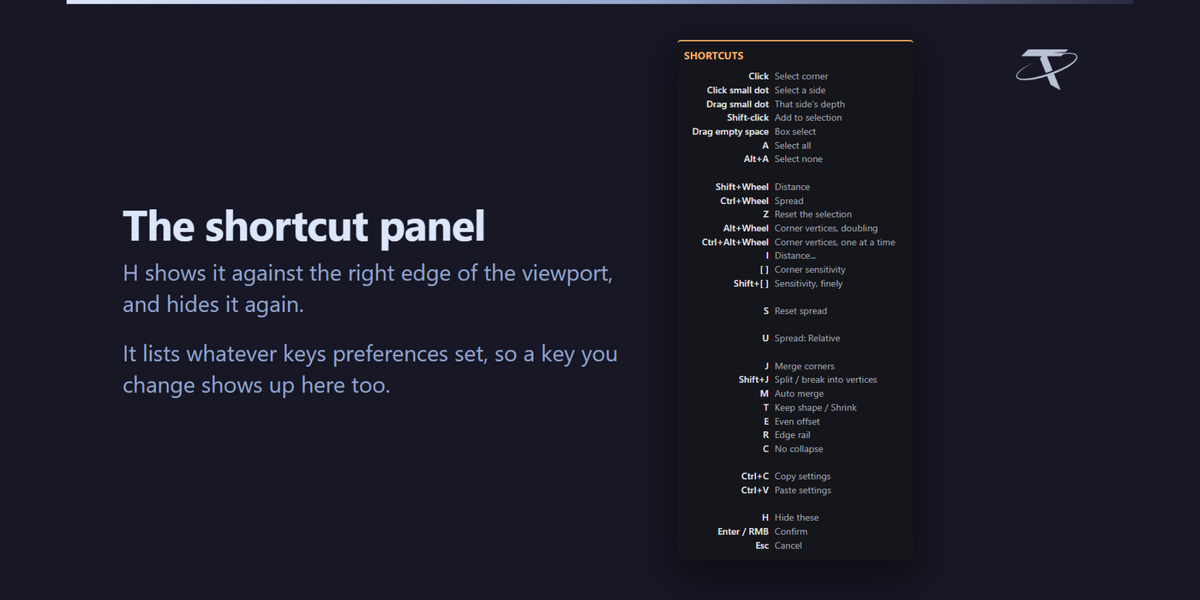
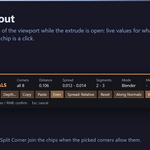
Every key above except confirm and cancel is editable in preferences, with any of Ctrl, Shift and Alt (on a Mac, also Cmd, with Alt shown as Option). The ones that go up and down, Reach included, can each be the wheel with any modifiers or a pair of keys, one for up and one for down. The shortcut panel (H) always shows whatever is set there. The chips along the bottom of the readout do the same jobs with a click, and add Columns, Interpolate, Set Reset Point, the extrude kind, Wire and X-Ray.
Preferences
-
Menu — pie or dropdown, a checkbox for each of the add-on's four extrudes, and one for the Vanilla Blender Extrude section.
-
In the editor — First drag (default: away from the centre deepens); and Shortcuts panel, the side of the viewport the shortcut panel sits on (default: left).
-
Keys in the editor — every shortcut above: a key with any of Ctrl, Shift and Alt (and Cmd on a Mac), set by clicking the round button and pressing it. Up-and-down controls take the wheel or a pair of keys. A clash is flagged, and Restore Default Editor Keys puts them all back.
-
Shortcuts — Shift + Alt + E and Shift + Alt + T, drawn with Blender's own keymap editor, with a button to restore the defaults.
Limits worth knowing
-
Blender 3.3 declines changing a corner's vertex count, and says so. That build's bmesh is intermittently fatal at the Python teardown which follows those operator sequences. Everything else works on 3.3; 3.4 onward has it.
-
Walls beside a re-counted corner are triangles. When a corner is given more vertices, the moved copy gains them but the original outline it was extruded from keeps its own, so the wall between the two is bridged with triangles rather than quads.
-
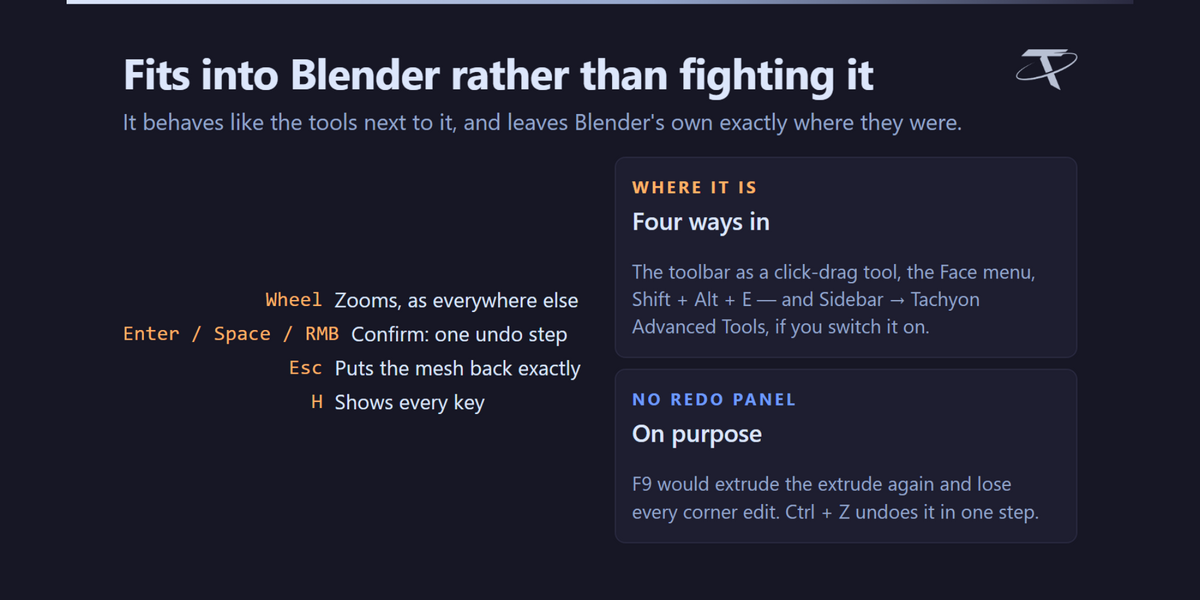
No redo panel. F9 would extrude the already-extruded mesh a second time and throw away every per-corner edit, so the operator does not offer one. Ctrl + Z undoes the whole extrude in one step.
-
Faces are required, exactly as for Blender's own extrude.
Troubleshooting
My corner is being read as two corners, or not at all
Change the corner sensitivity with [ and ] (Shift for finer steps). Pick a corner first to change only its boundary.
A corner will not drag
The first press picks it. Press it again and drag.
The wheel zooms instead of changing the depth
The bare wheel is left to Blender on purpose. Hold Shift for depth, Ctrl for spread or Alt for vertex count.
Alt + Wheel does nothing
On Blender 3.3 the vertex count is declined — see Limits. Otherwise, check which modifier preferences assign to vertex count.
The panel is not there
Press N in the 3D Viewport and look for the Unreal Tools tab. The tool is also in the Face menu, on the toolbar, and on Shift + Alt + E and Shift + Alt + T.
Network use and files written
None, and almost none. The add-on opens no sockets, sends no telemetry and checks no licence. The Documentation and Discord buttons hand a URL to your default browser and nothing more.
| Path |
What, and when |
| Blender's own preferences |
The add-on preferences, saved by Blender |
| Blender's config folder |
One line recording which version last showed its welcome, so a reinstall greets you again |
Release history
| Version |
Released |
What changed |
| 1.1.1 |
25 September 2026 |
Every shortcut in the editor can be changed, with any of Ctrl, Shift and Alt (and Cmd on a Mac). Anything that goes up and down, Reach included, can use the wheel with any modifiers, or a pair of keys. Defaults and your earlier choices carry over. |
| 1.1.0 |
24 September 2026 |
The menu offers every one of Blender's own extrudes, under a Vanilla Blender Extrude heading. The edges between corners follow a spread, easing smoothly or held straight (the Interpolate chip). Reach takes the loops behind a dragged corner along with it. A reset point for corners (Shift + Z). Spread pastes as a length, and a vertex count pastes onto any corner. The shortcut panel sits on the left. |
| 1.0.1 |
21 September 2026 |
Corner handles are visible again on Blender's Vulkan backend (Preferences ▸ System). They are drawn as GPU points, and Vulkan ignores the requested point size for the shader the add-on used, so every handle came out one pixel wide and read as missing; they now use Blender's dedicated point shader, which honours the size on both backends. Nothing changes on OpenGL. |
| 1.0.0 |
— |
First release. Blender's own extrude, held open: the result starts where Blender would put it, and every corner becomes a handle. |
Support
Questions, bug reports and feature requests — join the Discord. The same invite is in the add-on preferences, next to a link back to this documentation.
GPL-3.0-or-later. Copyright 2026 Tachyon Studio.
 Tachyon Studio

 Included