Advanced Collection Manager For Blender
 Martin Lisen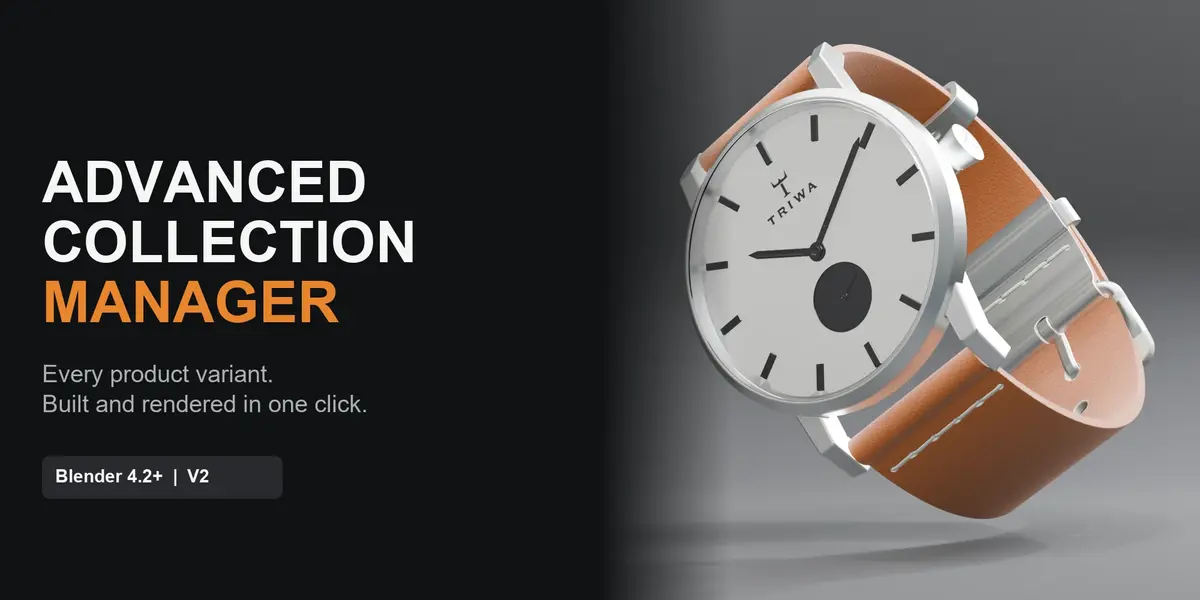


Advanced Collection Manager — Documentation (V2)
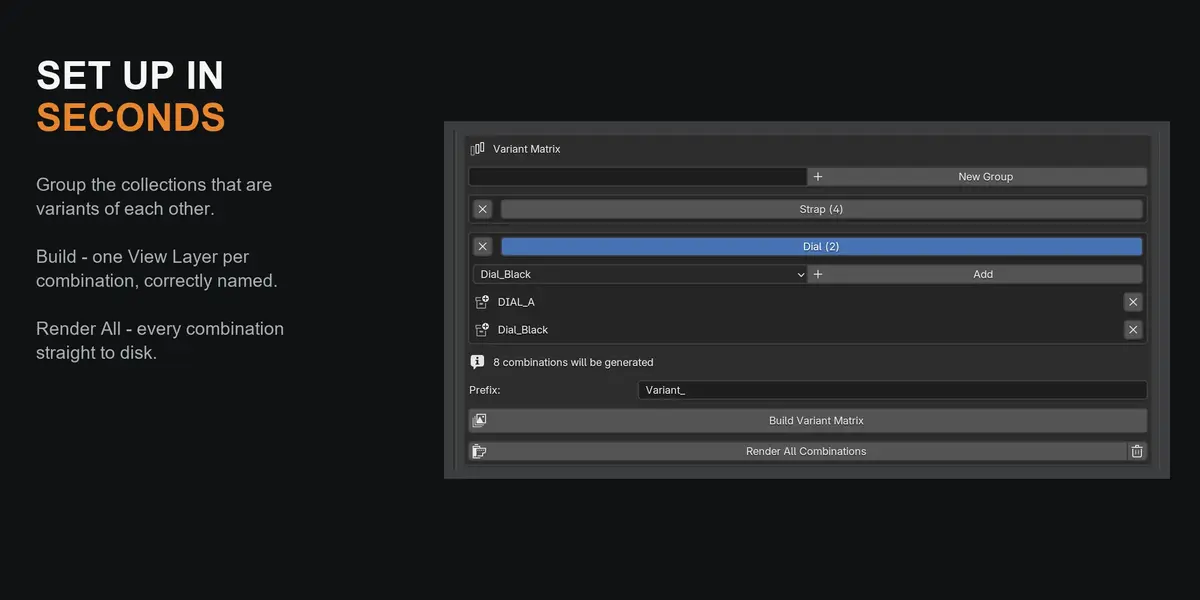
Advanced Collection Manager lives in Properties > Scene > Advanced Collection Manager. It has two workflows: Duplicate Collections (make named copies of a collection) and the Variant Matrix (turn existing variant collections into every possible combination, ready to render).
1. Installation
- Download the
.zipfrom your Superhive downloads (do not unzip it). - In Blender: Edit > Preferences > Get Extensions (Blender 4.2+), open the drop-down arrow at the top right and choose Install from Disk…, then select the zip.
- Enable it if it is not enabled automatically. The panel appears in the Scene tab of the Properties editor.
Requirements: Blender 4.2 or newer (tested up to 5.2). No extra Python packages. Works with any render engine.
2. Getting started in 60 seconds
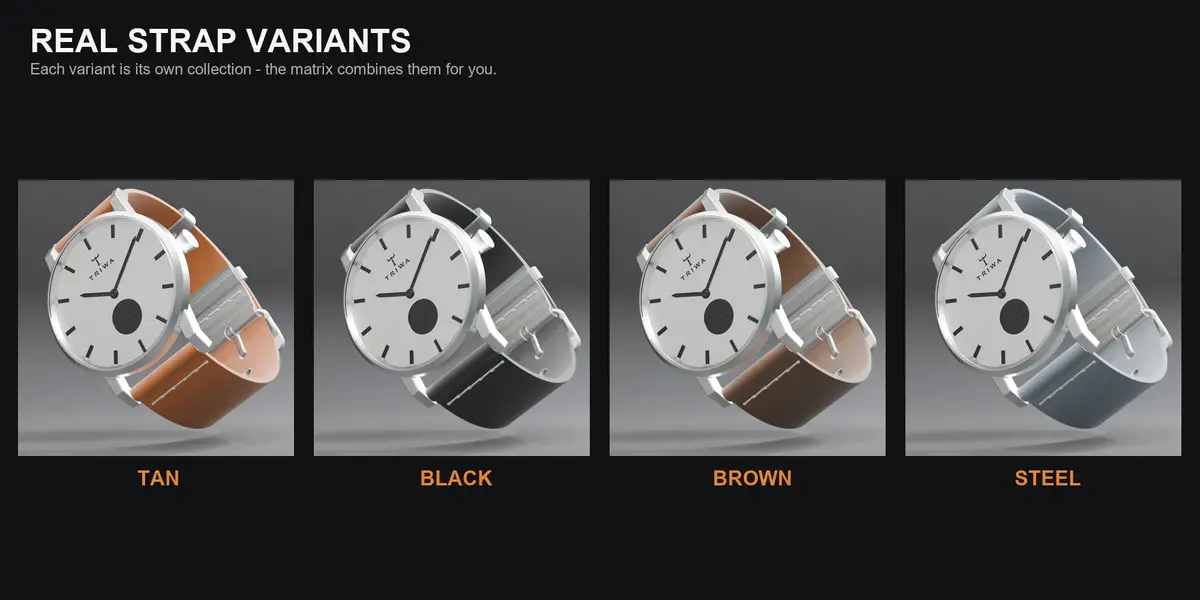
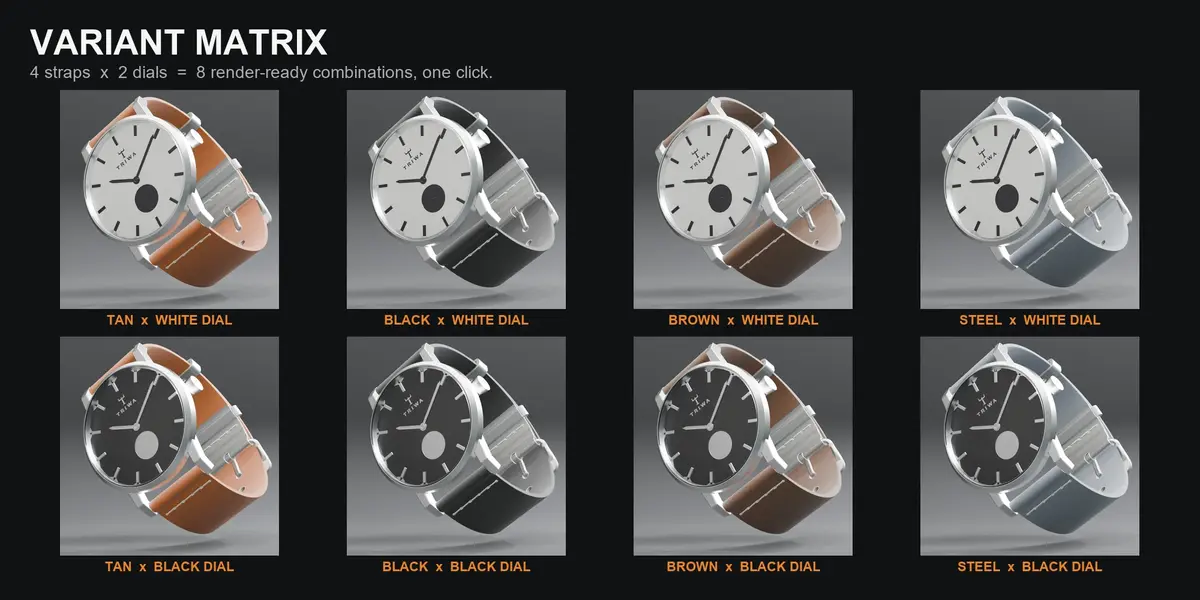
Scenario: a watch with 4 straps and 2 dials, each already modelled in its own collection.
- In Variant Matrix, type
Strapand click New Group. - Pick each strap collection in the drop-down and click Add (repeat for the 4 straps).
- Type
Dial, New Group, add the 2 dial collections. - The panel now reads “8 combinations will be generated”. Click Build Variant Matrix — you get a preview of the 8 View Layer names, confirm.
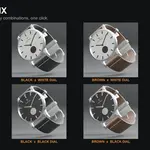
- Set your output folder in Output Properties, then click Render All Combinations. Eight images land in that folder, named after their combination.
3. Global Options
- Show all collections — the collection drop-downs list every collection in the file instead of only the ones in the current scene.
-
Use custom suffix + Custom Suffix — when duplicating without custom names, copies get this suffix (default
_copy). If the name already exists, a.001,.002… counter is appended automatically.
4. Duplicate Collections
Use this when you need N named copies of a collection (for example to start new variants from a base).
- Source Collections — add the collections to duplicate one by one, or click Get Scene Collections to add every collection of the scene at once. Remove an entry with its ×.
-
Custom Names — type names separated by commas (
Strap_Black, Strap_Brown, Strap_Steel) and click Add. Each source collection is duplicated once per name. Long lists collapse after 5 entries. Copy Names puts the list in your clipboard; the × next to Add clears the whole list (with confirmation). -
Duplicate Collections — opens a dialog: Number of copies (1–999, copies are numbered
.001,.002…) and Exclude from View Layers (create the copies disabled, handy when you will only use them in specific View Layers).
What a duplicate contains: every object with its own copy of the mesh/data (edit a copy without touching the original), nested child collections (recursively), the collection colour tag, and the same parent collection as the source. Without custom names, copies use the source name plus the suffix/counter.
5. Variant Matrix
A group is a set of collections that are alternatives of each other (all the straps, all the dials, all the finishes…). The matrix computes every combination — one collection per group — and gives you a View Layer for each.
- New Group — type a name, click the button. Click a group’s name to make it active (highlighted).
- Add — adds the collection selected in the drop-down to the active group. Remove a member or a whole group with its ×.
- Combinations counter — the product of the group sizes (3 × 4 × 2 = 24). Check it before building.
-
Prefix — prepended to every generated View Layer name (default
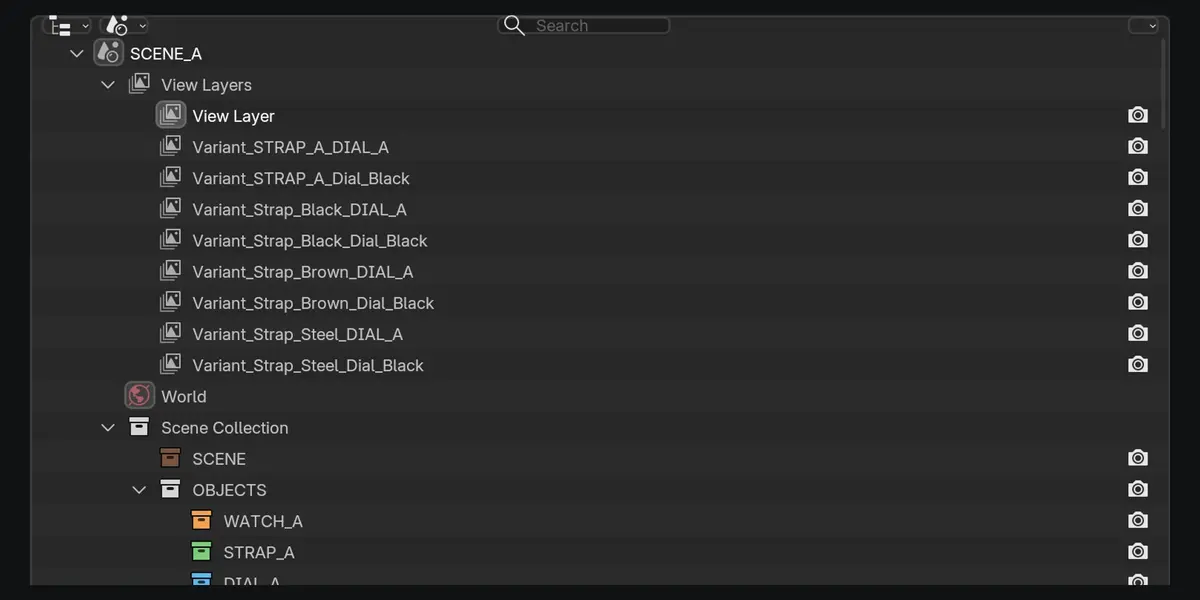
Variant_). It is also how the add-on recognises its own layers for cleanup. Names are truncated to Blender’s 63-character limit. - Build Variant Matrix — creates one View Layer per combination. In each layer, only the chosen collection of every group is enabled; the other members are excluded. Collections that belong to no group are left untouched, so they stay visible in every combination (case, lights, camera, floor…). The dialog previews the names and lets you replace previously generated layers.
-
Render All Combinations — renders every combination as a still image with your current render settings, to the folder set in Output Properties > Output, one file per combination named
<prefix><member>_<member>. Visibility is restored afterwards. You do not need to build the View Layers first — the render pass works from the groups directly. - 🗑 (Clear) — removes every View Layer starting with the prefix.
6. Tips
-
Put the original in its group too. If
STRAP_Ais your base strap and you want it as a variant, add it to the Strap group; otherwise it stays visible under every other strap. - Nested collections — a group member can contain sub-collections; everything inside follows it.
-
Name your variant collections for the output.
Strap_Black+Dial_WhitebecomesVariant_Strap_Black_Dial_White.png— a naming you can hand to a client as-is. - Big matrices — 60+ combinations means 60+ View Layers. Use Clear when you are done, and save before a large batch render.
- Browse before rendering — after Build, switch View Layers in the top bar to check any combination in the viewport.
7. Support
Questions or a workflow the add-on does not cover yet? Message me through Superhive or at [email protected]. Bug reports with a small .blend get fixed fastest.
-
$17.50
Everything included: the V2 Variant Matrix (build every combination as View Layers and render them all in one click), Duplicate Collections, the demo scene, and all future updates.
Have questions about this product?
Login to message
| Blender Extension Compatible | Yes |
| Published | almost 2 years ago |
| Blender Version | 4.2 - 5.2 |
| Extension Type | Add-on |
| Render Engine Used | Cycles, Eevee |
| License | GPL |

Discover more products like this
view layers automation variants E-commerce render layers batch render collections Scene Management configurator product-visualization