AutoReframe
 one99addons
in VSE
one99addons
in VSE
AutoReframe - Documentation
1. Install
- Download autoreframe_v1.0.0.zip. Do not unzip it.
- In Blender: Edit > Preferences > Add-ons, click the drop-down arrow at the top right and choose Install from Disk...
- Pick autoreframe_v1.0.0.zip and tick "AutoReframe - 16:9 to Vertical" in the list.
- If Auto-Save Preferences is off, click Save Preferences (bottom left).
2. Where to find it
- 3D Viewport > Sidebar (press N) > AutoReframe tab (with a 2D Video (Sequencer) sub-panel).
- Render menu > Render Vertical (AutoReframe).
- 3D Viewport > View menu > AutoReframe Preview.
- Video Sequencer > Sidebar (press N) > AutoReframe tab, for videos that are already rendered.
3. How to use it
- Open your 16:9 scene with its camera set as the scene camera (or cameras bound to timeline markers).
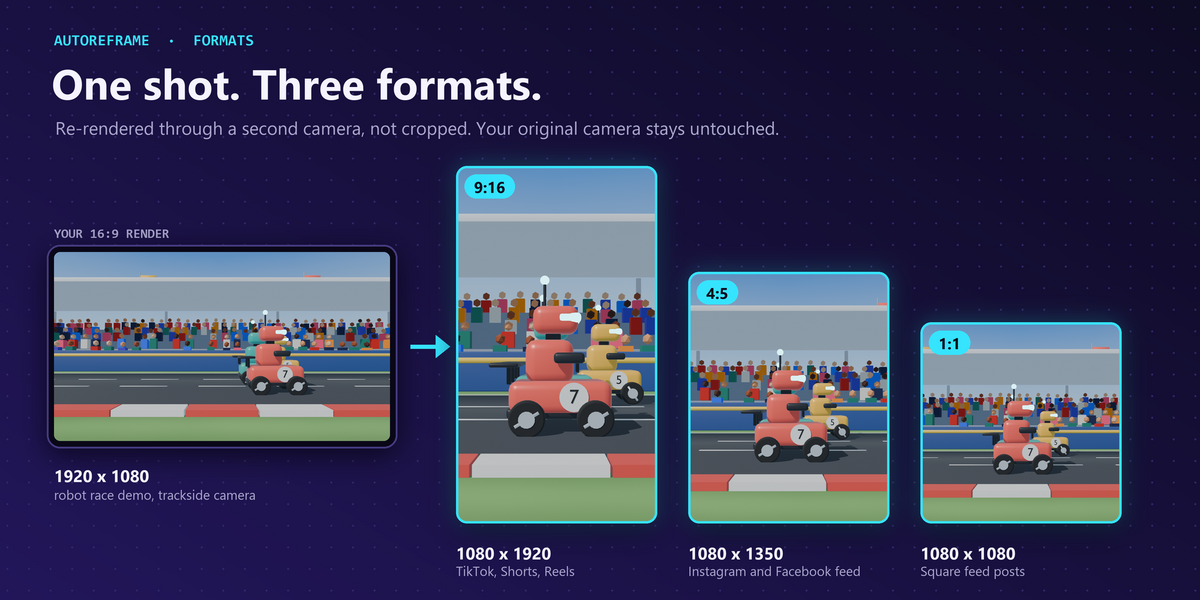
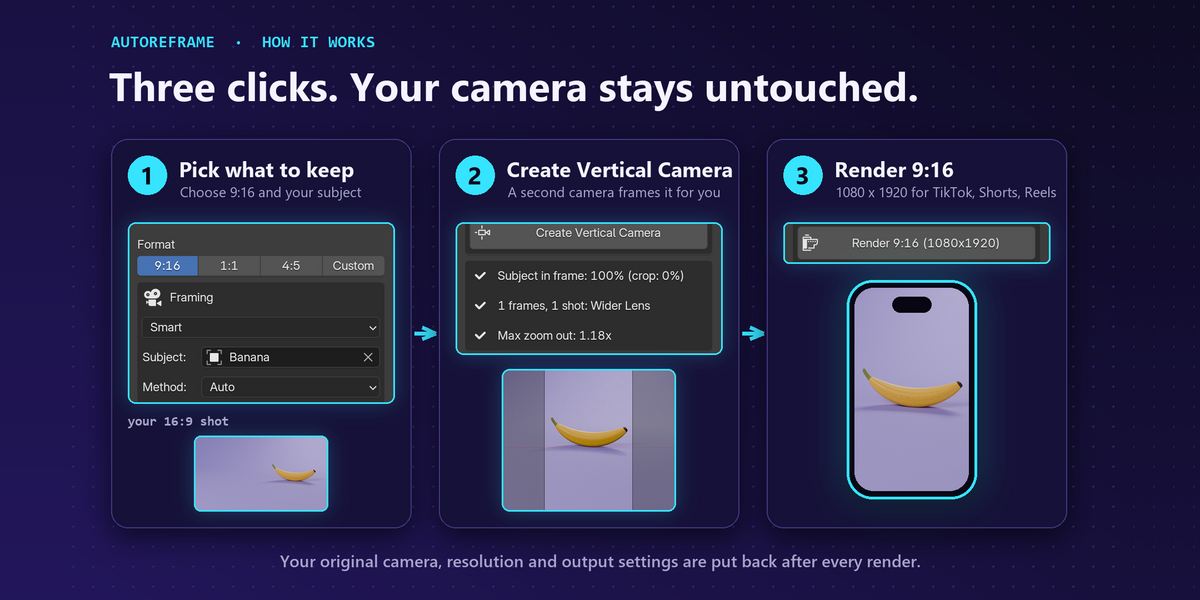
- Pick a Format: 9:16, 1:1, 4:5 or Custom.
- Pick a Mode. Smart is a good start. Set a Subject, or leave it empty to let AutoReframe choose.
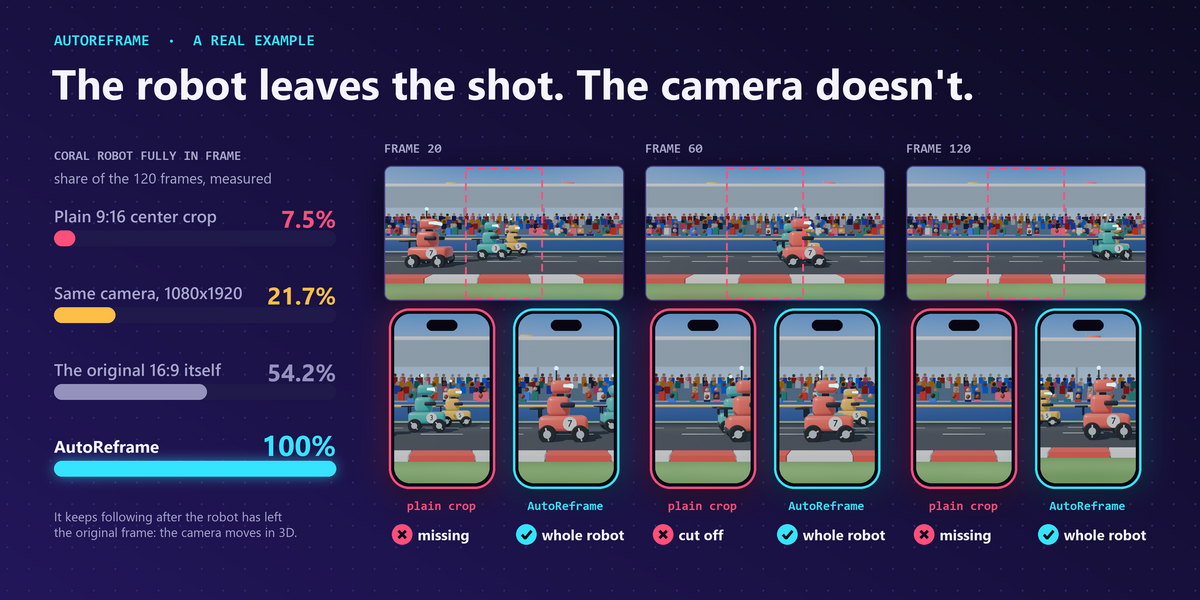
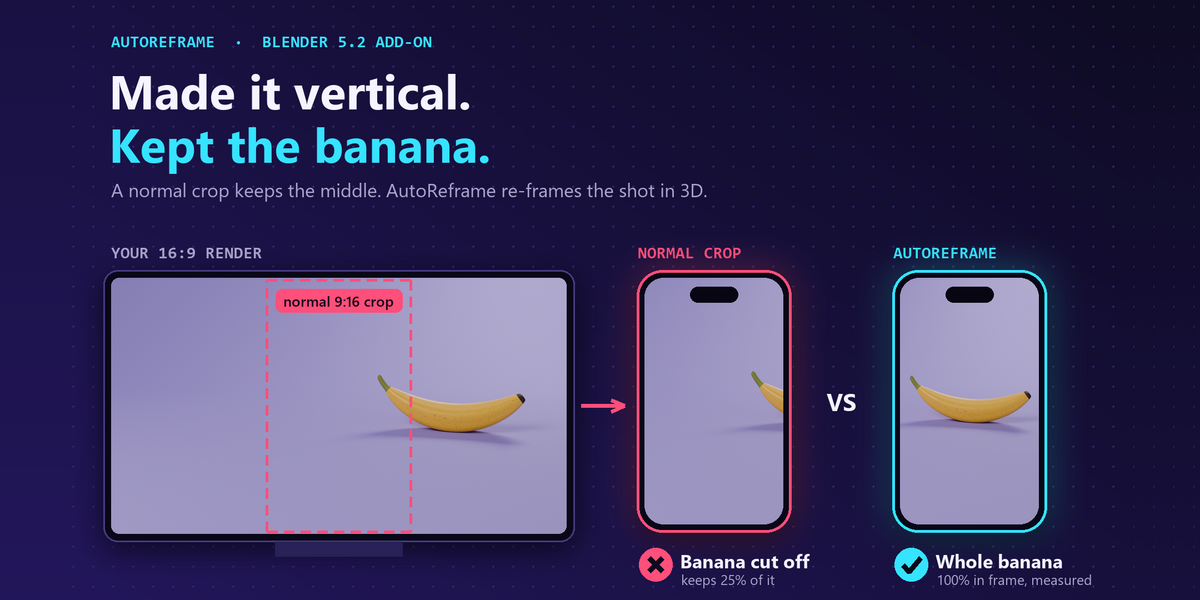
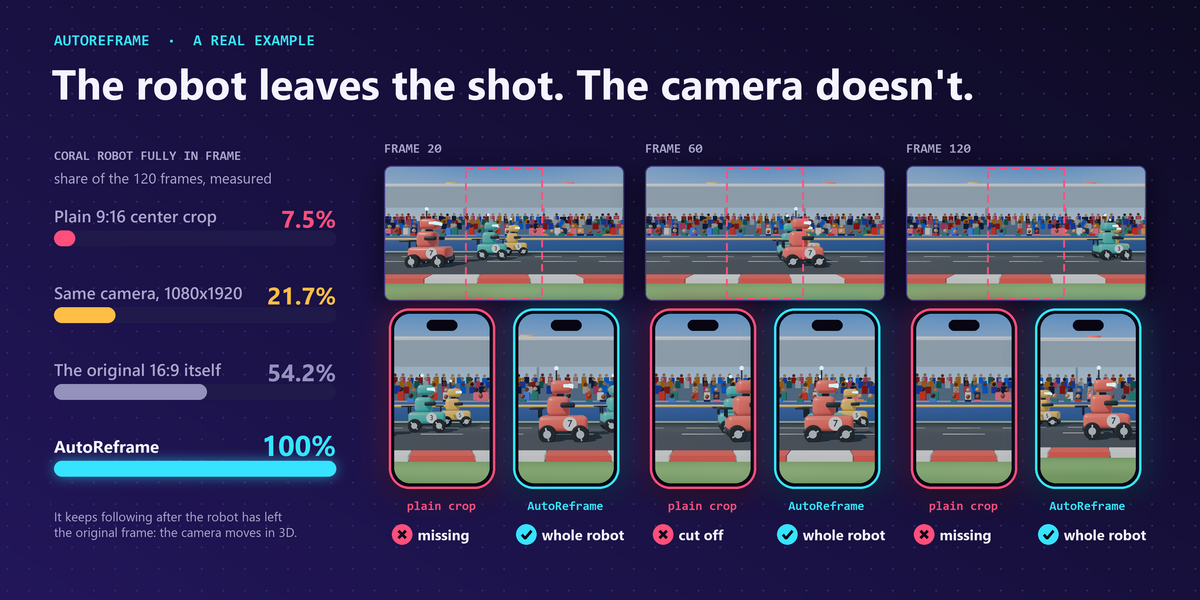
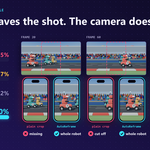
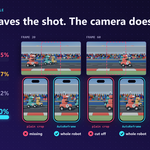
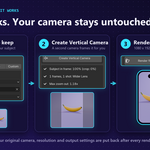
- Click Create Vertical Camera. A camera named AutoReframe_9x16 (for 9:16) is made in an "AutoReframe" collection, and a result box shows how often the subject is fully in frame.
- Click Preview to look through it at the new format. Turn on Guides to see the app safe zones. Click Exit Preview to get your camera and resolution back.
- Click Render 9:16 (1080x1920). The file is saved in the AutoReframe folder next to your .blend, and your settings come back when the render ends.
- Changed the animation? Click Create Vertical Camera again: it rebuilds the camera from scratch.
- Already-rendered MP4: in the Sequencer, select the movie strip, pick Fill + Blur or Follow Zone, click Make Vertical Video, then Render Vertical Video. A new scene is made; your scene and strip are not changed.
4. Settings
Format and framing
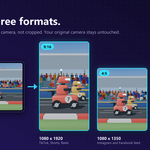
- Format: 9:16 (1080 x 1920), 1:1 (1080 x 1080), 4:5 (1080 x 1350) or Custom width and height.
- Mode: Smart, Follow, Show All or Fixed.
- Subject (Smart, Follow, Fixed): the object to keep in frame. A rig or an empty also counts its child meshes. Empty = picked automatically.
- Objects (Show All): Visible, Selection or Collection.
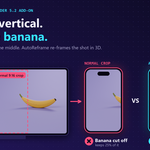
- Method: Auto, Move Back, Wider Lens or Shift Only.
- Margin: free space around the subject, in % of the frame (default 8%).
- Smoothing: how calm the reframing is, in seconds (default 0.6, 0 = follows every frame exactly).
- Max Zoom Out: how far the camera may zoom out or step back compared with a plain crop (default 3.5x, up to 8x).
- Allow Zoom In: lets the camera get up to 2x closer than a plain crop when the subject is small.
- Range: Animation (scene frame range) or Current Frame (still image).
Check
- Preview / Exit Preview: look through the AutoReframe camera at the new format, then go back.
- Guides + App: TikTok, Reels, Shorts or All (the strictest of the three). Shown in the viewport camera view for 9:16 only, never rendered.
Render
- Folder: where the render goes. Empty = an "AutoReframe" folder next to your .blend (or in your Videos folder if the file is not saved yet).
- File: MP4 Video (H.264 with the scene audio) or PNG Images (a sequence in its own folder, or one PNG for a still).
- Render button: renders through the AutoReframe camera, then restores resolution, camera, markers and output settings.
- Remove AutoReframe Cameras: deletes the AutoReframe cameras of the current format. Your own cameras are never touched.
2D Video (Sequencer)
- Fill + Blur: Blur (default 60 px), Background Brightness (default 0.55), Video Size (1 to 2.5).
- Follow Zone: Zone (-1 = left edge, 0 = center, 1 = right edge; right-click > Insert Keyframe to animate it), or a Clip + Track from the Movie Clip Editor to follow.
- Make Vertical Video / Render Vertical Video: build the new scene, then render it to an .mp4 with the audio.
5. Troubleshooting
- "No camera": set an active scene camera first (Scene Properties > Camera).
- "is already an AutoReframe camera": set your original camera back as the scene camera, then click Create again.
- "Exit the preview first": click Exit Preview, then Create Vertical Camera.
- "Follow mode needs a subject": pick an object in the Subject field.
- "frames still cut - raise Max Zoom Out": the subject is too wide for the vertical frame. Raise Max Zoom Out or lower Margin.
- The wrong object is followed: pick the Subject yourself, or use Show All with Selection or Collection.
- The new camera sees an unfinished part of the set: lower Max Zoom Out, or use Shift Only.
- No safe zone guides: they show only in camera view, through an AutoReframe camera, at 9:16. Use Preview first.
- While a render from the button is running, don't change render settings: they are restored when the render ends or is cancelled.
- Install error? Make sure you picked the .zip itself, not an unzipped folder, and that you are on Blender 5.2 or newer.
6. Updating
- Download the new zip from your Superhive library, uninstall the old version in Edit > Preferences > Add-ons, restart Blender, then install the new zip.
7. Uninstall
- If you don't want the extra cameras, click Remove AutoReframe Cameras for each format first. Then Edit > Preferences > Add-ons, expand AutoReframe and choose Uninstall. Cameras, rendered files and vertical video scenes it already made stay in your files as normal Blender data.
Support
- Have a question, a bug or an idea for a new feature? Mail me at [email protected]. Please include your Blender version and operating system.
Have questions about this product?
Login to message
| Published | 3 days ago |
| Blender Version | 5.2 |
| Extension Type | N/A |
| Render Engine Used | Cycles, Eevee |
| License | GPL |
Discover more products like this
aspect ratio camera 9:16 Reels tiktok Render reframe vertical video youtube shorts social-media