 John Deligiannis


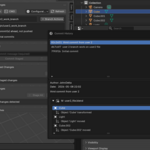
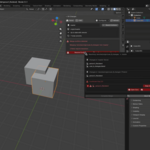

Git-based version control directly inside Blender.
Commit, branch, merge.
Overview
Blender Git brings Git-based version control directly inside Blender with no terminal required for everyday tasks. It adds a dedicated Git tab to the 3D Viewport sidebar where you can commit your work, manage branches, view history, resolve merge conflicts, and connect to remote repositories, all without leaving Blender.
Because .blend files are binary, standard Git cannot tell you what changed inside them. Blender Git solves this by capturing a snapshot of your scene each time you stage a .blend file, producing a plain-English change list like "Object 'Cube' moved" or "Material 'Base' shader nodes changed".
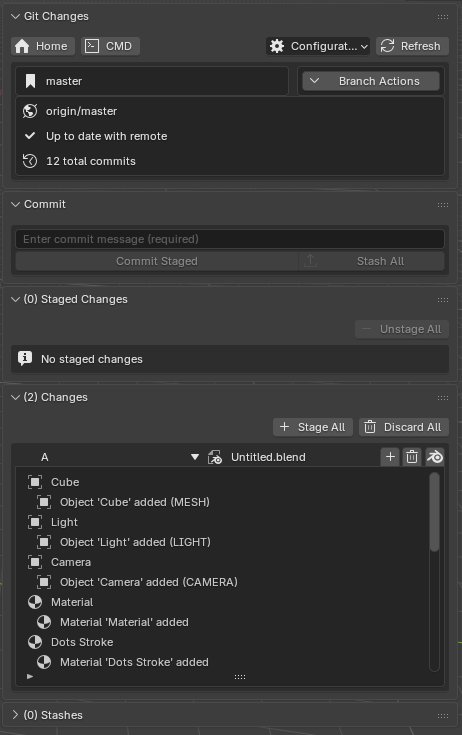
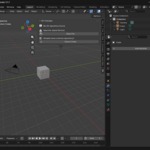
The Git panel inside Blender's 3D Viewport sidebar
.blend detail. Staging, unstaging, and discarding work at the file level. Conflict resolution also works at the file level: choose one complete version per file.Who is this for?
A save-point system with meaningful descriptions. Roll back to any earlier state of your project anytime.
Collaborate on a shared project via GitHub, GitLab, or any Git host without leaving Blender.
Ever wished you could roll back a Blender project to an earlier state? Now you can.
Getting Started
Starting a New Project
-
1 Save your
.blendfile to the folder where you want the project to live. - 2 Open the Git panel. It will prompt: "No Git repository found."
- 3 Click Initialize Repository.
The addon creates a Git repository, configures Git LFS, prepares .gitignore and .gitattributes, and makes the first commit.
Video: Initializing a new repository
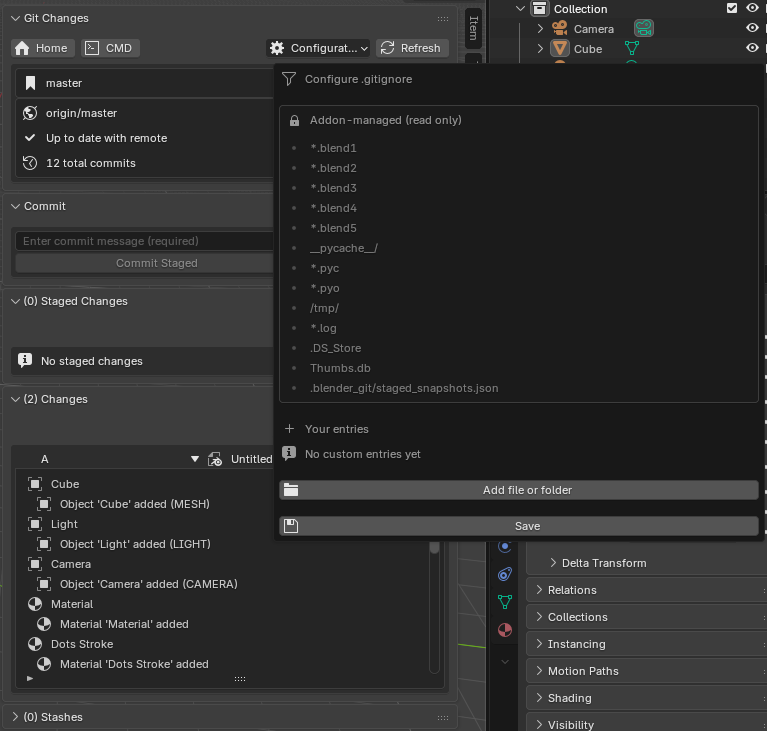
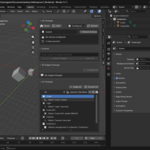
.gitignore configuration popup
Joining an Existing Project
-
1 Open Blender before opening any
.blendfile. - 2 Click Clone it here (visible when no repository is detected).
- 3 Enter the repository URL and choose a destination folder.
-
4 After cloning, open your
.blendfrom that folder via File > Open.
Video: Cloning an existing project
How It Works
Git watches every file in the project folder, including .blend files, textures, references, and other assets.
Git LFS stores .blend files in a dedicated object store. From your perspective it is invisible. Just stage, commit, and switch branches as usual.
Each time you stage a .blend, the addon captures the scene state as a small JSON under .blender_git/snapshots/.
Scene Snapshots
Snapshots are how Blender Git generates human-readable change descriptions for binary .blend files. Every snapshot captures the state of the open file at the moment of staging.
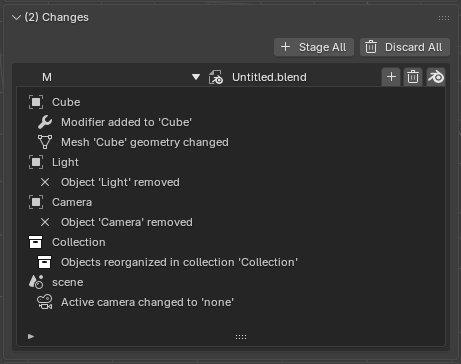
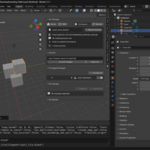
Readable scene diff in the Changes panel
What Gets Recorded
- Whether each object was added, removed, or modified
- Transform: position, rotation, scale
- Viewport and render visibility
- Parent-child relationships & collection membership
- Applied modifiers, material slot assignments, shape keys
- Vertex groups, constraints, particle systems, rigid body physics
- Meshes: vertex count, face count, UV map count
- Armatures: bone count
- Cameras: focal length, camera type
- Lights: energy, type, color
- Text objects: character count
- Keyframe count per object
- Number of animated properties (F-Curves)
- NLA tracks & drivers
- Whether each material was added or removed
- Shader node count & texture image node count
- Transparency mode
- Frame range (start / end), FPS
- Render engine, resolution, samples (Cycles & EEVEE)
- Active camera, world environment, render output format
- Collections: objects inside each, sub-collection structure
- Linked library file paths & externally referenced image names
Snapshot Rules
-
Staged automatically. When you stage a
.blendfile, its snapshot is captured and staged alongside it. - Must be committed. The snapshot is the "before" state the next time you make changes. If you stage but do not commit, the change view may be incomplete.
-
Orphan snapshots are visible. If a snapshot exists without its
.blend, Blender Git shows it as an orphan row. Stage or discard it from the panel. - Do not edit snapshot files by hand. Treat them as managed project metadata.
-
Do not add
.blender_git/to.gitignore. Everything in it must be tracked and committed. -
Multi-file projects are supported. Each
.blendgets its own snapshot in a mirrored subfolder structure.
Panel Reference
The Git panel lives in the 3D Viewport's N-panel. Press N to toggle the sidebar.
- Home: Opens the repository root folder in your file explorer.
- CMD: Opens a terminal at the repository root for advanced Git commands.
-
Configuration:Access identity, remote settings,
.gitignoreand.gitattributeseditors. - Refresh: Manually re-checks repository status.
Shows the current branch name, remote name and URL, and whether you are ahead, behind, or up to date with the remote.
.blend has unsaved edits, Blender Git pauses the normal workflow and shows a Save File button. Git actions use the on-disk version of the file. Saving first keeps the change list, snapshot, and commit content aligned.- Commit message field:A description of what you did. Required to commit.
- Commit Staged: Records staged changes as a new commit.
- Stash All: Saves all changes into a temporary stash, leaving the working tree clean.
- Each file row shows a status indicator and filename.
-
For
.blendfiles with a snapshot, a chevron expands a scrollable list of changes in plain English. - Click the minus button to unstage a file or folder.
- Unstage All moves everything back to the Changes panel.
- Files displayed in a folder tree. Click a folder to expand or collapse it.
-
Plus button on a file or folder stages it (auto-captures the snapshot for
.blendfiles). - Trash button discards all changes and reverts to the last committed state. This cannot be undone.
- Stage All and Discard All apply to all visible changes at once.
Collapsed by default. Click the header to expand. Lists all saved stashes with their label and index.
-
Apply: Restores a stash's changes to the working tree and reopens the
.blend. Only available when the working tree is clean. - Drop:Permanently deletes a stash entry. A confirmation dialog appears first.
Video: Using the Stashes panel
Branch Management
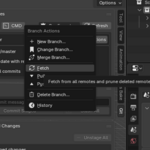
Access branch actions via the Branch Actions button next to the current branch name.
- New Branch: Creates a new branch from the current state and switches to it immediately.
- Change Branch: Switch to a different local or remote branch.
- Merge Branch: Merges the selected branch into the current branch. Conflicts are surfaced via the conflict banner.
- Fetch: Downloads new commits and branch references from the remote without modifying local files.
- Pull: Downloads and applies remote commits to the current branch.
- Push: Uploads your local commits to the remote tracking branch.
- Delete Branch: Deletes a local branch. Protected names cannot be deleted.
- History: Opens the commit history view.
Video: Creating a new branch and committing work
Commit History
Accessed via Branch Actions > History. The history panel lists commits in reverse chronological order, showing the short hash, message, author, and date. Commit details use the same snapshot language as the Changes panels. Orphan snapshots are labelled with (orphan).
From any commit entry, click Checkout to New Branch to create a branch starting at that commit and switch to it. Requires a clean working tree.
Video: Browsing commit history
Merge Conflict Resolution
When a merge produces a conflict, the normal Changes and Commit panels are replaced by a conflict banner showing which branches are involved and how many files need resolution.
.blend file is unresolved, opening it normally can disturb the binary conflict state. Use the conflict dialog's inspection buttons, then reopen the file only after the conflict has been resolved.If Blender was accidentally closed and the conflicted file can no longer be opened, resolve the conflict by opening another .blend file from the same repository and using the conflict resolution tools from there.Resolution Steps
- 1Click Resolve Conflicts to open the conflict dialog.
-
2For each conflicted
.blend, use Open Ours in Blender and Open Theirs in Blender to inspect both versions. - 3Click Keep Ours or Keep Theirs for each conflicted file.
- 4Resolve any snapshot-only or orphan snapshot rows.
- 5Click Complete Merge to finalize and create the merge commit.
To abandon the merge entirely, click Restore to Latest Commit from the conflict banner.
Video: Resolving a merge conflict
Remote & Configuration
Identity
Open Configuration > Set Identity to set the author name and email used for commits. By default, values are saved only to the current repository. Turn on Save globally to write them to your user-wide Git config.
Remote
Open Configuration > Configure Remote to add or change the remote URL and view the current tracking branch. After adding a remote, use Fetch to retrieve its branches, Pull to bring in the latest commits, and Push to upload yours.
Video: Configuring a remote repository
.gitignore Editor
Lists the current .gitignore entries. Add patterns for files or folders you do not want Git to track. The addon pre-populates sensible defaults for Blender projects on initialization.
.gitattributes Editor
Controls how Git treats specific file types, including which formats are stored via Git LFS. The defaults cover .blend and common image and video formats. Edit only if you need to add custom file types.
Typical Workflows
- Work on your scene.
- Save the
.blendfile (Ctrl+S). - Switch to the Git panel and review the Changes list.
- Click + to stage the file (snapshot captured automatically).
- Type a commit message and click Commit Staged.
- Type a short description in the commit message field (becomes the stash label).
- Click Stash All.
- Your changes are saved and the working tree goes clean.
- Open the Stashes panel and click Apply when ready.
- Make sure current work is committed or stashed.
- Branch Actions > New Branch, e.g.
experiment-retopo. - Work and commit freely on this branch.
- If it works: Merge Branch back into your main branch.
- If not: switch back and delete the experiment branch.
- One person initializes the repo and pushes to a remote.
- Team members use Clone it here to get a local copy.
- Each person works on their own branch.
- Use Fetch / Pull to stay current; Push to share.
- Open a pull request on your hosting platform, then pull the merged result.
Limitations
.blend files are binary, you cannot combine parts of two versions. You choose one complete version of each conflicted file..blend file is unresolved, opening it normally can disturb the binary conflict state.Contact
Questions or issues? Reach out through:
- Email: [email protected]