Brushflares Addon - Stylised Lens Flare Tool For Blender 5.1 + Handcrafted Texture Library
 Merlin Perry



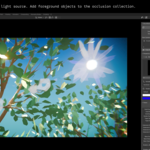
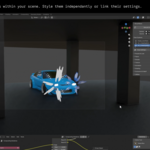
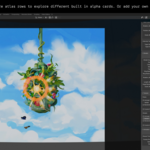
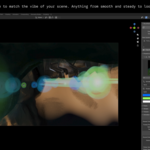
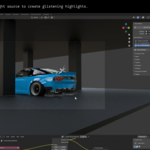
Brushflares: stylised lens flares for Blender
If you work in a stylised or NPR pipeline, Brushflares helps you add handcrafted stylised lens flares to your project without relying on overly realistic digital compositing glows. It's a highly customisable lens-flare and radial-streak burst system built entirely in Blender, driven by your own painted atlases. Comic book inks, gouache, watercolour, screen print, punk, cel shading, mixed media... whatever your visual language is, Brushflares speaks it, because the style comes entirely from you.
Built for Blender 5.2 LTS.
Support: [email protected].
What's In The Box?
- 16 Master Presets, each a full look (shape, shader, animation) in a single click
- 14 custom shaders and 8 animation presets, mix any motion with any palette
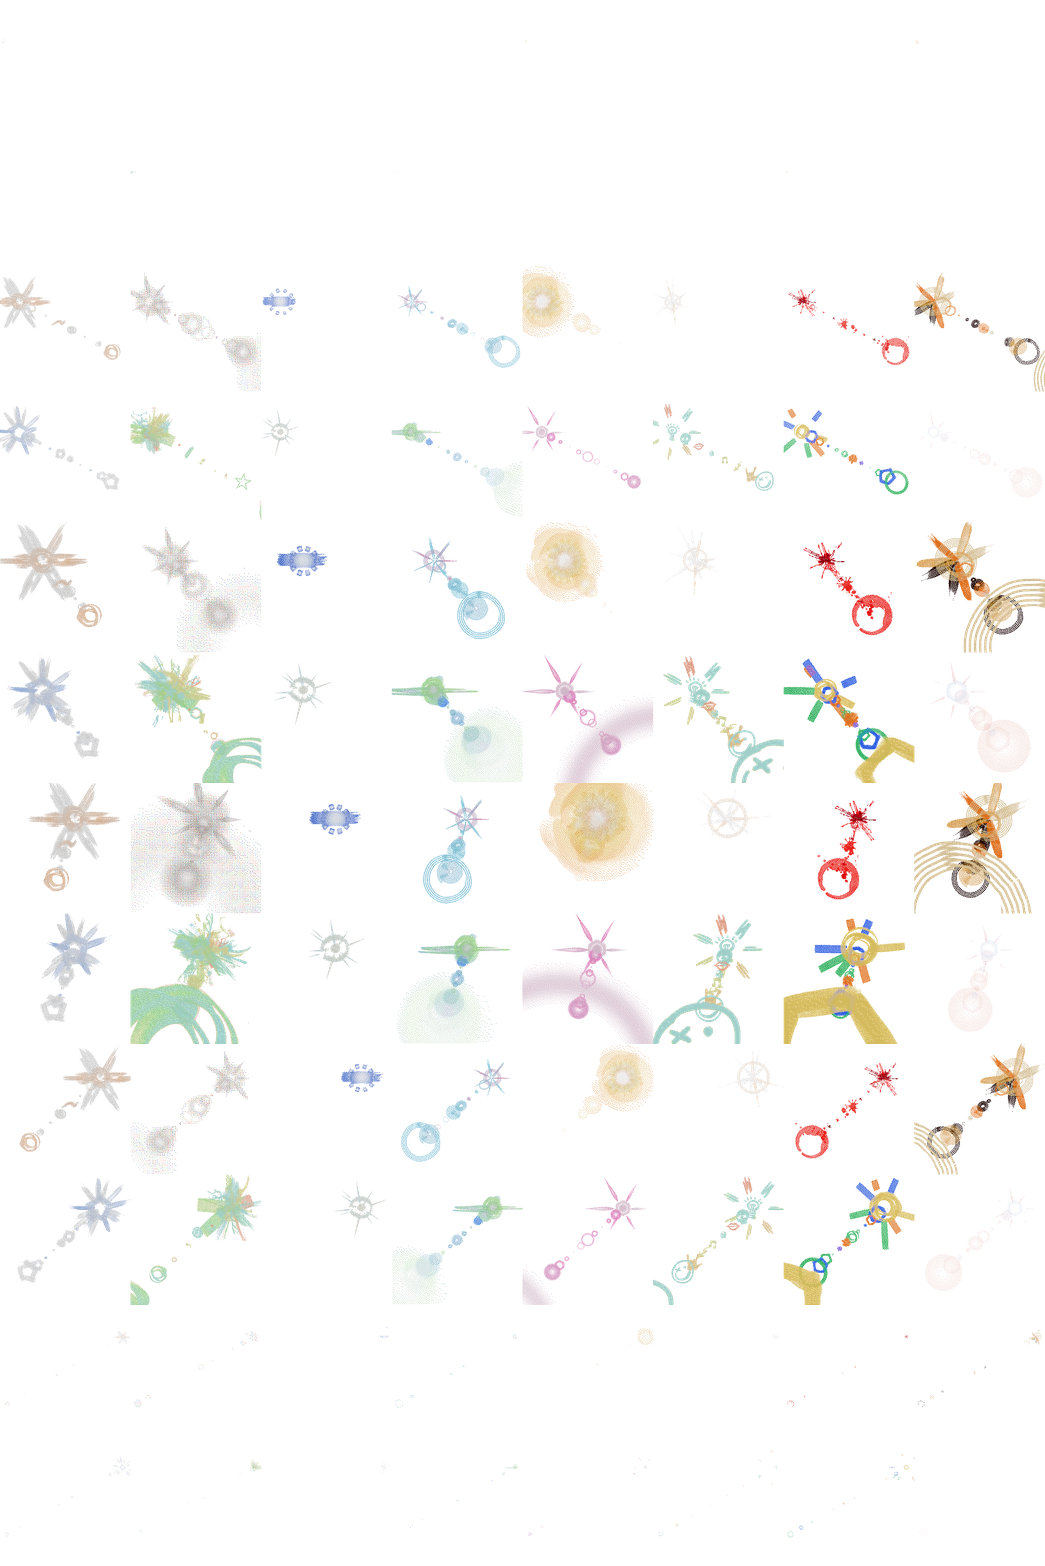
- A hand-painted atlas library, loaded and ready
- 250+ cleaned, organised raw texture scans for building your own
- Two independent systems: a ghost flare and a radial streak burst
- Screen-space occlusion, so a blocked light fades and shrinks the flare
- Multi-flare systems management, and your own saveable presets with thumbnails

Install
- Download the
.zip. - In Blender, go to Edit → Preferences → Add-ons → Install…, pick the file, and tick it on.
- Open the sidebar in the 3D viewport (press N) and find the Brushflares tab.
Getting Started
Three steps and you've got a flare.
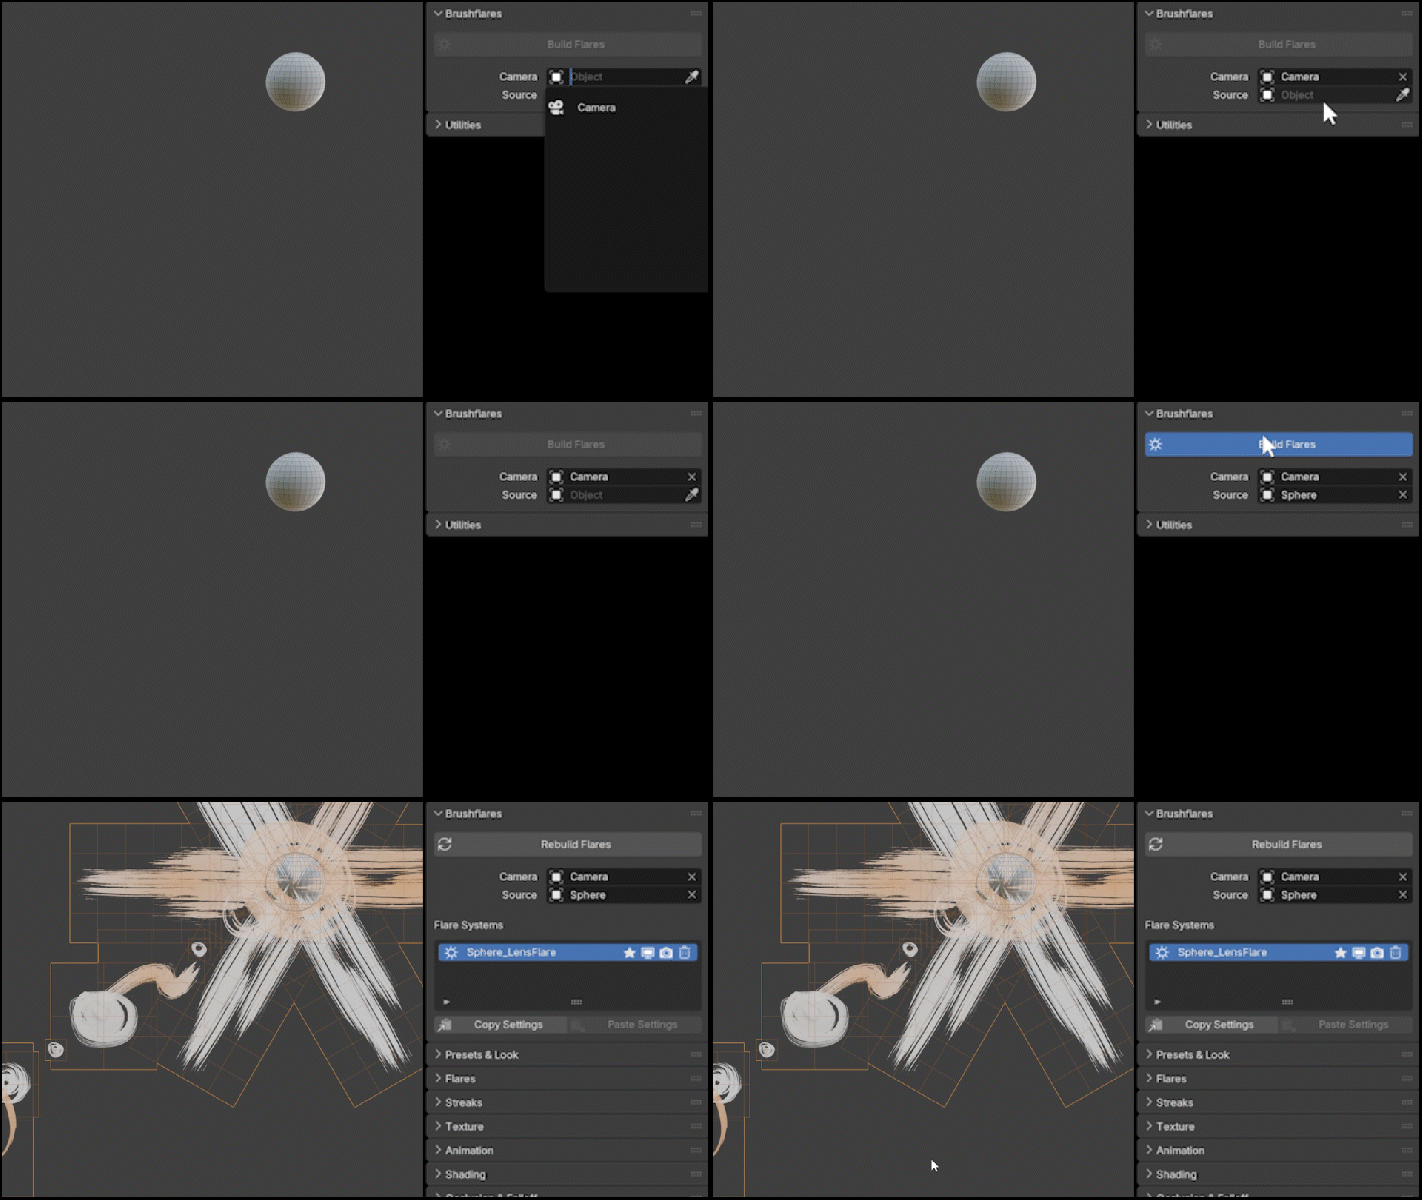
- In the Brushflares panel, put the object the flare should shine from into Source. That can be a light, an empty, a mesh, anything but a camera. Set your Camera, or leave it and it uses the scene camera.
- Hit Build Flares.
- Look through the camera. As the light moves toward the middle of the frame, the flare grows, and as it heads for the edge, it fades away. That's the whole core loop. Everything after this is just dialling in the look.
How It Works
Each build makes one object with one Geometry Nodes modifier, locked to your camera. It reads where your light sits relative to the camera and lays the flare cards and streak burst along a line running from the light through the centre of frame. The cards are pure emission, with no shadows and no reflections, so they behave like a real screen-space flare rather than scene geometry. Point it at as many lights as you like, and each one gets its own flare.
The Panels
Top to bottom, here's what each section is for. You won't touch all of them on every shot.
Brushflares. Home base. Pick the Camera and Source, build or rebuild the flare, and manage every flare in the scene from the Flare Systems list: solo one, mute it in the viewport or render, or delete it. You can copy and paste settings between flares here too.
Presets & Look. The quick route to a finished look.
- Master Presets. The thumbnail browser. Click one and the whole look drops on instantly. Save your own with Save My Preset and it lands in the same browser, thumbnail and all.
- Animation. How the flare moves: a boil, a flicker, a flipbook cycle, or held still.
- Shader. The colour treatment. Some shaders bring their own controls, like colour pickers, right underneath.
Animation and Shader are separate on purpose, so you can put any motion with any palette.
Flares. Where you shape the ghost flare: how many cards, their size and spread along the line, and the per-card variation that gives it a hand-drawn wobble.
Streaks. The radial burst. Same idea as Flares, with count, length, width, and how far the streaks spread out.
Texture. Choose which painted designs show, cycle through them, or load your own atlas sheet in place of the bundled set.
Animation. The timing and intensity: how fast things boil and drift, the flicker, and how bright the flare and streaks sit.
Shading. The material side: overall opacity and glow strength, and the transparency mode (Blended for soft edges, Dithered for crisp ones).
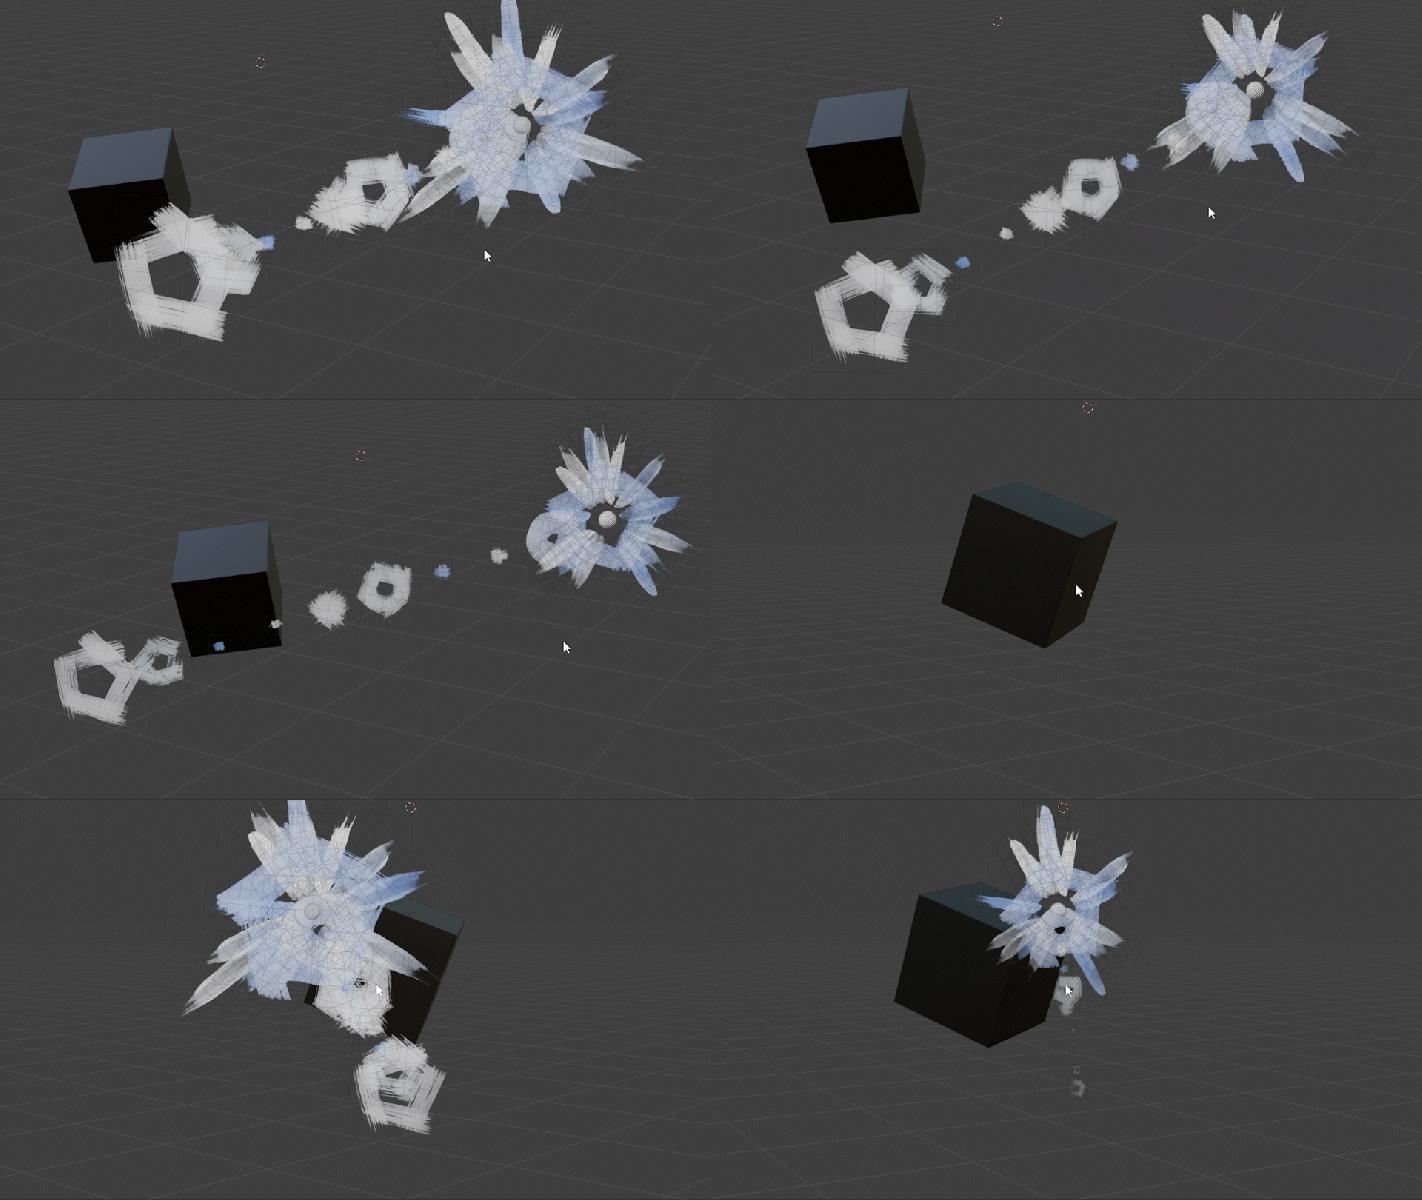
Occlusion & Falloff. Two things live here. Occlusion fades and shrinks the flare when something blocks the light, so drop your blockers into the collection and it handles the rest. Falloff is automatic: it reads your camera and fades the flare as the light reaches the true edge of frame, whatever your lens or aspect ratio. The one dial, Edge Margin, sets how early that fade begins.
Using your own atlas
The bundled atlases load on their own. To use a sheet you've painted, open Texture, switch on Custom Texture for the flare or the streak, and load your PNG. One load covers every flare that shares that material.
Layout: columns run left to right, and rows run bottom to top, so row 0 is the bottom of the sheet. If you paint top-down like most people, flip it vertically before you save.
Contact
If you have any feedback or trouble with the tool, reach me at [email protected]. I hope you enjoy using it. -Merlin
-
$40
Full Add-on & textures library for individual artists, freelancers, and professionals. To use on personal or commercial revenue-generating productions.
-
$300
For studios, companies, or teams with multiple artists. Unlimited seats within a single organisation to use the tool on professional, revenue-generating productions.
Have questions about this product?
Login to message
| Published | 2 months ago |
| Blender Version | 5.1 - 5.2 |
| Extension Type | N/A |
| Render Engine Used | Cycles, Eevee |
| License | GPL |
Discover more products like this
handpainted stylised blender lens flare flares lensflare brushflares brushtrokes