 mashud008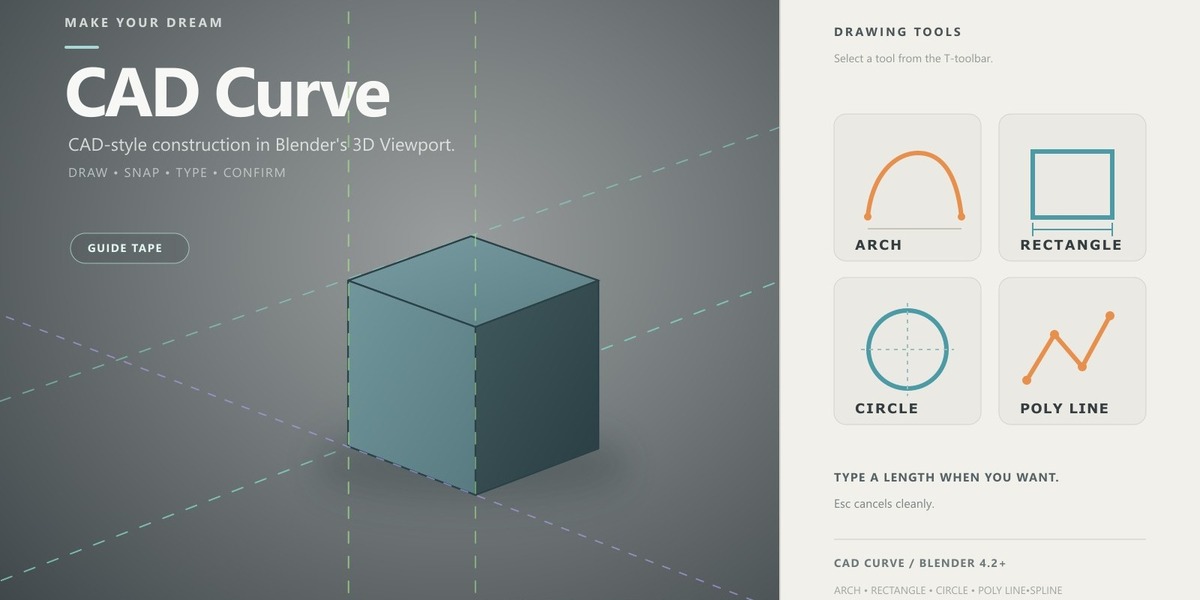
CAD Curve
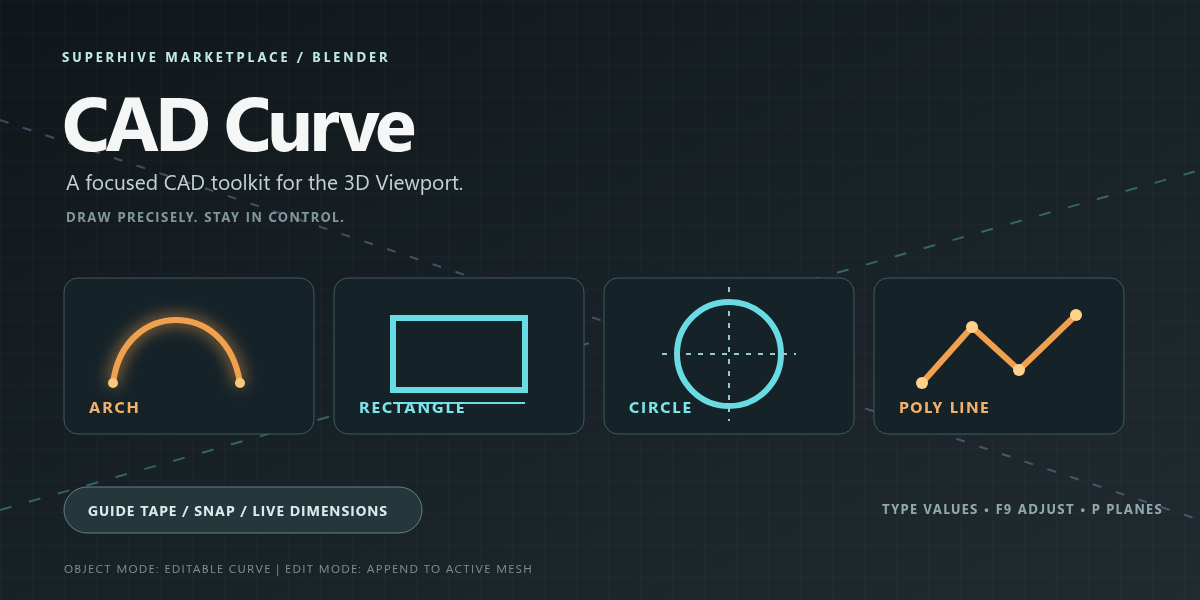
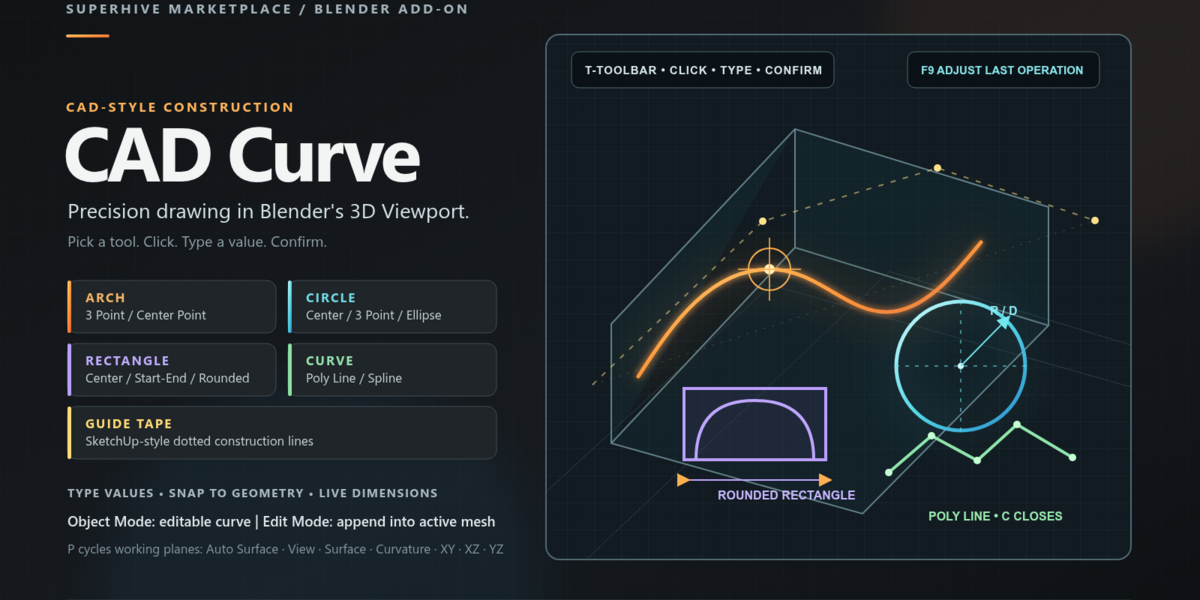
CAD Curve brings CAD-style construction to the 3D Viewport. Pick a tool from the T-toolbar, click, type a length if you want, and confirm. Previews stay temporary until you finish, so Esc never leaves junk in the scene.
Version 1.0.1 · Blender 4.2+ · Windows, Linux, macOS
Features
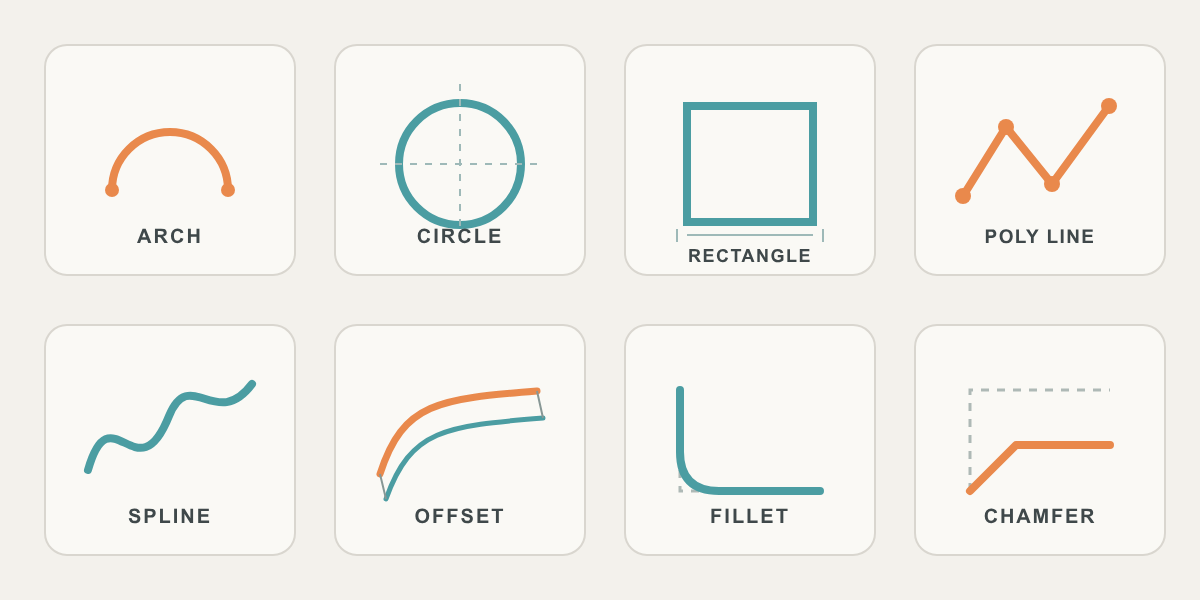
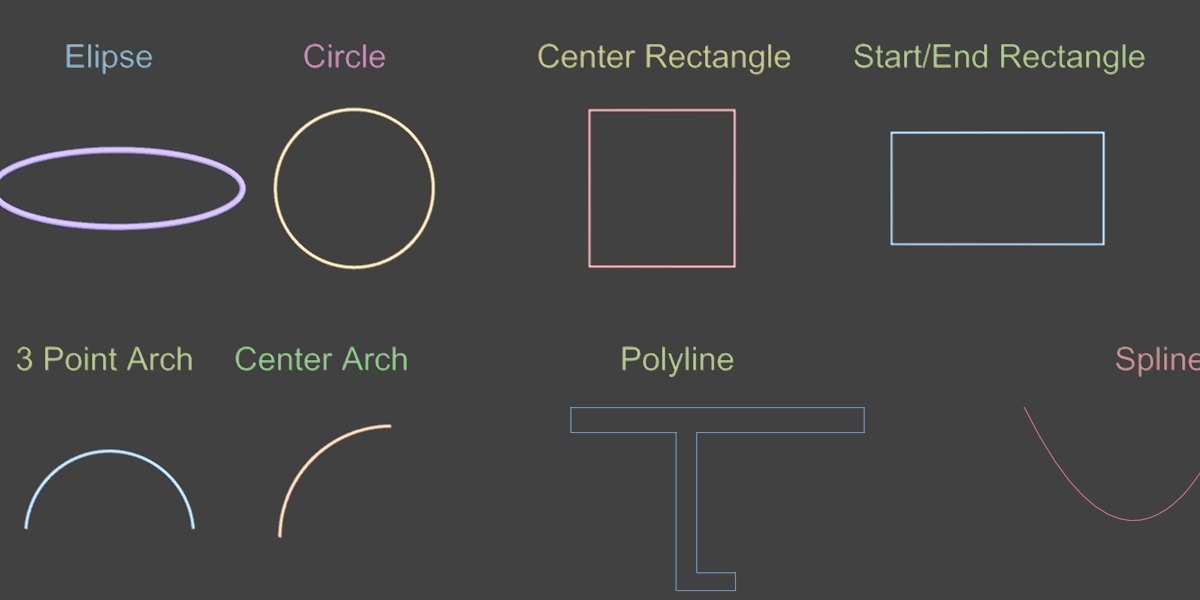
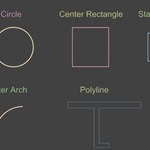
Arch, rectangle, circle, ellipse, polyline, and NURBS spline drawing
2D Offset, Fillet, and Chamfer on planar curves and meshes
SketchUp-style Guide Tape with snappable dotted construction lines
Live dimensions and typed measurements (
2m,5,width,height)Scene units: metric, imperial, or unitless
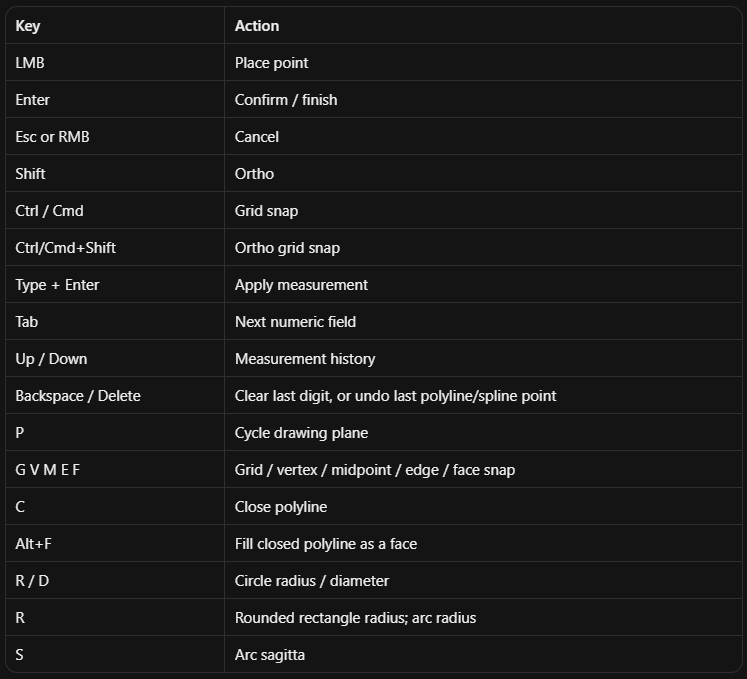
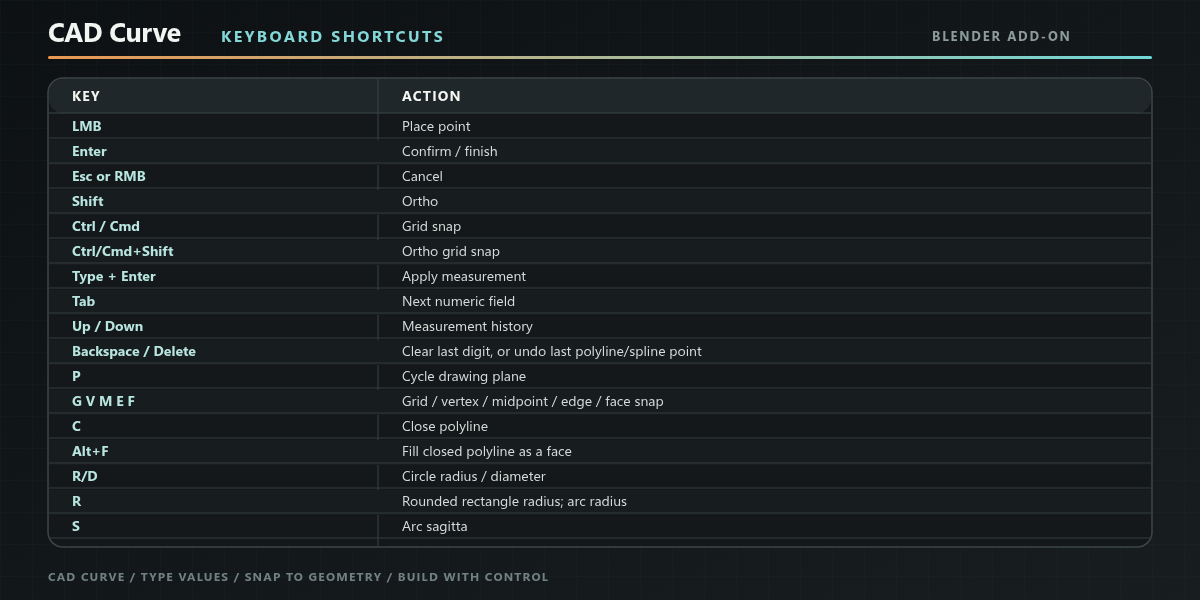
Ortho lock, grid snap, and vertex / midpoint / edge / face snap
Working planes, including Auto Surface and Surface Curvature
Tools on the T-toolbar, Add → CAD Curve, and the N-panel
Quick start
Move the mouse into a 3D View.
Choose a CAD Curve tool from the T-toolbar.
Click to place points. Move the mouse to preview dimensions.
Type a length for an exact size (
2m,5, orwidth,height), then Enter.Enter or the last click confirms. Esc or right-click cancels and creates nothing.
Object Mode creates an editable curve. Mesh Edit Mode appends the result into the active mesh.
After a tool finishes, press F9 for Adjust Last Operation (plane, snaps, measurements, and transform). Use Blender undo after geometry exists.
Drawing tools
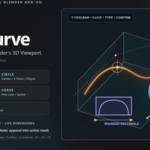
Arch
3 Point Arch — start, end, then a point on the arc. Type a chord length, then
Sfor sagitta orRfor radius.Center Point Arch — center, start, end.
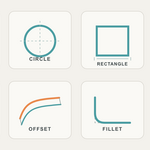
Rectangle
Center Rectangle — click the center, then a corner. Type
width,height(one number makes a square).Start/End Rectangle — opposite corners.
Rounded Rectangle — opposite corners; press
Rand type a corner radius.
Circle
Center Point Circle — click center, then size.
Ris radius mode,Dis diameter mode.3 Point Circle — three points on the circle.
Ellipse — click center, then a corner. Type width and height.
Curve
Polyline — click corners continuously.
Ccloses the shape.Alt+Ffills a closed outline as an n-gon face. Backspace undoes the last point when the number field is empty. Enter or right-click finishes.Spline — smooth NURBS spline with the same Backspace undo. Enter or right-click finishes.
Modify tools (2D only)
Offset, Fillet, and Chamfer work on planar curves and meshes. 3D solids are rejected.
Offset
AutoCAD-style parallel copy.
Choose Offset.
Click a 2D line, polyline, spline, rectangle, arc, circle, or planar mesh.
Move the mouse to the side you want.
Type a distance such as
0.2or2m, then Enter — or click to confirm.
Circles and arcs stay concentric. Polylines and rectangles get mitered corners. Splines stay smooth. A planar mesh face becomes a new mesh copy. Backspace lets you pick another source.
Fillet
Round one corner, or every corner, of a 2D curve or mesh.
Choose Fillet.
Click the line or corner you want on a planar polyline, rectangle, or mesh.
Only that corner is changed. Press A if you want every corner.
Type a Radius (
0.2,50mm) or move the mouse, then Enter or click.
The source object is edited in place.
Chamfer
Cut one corner, or every corner, of a 2D curve or mesh.
Choose Chamfer.
Click the line or corner you want on a planar polyline, rectangle, or mesh.
Only that corner is changed. Press A if you want every corner.
Type Distance 1 and Distance 2 (Tab or comma switches fields). One value uses the same distance on both edges.
Enter or click to confirm.
The source object is edited in place.
Guide (Tape)
SketchUp-style dotted construction lines. No measurement labels are drawn on the guide.
Offset from an edge
Choose Guide (Tape).
Click a mesh edge (for example the bottom of a 3 m cube).
Move the mouse along the offset direction.
Type
2mand press Enter (or click). A dotted guide sits 2 m from that edge.
Free guide — if the first click is not on an edge, the tool draws a guide between two points and asks for Length.
Guides go into the Guide_Tape collection. They do not render.
Length (Preferences or N-panel):
Full World — spans the world; World Size is the total length (default 1000).
Fixed Length — uses the Length value.
Match Source — matches the source edge or measurement.
Style:
Real Dashes — real short edges, so Blender’s magnet snap can hit the guide.
Overlay Dots — zoom-scaled overlay; CAD Curve tools still snap to it.
Always Snap To Guides (on by default) snaps to guides without holding Ctrl/Cmd.
You can snap to endpoints, the midpoint, anywhere along the line, and intersections of two guides. For Blender’s native tools, enable magnet snap with Vertex and Edge.
N-panel → CAD Curve → Guide Layers lists every guide. Hide, delete one, or delete all.
Snapping the first drawing point to a guide also moves the drawing plane to that height, so a shape started on a 2 m guide stays at 2 m.
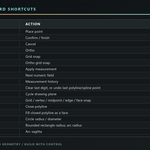
Shortcuts