 mashud008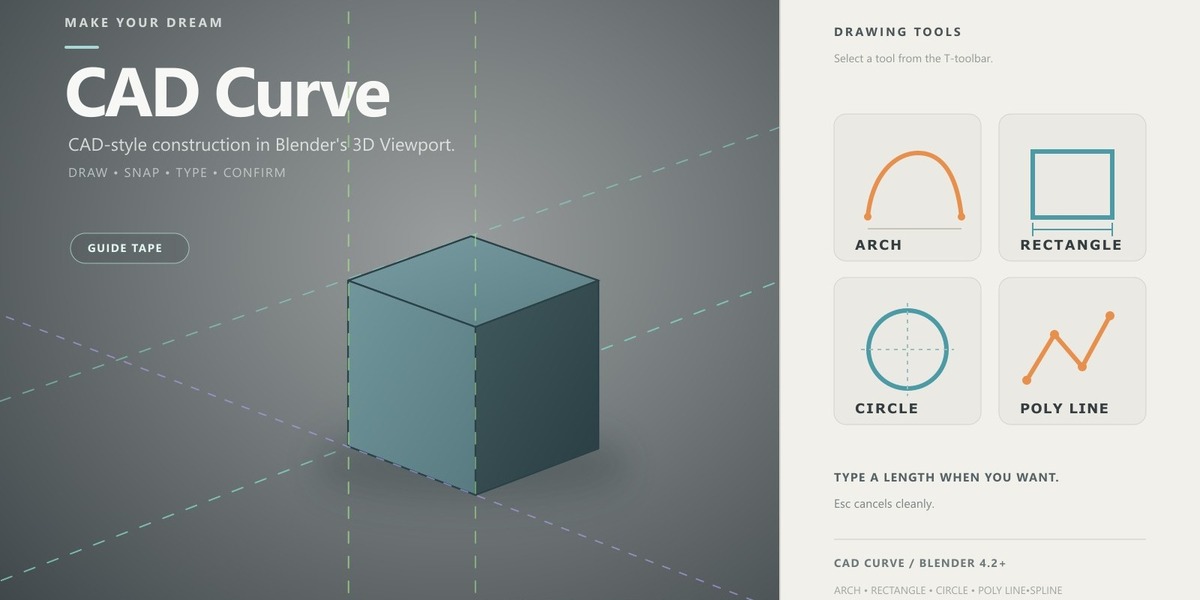
CAD Curve documentation
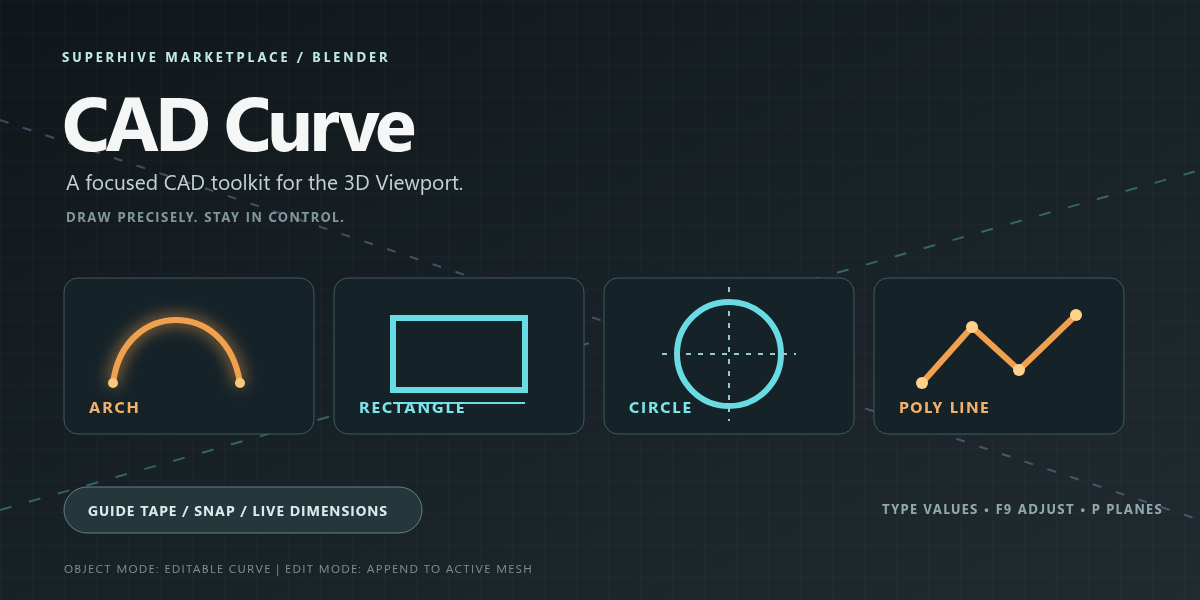
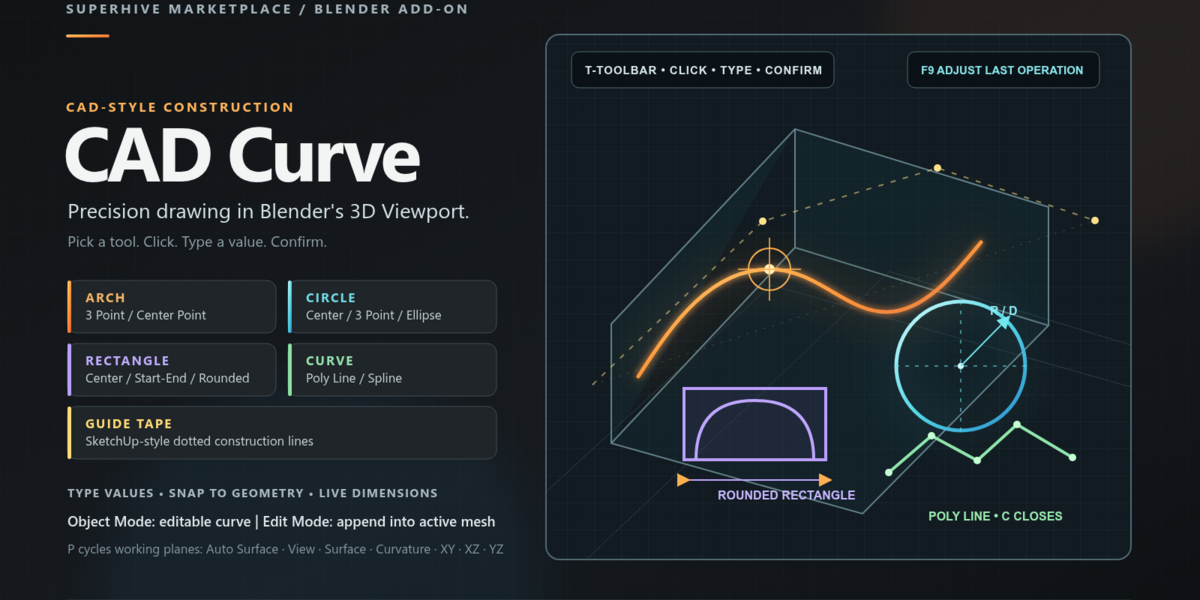
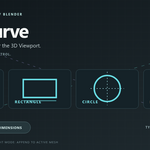
CAD-style drawing tools inside Blender. Click to draw, type a length if you want an exact size, and confirm. Previews stay temporary until you finish, so Cancel never leaves leftover geometry.
Version 1.0.1 · Blender 4.2+ · Windows, Linux, macOS
Website / support: https://linktr.ee/mashud008
Features
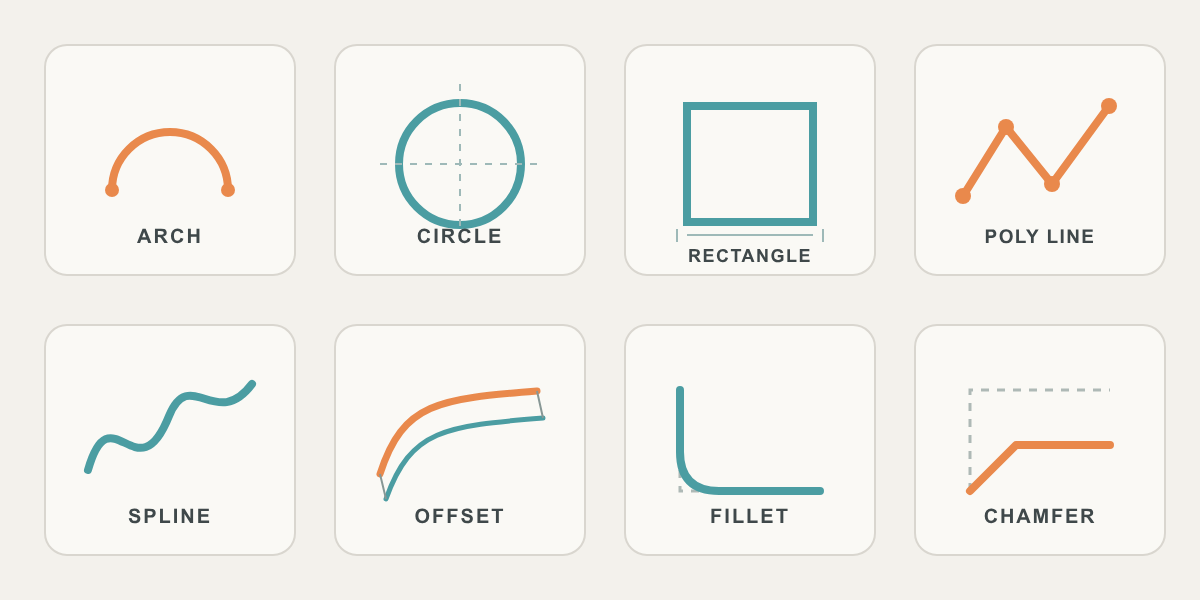
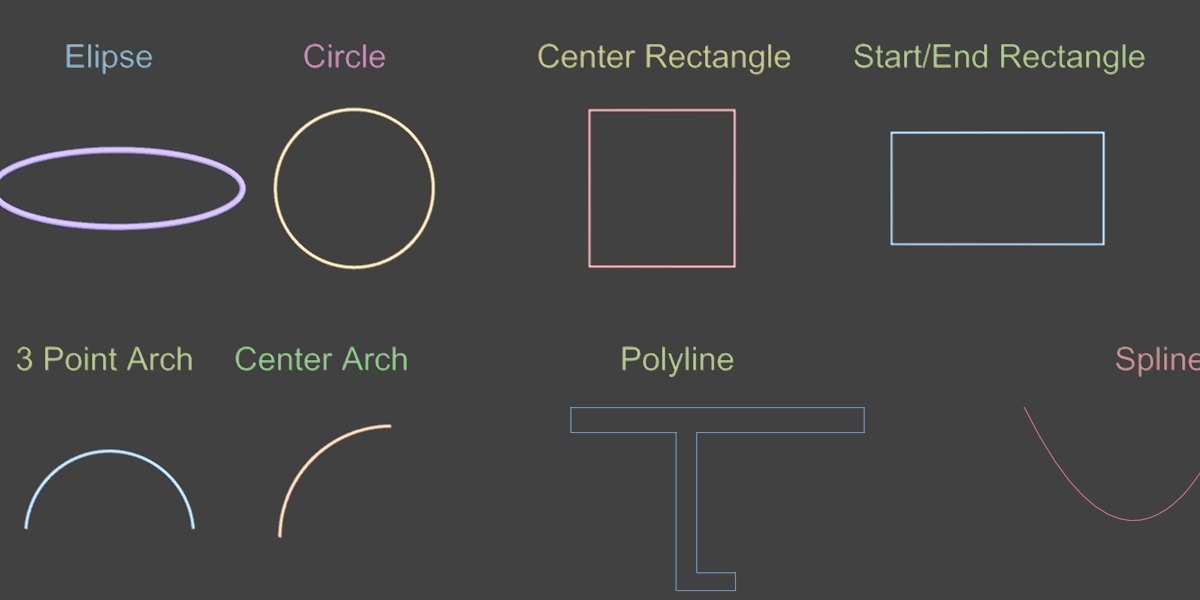
Arch, rectangle, circle, ellipse, polyline, and NURBS spline drawing
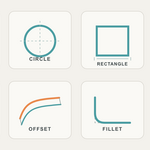
2D Offset, Fillet, and Chamfer on planar curves and meshes
SketchUp-style Guide Tape with snappable dotted construction lines
Live dimensions and typed measurements (
2m,5,width,height)Scene units: metric, imperial, or unitless
Ortho lock, grid snap, and vertex / midpoint / edge / face snap
Working planes, including Auto Surface and Surface Curvature
Tools on the T-toolbar, Add → CAD Curve, and the N-panel
No extra Python packages are required.
Install
CAD Curve is a Blender 4.2+ extension.
Open Blender 4.2 or later (tested on 4.2 LTS, 4.5 LTS, and 5.2 LTS).
Go to Edit → Preferences → Extensions.
Open the dropdown and choose Install from Disk…
Select the CAD Curve ZIP and enable CAD Curve.
Restart Blender after an update so older modules are not cached.
In a 3D View, press T. The tools sit at the bottom of the toolbar.
If your Blender build still shows Edit → Preferences → Add-ons → Install…, that also accepts this ZIP.
The same tools are under Add → CAD Curve and the N-panel tab CAD Curve.
Quick start
Move the mouse into a 3D View.
Choose a CAD Curve tool from the T-toolbar.
Click to place points. Move the mouse to preview dimensions.
Type a length for an exact size (
2m,5, orwidth,height), then Enter.Enter or the last click confirms. Esc or right-click cancels and creates nothing.
Object Mode creates an editable curve. Mesh Edit Mode appends the result into the active mesh.
After a tool finishes, press F9 for Adjust Last Operation (plane, snaps, measurements, and transform). Use Blender undo after geometry exists.
Drawing tools
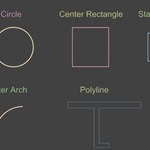
Arch
3 Point Arch — start, end, then a point on the arc. Type a chord length, then
Sfor sagitta orRfor radius.Center Point Arch — center, start, end.
Rectangle
Center Rectangle — click the center, then a corner. Type
width,height(one number makes a square).Start/End Rectangle — opposite corners.
Rounded Rectangle — opposite corners; press
Rand type a corner radius.
Circle
Center Point Circle — click center, then size.
Ris radius mode,Dis diameter mode.3 Point Circle — three points on the circle.
Ellipse — click center, then a corner. Type width and height.
Curve
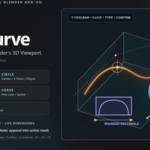
Polyline — click corners continuously.
Ccloses the shape.Alt+Ffills a closed outline as an n-gon face. Backspace undoes the last point when the number field is empty. Enter or right-click finishes.Spline — smooth NURBS spline with the same Backspace undo. Enter or right-click finishes.
Modify tools (2D only)
Offset, Fillet, and Chamfer work on planar curves and meshes. 3D solids are rejected.
Offset
AutoCAD-style parallel copy.
Choose Offset.
Click a 2D line, polyline, spline, rectangle, arc, circle, or planar mesh.
Move the mouse to the side you want.
Type a distance such as
0.2or2m, then Enter — or click to confirm.
Circles and arcs stay concentric. Polylines and rectangles get mitered corners. Splines stay smooth. A planar mesh face becomes a new mesh copy. Backspace lets you pick another source.
Fillet
Round one corner, or every corner, of a 2D curve or mesh.
Choose Fillet.
Click the line or corner you want on a planar polyline, rectangle, or mesh.
Only that corner is changed. Press A if you want every corner.
Type a Radius (
0.2,50mm) or move the mouse, then Enter or click.
The source object is edited in place.
Chamfer
Cut one corner, or every corner, of a 2D curve or mesh.
Choose Chamfer.
Click the line or corner you want on a planar polyline, rectangle, or mesh.
Only that corner is changed. Press A if you want every corner.
Type Distance 1 and Distance 2 (Tab or comma switches fields). One value uses the same distance on both edges.
Enter or click to confirm.
The source object is edited in place.
Guide (Tape)
SketchUp-style dotted construction lines. No measurement labels are drawn on the guide.
Offset from an edge
Choose Guide (Tape).
Click a mesh edge (for example the bottom of a 3 m cube).
Move the mouse along the offset direction.
Type
2mand press Enter (or click). A dotted guide sits 2 m from that edge.
Free guide — if the first click is not on an edge, the tool draws a guide between two points and asks for Length.
Guides go into the Guide_Tape collection. They do not render.
Length (Preferences or N-panel):
Full World — spans the world; World Size is the total length (default 1000).
Fixed Length — uses the Length value.
Match Source — matches the source edge or measurement.
Style:
Real Dashes — real short edges, so Blender’s magnet snap can hit the guide.
Overlay Dots — zoom-scaled overlay; CAD Curve tools still snap to it.
Always Snap To Guides (on by default) snaps to guides without holding Ctrl/Cmd.
You can snap to endpoints, the midpoint, anywhere along the line, and intersections of two guides. For Blender’s native tools, enable magnet snap with Vertex and Edge.
N-panel → CAD Curve → Guide Layers lists every guide. Hide, delete one, or delete all.
Snapping the first drawing point to a guide also moves the drawing plane to that height, so a shape started on a 2 m guide stays at 2 m.
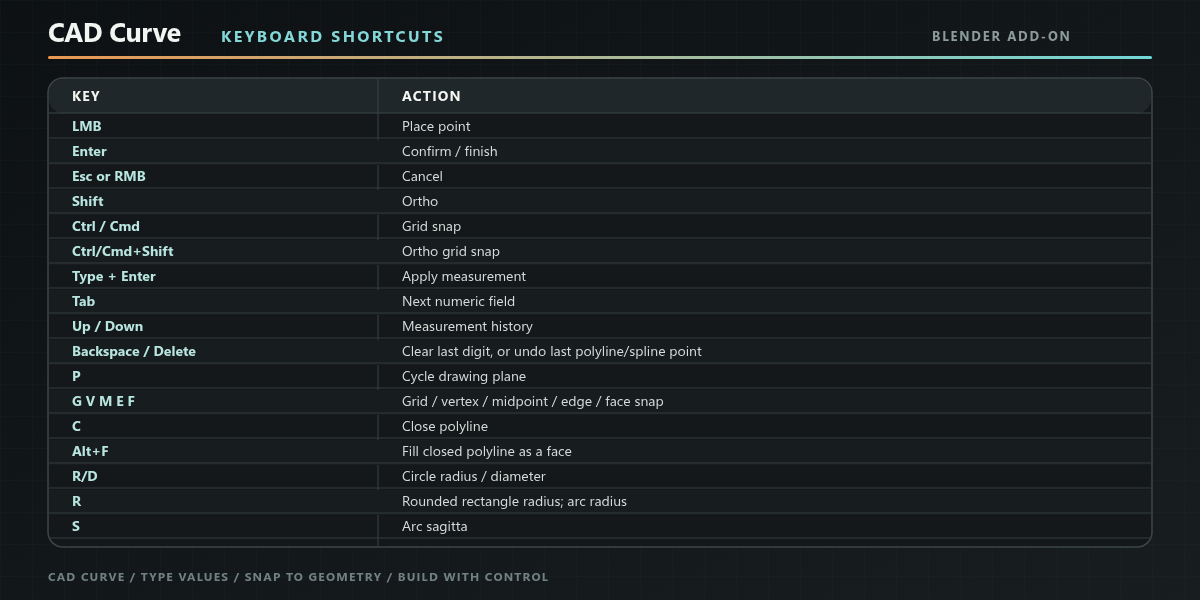
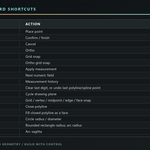
Shortcuts
Input |
Action |
|---|---|
Left click |
Place a point. Offset: pick a source, then confirm. Fillet/Chamfer: pick object, then a corner |
Enter |
Confirm / finish |
Esc or right-click |
Cancel |
Shift |
Ortho lock |
Ctrl (Windows/Linux) or Cmd (macOS) |
Grid snap |
Ctrl/Cmd+Shift |
Ortho grid snap |
Type + Enter |
Apply a measurement |
Tab |
Next numeric field |
Up / Down |
Recent measurements |
Backspace / Delete |
Delete last digit, undo last polyline/spline point, or re-pick Offset/Fillet/Chamfer |
P |
Cycle drawing plane |
G V M E F |
Grid / vertex / midpoint / edge / face snap |
A |
Fillet or Chamfer every corner of the picked 2D shape |
C |
Close polyline |
Alt+F |
Fill closed polyline as a face |
R / D |
Circle radius / diameter |
R |
Rounded-rectangle radius; arc radius |
S |
Arc sagitta |
[ / ] |
Fewer / more curve vertices (circle, arc, ellipse, fillet, offset) |
Middle mouse, wheel, trackpad |
Orbit, pan, zoom (pass-through) |
Drawing plane
Press P to cycle: Auto Surface, View, Surface, Surface Curvature, XY, XZ, YZ.
Auto Surface (default) uses the face under the cursor. Flat faces pick XY, XZ, or YZ; angled faces use the face tangent. If nothing is hit, a view-aligned axis plane is used.
Surface Curvature drapes the curve on the mesh instead of staying on a flat plane. Sphere and cylinder draws stay on the surface. Surface Samples (F9) controls how densely segments are draped. Plane Offset lifts the curve along the surface normal.
The plane locks after the first point so a circle or rectangle stays planar.
Snapping
Grid — viewport subdivisions when Grid Size is 0, or the Grid Size you set.
Vertex / Midpoint / Edge / Face — visible mesh and earlier CAD Curve geometry.
Hold Ctrl/Cmd for grid snap. G, V, M, E, F toggle modes without the modifier.
A circular marker follows the active snap. Guide snaps use a light-blue marker.
Circle and ellipse stay free even if Blender’s global magnet is on.
Units and measurements
Dimension text and typed values follow Scene Properties → Units. In millimeters, 5 is 5 mm. In meters, 5 is 5 m. You can also type a unit suffix such as 2m.
Up/Down browses recent values. N-panel → Recent Measurements can clear that history.
Preferences
Edit → Preferences → Add-ons → CAD Curve, or the 3D View N-panel CAD Curve tab:
Curve Vertices is a slider, not a toolbar tool. Open the N-panel (press
N), choose the CAD Curve tab, and change Count. The same slider appears in the top bar while a CAD Curve tool is active. Circles, ellipses, arcs, fillets, and rounded corners use this count. Press[or]while drawing to change it.Guide style, dash size, length mode, world size, always-snap
License
GPL-3.0-or-later. Copyright 2026 RANA3D.
Support
RANA3D — https://linktr.ee/mashud008
Have questions about this product?
Login to message
| Blender Extension Compatible | Yes |
| Published | 2 days ago |
| Blender Version | 4.2 - 5.2 |
| Extension Type | Add-on |
| Render Engine Used | Arnold, Blender-Internal, Blender-Game-Engine, Cycles, Eevee, Freestyle, Luxrender, Mental-Ray, Octane, Vray, Yafaray |
| License | GPL |