Camera Craft
 Octopus Works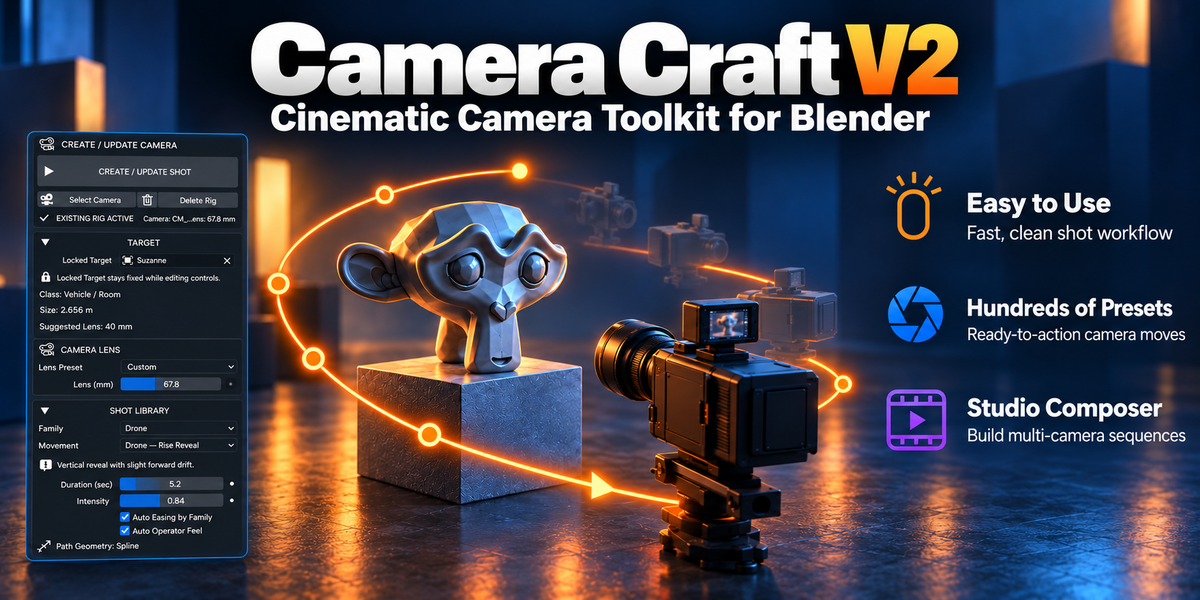
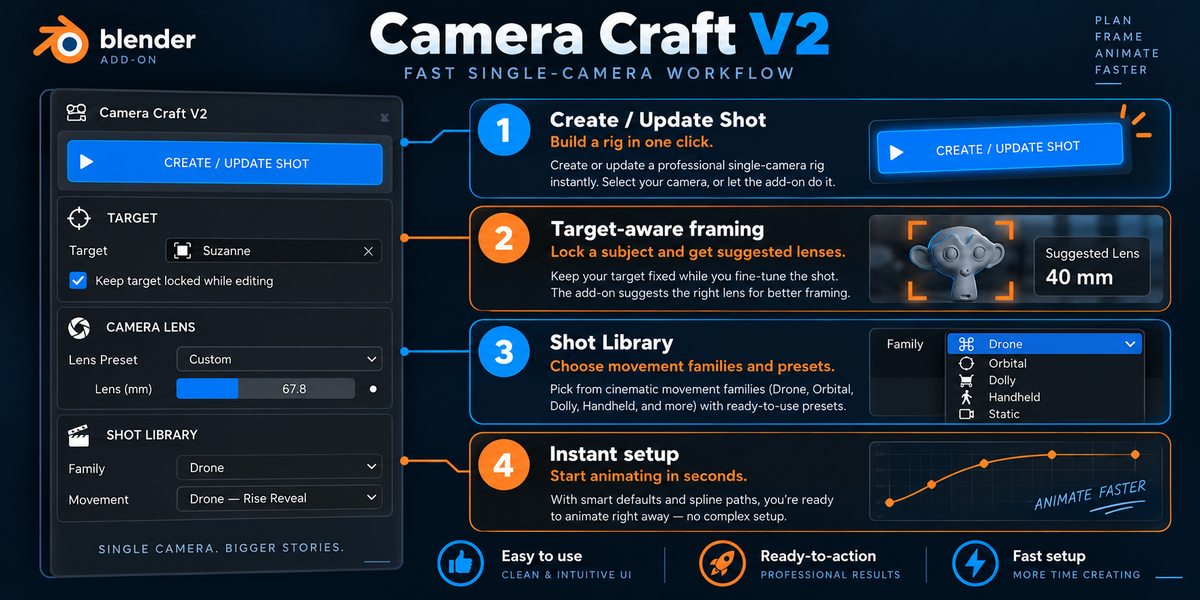
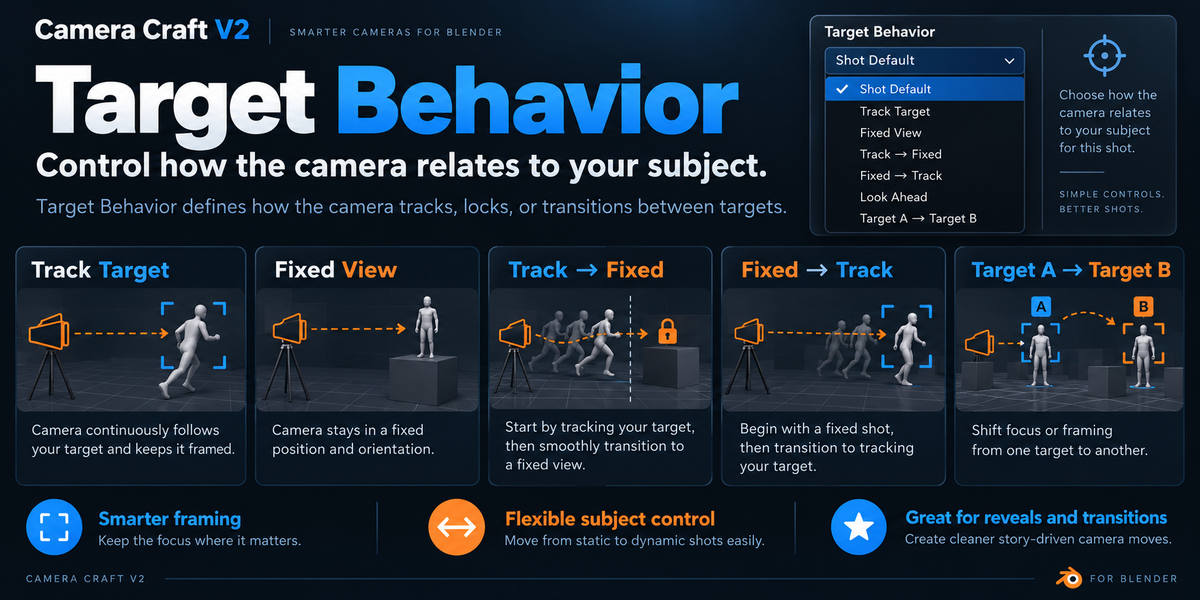
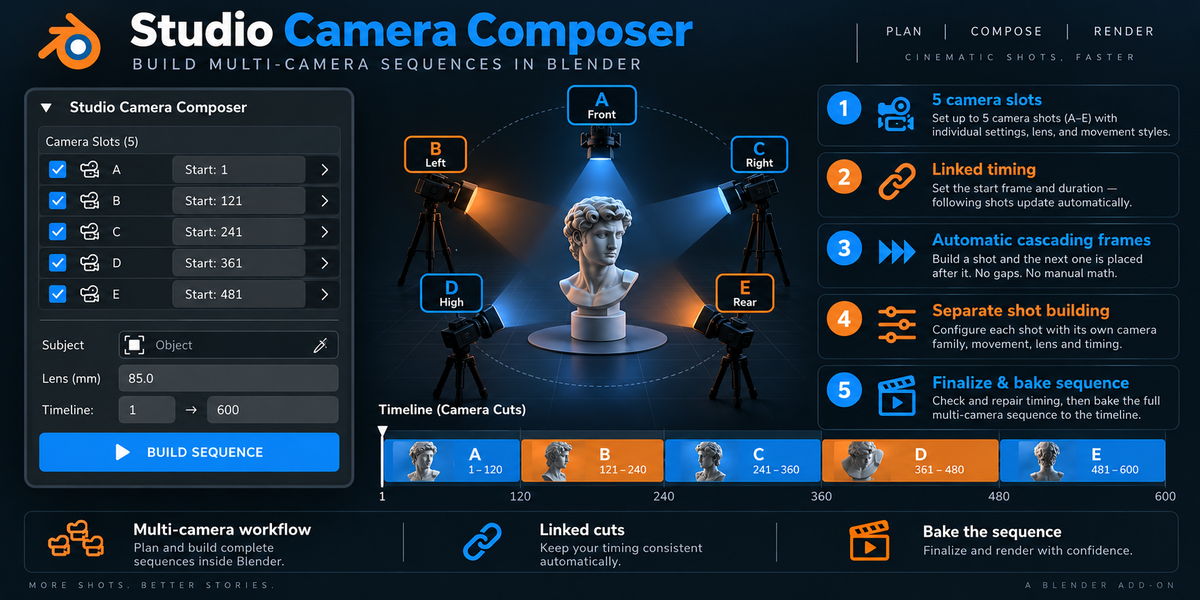
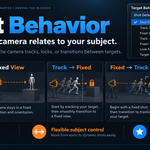
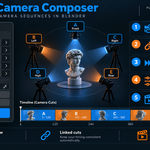
Camera Craft V2 — Documentation
Overview
Camera Craft V2 is a cinematic camera workflow add-on for Blender designed to help artists create professional-looking camera motion faster and more intuitively.
Instead of building every camera setup manually, Camera Craft V2 gives you an object-aware system that can automatically adapt camera distance, framing, lens suggestions, and movement behavior to the size of your selected target. It is designed for product shots, motion design, character shots, architectural previews, vehicle presentations, cinematic reveals, and many other use cases.
The add-on combines ready-made cinematic shot logic with live controls, editable paths, procedural motion, and baking tools, so you can work quickly at first and still refine every detail later.
Main Features
- Object-aware camera setup
- Automatic target-based framing assistance
- Shot Library with multiple camera movement families
- Lens control and synced focal length workflow
- Camera path / spline workflow
- Motion easing and operator feel controls
- Dutch / roll options
- Vertigo / Dolly Zoom support
- Orbit / loop workflows
- Custom presets
- Bake and simplify tools
- Multi-language support
- Optional language override inside the add-on
Installation
- Download the ZIP file.
- Open Blender.
- Go to Edit > Preferences > Add-ons.
- Click Install from Disk.
- Select the Camera Craft V2 ZIP file.
- Enable the add-on.
After installation, open the 3D Viewport Sidebar and find the Camera Craft V2 panel.
Getting Started
Basic Workflow
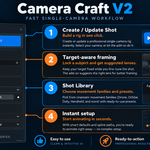
The standard workflow is simple:
- Select a target object in your scene.
- Open Camera Craft V2.
- Choose a shot family and movement.
- Adjust the main parameters if needed.
- Click Create / Update Shot.
The add-on will generate or update the camera rig and create a shot based on your target.
Step 1 — Select a Target
Camera Craft V2 works around a target object.
Choose the object you want to frame, such as:
- a product
- a character
- a vehicle
- a furniture object
- a building
- a large environment prop
Once a target is selected, the add-on analyzes its size and uses that information to help calculate framing, distance, and suggested lens values.
This makes the system useful for both very small and very large subjects.
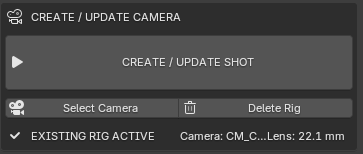
Step 2 — Create / Update Shot
After choosing your target and camera settings, press Create / Update Shot.
This button will:
- create the camera rig if one does not exist
- update the existing rig if one is already active
- preserve the workflow around the current shot
- refresh the camera motion according to your current settings
This is the main action button of the add-on and the center of the workflow.
Target Section
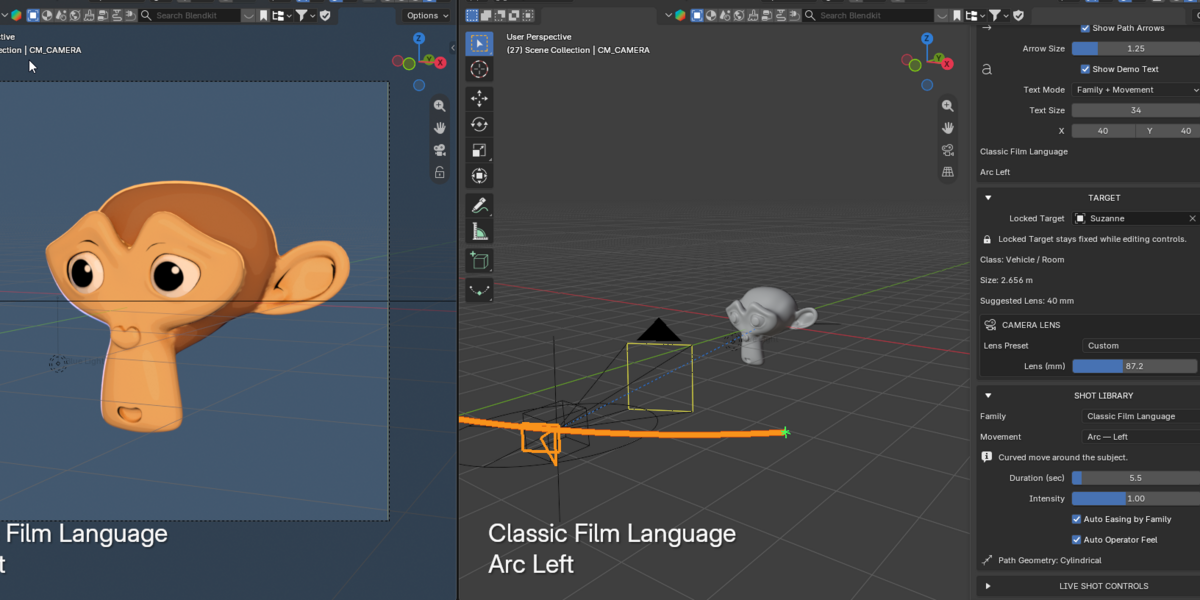
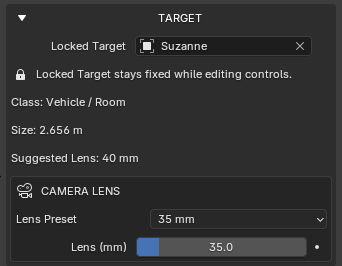
The Target section manages the object your camera is built around.
Here you can:
- assign or lock the target object
- see object-aware classification and scale information
- receive lens suggestions based on object size
This helps Camera Craft V2 adapt automatically whether you are shooting a tiny object or a much larger subject.
Camera Lens
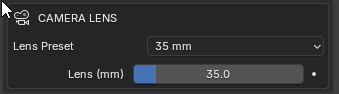
The Camera Lens section controls the focal length behavior.
You can:
- choose a lens preset
- manually change the lens value in millimeters
- use a suggested lens as a starting point
- sync lens behavior with other shot systems where applicable
This allows both fast setup and precise artistic control.
Camera Path / Spline
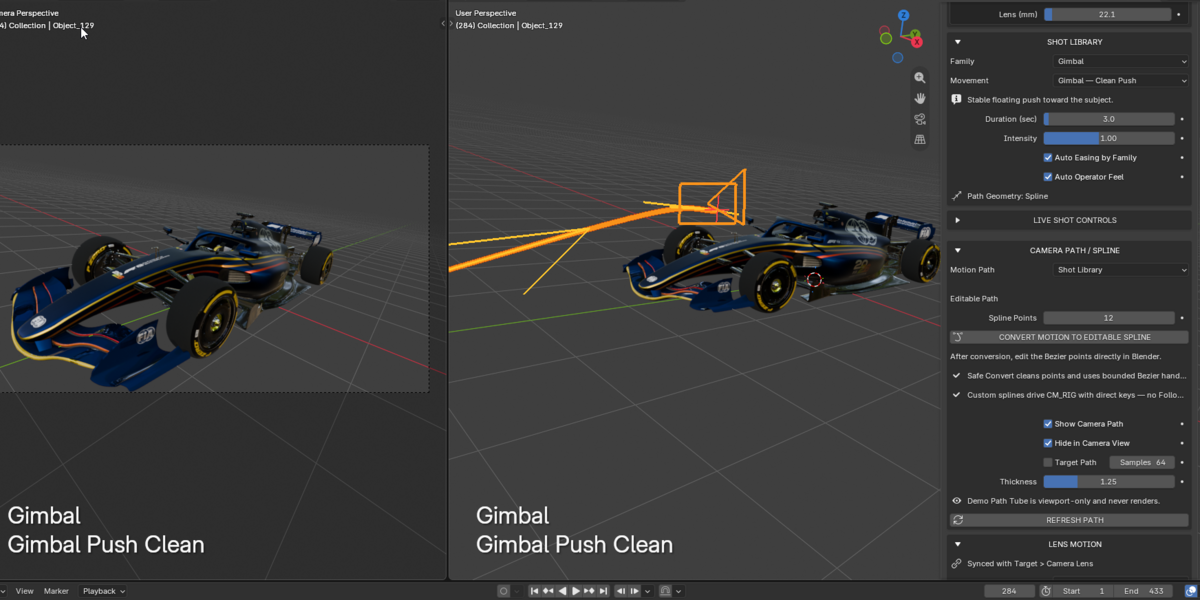
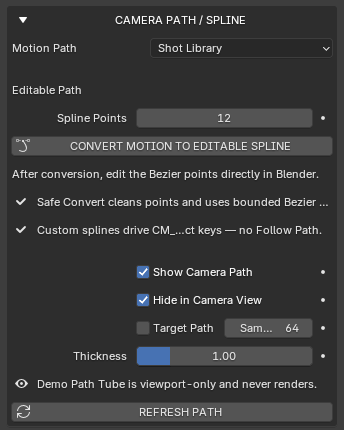
The Camera Path / Spline section controls how the camera moves through space.
You can:
- use the built-in procedural path logic
- convert motion to an editable spline
- assign your own custom spline
- control path visibility in the viewport
This is especially useful when you want to start with procedural motion and then refine it manually.
Editable Spline Workflow
If you need more direct control:
- Generate your shot.
- Use Convert Motion to Editable Spline.
- Edit the spline directly in Blender.
- Refine the shot path exactly as needed.
You can also select a custom spline and use it as the camera path.
Shot Library
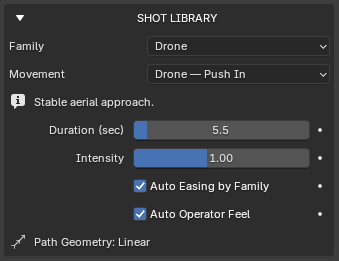
The Shot Library is where you choose the movement style.
Depending on the version and available presets, the library can include movement families such as:
- Classic Film Language
- Cinematic / Hollywood
- Framing / Fixed View
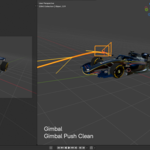
- Gimbal
- Action
- Drone
- FPV
- Orbit / Loop
- Vertigo / Dolly Zoom
- Handheld / Walking
- Combo Scenarios
Each family contains movement presets designed to communicate a specific cinematic feeling.
Examples include:
- simple framed reveals
- push-ins and pull-outs
- orbit moves
- action-oriented tracking shots
- drone-style motion
- looping or circular motion
- dolly zoom / vertigo effects
The goal is to let you choose a visual language quickly without building every shot from scratch.
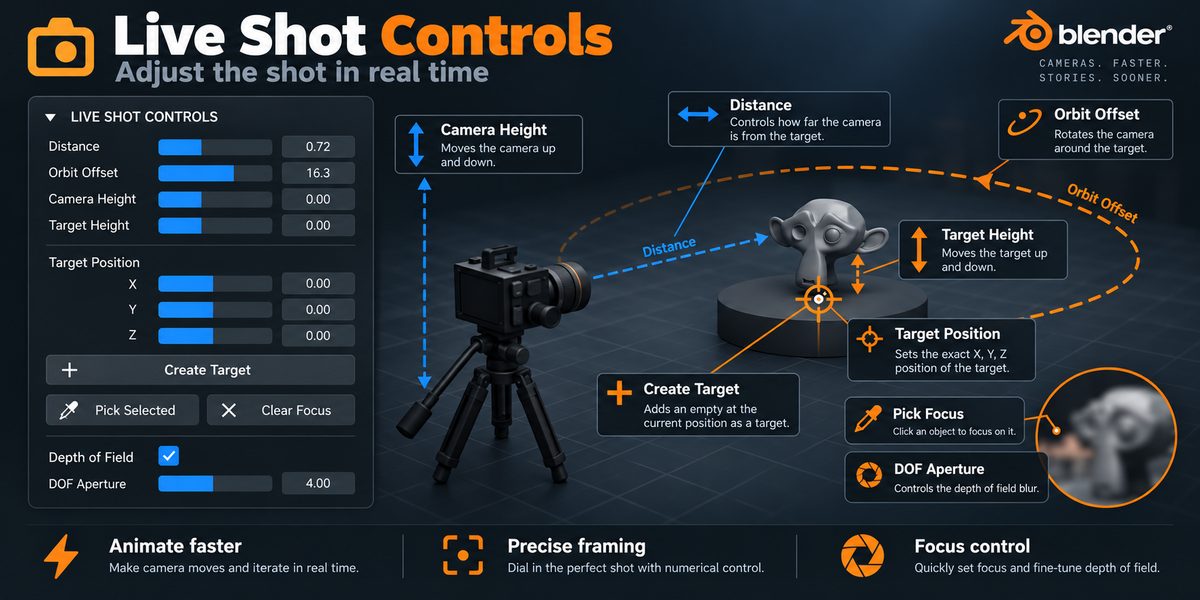
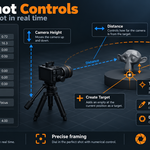
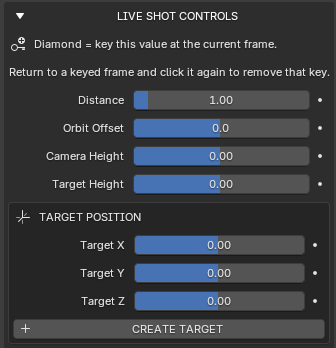
Live Shot Controls
The Live Shot Controls section is designed for direct shot refinement.
You can usually control parameters such as:
- duration
- intensity
- distance
- camera height
- target height
- orbit offset
- framing behavior
- other motion-specific settings
These controls let you shape the shot while keeping the workflow procedural and interactive.
Motion Easing
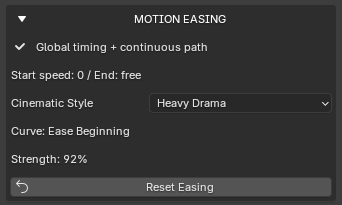
The Motion Easing section controls how the camera accelerates and slows down.
You can use options such as:
- Linear
- Ease In
- Ease Out
- Ease In & Out
- cinematic easing presets depending on the version
This is useful for avoiding robotic motion and making the move feel more natural and cinematic.
A good easing setup can make a huge difference in the perceived quality of a camera move.
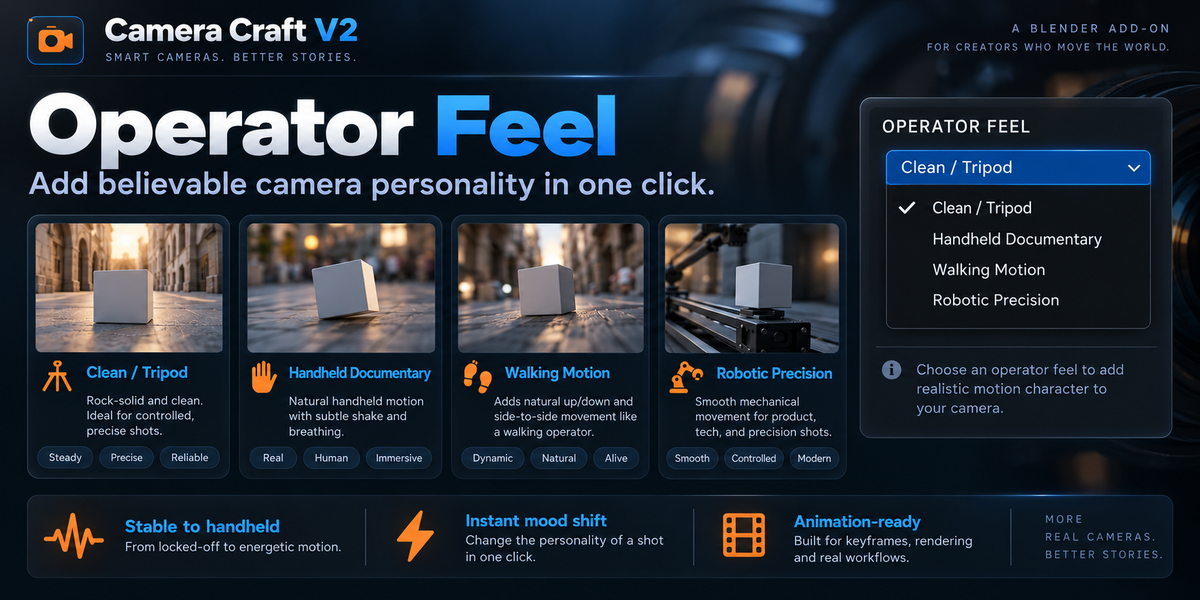
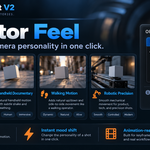
Operator Feel
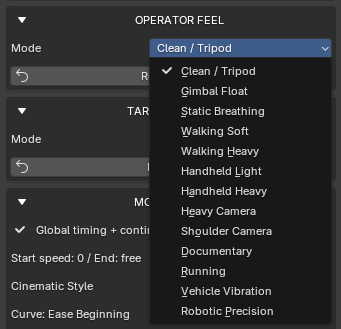
The Operator Feel section adds a sense of how the camera is being operated.
Depending on the selected shot or family, it can introduce a more specific motion personality such as:
- smooth and precise
- controlled cinematic
- subtle handheld energy
- more energetic motion behavior
This helps prevent shots from feeling too mathematically perfect.
Dutch / Roll Controls
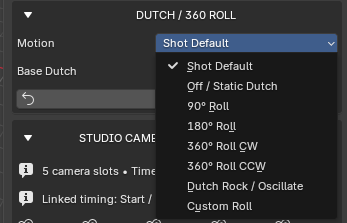
The Dutch / Roll section controls camera roll.
You can use it to add:
- slight cinematic tilt
- stronger dutch angles
- roll-based stylization
- timing-based roll behavior depending on the shot
This is especially effective for dynamic, tense, or stylized scenes.
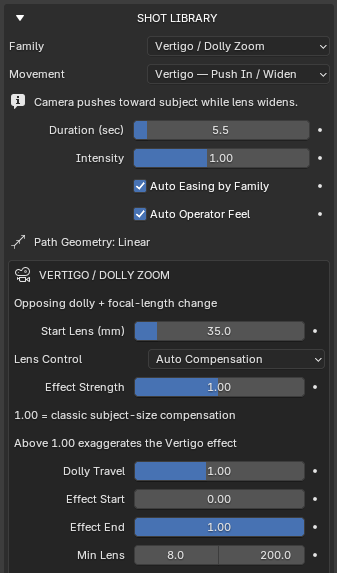
Vertigo / Dolly Zoom
Camera Craft V2 supports the classic Vertigo / Dolly Zoom effect.
This effect is created by combining:
- camera movement
- lens change
As the camera moves, the focal length changes in a coordinated way, creating the well-known compression / expansion illusion.
This is useful for:
- dramatic reveals
- tension
- psychological emphasis
- stylized hero shots
Orbit / Loop Workflows
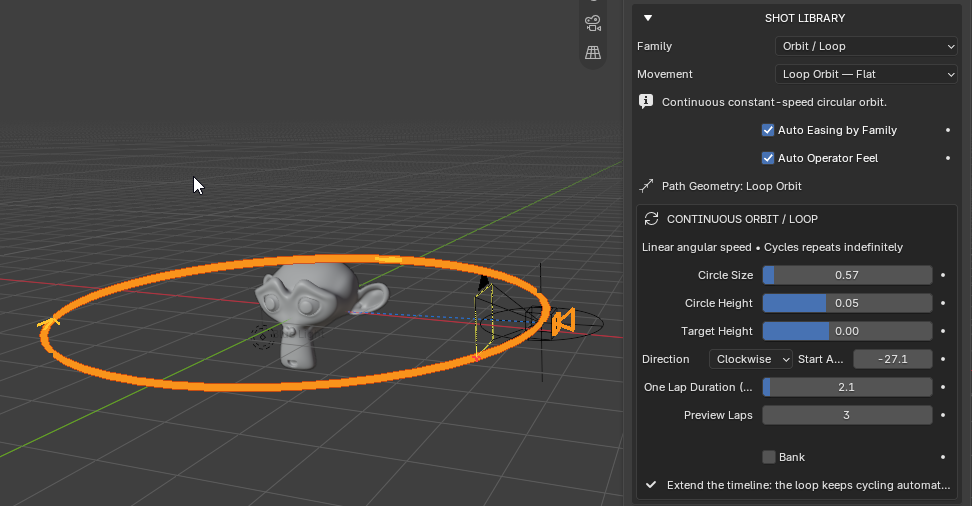
For circular motion shots, Camera Craft V2 includes orbit-based workflows.
These can be useful for:
- product turntable-style shots
- hero object presentations
- character showcases
- looping camera motion
- stylized continuous motion
Depending on the preset, orbit systems may include options such as:
- circle size
- circle height
- target height
- bank
- rotation offset
These help shape the orbit to suit different objects and moods.
Custom Presets
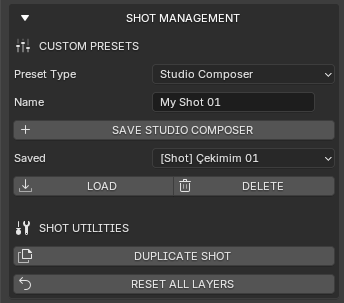
The Custom Presets section allows you to save your preferred setups.
You can:
- save your own shot settings
- reload frequently used setups
- build your own personal camera library
This is very helpful if you often create similar shot types for products, characters, or client work.
Shot Utilities
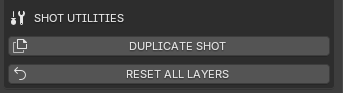
The Shot Utilities section provides workflow helpers.
Typical tools may include:
- duplicate shot
- select camera
- delete rig
- reset helper tools
- other workflow utilities depending on the version
These tools are intended to keep the shot process organized and efficient.
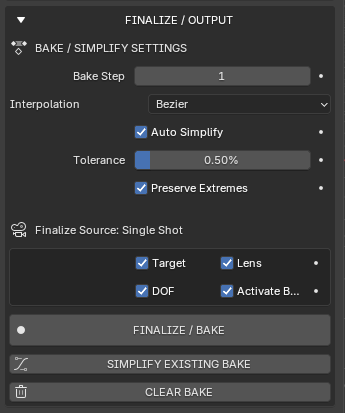
Bake / Simplify Settings
Procedural shots are useful during setup, but sometimes you need standard Blender keyframes.
The Bake / Simplify workflow allows you to:
- bake the procedural shot into editable keyframes
- optionally bake camera, target, lens, and depth-of-field data
- simplify the resulting animation curves
- preserve key moments while reducing unnecessary keys
This is especially useful when:
- handing a scene to another artist
- exporting animation
- preparing for final refinement
- integrating the shot into a larger pipeline
Recommended Bake Workflow
- Build and refine your shot.
- Test motion and framing.
- Use Bake Editable Shot when you are happy with the result.
- If needed, use Simplify Existing Bake to reduce extra keys.
- Edit the final keyframes directly in Blender.
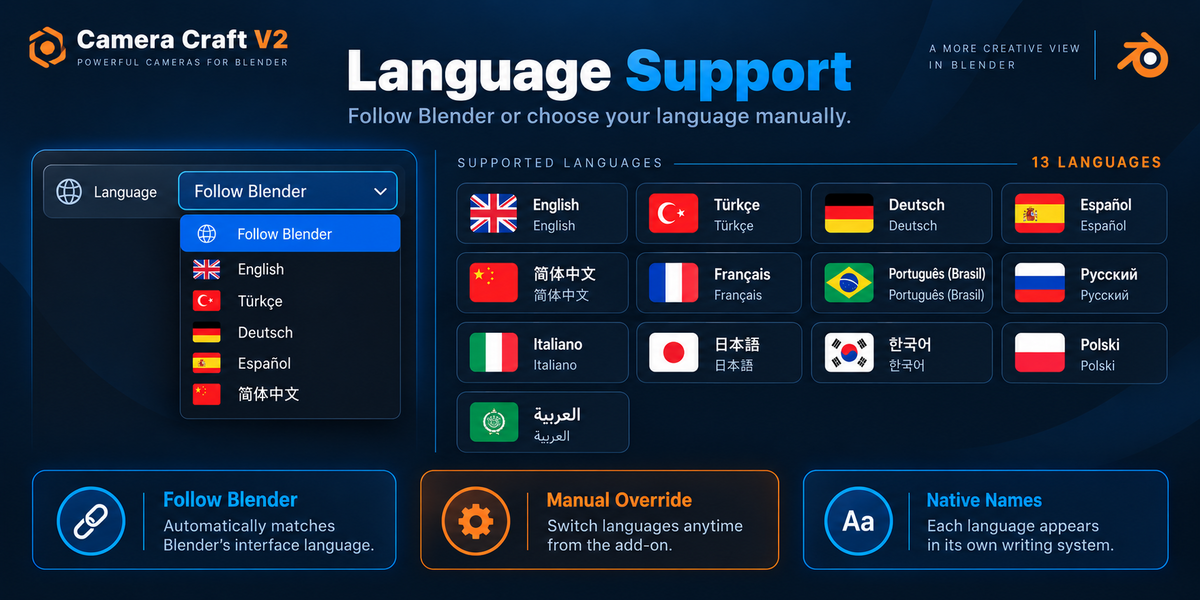
Multi-Language Support
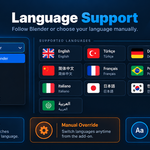
Camera Craft V2 supports multiple interface languages.
It can work in two ways:
Follow Blender
The add-on automatically follows Blender’s current interface language.Language Override
You can choose a specific language directly inside the add-on without changing Blender’s global interface language.
This is useful for teams or artists who want a localized workflow while keeping Blender itself in another language.
Recommended Use Cases
Camera Craft V2 is especially useful for:
- product visualization
- motion graphics
- cinematic animation
- archviz presentations
- vehicle presentations
- hero object shots
- social media promos
- concept cinematics
- portfolio renders
- previs and shot ideation
Tips for Best Results
- Start with a cleanly selected target object.
- Use the suggested lens as a starting point, then refine manually.
- Use the Shot Library to choose the visual language first.
- Use Live Shot Controls for fast refinement.
- Convert to editable spline when you need exact manual path editing.
- Bake only after the motion is approved.
- Use easing and operator feel to avoid overly mechanical motion.
Troubleshooting
The camera feels too close or too far
Adjust the target, distance, or lens settings. Because the system is object-aware, changing the selected target or framing parameters can strongly affect the result.
My path needs manual refinement
Use Convert Motion to Editable Spline and edit the path directly.
I want full manual control
Bake the shot into standard Blender keyframes and continue working manually.
The add-on is not showing in the viewport
Make sure it is enabled in Blender Preferences and open the 3D View Sidebar.
Workflow Summary
A simple production workflow looks like this:
- Select the target object
- Choose the shot family
- Choose the movement preset
- Adjust lens and framing
- Adjust path and motion behavior
- Refine easing and operator feel
- Convert to spline if needed
- Bake the shot if needed
- Finalize and render
Support
If you run into issues or have questions about the add-on, please contact support through the product page.
When reporting an issue, it is helpful to include:
- your Blender version
- your Camera Craft V2 version
- a short description of the issue
- steps to reproduce it
- screenshots if relevant
Final Notes
Camera Craft V2 is built to help you move faster while still giving you creative control.
It is not just a camera preset pack — it is a cinematic shot workflow system designed to make camera animation in Blender easier, faster, and more professional.
 Included
Includes 12 months of
- Support from Octopus Works
- Product updates
Extend this product’s Support Period +12 months: 50% of product price
Have questions before purchasing?
Login to message
| Blender Extension Compatible | Yes |
| Published | 4 days ago |
| Blender Version | 4.2 - 5.2 |
| Extension Type | Add-on |
| Render Engine Used | Cycles, Eevee, Octane, Vray |
| License | GPL |
Discover more products like this
camera animation cinematic camera camera motion camera dolly-zoom camera path gimbal camera rig handheld camera drone-camera orbit camera cinematography