Car Paint Shader (Candy/Flakes/Iridescence)
 SBTien


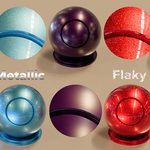
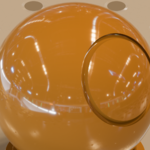
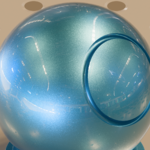
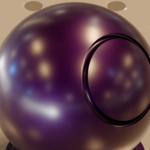
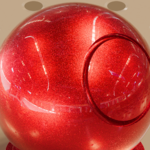
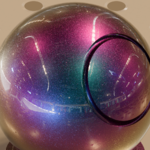
Welcome to the documentation page.
Here I will explain how to install/use the shader and try to explain what most of the settings do, especially the ones who might sound confusing, as well as giving a useful tip for those who want to exploit the full potential of the shader.
- - INSTALLATION - -
Either Append the Node Group/Materials from the .blend file
or
Add the .blend file directory to your Asset Library
- - 2026 Bundles Update - -
As of 2026, the shader has been updated and it's interface reworked.
The Flakes are now a separate node from the Car Paint for creative freedom.
The variables still work the same way, so refer to the following screenshot
on how to make the shader work:
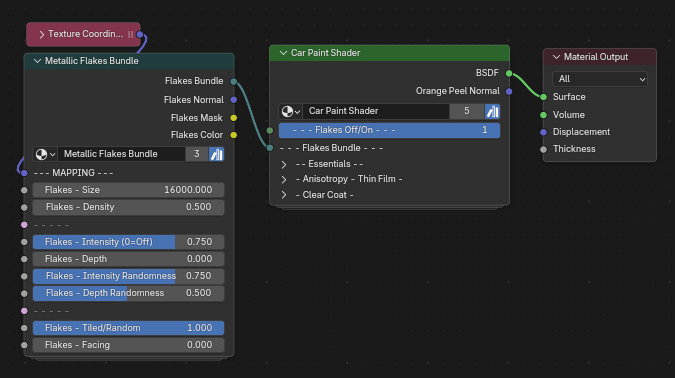
- - 2026 Bundles Update - -
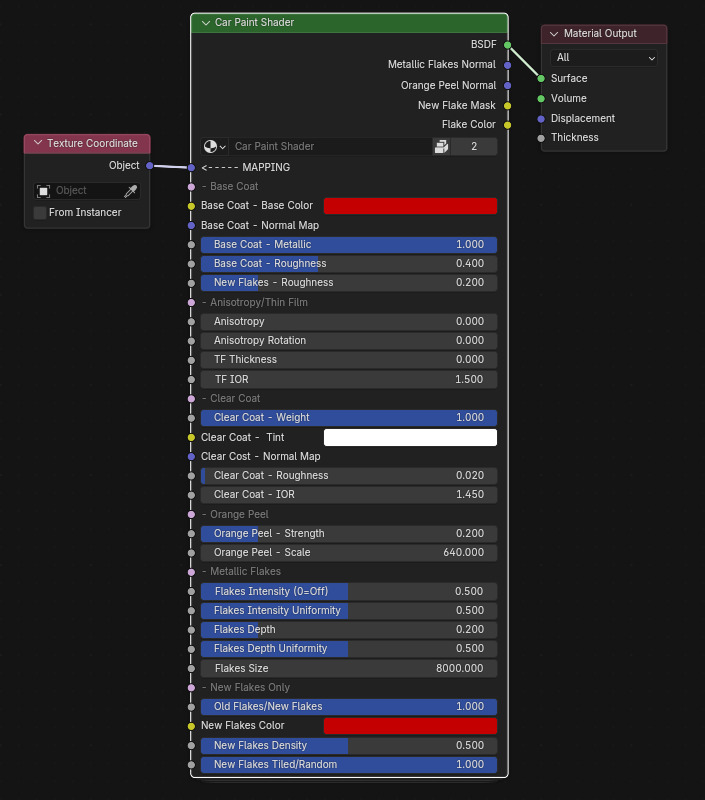
- Output Nodes:
Complementary to the standard BSDF output you got 4 other outputs for troubleshooting/visualization purposes, as well as using them in another shader if you find a need for it. Mix and match to your heart's content!
The Flake Color output is not representative of the actual color of the flakes. It is the same pattern as the flakes you see in the BSDF, just with random colors straight from the Voronoi Node. Check the Useful Tip section at the bottom of the documentation for a neat trick you can use with this output.
- Mapping:
Just add a Mapping node and connect it to the node group. Using "Object" or "UV" (if model is unwrapped) is recommended.
- Base Coat:
Here is where you control the look of the base paint layer. This is the main section when it comes to deciding whether to do Matte/Glossy/Metallic/Misc. paints.
New Flakes Roughness is alongside the base layer settings because of how important it is. I feel like it is easier to navigate. The rest of the flakes settings are below.
- Anisotropy/Thin Film:
Here are variables you can use to give flair to your metallic paints.
Thin Film has been added since Blender 5.0 now supports correct iridescence on metallic surfaces.
The main factor here is the IOR. The lower it is, the less saturated the iridescence will look, but the narrower the color gradient will become. Higher IOR does the opposite.
I recommend adjusting between 1.5 and 3.0, but feel free to go beyond that. I also recommend using a dark colors to emphasize the Thin Film itself.
- Clear Coat:
Clear Coat is an essential part of Car Paints, especially Metallic Paints.
With Metallic Paints, you want to actually use higher roughness on the base layer (0.4~0.6 is a good starting point) and then add the clear coat on top to add those beautiful shiny reflections.
You can tweak it's Tint, Roughness, IOR as well as tiny tweaks for the Orange Peel (common phenomenon for Clear Coats)
Tint will alter the base layer color by what its put at. Red Tint on a Yellow base layer will make it shift towards Orange-Reds. IOR will control how strong the Clear Coat as well as the glancing angles.
- Metallic Flakes:
The Pièce de Résistance. The main reason this shader was worked on. Here is where you will control everything related to the Flakes (except its roughness, check the Base Coat section)
The Intensity will control how prominent the flakes are - how strong their normals are.
The way the Flakes work is that they all have procedural normals based on the face they are on. Near an Intensity of 0, the Flakes will be present with their respective color and roughness, but will be nearly identical to the base layer normal (takes Normal Maps into account!). However going towards 1 will make it more prone to deviate its normals from the base layer by 45° degrees. I would recommend starting off between 0.2 and 0.5
The Depth controls the Z coordinates of the normals.
I said above the normals can deviate at a maximum of 45° degrees, because it only varies on the X and Y coordinates. Going towards a Depth of 1 will also modify the Z coordinates of the normals. A Depth of 1 can make the normals be perpendicular(!!!) to the face normals, so be careful! I recommend leaving it at 0 for most use cases, it is there just in case its needed.
Intensity/Depth Uniformity controls how many of the flakes act accordingly to their respective settings. An Uniformity of 1 will make all flakes behave the same. An Uniformity of 0 means some flakes will respect the settings above correctly, and some others could act as if Intensity and Depth are at 0, hence why they are separated.
The Flakes size determines how big the flakes are. Pretty simple.
- New Flakes Category:
Here are settings that only apply to the "New" Flakes. Consider the New Flakes as being the standard way of using the shader, while the "Old" Flakes is a more basic, more bare-bones way of doing flakes. Left it there for legacy purposes, but ideally should never need to be used. Toggle should either be 0 or 1, no in-between. Instead of using legacy flakes, you can instead crank up the density to have a look similar to the old flakes.
Here you can tweak the color of the flakes. With flakes enabled, you can give it a separate color from the base layer. You can either make it brighter or more saturated if you want your flakes to pop more from the base paint layer.
Flakes Density controls how many flakes there are in a given area. It does makes the flakes slightly bigger on an individual basis but you can always tweak the Flakes Size setting above to compensate for it.
Tiled/Random controls if you want your flakes to be distributed randomly (99% of use cases) or if you want them to be Tiled. UVs are very strongly recommended with Tiled Flakes. Tiled is there for those who might want this disco ball looking surface, go crazy!
Facing hides the flakes depending on the glancing angle, 0 hides none, 1 hides all. It works like the Layer Weight nide.
- Useful Tip (Multi-Colored Flakes, Variable Flakes Roughness, etc...) -
- PSA: This only works for the Legacy version, go at the bottom -
- for the Bundles version -
Something I've learned along the way is that one of the sub-nodegroups comes VERY handy to exploit the full potential of the shader. Consider it as a reward for sticking through the documentation (or by scrolling down immediately...)
By hitting F3/Shift-A and typing Voronoi, you will see "Voronoi Car Paint" as an addable node, which is a nodegroup used internally to generate the flakes for the shader, but it comes with a neat trick that I have yet to figure out how to implement properly for user convenience.
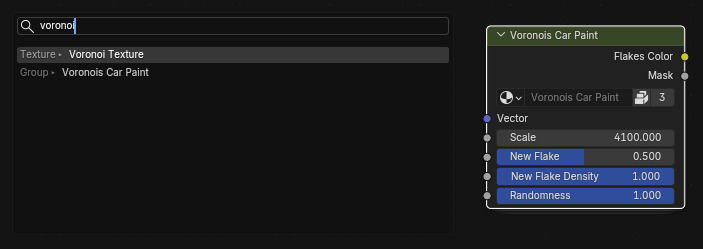
By using drivers/copying by hand the values used by the shader/using Value nodes and connecting the same Mapping input, you will have the same generation of flakes as the shader in this tiny nodegroup. Like the Flake Mask and Flake Color outputs of the shader, you can exploit them for fancy effects.
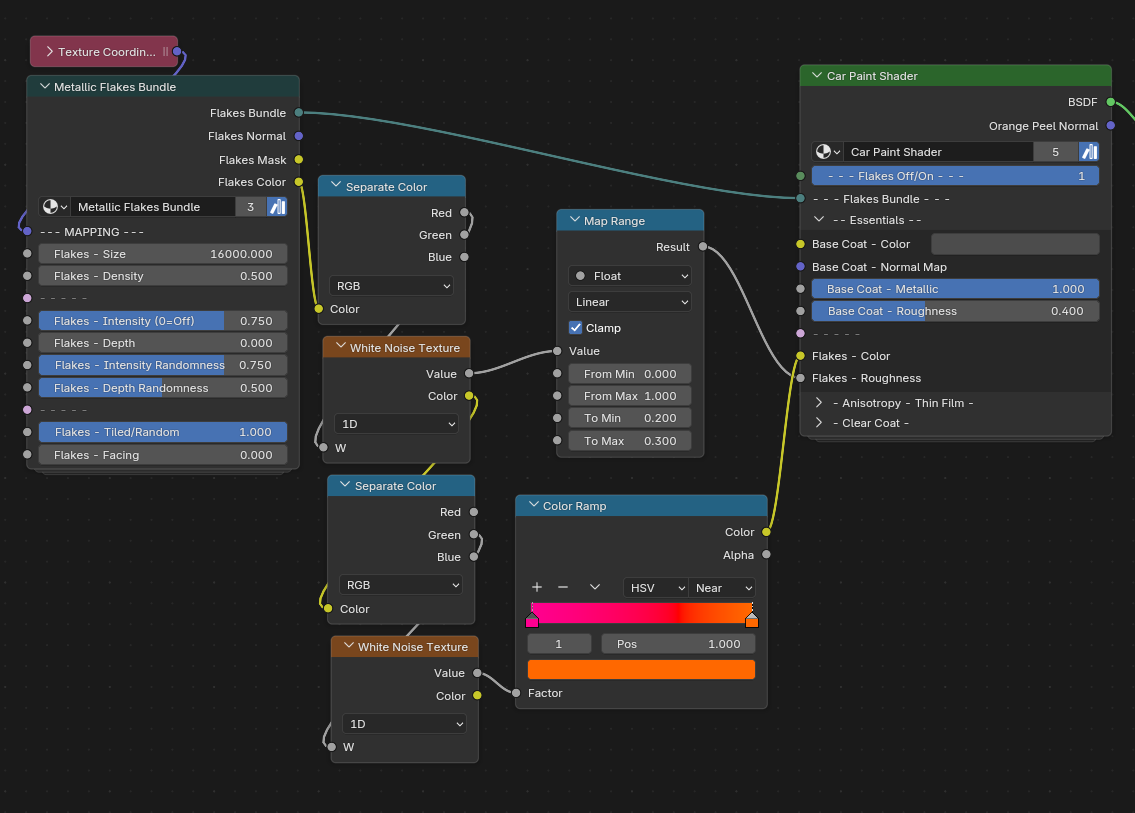
As show in the screenshot below, I recommend separating the RGB channels of the Flake Color output and connecting one of the channels into a 1D White Noise Texture to randomize colors/make it unbiased from the rest of the shader (trust me). You CAN stack this Seperate RGB -> 1D White Nose Texture combo as many times as you want to get infinite random color variations with the same pattern of flakes!
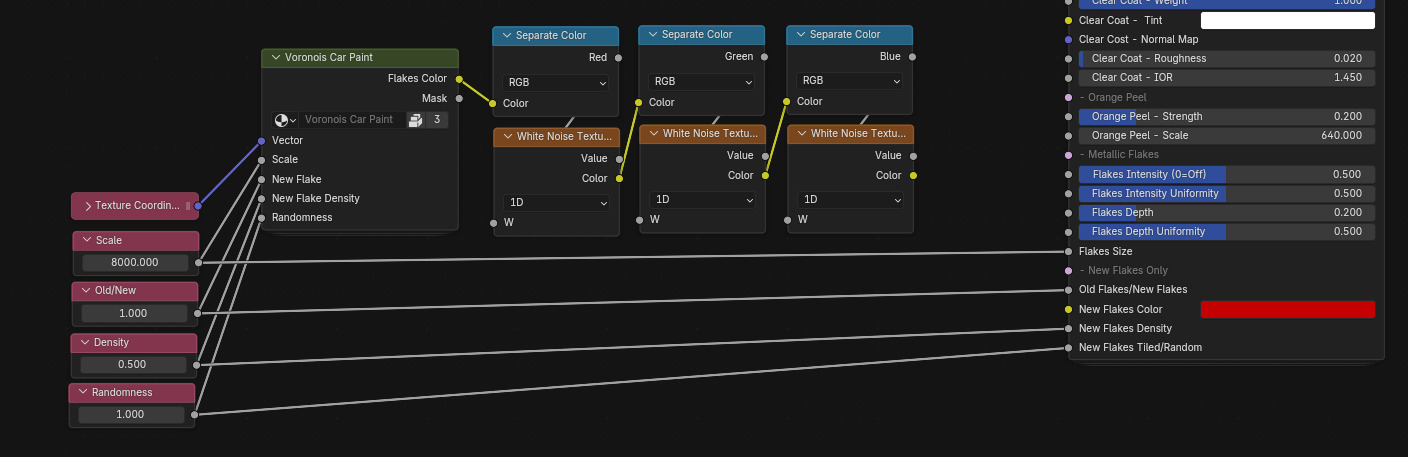
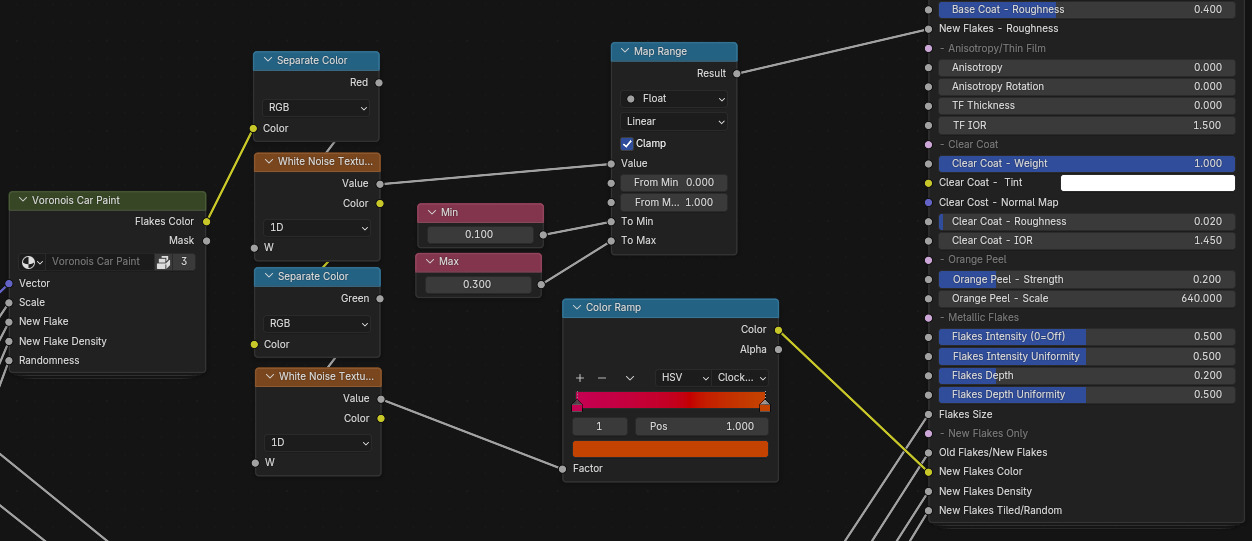
After this is done, you can connect the output of the 1D White Noise Texture into a Map Range/Color Ramp depending on your use-cases like Multi-Colored Flakes or Variable Roughness as shown below:
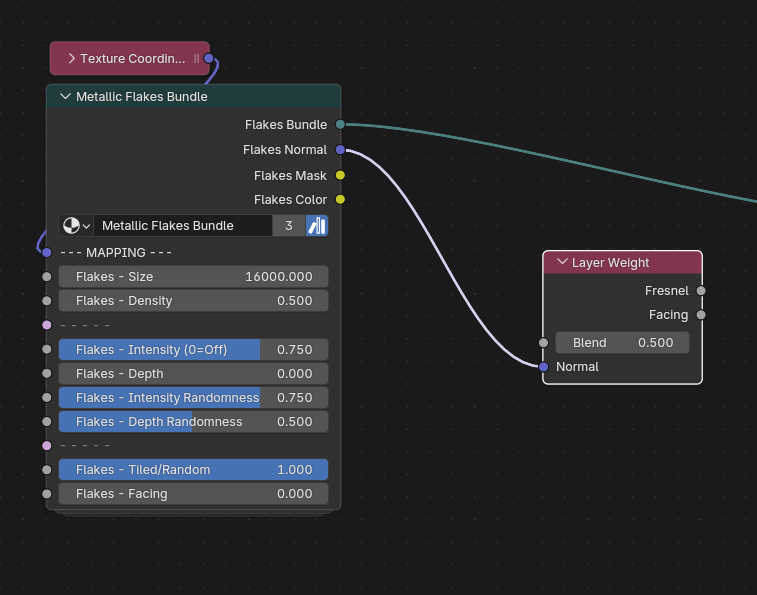
If you need to make use of the Flakes Normal (Changing color based on Fresnel/Facing angles) I'm afraid you will have to use a secondary Car Paint Shader. A neat trick is to plug in Value nodes into both Car Paint Shaders and hit CTRL-H on the secondary Car Paint Shader to compact it and make it less intrusive:
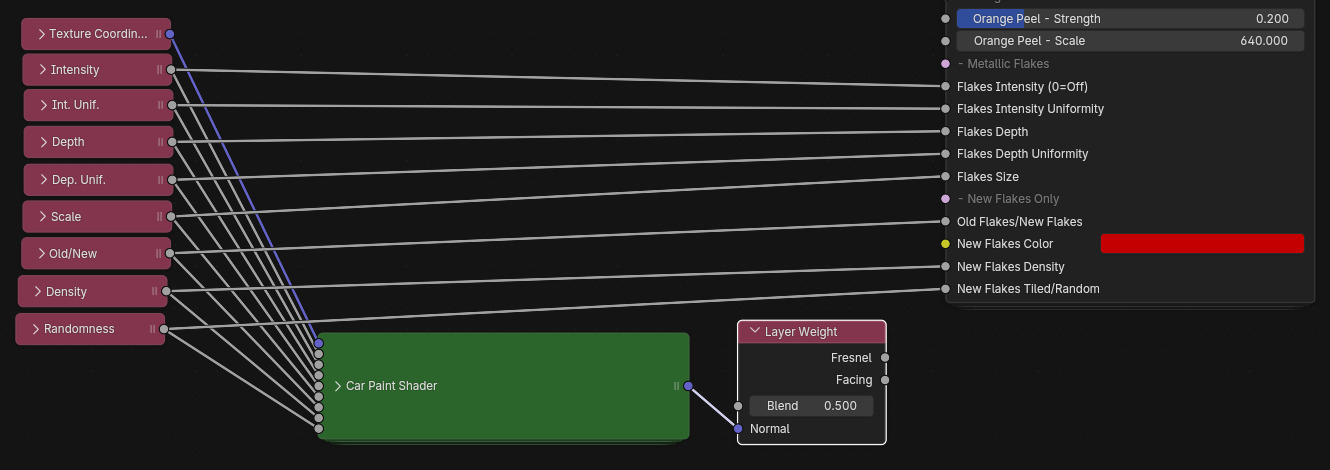
- Bundles Version -
Since the Bundles update, the Flakes and the Car Paint are now separate to ease with this process of multi-colored flakes, refer to the screenshots below on how to replicate those steps (see how simpler this looks?):
Have questions about this product?
Login to message
| Sales | 40+ |
| Dev Fund Contributor | |
| Published | 11 months ago |
| Blender Version | 4.5 - 5.0 |
| Render Engine Used | Cycles |
| License | Royalty Free |
Discover more products like this
car paint shader Procedural Car Paint Car Paint Material photoreaslitic Car Metallic Paint paint realistic flakes metallic carpaint iridescence car