Cut oversized models and rejoin them with connectors
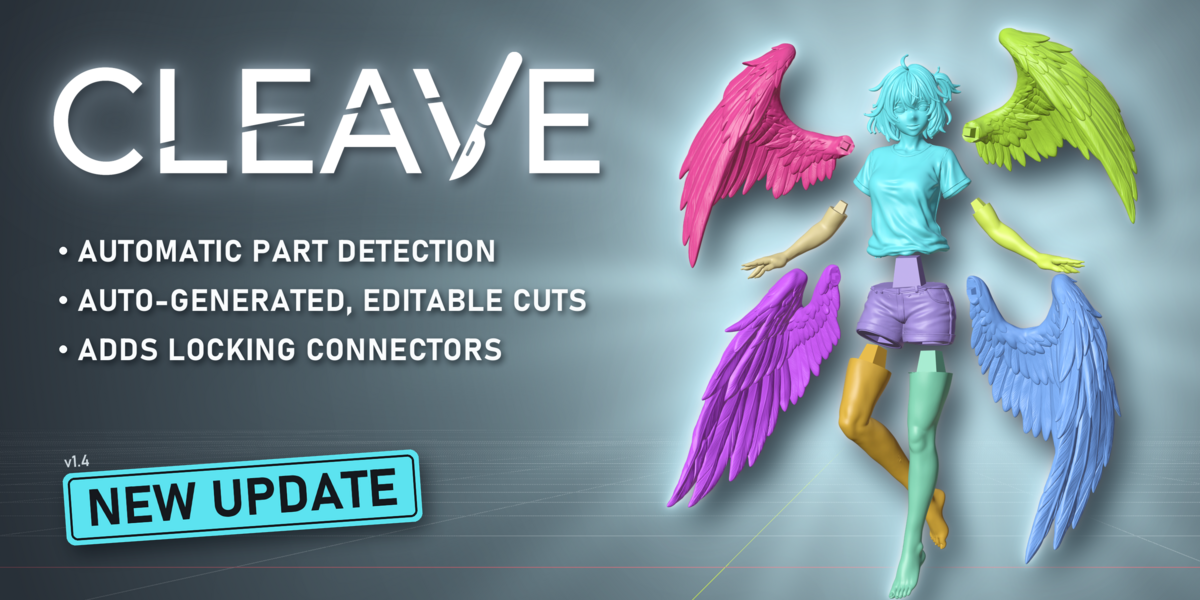
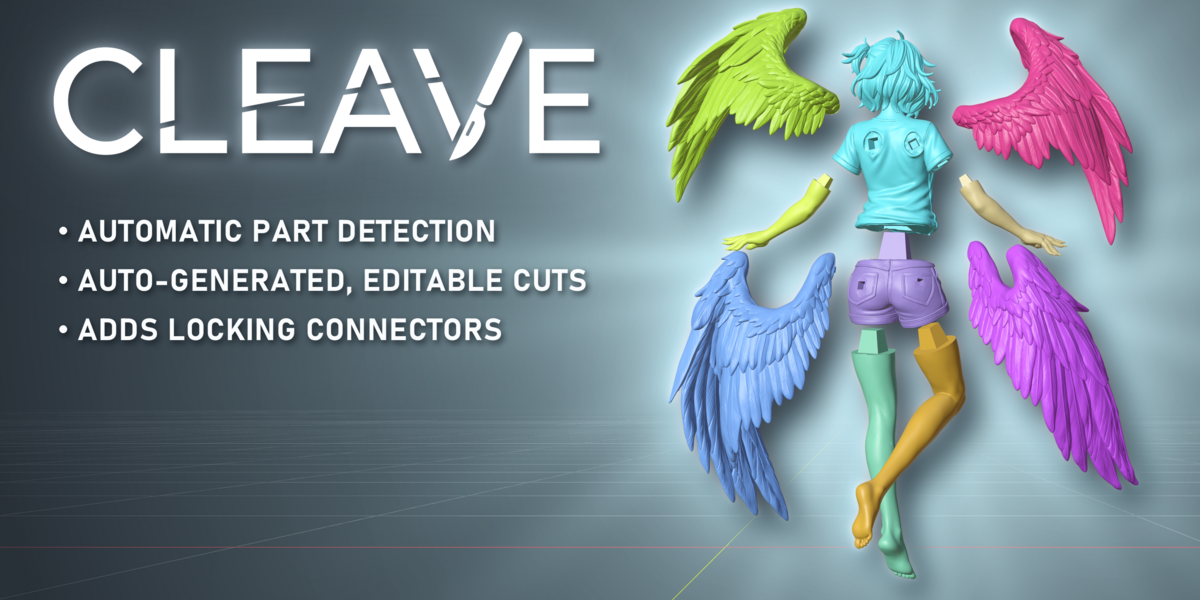
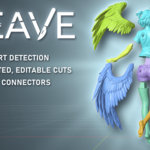
A Blender add-on that splits big STL models into printable parts along their natural joints, with pegs, dovetails or magnet pockets that fit, and tells you which pieces fit your printer.
Finds the parts
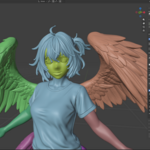
Slide to choose how many. The split follows the shape: neck, shoulders, joints.
Cuts you can edit
Every seam is a curve you drag until you commit. Nothing is cut before that.
Joints that mate
Rectangle, round, D or dovetail pegs, or magnet pockets, sized in real millimetres.
NEW IN 1.4
Extrude a seam. Push a flat cut into a plug and the pocket it fits, so a thin part such as an eye or a collar prints thick enough to glue back.
NEW IN 1.3
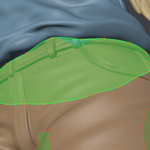
Seam From Loop. Hover a ring round an arm or a leg and click to lay a seam; G follows the groove.
Peg profiles. Rectangle, round, D that fits only one way, or dovetail.
Your printer and Print View. Pick your printer, see which pieces fit, each on its own plate.
One 3MF. Every piece in one file, laid flat on its cut or in its print pose.
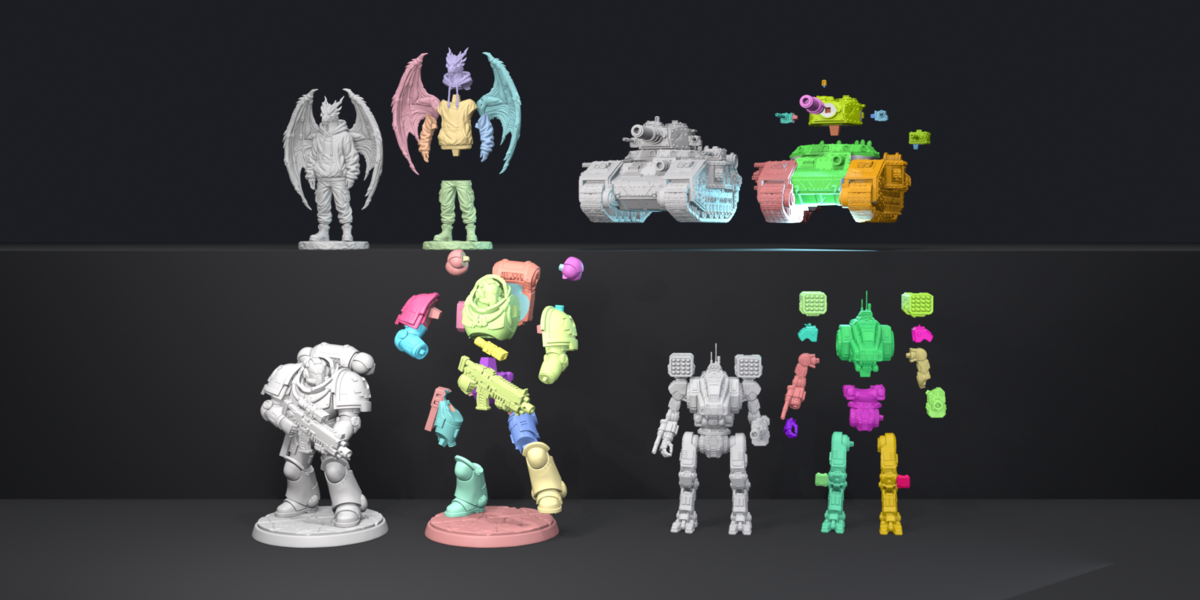
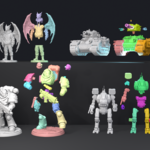
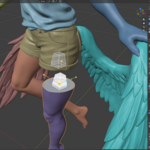
Four of the models split with Cleave. More at the end of the page.
SEE IT IN ACTION
The whole workflow on real models
BEFORE / AFTER
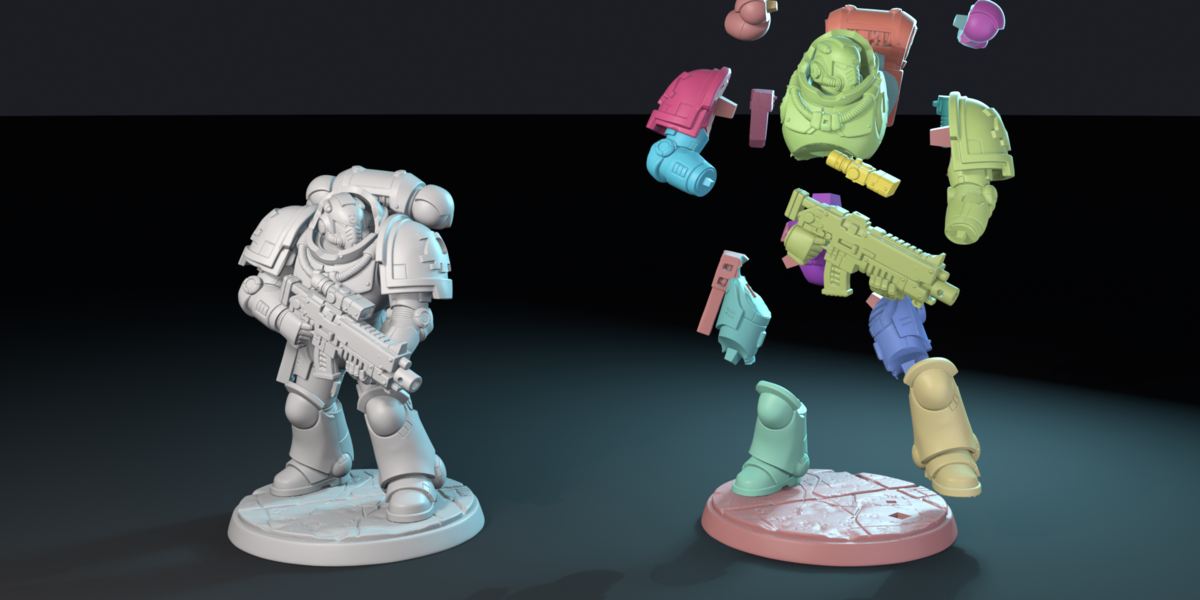
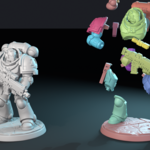
One model in, a printable kit out
Miniatures, mechs, creatures, vehicles, busts, props and AI-generated meshes.

WARGAMING MINIATURE

MECH

SCULPTED CHARACTER

VEHICLE
Why not just bisect it by hand?
You can. Bisect gives you a flat cut and two loose halves. Then you align the pins by eye, boolean them in one at a time, and find out the fit was wrong after a six hour print.
Cleave keeps the cut editable until you commit, fits the joints for you, and lets you check they seat before anything reaches your slicer.
Shape-aware parts. It finds where the model wants to come apart, instead of you placing planes.
Curved, editable seams. A cut can follow a collar or a sleeve, not just a flat plane.
A fit check. Reassemble puts the pieces back from their cut faces, so you see the joints seat before printing.
THE WORKFLOW
One sidebar tab, six steps
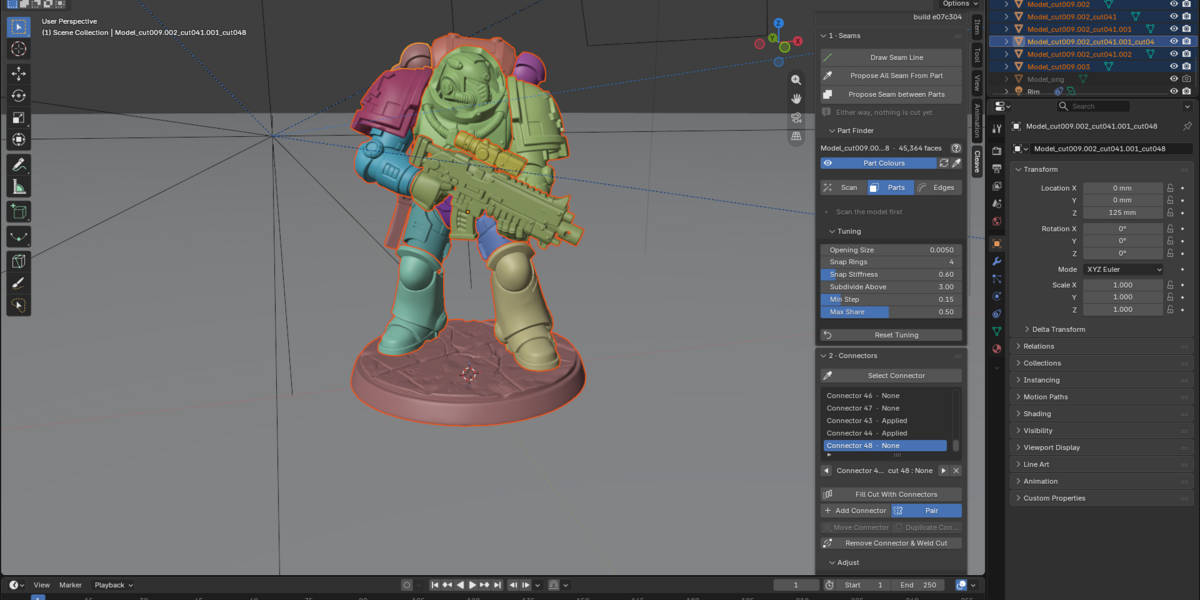
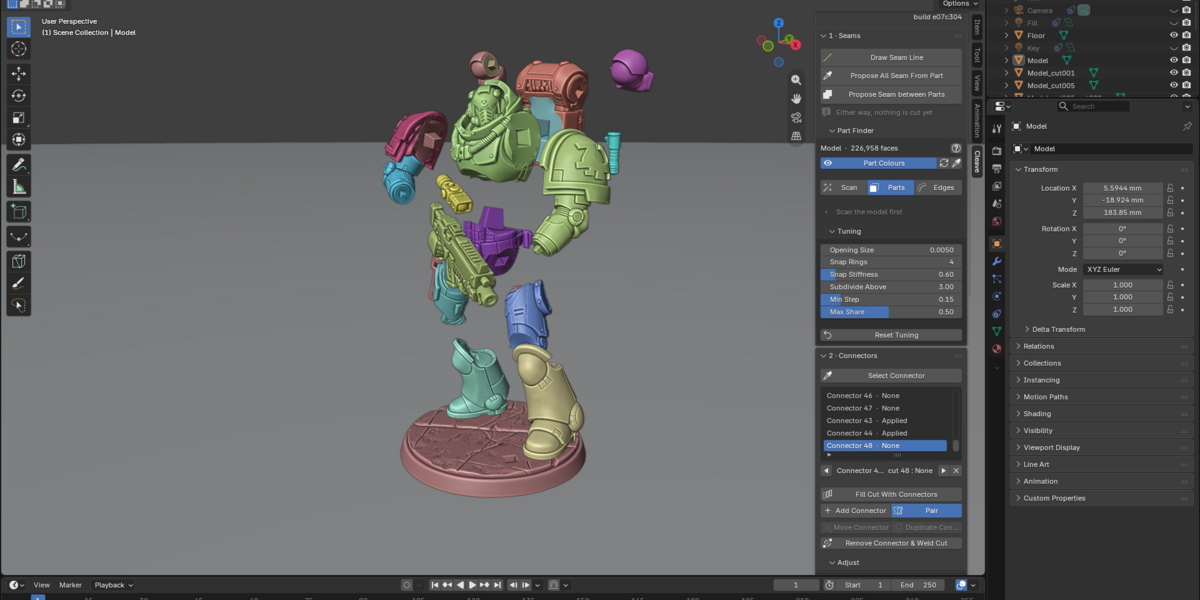
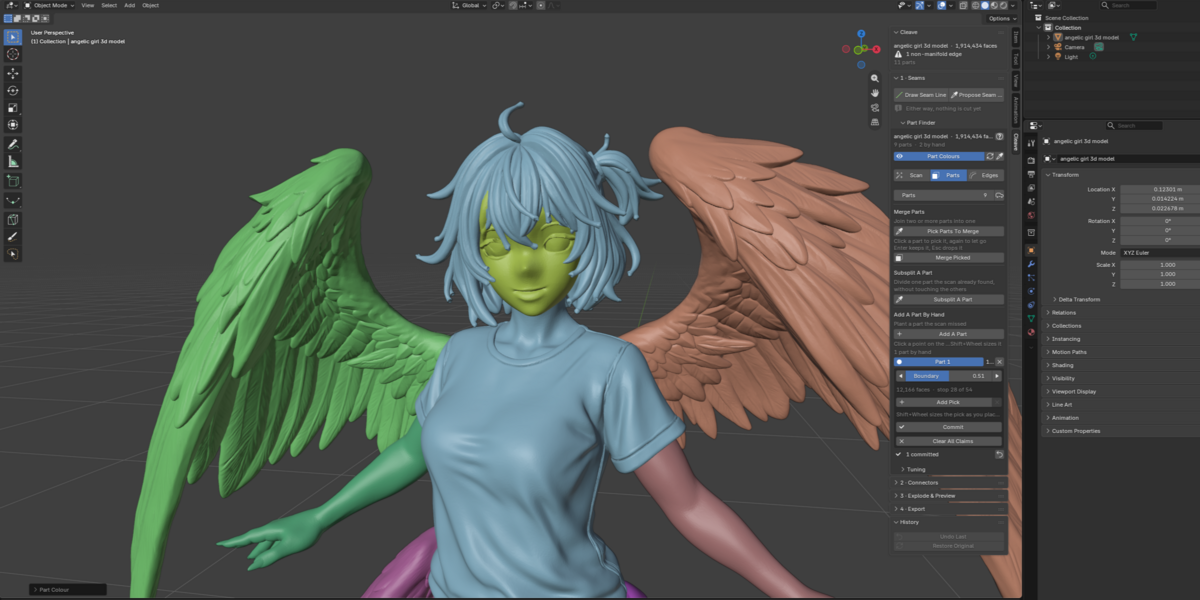
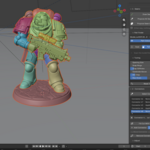
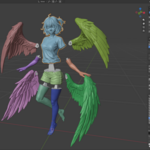
01ANALYSEPick how many parts, watch it splitPress Scan Model, then drag the Parts slider. Cleave paints the model into coloured parts that follow its shape: a figurine breaks at the neck and shoulders, not across the face. Nothing is cut yet.
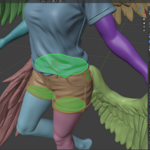
02REFINEFix any part by handMerge parts, repaint a boundary with the brush, lasso or box, split one part again, or plant a part the analysis missed. Subsplit A Part re-analyses one part and leaves the rest alone, and Snap To Creases pulls each boundary onto the real creases. Restore Original takes you back to the uncut model at any time.

ADD A PART

MERGE

SUBSPLIT A PART
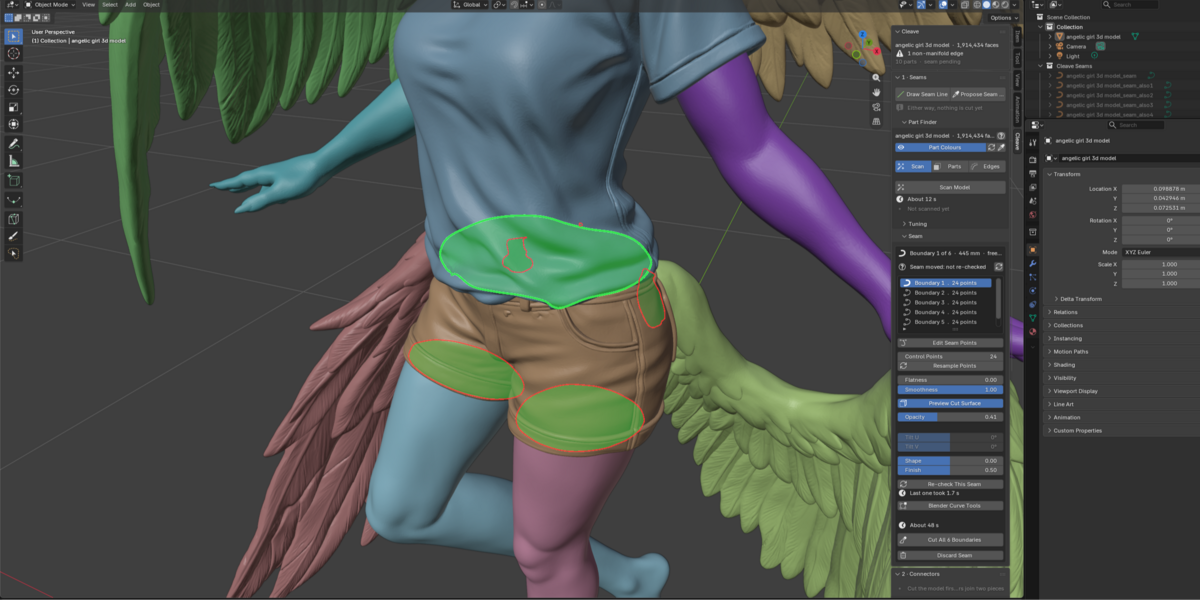
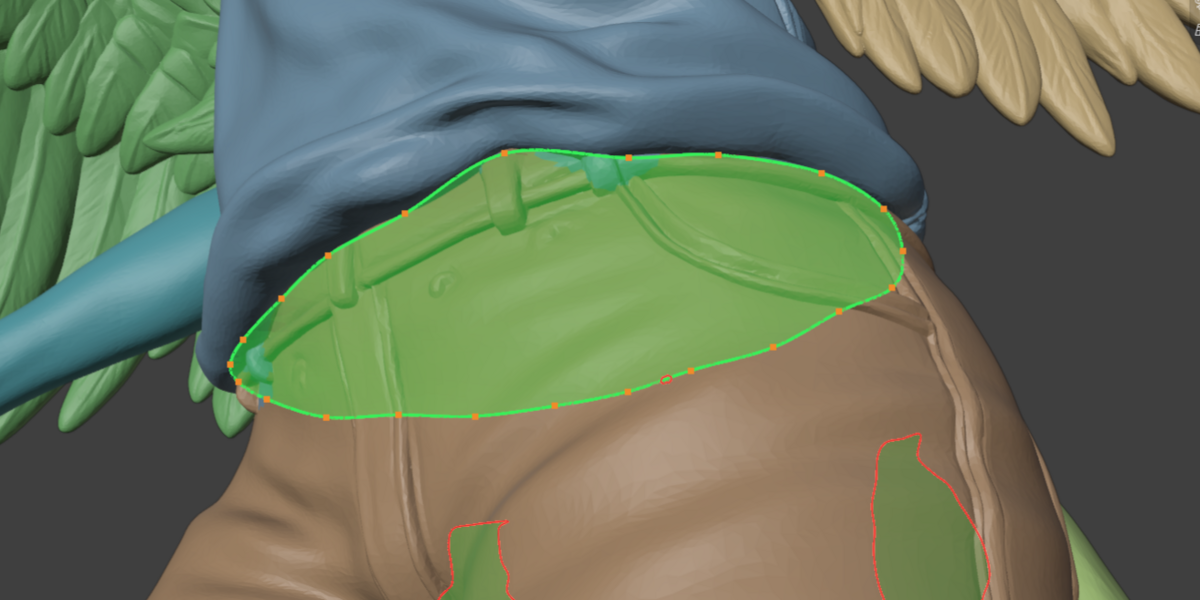
03SEAMTurn a boundary into an editable cutPropose All Seam From Part draws each cut as a curve: drag its points and preview the cut before anything is cut. Flatness and Tilt pull it onto a flat plane that glues well. Or lay a seam yourself: Seam From Loop, Seam From Groove (G) or Draw Seam Line.

AUTO PROPOSE SEAMS

EDIT THE CURVE

PREVIEW THE CUT

SEAM FROM LOOP

SEAM FROM GROOVE

DRAW SEAM LINE
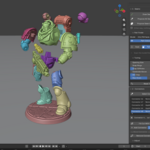
04CUTCommit, and the joints are already therePress Cut Seam. Parts were only a proposal: now they become real, separate pieces, and default connectors appear on every cut. New in 1.4: Extrude a seam first and a thin part, such as an eye, comes off as a plug and the pocket it fits, thick enough to print.
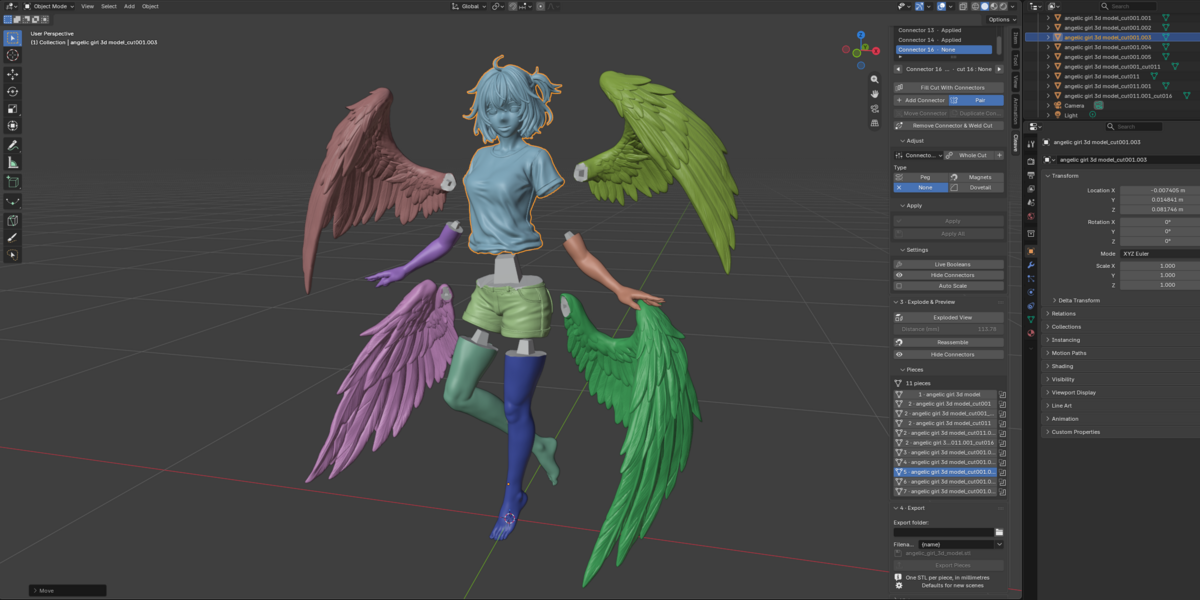
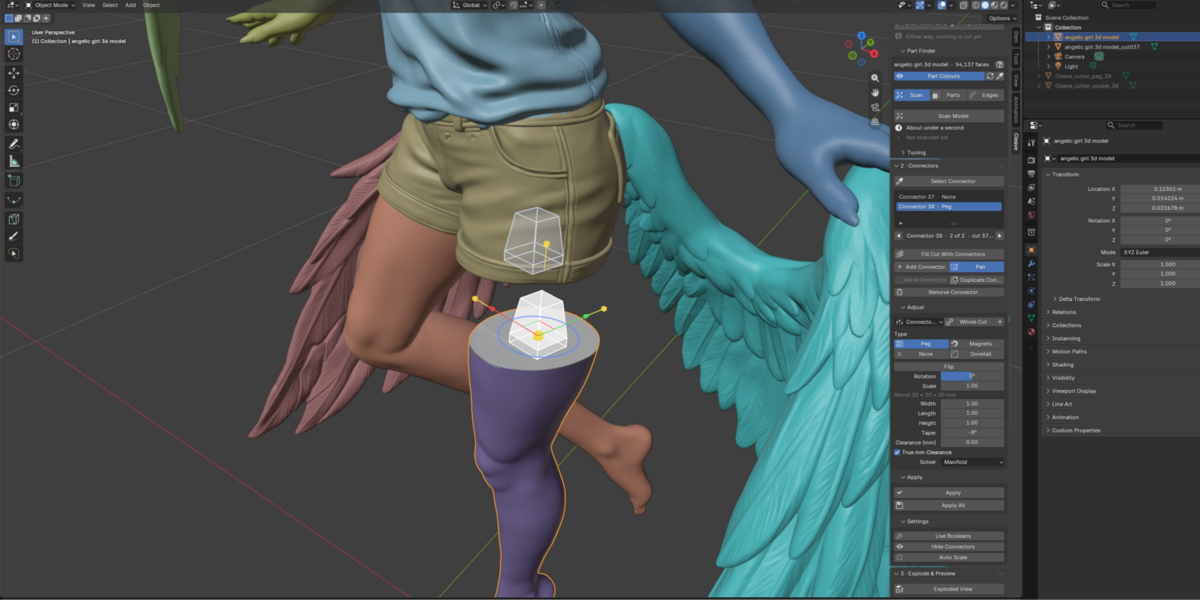
05CONNECTSet every joint in real millimetresPick a connector per joint: a peg, in four profiles (rectangle, round, D or dovetail), or magnet pockets, then its size and clearance. Every joint is listed, one row per mated pair. Select one and it grows handles on a cut's joints: slide it, turn it, resize it. No need to Apply: preview connectors are baked into the pieces on export either way. Fill Cut With Connectors covers a whole cut in one click, Flip swaps which half carries the peg, and Presets save your settings for the next model. Auto Scale is off by default; either way the panel warns when a connector does not fit.

FILL CUT WITH CONNECTORS

FLIP PEG AND SOCKET
06CHECK & EXPORTProve the fit, then export for your slicerExploded View pulls the pieces apart, Reassemble puts them back from the cut faces. Then export one STL per piece or one 3MF, in millimetres, named by a template, each piece laid flat on its cut, or in its print pose once you choose a printer. Undo Last steps back one cut, and everything is saved in the .blend.
CONNECTORS
Pegs, magnets, or a plain seam
Real Cleave cuts on one cube: the peg in its four profiles, magnet pockets, or a plain seam.

Peg, rectangle
A tapered pin on one piece, the matching socket on the other, pushed straight home.

Peg, round
A cylinder or a cone, in a matching round socket.

Peg, D
Round with one flat side, so it fits only one way.

Peg, dovetail
Tapered on two sides, straight on the other two. A push fit too.

Magnet pockets
A matching pocket in each face for disc magnets from 5×2 to 10×3 mm, or your own size.

None
A plain flat seam, for parts you glue or that sit on their own.
YOUR PRINTER
Know which pieces fit before you slice
New in 1.3: pick your printer once, and every piece tells you whether it fits its plate.
Your printer
Over 120 models built in, or your own build volume, chosen in the preferences.
Fits or not
Each piece shows whether it fits. Export names any piece too big for the printer.
Print View
Each piece on a plate of its own, in its print pose. Nothing in the scene moves.
PERFORMANCE
It does not choke on a real sculpt
Measured on a 414,000 face model. The panel quotes the expected time on your own machine, and Esc stops a long scan, propose, cut or split.
AI-GENERATED MODELS
Made for Meshy, Tripo and the like
Generators fuse arms, armour and props into one shell. That is exactly what the automatic analysis is for: it finds where an arm meets a torso even inside one merged mesh.
Checked up front
The panel tells you whether the mesh is solid before you start.
Repaired in one click
Make Manifold welds open seams and fills holes before you cut.
Split by shape
The parts follow the model, not the way the generator merged it.
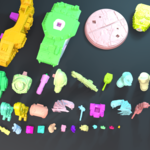
PRINT READY
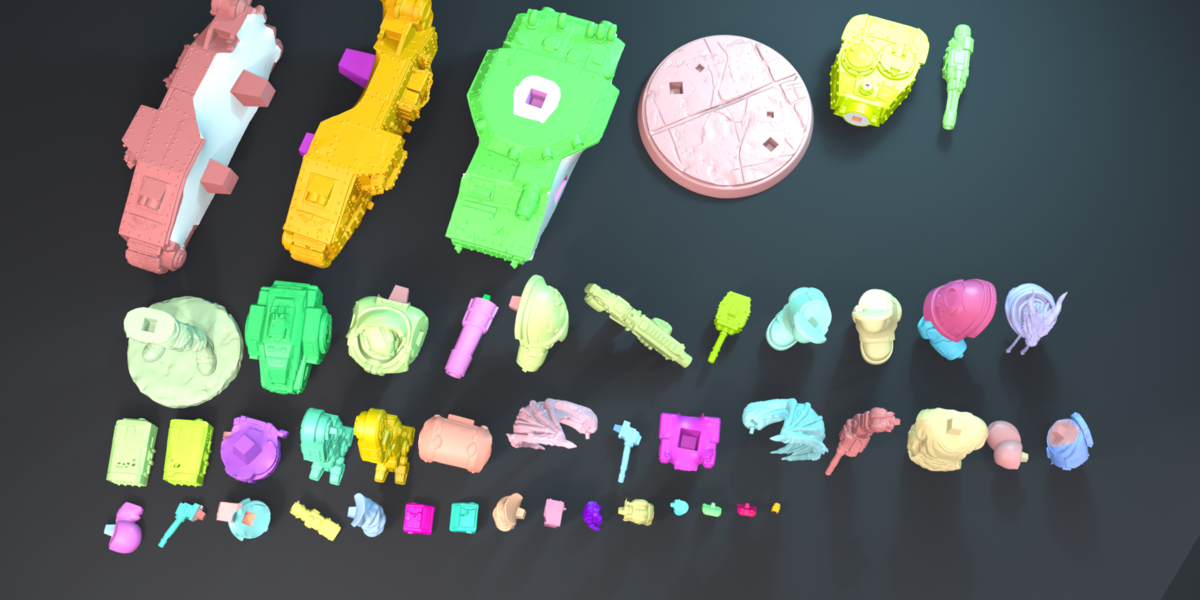
Every piece, laid out like a kit

MADE FOR
Miniatures and wargamingBusts and statuesMechs and vehiclesCosplay propsTerrainAI-generated models (Meshy, Tripo)Resin and FDM
COMPATIBILITY
●Blender 4.2 LTS and newer, as an extension
●Windows, macOS and Linux
●Pure Python with the numpy Blender ships, no internet needed
●AI-generated and open meshes: see the section above
WHAT YOU GET
●The add-on as a .zip archive
●Full Python source, GPL-3.0 or later
●Free updates for the 1.x line
●Best-effort support through the store
GOOD TO KNOW
Cleave stops at the file, STL or 3MF, laid flat where it can be. Slicing, hollowing and supports stay in your slicer. If it will not cut your model, message me through the store before you give up on it.
SUPPORT, LICENCE & REFUNDS
Support is best-effort, I answer as I can. Free updates for the 1.x line. Report a bug or ask for a feature with a message through the store, and include your Blender version, your OS, and what the panel header said.
Developed and tested on Blender 4.2 LTS and 5.2 LTS. Cleave's licence (GPL-3.0 or later) covers the add-on, not your models or your prints: what you may sell depends on each model's own licence.
All sales are final, no refunds. If Cleave will not cut your model, message me through the store first and I will help you sort it out.
MORE MODELS
Four more, split with Cleave
SETUP
Three steps to install
1Download the Cleave .zip.
2Drag it into Blender, or Preferences, Add-ons, Install from Disk.
3Open the Cleave tab in the 3D Viewport sidebar (N).
New to Cleave? Watch the walkthrough first.
Every tool, step by step, on a real figure.
▶ Watch on YouTube
The full list and the FAQ live in their own tabs.
 V4SS3UR