 blenderustad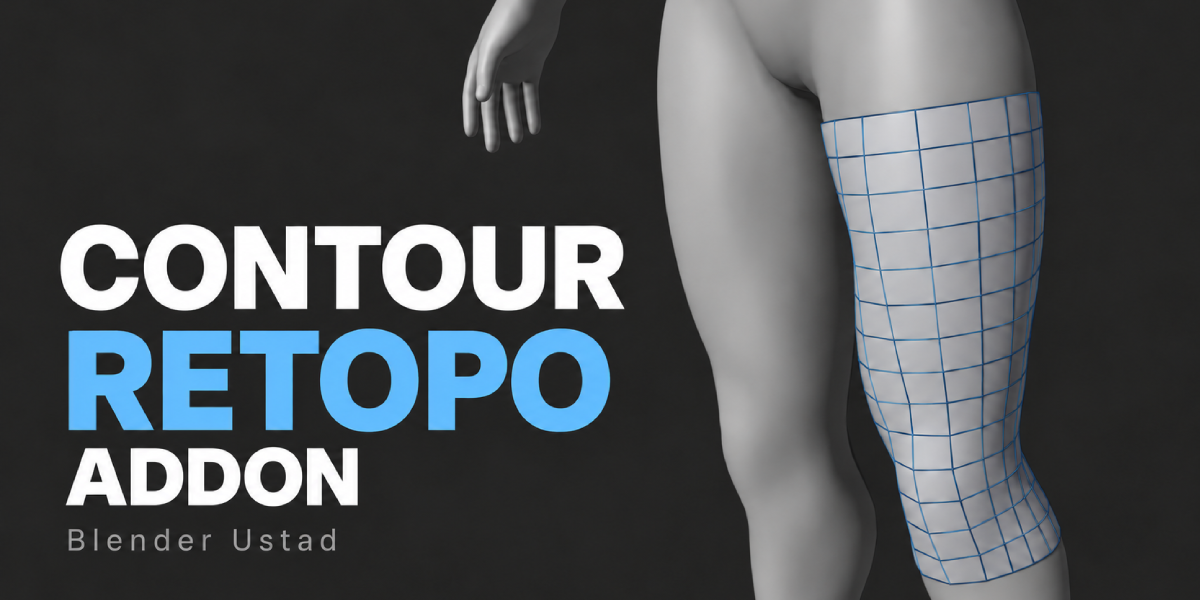
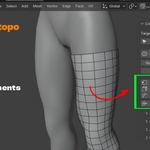
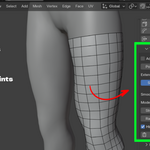
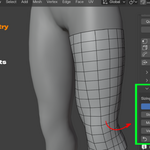
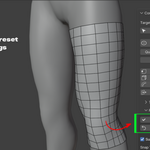
Retopology that starts where it hurts most
Limbs eat time. Every arm, leg and finger needs evenly spaced edge loops that hug the surface, and building them one loop at a time is slow and boring.
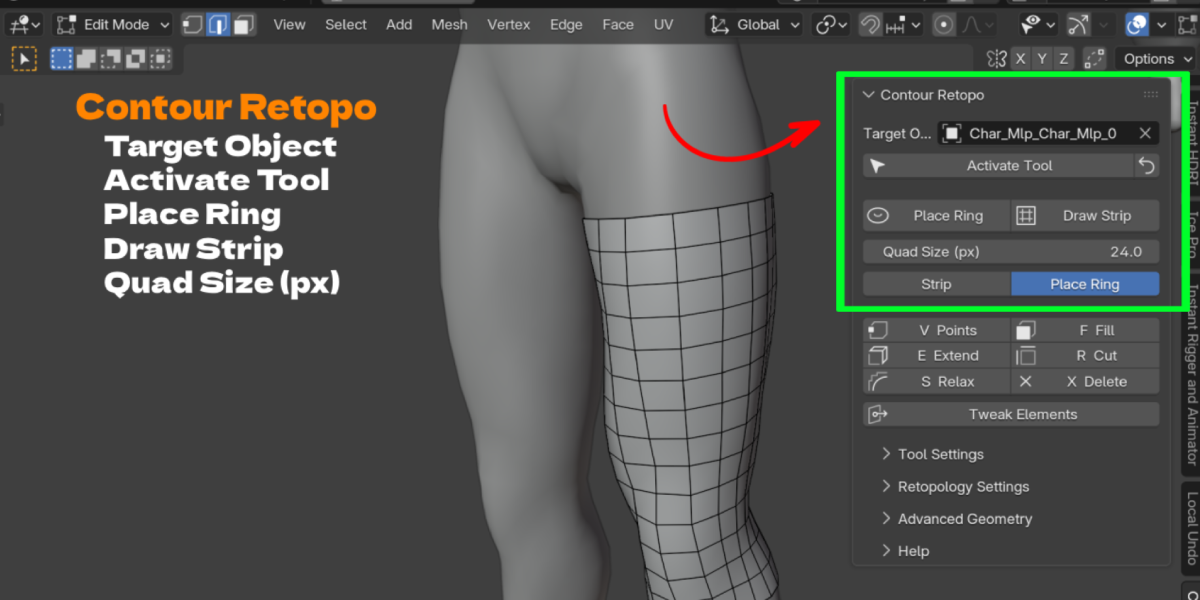
Contour Retopo gives you a faster start. You click a few points down the middle of a limb. The addon builds a tube of quad rings along that path, and every ring is measured against your sculpt. It follows the actual cross section of the mesh, not a perfect circle. Press Enter to preview, adjust, and press Enter again to create the mesh.
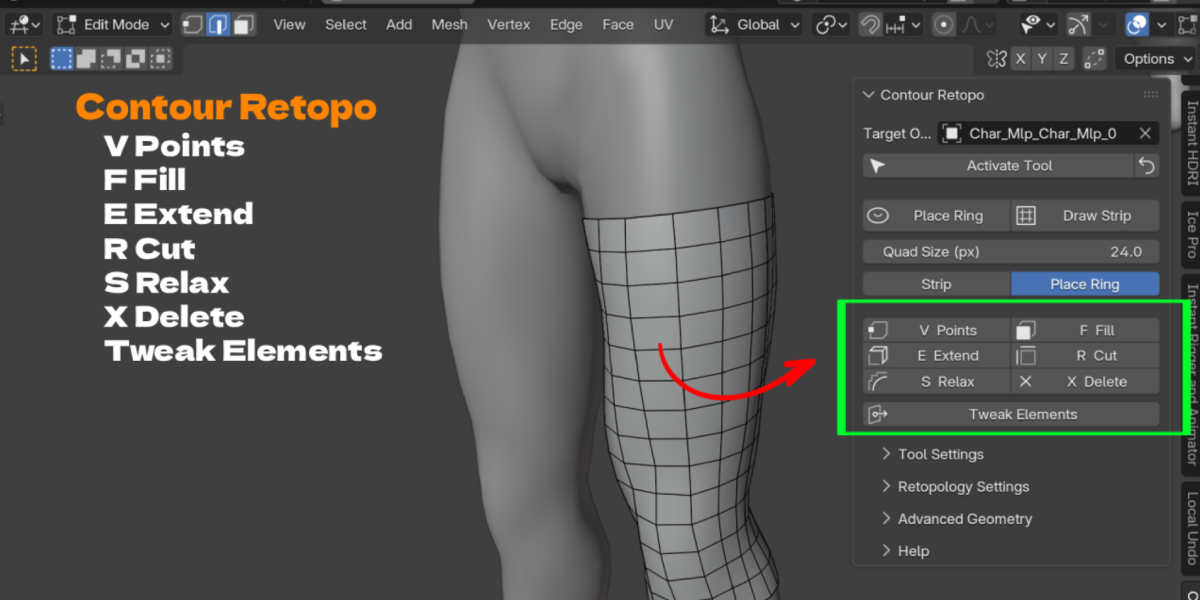
When the sleeve is done, you keep working in the same tool. Place loose points, fill quads, extend borders, add loop cuts, relax the surface and tweak vertices. Everything snaps back to your target mesh.
Built for real character work
Elbows, knees and knuckles bend. Contour Retopo handles that with a curved path, local loop density and a fold check that stops bad geometry before it is created. You can add more loops around a joint with Shift + F and keep the rest of the limb light.
Fingers and toes get special care. Place one path per finger from base to tip. The addon fits small sections at their own scale and can close a rounded tip with a quad cap.
Your sculpt stays safe
Your source mesh is never changed. Its modifiers, transforms, materials and vertex data stay as they are. The addon reads the evaluated mesh in world space, so modifiers, rotated objects and even negative scale are handled.
It works the way Blender works
The tool lives in the Edit Mode toolbar, the N panel, the right click menu and a Q pie menu. Shortcuts only apply while the Contour tool is active, so your normal Blender keys stay untouched. When you finish, one click restores your snapping and viewport settings.
No internet connection, no pip installs and no extra downloads are needed. The manual is bundled inside the addon.
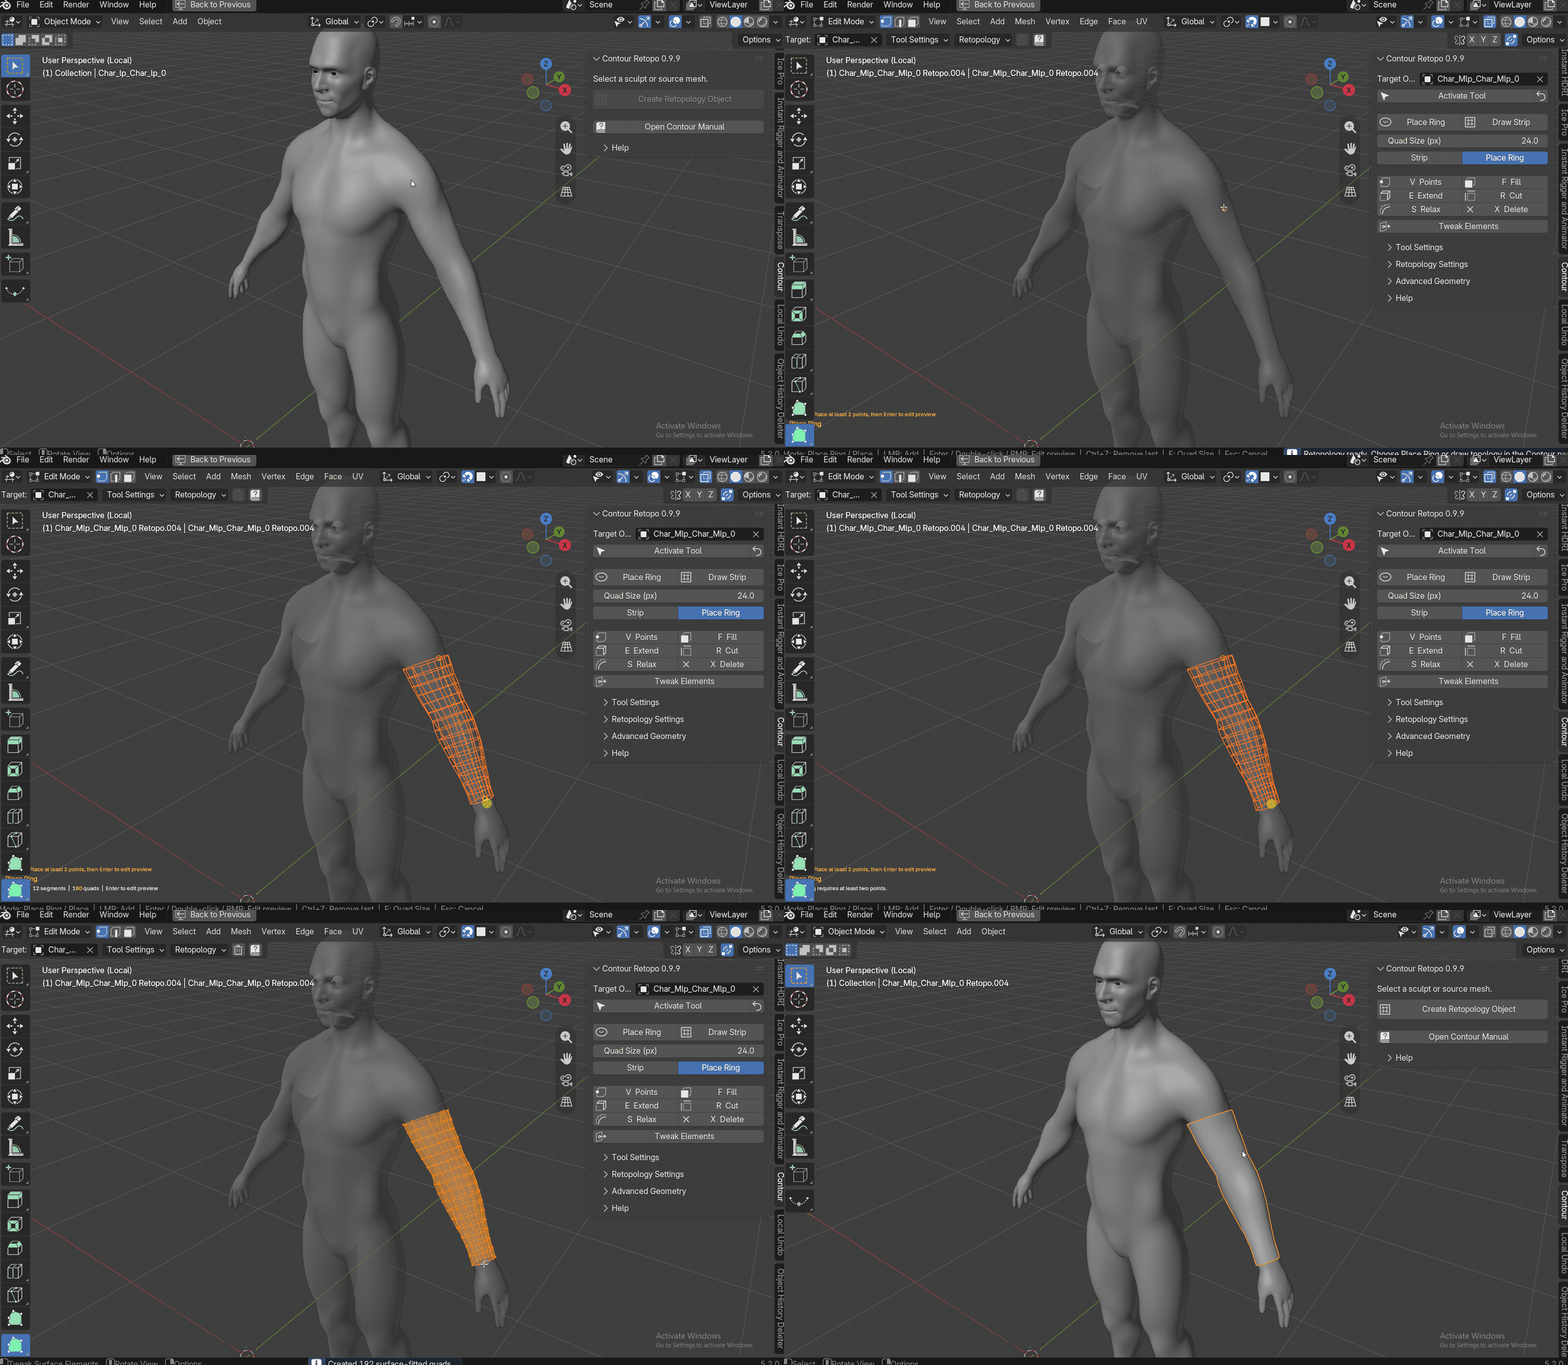
Key Features
- Place Ring sleeves: Click a few points along a limb and get a connected quad tube. No more building arm and leg loops one by one.
- Real cross section fitting: Each ring is probed against your sculpt, so the topology follows muscles and bony shapes instead of a generic cylinder.
- Two step confirm: The first Enter opens an editable preview. The second Enter creates the mesh. You can fix the path before anything is committed.
- Editable preview path: Drag points, click the path to insert a point, or Ctrl + click to extend an end. Small corrections take seconds.
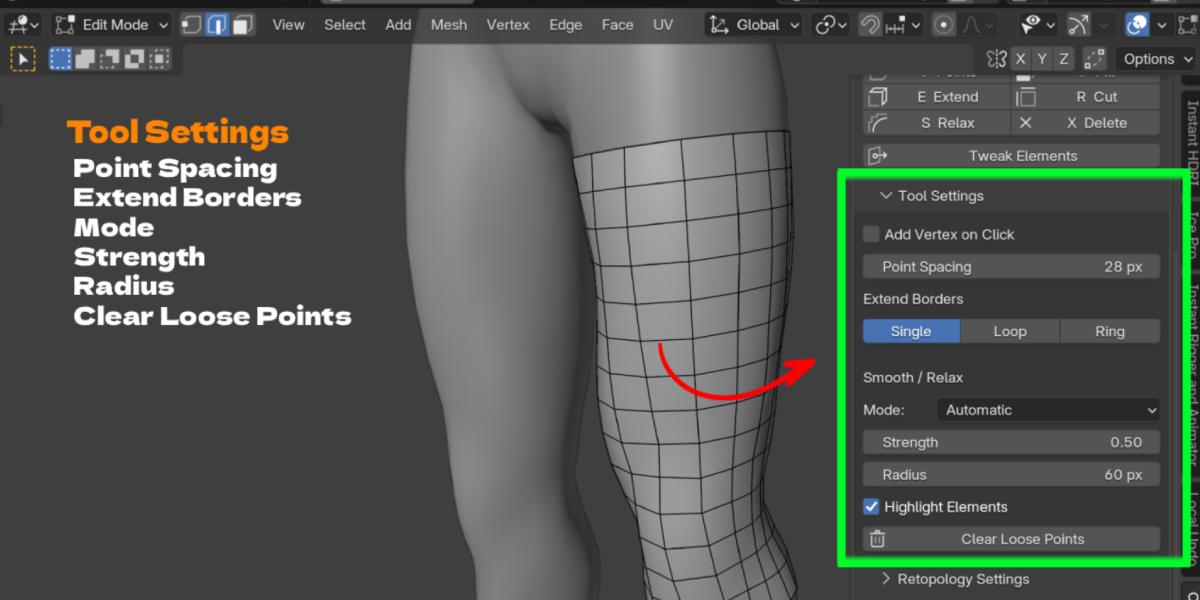
- Global and local density: Press F to set spacing for the whole sleeve. Press Shift + F near a joint to add loops only where the limb bends.
- Auto ring segments: Auto mode chooses the number of segments around the limb and can add more where the curvature needs it.
- Finger and toe fitting: Small parts are fitted at their own scale, and rounded tips can close with a quad cap.
- Draw Strip: Paint a strip of quads across the surface for faces, planes and open areas. Use more than one column when you need width.
- Points and Fill (V, F): Paint loose points and fill small regions with quads. Good for patching areas between sleeves.
- Extend Borders (E): Extrude a single edge, a whole boundary loop or a ring, projected onto the target.
- Quick Cut and Slide (R): Add a loop cut on a quad strip and slide it into place.
- Surface Relax (S): Smooth vertices with a brush while they stay on the sculpt. Border mode reduces silhouette shrinking.
- Delete and Dissolve (X): Sweep to remove faces, dissolve edge loops or clean loose points.
- Tweak: Drag a vertex, edge, face or edge loop along the surface without breaking connections.
- Mirror setup: Add or update a Mirror modifier with clipping in one click and build only one side.
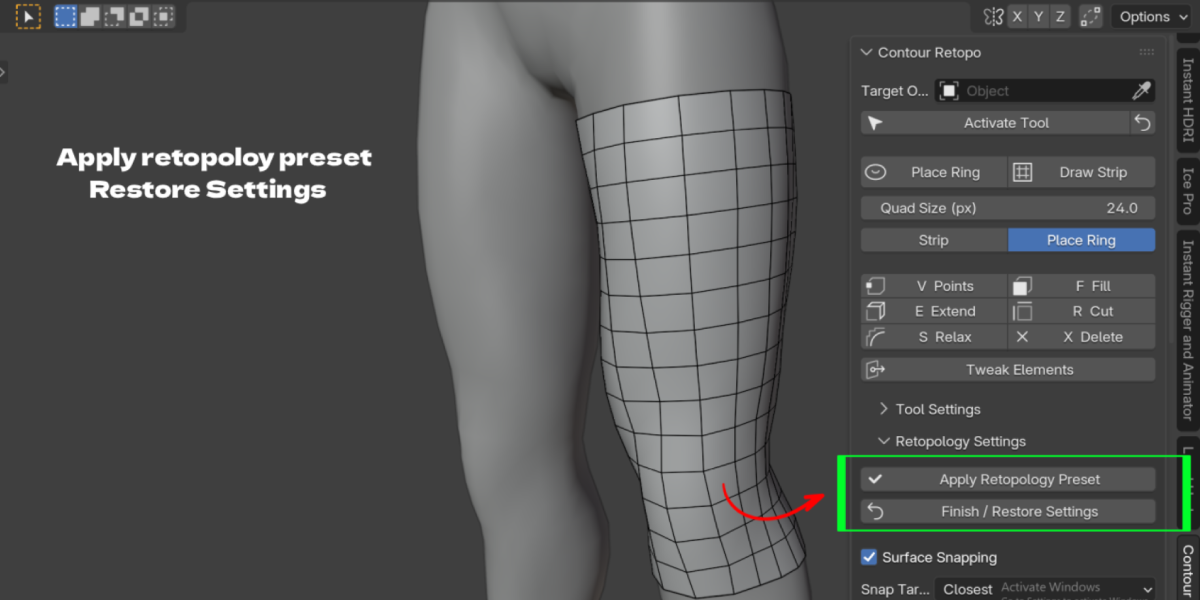
- Retopology preset and restore: Apply snapping, X-Ray, in front display and other retopo settings, then restore your original setup when you finish.
- Custom shortcuts: Change all eight tool keys in Add-on Preferences.
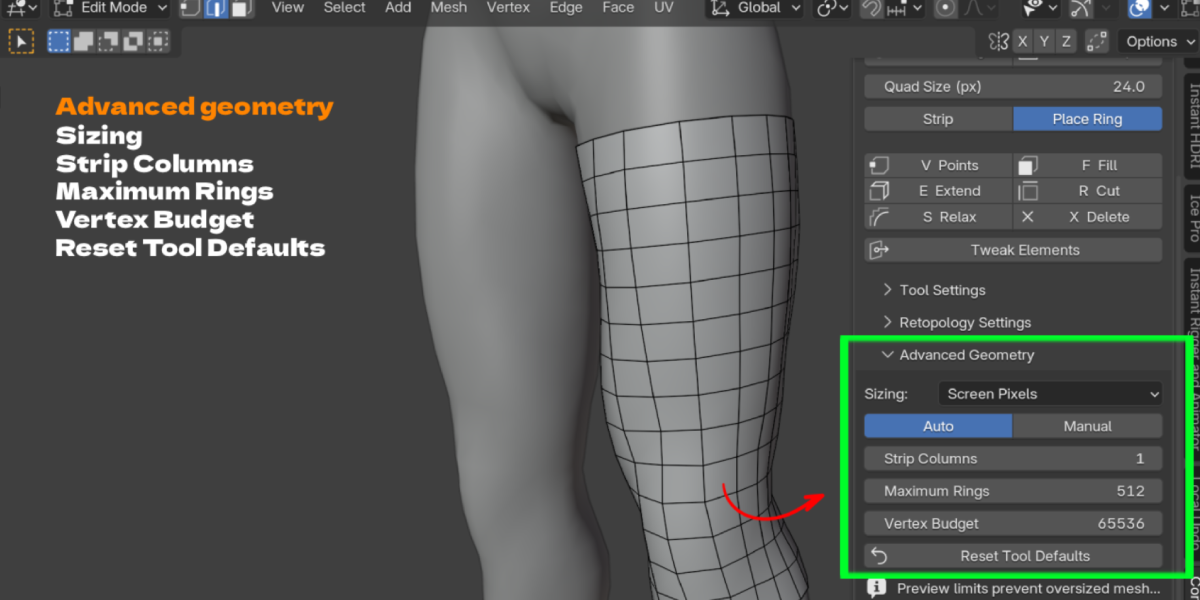
- Safety limits: Maximum rings and a vertex budget stop accidental huge meshes.
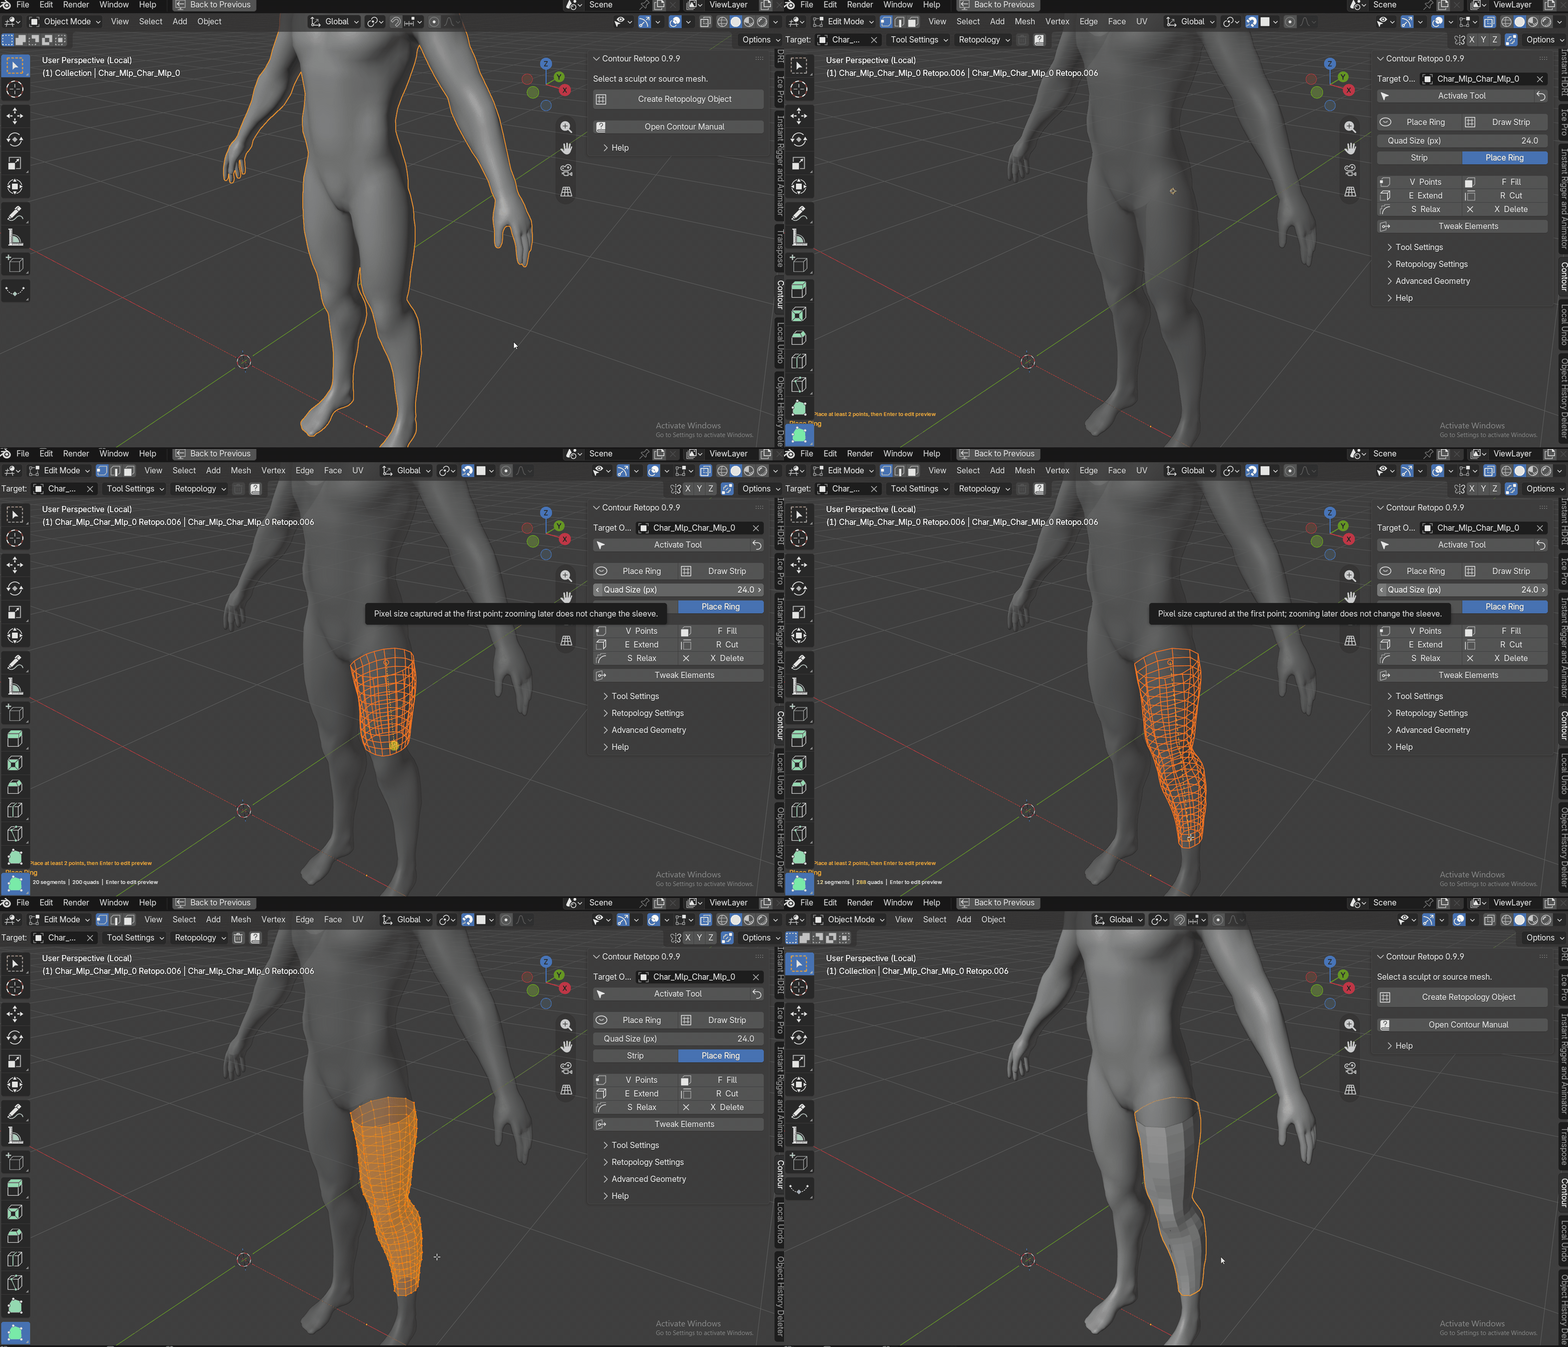
Workflow Benefits
- Faster first pass: Block out arms, legs and fingers quickly, then spend your time on the face and the joints.
- Fewer tool switches: Sleeves, strips, fill, cut, relax and tweak live in one tool with single key shortcuts.
- Safe to experiment: Esc cancels anything that is not committed, and your sculpt is never modified.
- Clean handoff: The result is a normal Blender mesh. Continue with any native modeling tool, UV unwrap or rig it.
- No setup cleanup: Finish / Restore Settings returns your snapping and viewport options to how they were.
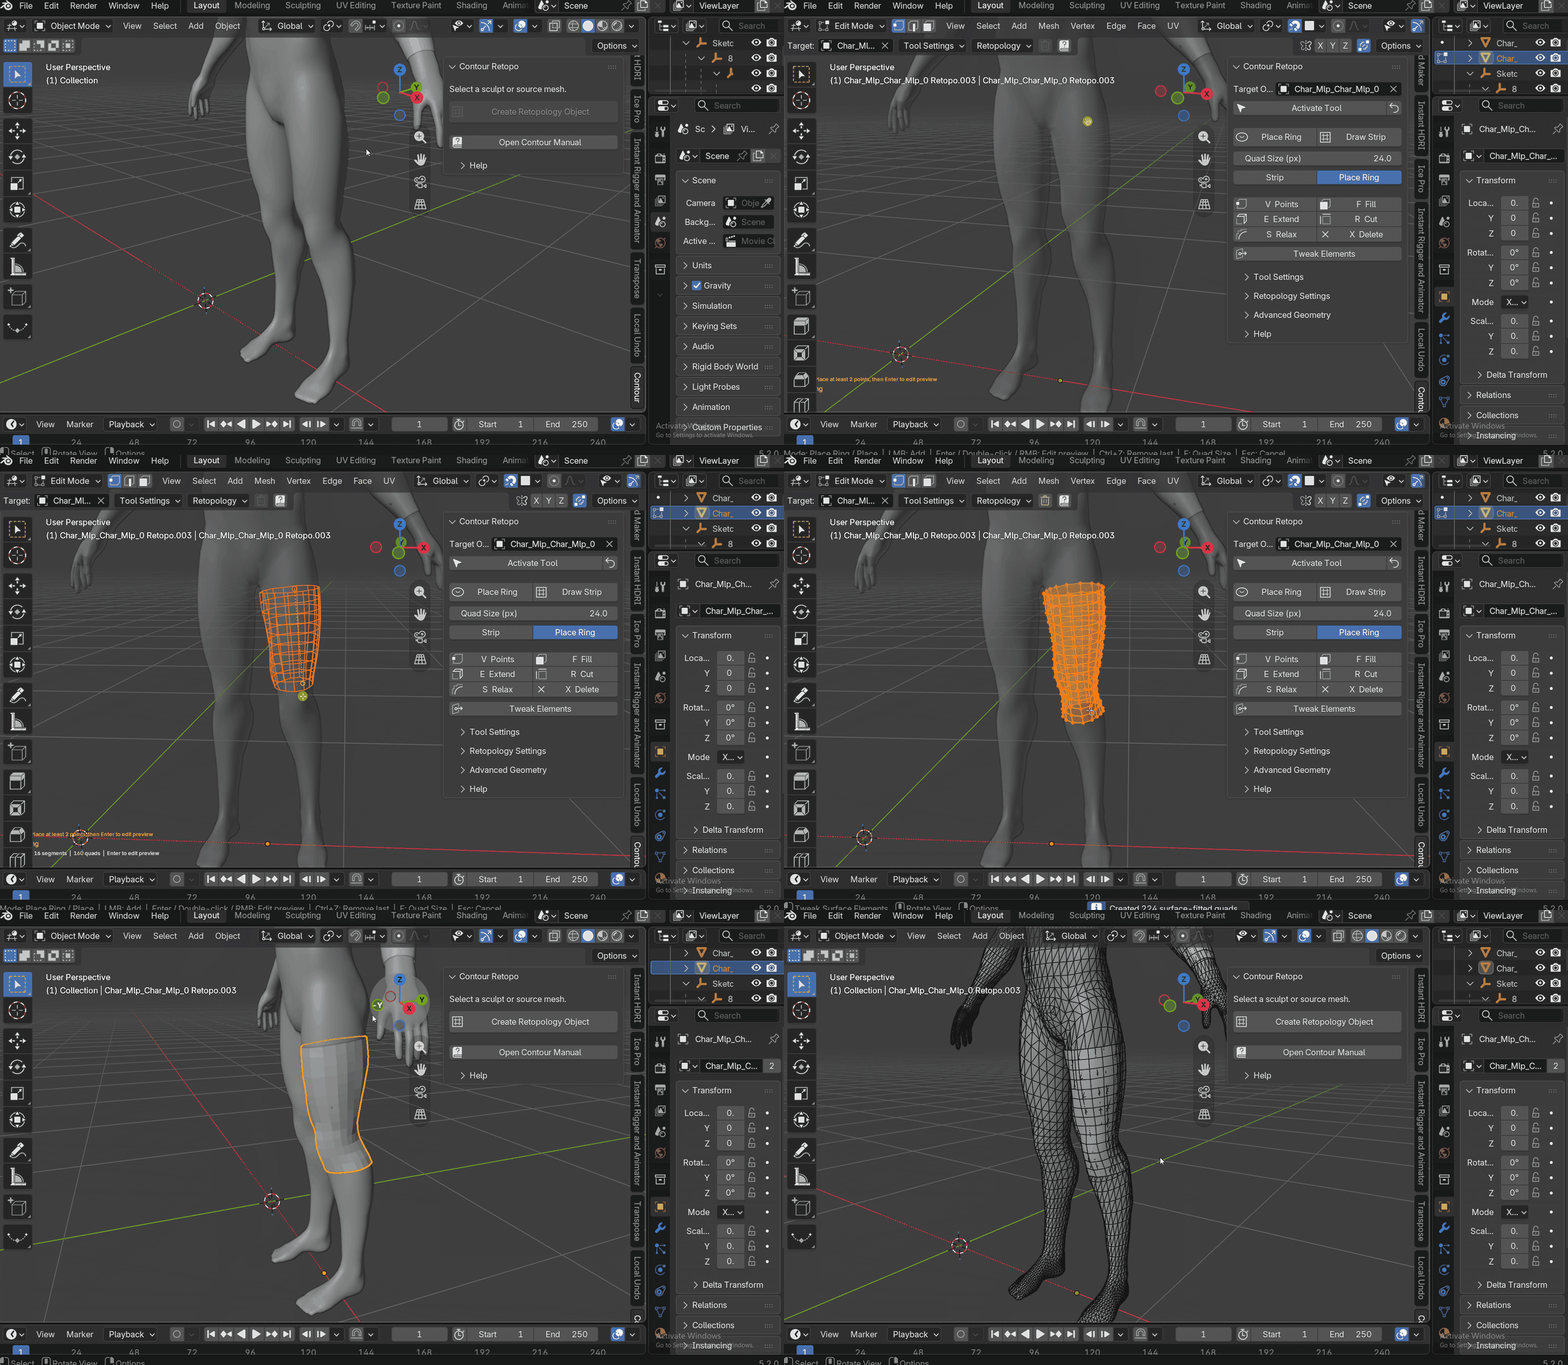
Use Cases
- Game characters: Build low poly arms and legs with even quads that deform well when rigged.
- Animation characters: Add extra loops at elbows, knees and knuckles for clean bending.
- Sculpt to production: Turn a high poly sculpt from Blender or another app into a workable base mesh.
- Hands and fingers: Create one sleeve per finger with a rounded tip, then connect them to the palm by hand.
- Creatures and props: Retopologize tails, horns, tentacles, cables, pipes and other tube like shapes.
- Learning retopology: Students can see good edge flow appear on the model and focus on the hard areas.
