Requirements
- Blender 4.2 or newer
- One mesh to use as the target (your sculpt or high poly model)
- No internet connection or extra Python packages
Installation
- Keep
contour_retopo-0.9.12.zip zipped.
- If you have an older version, remove it and restart Blender first.
- Drag the ZIP into the Blender window, or go to Edit > Preferences > Get Extensions, open the menu at the top right and choose Install from Disk. Select the ZIP.
- Make sure Contour Retopo is enabled.
- In the 3D Viewport press N and open the Contour tab. The panel title shows the version number.
Your first sleeve
- In Object Mode, select your sculpt.
- Click Create Retopology Object. A new empty mesh opens in Edit Mode and the Contour tool turns on.
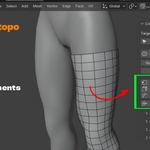
- Click Place Ring. Use a side view where the limb is fully visible.
- Click near the center of the limb at the start, at each bend and at the end. Four points are usually enough.
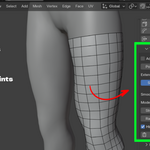
- Press Enter. This opens the editable preview. No mesh is created yet.
- Drag points to adjust. Click the dashed path to add a point. Ctrl + click away from the path to extend it.
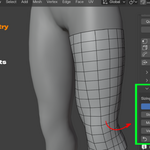
- Press F, move the mouse left or right and click to set the loop spacing. Hover near a joint and press Shift + F to add local density.
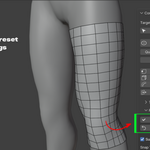
- Orbit to check the sleeve from all sides. Press Enter again to create the quad mesh.
- Use Surface Relax (S) to even out the vertices.
Fingers and toes
Place a separate path on each finger, from the base to the tip. Start past the palm, add points around the knuckles and put the last point near the tip. Keep Ring Segments on Auto. Close Rounded Tips in Advanced Geometry is on by default and caps rounded ends with quads.
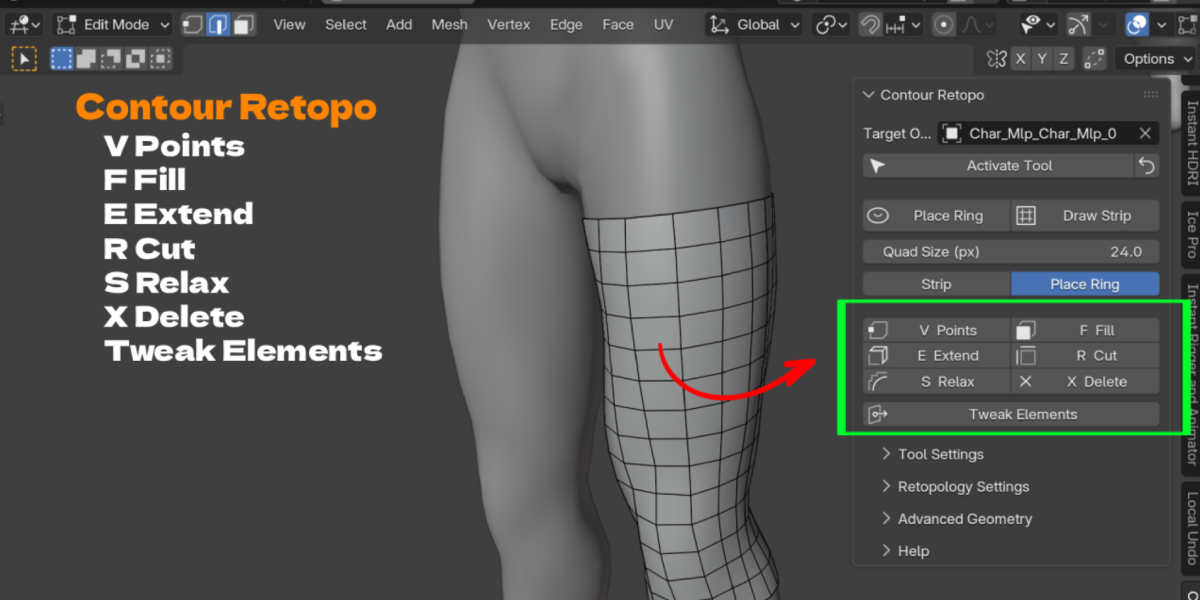
Shortcuts (only while the Contour tool is active)
| Key |
Action |
| V |
Place or paint loose points |
| F |
Fill quads |
| E |
Extend borders |
| R |
Quick cut / slide |
| D |
Draw quads in Strip or Place Ring mode |
| S |
Surface relax |
| X |
Delete / dissolve |
| LMB drag |
Tweak vertex, edge or face |
| Alt + LMB drag |
Tweak edge loop |
| Q |
Contour pie menu |
| Esc |
Cancel |
Place Ring controls
| Input |
Action |
| LMB |
Add a point |
| Enter (1st) |
Open the editable preview |
| Enter (2nd) |
Create the mesh |
| Ctrl + Z while placing |
Remove the last point |
| Drag a circle |
Move a point |
| Click dashed path |
Insert a point |
| Ctrl + click |
Extend the nearest end |
| X + click |
Remove a point |
| F / Shift + F |
Global spacing / local density |
| Up, ] / Down, [ |
Bigger or smaller size by 12% |
| Space (empty path) |
Switch to Strip |
Panels
-
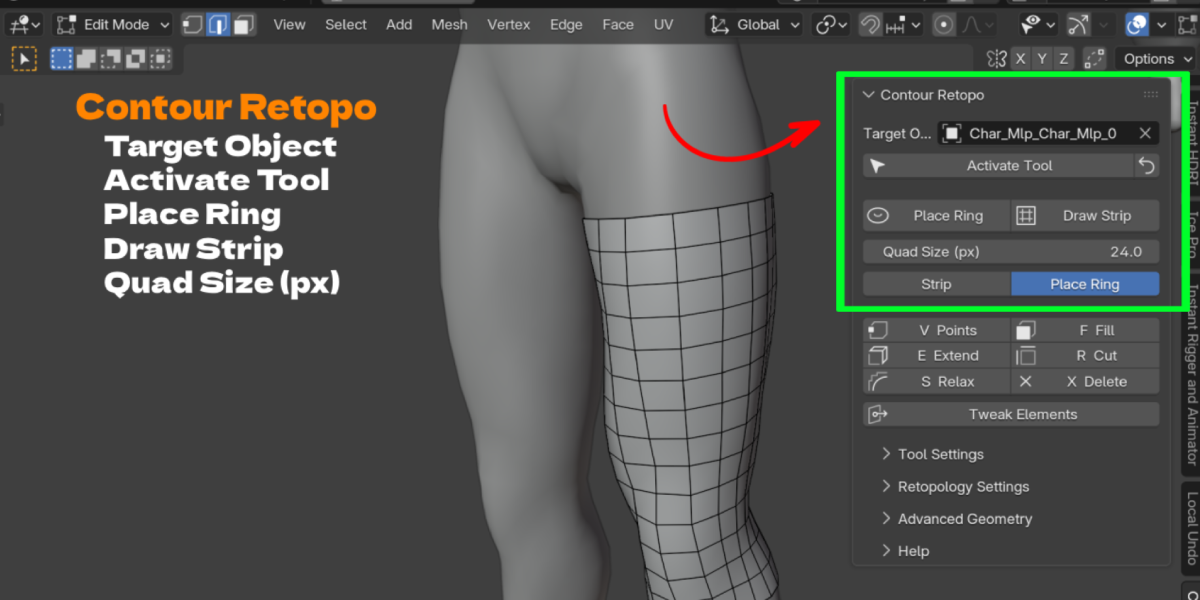
Main: Target Object, Activate Tool, Place Ring, Draw Strip, Quad Size and Draw Mode.
-
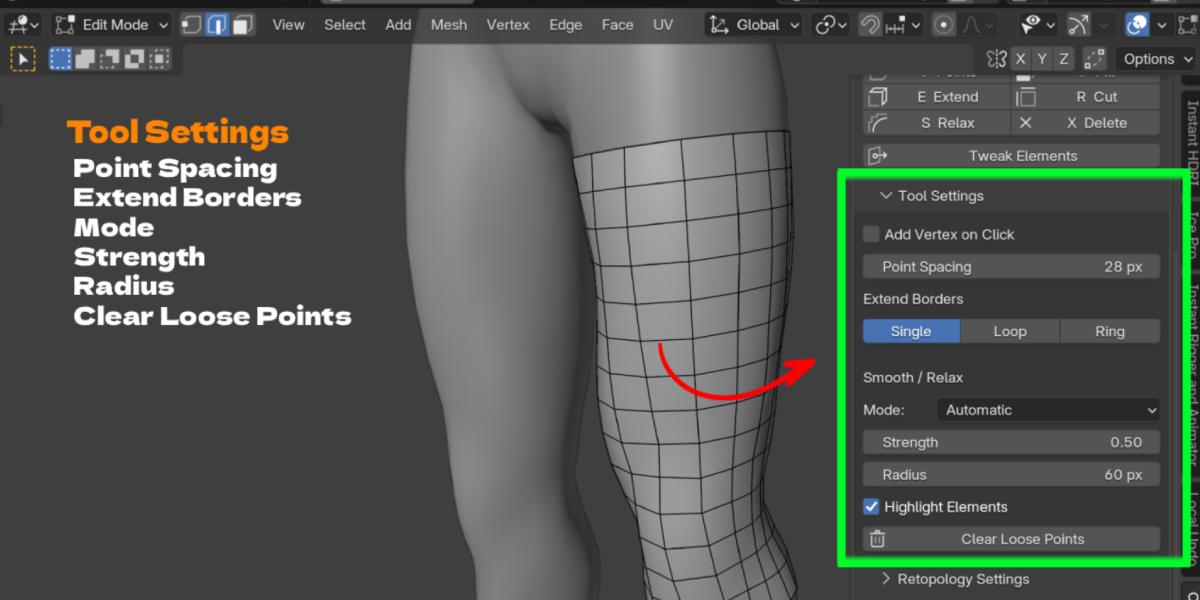
Tool Settings: Add Vertex on Click, Point Spacing, Extend mode, Relax mode, Strength, Radius, Highlight Elements, Clear Loose Points.
-
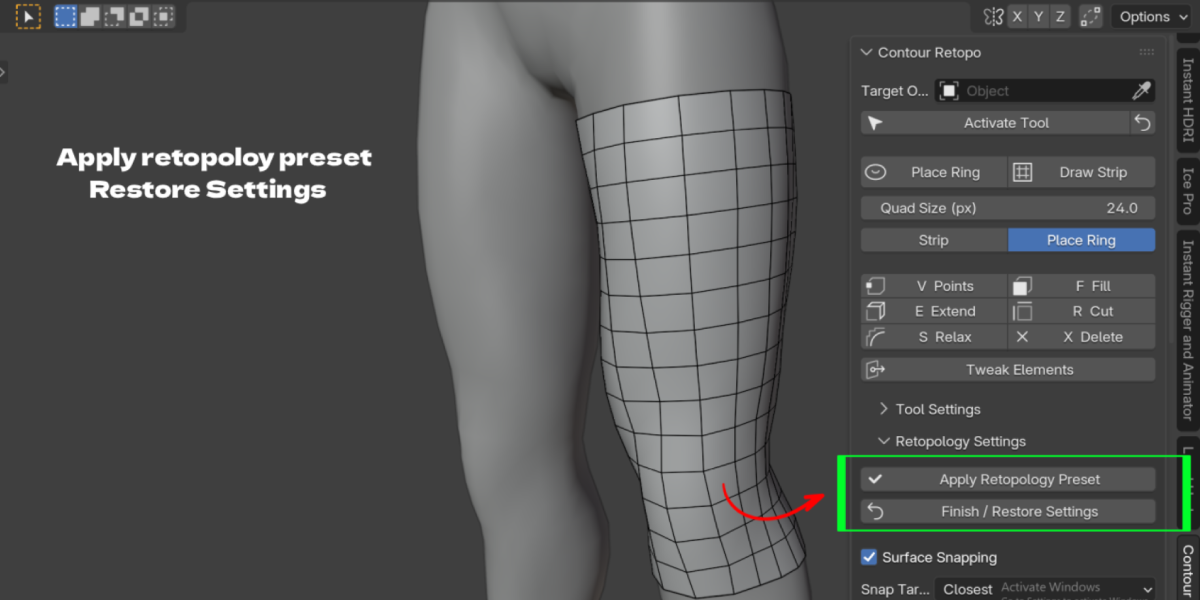
Retopology Settings: Apply Retopology Preset, Finish / Restore Settings, Surface Snapping, Auto Merge, Merge Distance, selection modes, Retopology View, In Front, X-Ray, Surface Offset, Mirror and Project Selected to Target.
-
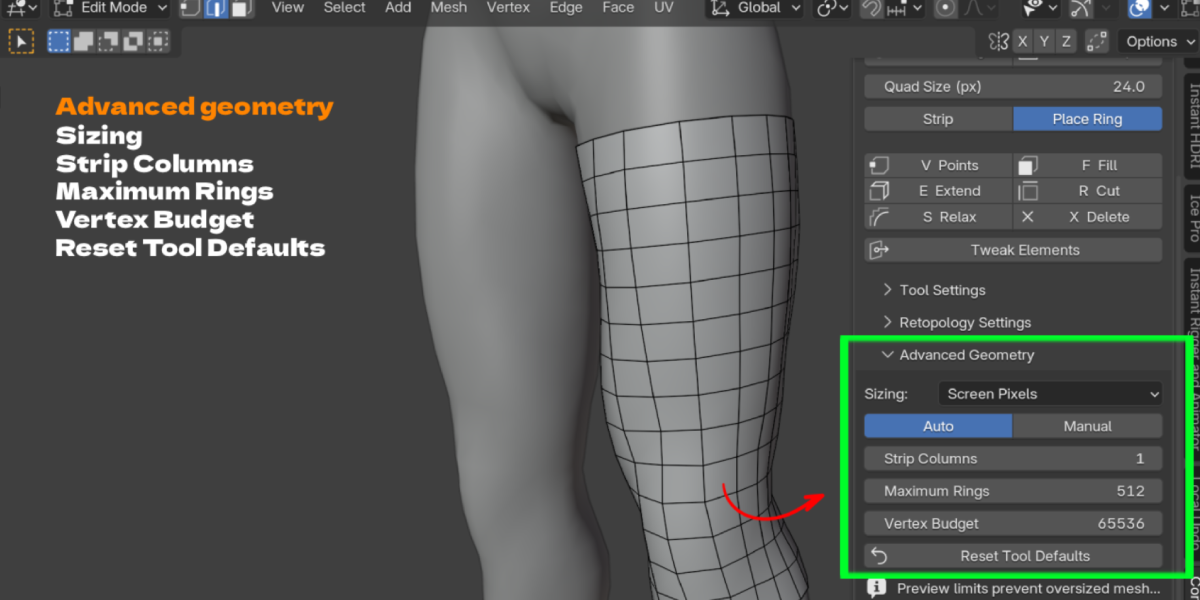
Advanced Geometry: Sizing in screen pixels or world units, Auto or Manual ring segments, Strip Columns, Maximum Rings, Vertex Budget, Close Rounded Tips, Debug Regions and Reset Tool Defaults.
Good to know
- Place Ring works best on closed, tube like shapes. Shoulders, hips and other branching areas are best done with Strip, Points and Fill.
- If a section folds or cannot be measured, the tool stops and shows a message instead of making bad geometry.
- Sleeves keep an open base. Joining sleeves to a torso or palm is done by hand.
- One target mesh and one retopology mesh are used at a time.
- Very dense sculpts take a moment to prepare the first time you start.
Troubleshooting
| Problem |
Fix |
| "No opposite wall" |
Use a side view through a closed part. Use Strip for flat or open surfaces. |
| Sleeve folds at a bend |
Spread the points out, add local density or split into shorter sleeves. |
| Too many loops |
Increase Quad Size or lower local density. |
| Enter does not make the mesh |
The first Enter opens the preview. Press Enter again. |
| Fill refuses a hole |
Split it into smaller areas. Fill is made for small local regions. |
| Quick Cut refuses an edge |
Choose a regular quad strip. Triangles and poles stop the cut. |
| Shortcut conflicts |
Set new keys in Add-on Preferences. |
 blenderustad